
Hello friends!
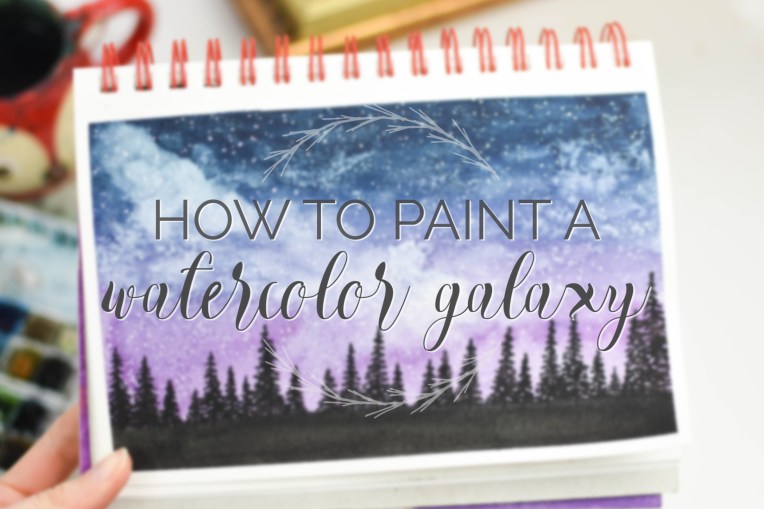
Today’s post is a fun little art lesson for one of my favorite things to paint -galaxies! I’m hoping to make an entire watercolor video course one day, but… that has to wait until after my wedding. Heh. Meanwhile, I thought I’d try out a written format with photos. Let me know what you think!
Enjoy some art therapy! 🙂
Note: This post contains affiliate links. If you purchase something through my link, the price won’t change for you, but I’ll receive a small commission and you get to support this blog for free!
Supplies Used: (linked are my product suggestions)
–Watercolor paper or sketchbook
-Paper towels
-Jar of water
-Table salt (optional)
-Hairdryer (optional)
–Washi tape or masking tape (optional)

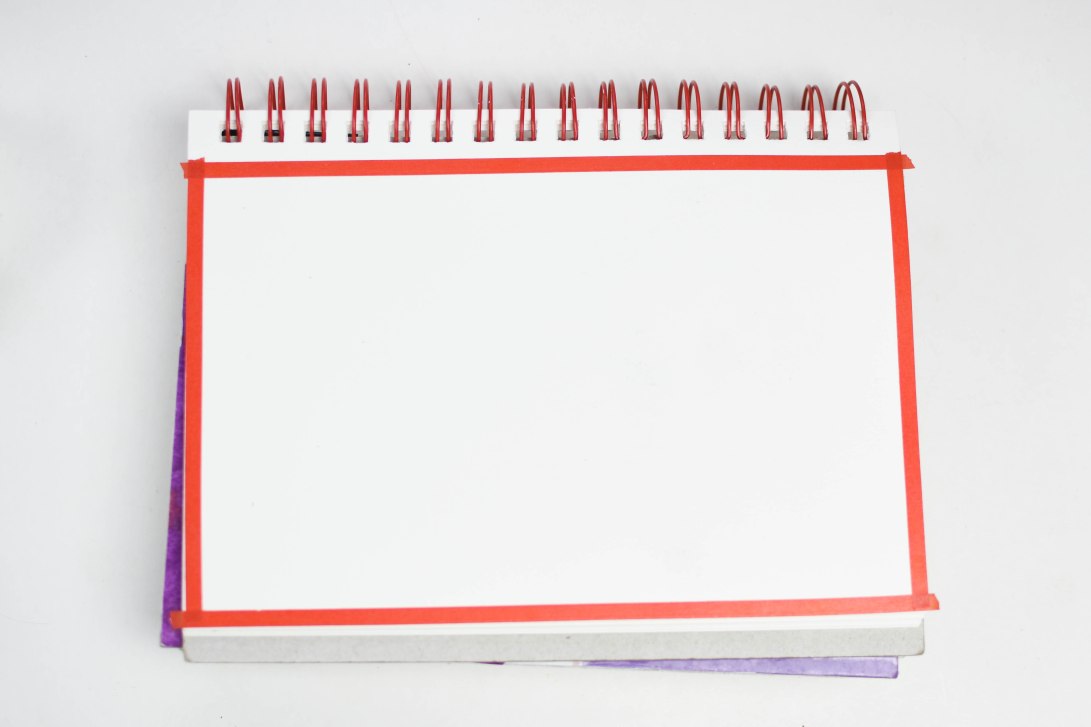
Okay, let’s get started! I always like to add washi tape or masking tape to the borders of the paper so I end up with a nice white frame at the end and don’t make a mess painting all the way out to the edge.
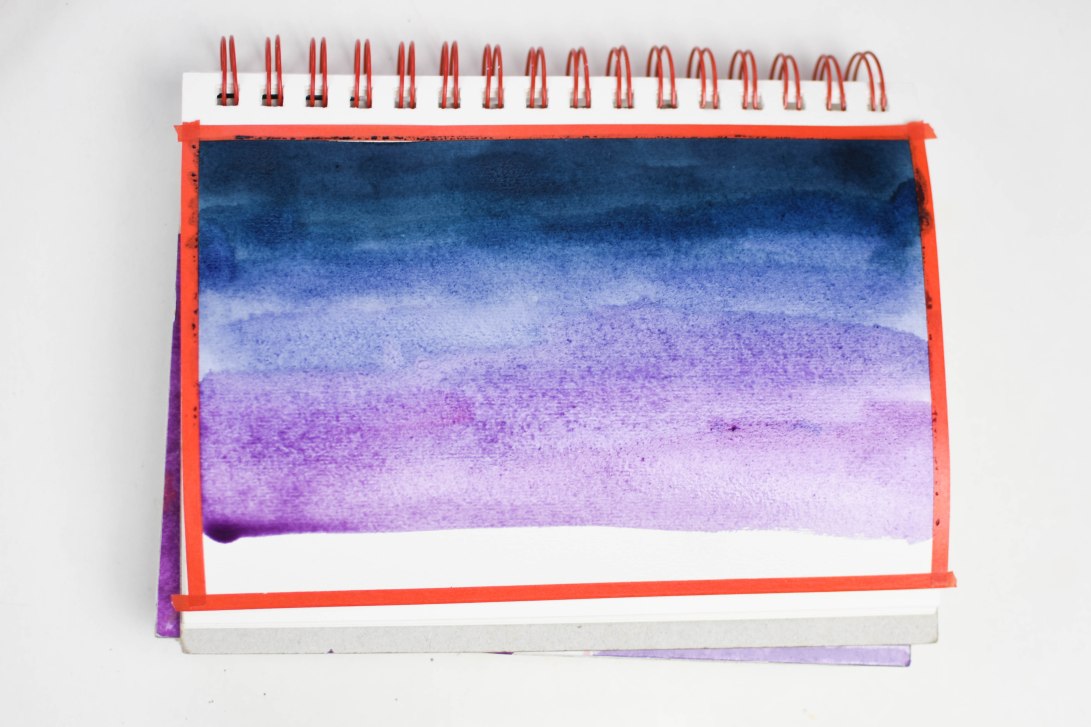
Now for the painting part. The first color we’ll need is a deep blue; I created one by mixing Payne’s Gray, Phthalo Blue, and Ultramarine. Paint about the top 1/4 of your page with this color. You’ll want the paint to be pretty wet for blending purposes and also for the salt technique we’ll be using later. Mine was too dry here, as evidenced by the rough texture at the edge of the blue.

We’ll fill in the rest of the sky with an ombre effect: as you go down the page, mix more and more pink (I’m using Purple Lake) into the deep blue you had before so that it fades into purple as you continue down the page. Remember to keep your paint wet – it should look shiny on the page, but shouldn’t puddle up.
Stop once you’ve painted almost to the bottom so we can make the cloudy part of the galaxy. Scrunch up a paper towel and blot it in an approximately diagonal line from the top left corner to the bottom right. If your watercolor is still damp on the page, some of it will lift off, leaving lighter patches in the sky. If your paint is too try, take a clean, damp brush and dab it on the page before blotting off the water with a paper towel.

Now for some magic! This part is optional, so feel free to skip it if you want an easier version. Otherwise, let’s use table salt to make a galaxy-like texture in the sky. Again, the paint has to be damp for this to work well. The process itself is very simple: sprinkle salt all over the painting.

If the paper is properly damp, each grain of salt will soak up a tiny bit of water and pigment around it, creating a starry “bloom” effect as shown on the left. If the paint is dry, the salt will just sit on top of the paper, like on the right.
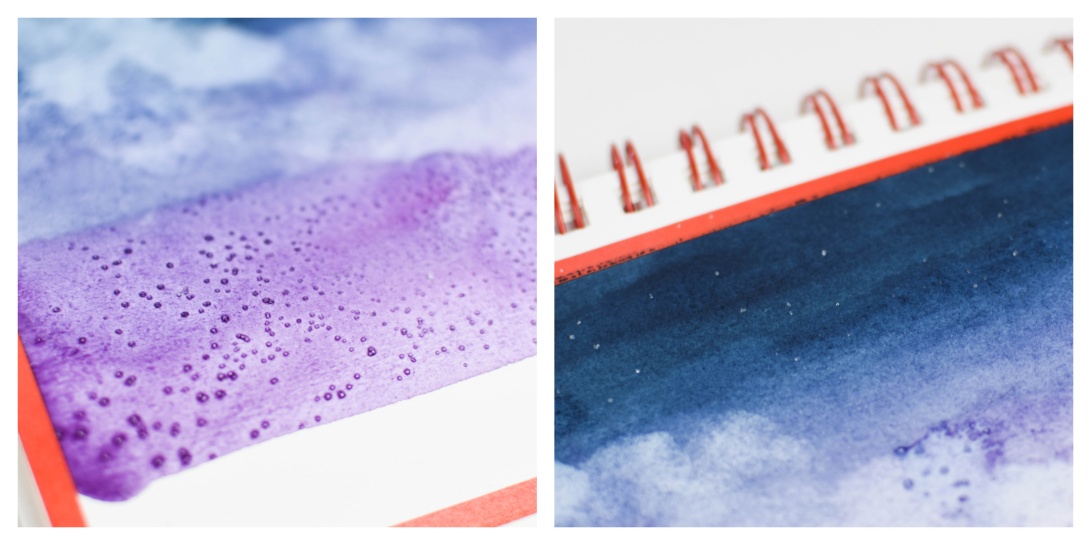
Mine was dry at the top since I painted slowly to take pictures of the process in between steps. If that happens to you, you can stick with just salting the wet parts, or you can carefully add more paint to the dry parts and salt it again.

If the bottom of your page is dry, go ahead and paint a strip of black for the ground. If it’s not dry… Well, the black will bleed into the sky a little like it did on the left here. I totally did that just for teaching purposes.. Hehe.
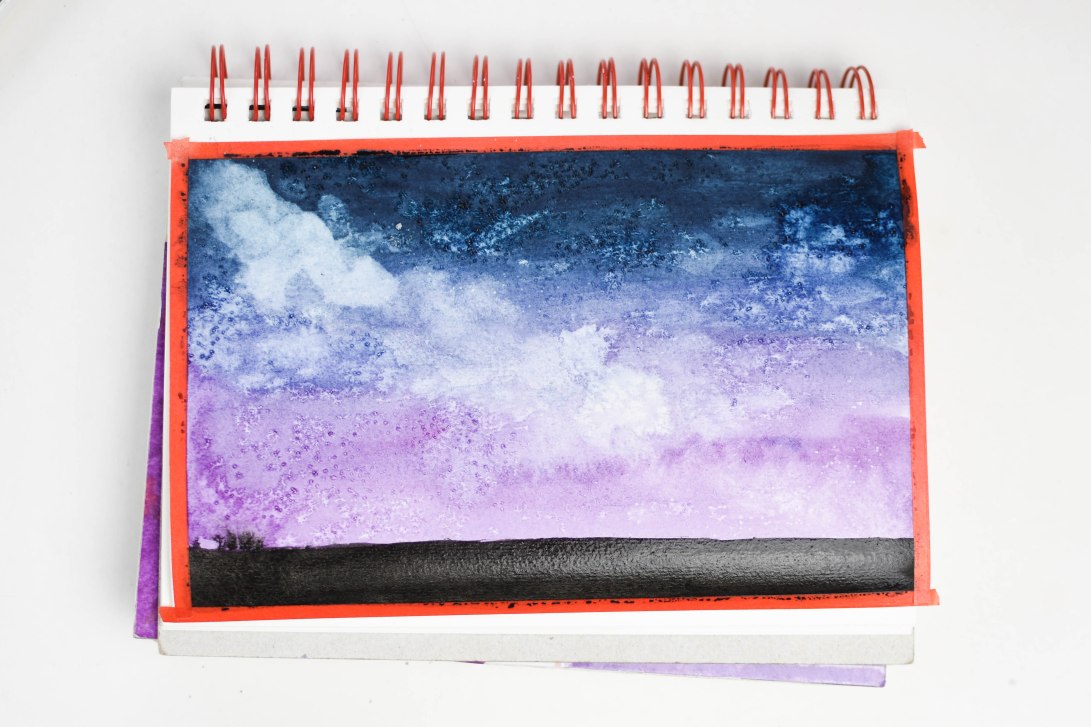
We will need the sky to be completely dry for the rest of the painting though, so you can either pull out a hairdryer or your entire store of patience. I recommend the hairdryer. 😀 Go over the page on low heat until you can’t see any more shine (moisture) on the page.

Now rub off the dry salt with your fingers to expose… ta-daa! A beautiful starry texture.

We’re going to switch paintbrushes now, using a smaller one to paint several lines, a.k.a. tree trunks, of various heights across the bottom of the page.
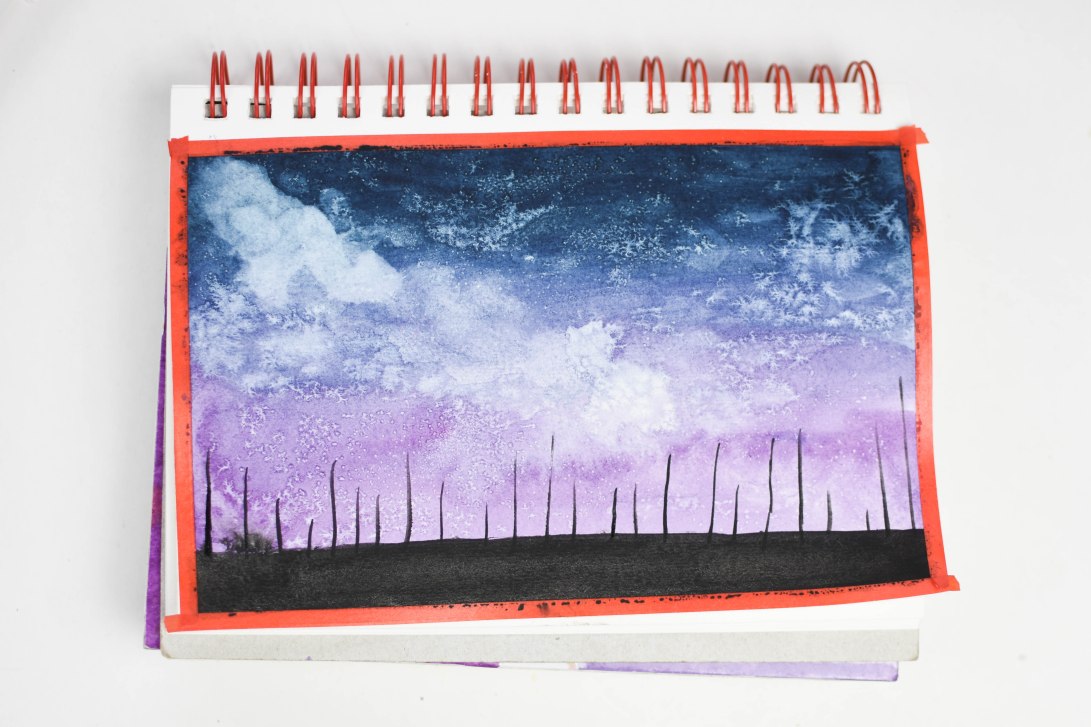
Now for some trees. Hold your paintbrush straight up and down and use the tip to dot the page in a zigzag motion to create evergreen trees. You may want to practice a few times on a scrap piece of paper before trying it on your painting.

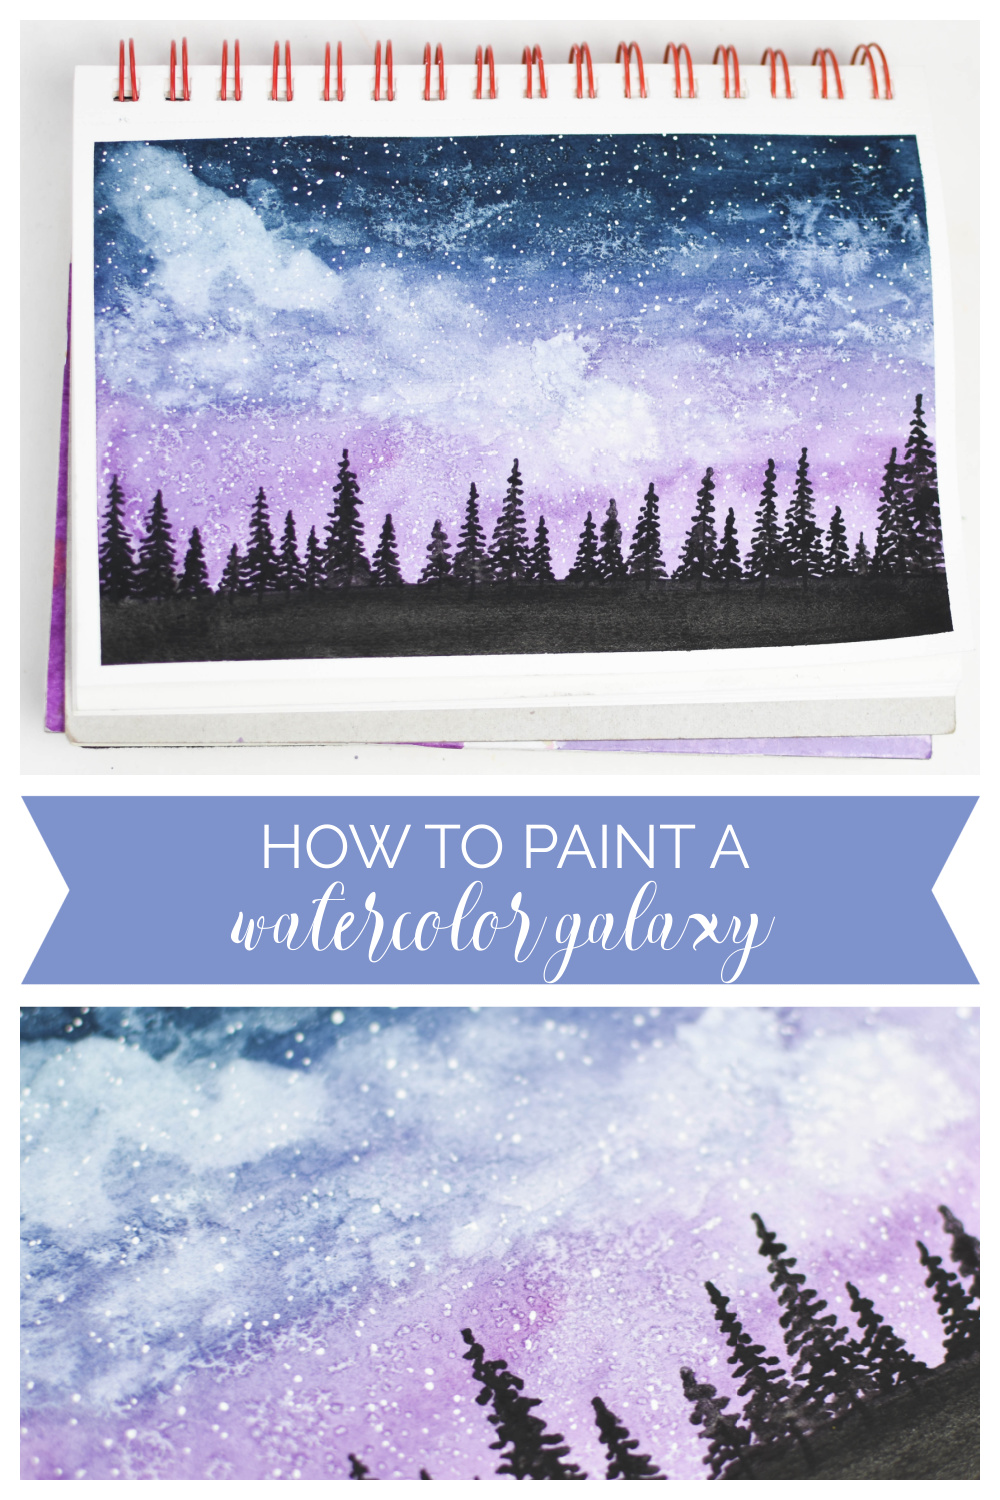
This is how it looks so far! The salt has made such a nice texture that we could almost leave it like this. But nah, I think it needs some more stars. 😉

Break out the white gel pen and scatter a bunch of random dots across the sky in slightly varying sizes. I think mine would look better with fewer stars; I always get carried away with this part…

The last step is possibly the most satisfying – peel off the washi tape! And now you’re left with a crisp, white border for your beautiful work of art. Sign and date it for posterity if you wish.

That’s it for today’s tutorial! Feel free to pin the graphic below if you want to save this for future reference.
I hope you guys enjoyed that little art lesson! I definitely want to make a video version of it sometime, but it might be a while before that happens. So let me know if you’d like to see more art posts like this!
If you paint a galaxy and post it to Instagram, tag me @thecolorboxstudio so I can check it out!
Thanks so much for reading, my friends, and have a lovely day!
***Allison***


Beautiful!
LikeLike
Thanks, Ellie!
LikeLike
Very clever
LikeLike
Why thank you!
LikeLike
ALLISON I LOVE IT! Thank you so much for bringing us this tutorial! I will for sure be trying this out to finally succeed at a galaxy painting! 🤣 And your painting is absolutely beautiful, I love the lavender tones!
LikeLike
AHH THANK YOU! I’m so glad you liked the tutorial and I hope you enjoy trying it out! ❤ I love the purples in the painting too!
LikeLiked by 1 person
So. Pretty. I love it ❤! The salt trick always amazes me, and the trees look awesome! Also, I LOVE the Milky Way!!! Hmm… the salt container and the hairdryer look very familiar, I wonder why… 🤔 lol
LikeLiked by 1 person
Ah thank youuu! Yes, I love the salt trick. And the Milky Way and stars in general! Hehe yes, I wonder why they look familiar… XD
LikeLiked by 1 person
😁
LikeLiked by 1 person
Thanks for the tutorial! I’ve tried painting galaxies before, but they never came out right. This tutorial seems pretty simple.
LikeLike
Well good, I hope it’s helpful! They *are* pretty simple, especially if you don’t do the salt part.
LikeLike
Beautiful!!
I think the stars kind of look like snowflakes too.
LikeLike
Thank you! Yes, you can do a similar technique for snowflakes, only you’d want to cover the entire page in white dots rather than just the sky. That would be pretty too!
LikeLike
🙄
On Fri, 25 Feb 2022, 10:46 pm A Farm Girl’s Life, wrote:
> Allison posted: “Hello friends! Today’s post is a fun little art lesson > for one of my favorite things to paint -galaxies! I’m hoping to make an > entire watercolor video course one day, but… that has to wait until after > my wedding. Heh. Meanwhile, I thought I’d try out a” >
LikeLike
🤨
LikeLike
Looks so heavenly! I wouldn’t have thought of the salt trick. This was so helpful, because my attempts of making a galaxy always become a disaster!
LikeLike
Well yay, I’m glad it was helpful! Yes, I love the salt trick!
LikeLike
This looks amazing! And you explained it in such an easy way to understand and it turned out amazing. I love the trees and the stars – gorgeous✨
How are you wedding plans going by the way? Oh and I wanted to ask if you’ll do some of the photography on the day or if you’ll leave everything to someone else.
Once again, this is beautiful🌻
LikeLiked by 1 person
Aww yay! I’m glad it was easy to follow.
The wedding planning is going really well! I’m about putting the invitations together and hand lettering the envelopes! Sully and I are having an engagement photoshoot done today, which I’m super excited about! That’s a good question. As much as I like taking pictures, I’ll probably limit my photography to a few phone selfies since I’m hiring capable wedding photographers and my uncle will be the videographer as well. So most of the photos I get to share from the wedding will be taken by someone else. I can’t wait to share them!
LikeLike
This looks amazing, Allison! I really want to try it now!
LikeLike
Yay, I hope you can! It’s a lot of fun.
LikeLiked by 1 person
Ahh a fellow art lover and watercolor lover!! I’m so thankful to have discovered you!
LikeLike
Aww yay, that makes me happy. Watercolor is a blast, isn’t it?
LikeLiked by 1 person
Yes! So much fun!!
LikeLiked by 1 person
Wow, you have great hobbies. It’s beautiful. Will try it sometime soon. Definitely will like to see more!
LikeLike
I definitely enjoy art! And thank you – I would love to post more of these tutorials.
LikeLike
It’s a good tutorial! Beautiful!!!
LikeLike
Thanks so much!
LikeLike
Wow! 😍
LikeLike
Thank you! 🙂
LikeLike
Reblogged this on silverapplequeen and commented:
I am sharing this so I can (selfishly) save this for myself! You know that I’m gonna try this! I’m a lousy artist AT BEST but this looks like so much fun!
LikeLiked by 1 person
Thanks for reblogging! Enjoy painting! ❤
LikeLike
So beautiful! x
LikeLike
Thank you!
LikeLike
Thanks for explaining it so well, Ellie
LikeLike
I’m so happy it made sense! Thanks for reading, Ellie.
LikeLike
Reblogged this on Whipped Owl.
LikeLike
Thank you! ❤
LikeLiked by 1 person