Creation Series: Day 1

This week I’m going to try something different. For each day, I will post pictures of things God created on that day, in the very beginning when he created the world, along with the bible verse that goes with them. For instance, the first day (Sunday) God separated the light from the dark, so that’s what I’ll post about today. All of the pictures were taken by me. I hope you enjoy!

Day 1:

In the beginning, God created the heavens and the earth. The earth was without form and void, and darkness was over the face of the deep. And the Spirit of God was hovering over the face of the waters.
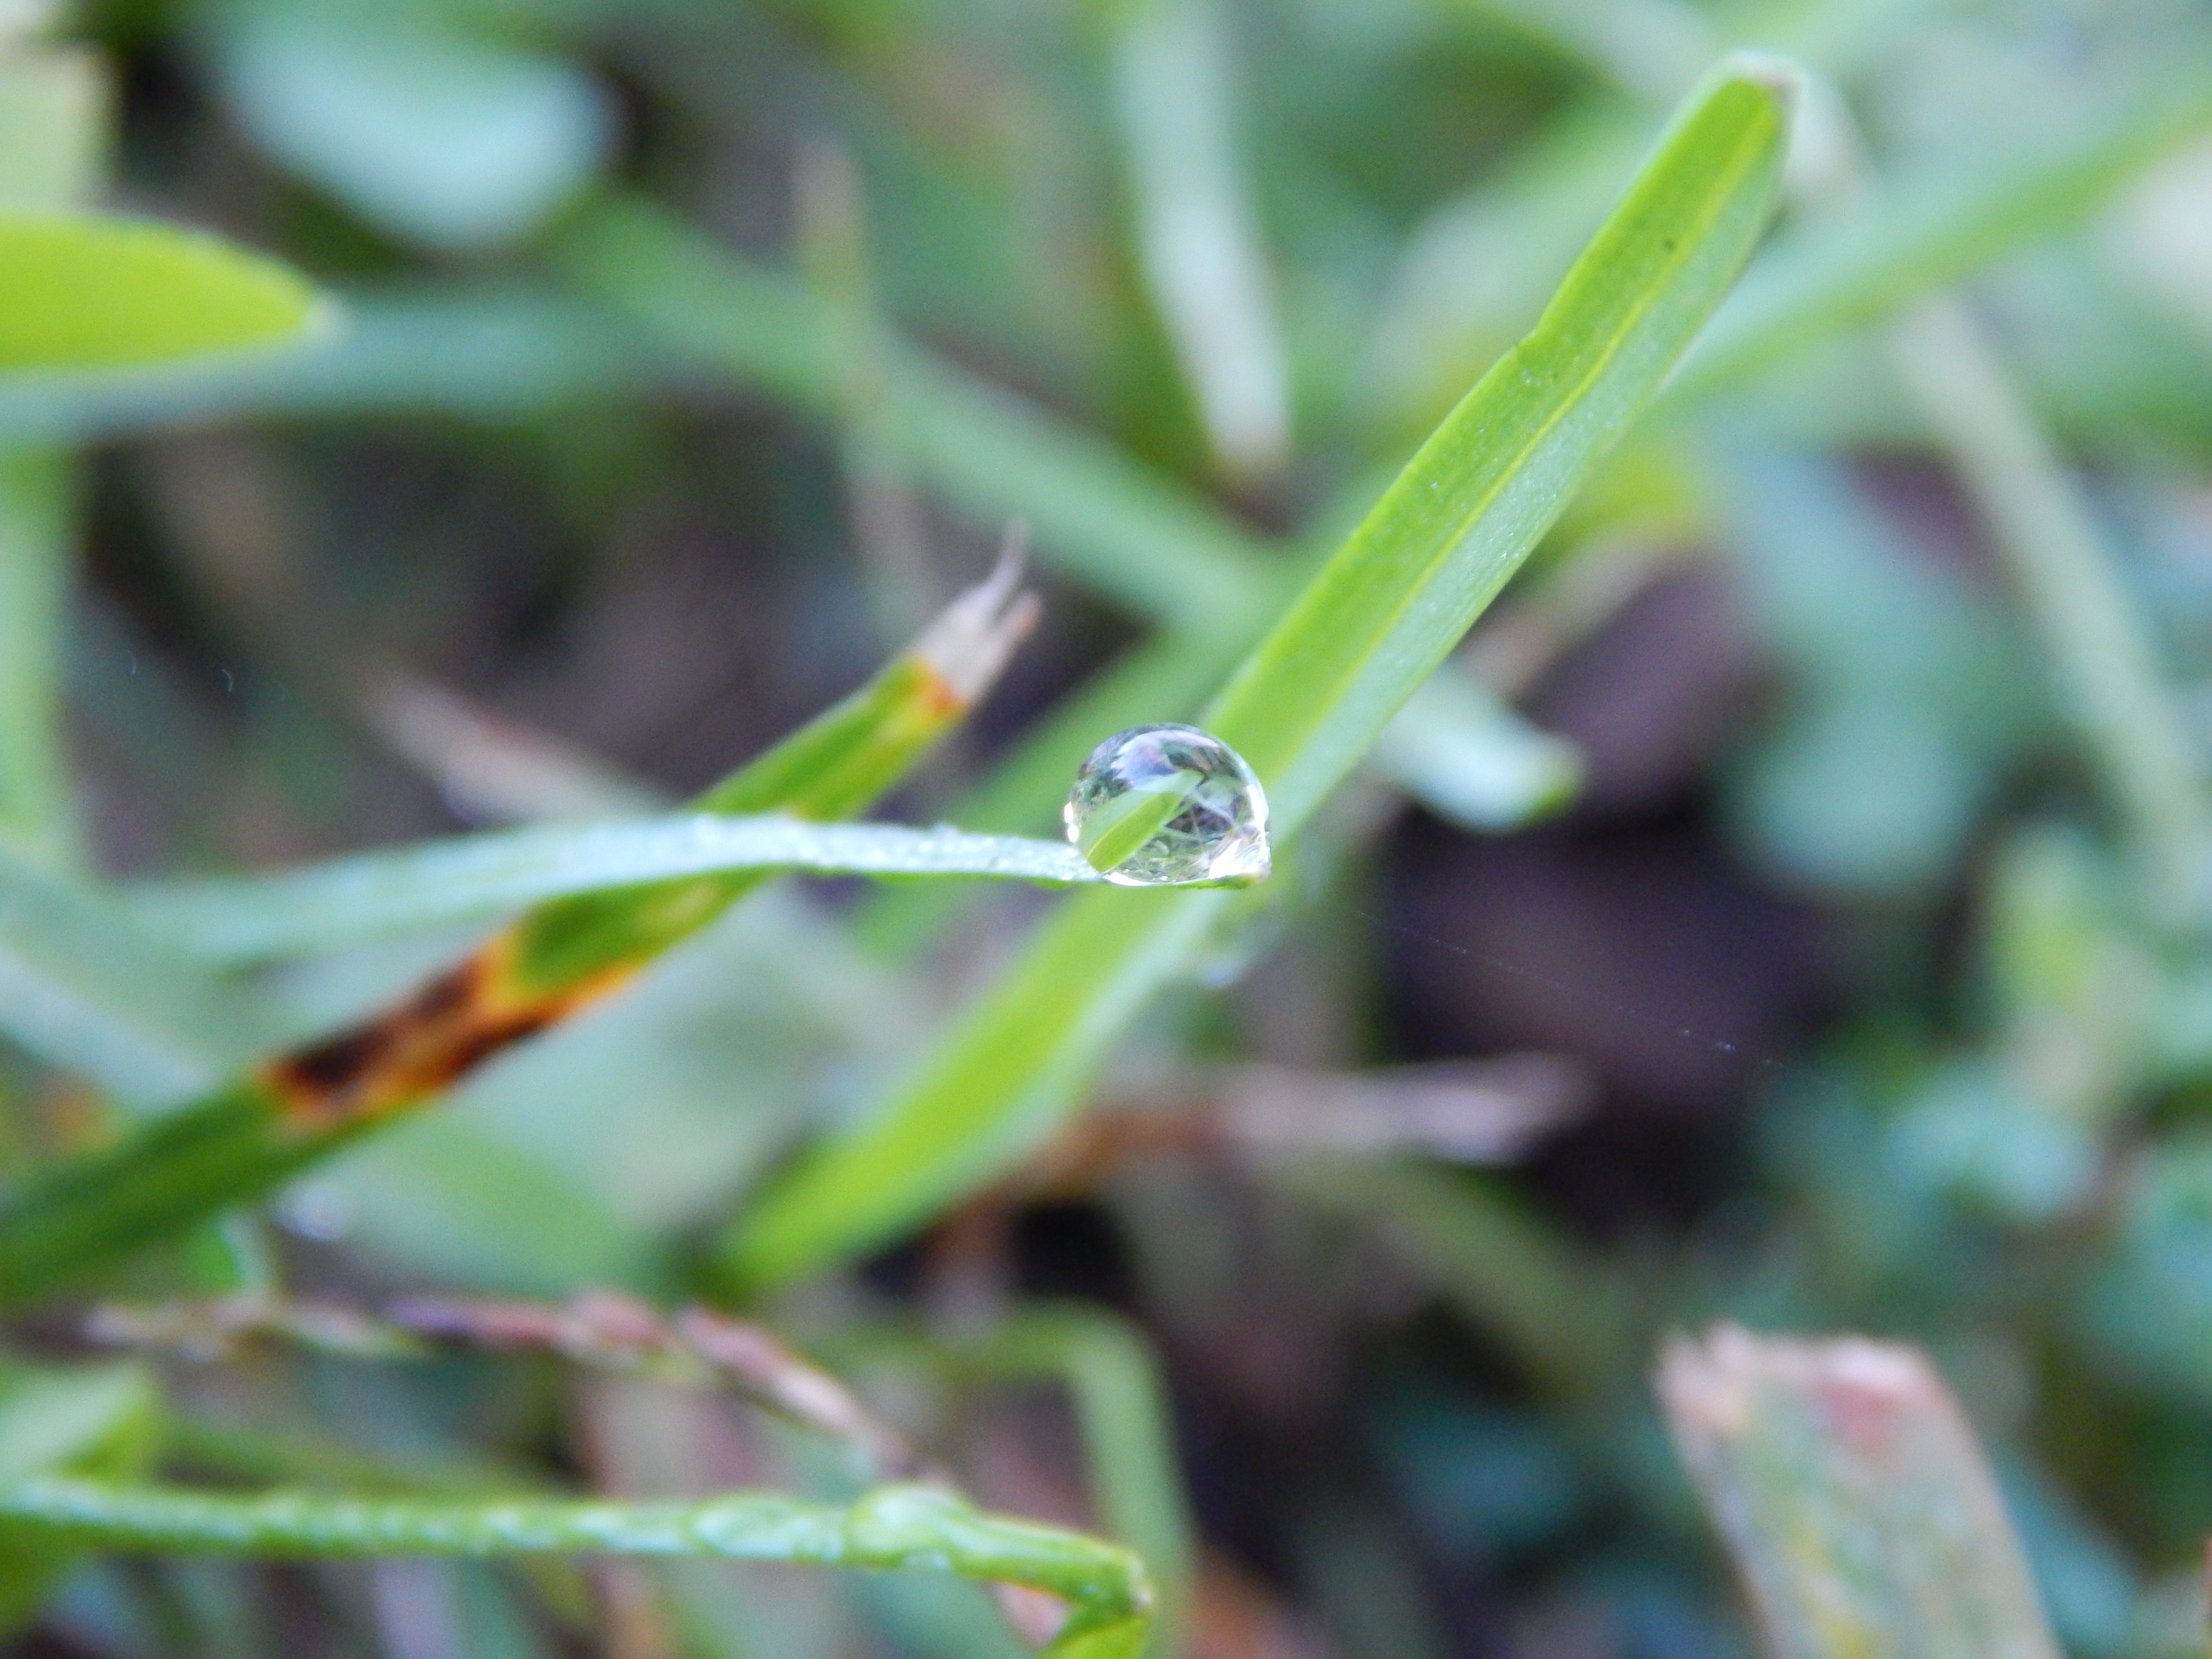
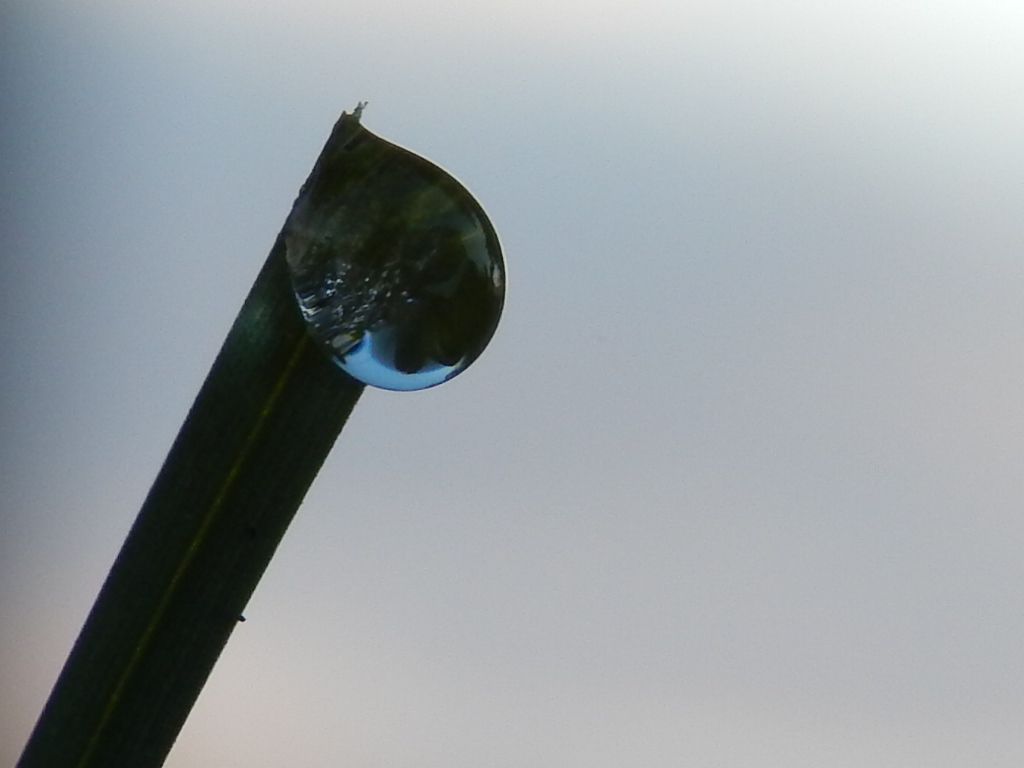
And God said, “Let there be light,” and there was light. And God saw that the light was good. And God separated the light from the darkness. God called the light Day, and the darkness he called Night. And there was evening and there was morning, the first day.

Day 1

It’s hard to imagine what it would be like if we didn’t have both light and dark, isn’t it?

I don’t have many pictures for the first two days, but I had a LOT of options for the 3rd and 6th days, especially. See you tomorrow for sky and water – the 2nd day!

***Allison***

An Interview with the Rabbits about the Newcomer

My sister Megan got a new rabbit! (Because Mango died 😦 ) Her name is Clementine, and she is an adorable lop rabbit! Here’s her profile:
********************************************************************************

Breed: Holland Lop

Color: Light brown with darker brown on her ears and nose

Name: Clementine

Gender: Doe (female)

*******************************************************************************

First I’ll show you some pictures of Clementine, and then I’ll have the rabbits’ interviews.

005 011 010 009 007 006

018

Below is Clementine in the bunny-hat. So cute! (See my bunny fashion post.)

014

Ahem. Now for the interviews.  First up, hmmm, let’s go oldest to youngest.

So Diamond, what do you think about this new rabbit?

016

Humph. She is invading my territory. I try to put her in back in her place by nipping her, but the humans just shut me up in this cage as a punishment  – just for defending my territory! Humph.

Okaaayyy… let’s move on to Lily.

017

Well, to be quite honest with you, she seems a little strange to me. I mean, her ears can’t even stand up! And what’s good about a rabbit whose ears don’t stand up? But I suppose she’s alright. She is an awfully nice snuggler.

Great! Now for Olaf. “Olaf! OLAF! OOLLAAAFF!

013

*Gasp,* *Heave,* *Grunt.* Yes? You called?

Umm, yes. I wanted to ask you your opinion of Clementine?

Well… she’s nice, I guess.. um… I haven’t really seen her much, but, uh, yeah she OK. So… can I go now?

Yep, sure, go ahead. *Plunk.*

“Willow!”

Yes! Here I am – with Clementine!

008

“Oh… nothing. I wondered what your thoughts were on Clementine, but I can see you’re in the middle of playing with her.”

Oh, yes. She’s my best friend. I’m glad I finally have a playmate! Come on Clementine….

So there you have the bunnies’ opinions on the subject. Clementine seems to be enjoying her stay here, as you can see from her diary post on my sister Megan’s blog.

Bye for now!

***Allison***

Host an ATC Party (And Some of My ATC’s)

My friends and I got together and came up with the idea of an ATC party where you make and trade ATC’s, eat snacks, and have fun! (If you don’t know what ATC’s are, you can read more about them here, here, and here.)We put our plan into action and it was a great success! Here are some tips in case you would like to plan your own.

  1. First, know how many people are coming. About 15 people came to our party, and mostly they were friends from church who make them.
  2. Cut out blank ATC’s ahead of time, or have your guests each bring a few. We used on average from 5-10 cards per person. It kind of varied.
  3. Set out a bunch of supplies. We also had a painting table and a drawing/gluing/etc. table. Here is a list of some supplies you can set out:
  • Sequins
  • Colored scrap paper
  • Glitter
  • Buttons
  • Magazine pages
  • Pretty tape
  • Stamps and stamp pads
  • Fabric scraps

And of course the basics:

  • Markers
  • Crayons
  • Colored pencils
  • Scissors
  • Glue/ fabric glue/ tape/ glue stick

So yeah, it was a lot of fun. (But it did take quite some cleaning afterwards! 🙂 ) It’s a good idea to put a scrap piece of paper down at each person’s place, and maybe a tablecloth on the table.

And now for my ATC’s. These are some of my favorites:

Top: Mushroomscape

Bottom: Toadstools. Get it? The toads are sitting on the mushrooms?

001

Top: Whimsical Landscape

Bottom: And…

002

Top: Cute as a Button

Bottom: A Full Heart

003

Top: Transformation (I kind of forget the title, actually. 🙂 ) I made this one by folding a paper in thirds, gluing the middle fold to the ATC, and cutting the two edge folds into three sections.

Bottom: Rainbow Hedgie I got the idea for this from Pinterest

004

Top: Scallops

Bottom: Crayon Resist This one I made by drawing with crayon first, then painting with watercolor over top. The paint doesn’t stick to the crayon lines, but it does stick to the paper.

020

Top: Coat Pocket Made out of fabric, marker, button tape, and sequins

Bottom: Herringbone I made the prints from scratching the pattern in Styrofoam, and using it like a stamp with a stamp pad.

021

Top: Oodles of Doodles

Bottom: Connect-the-Dots This one was a lot of fun to do. I just drew lines through the white dots on the paper to make a picture.

022

Top: Bubbles

Bottom: I’ve Got My Eye on You

023

Uh… Top and Bottom: Fall Collage

024

Whew, that was a lot of “favorites!” Do you like making ATC’s? It would be fun to see your ATC’s too!

***Allison***

A New Video of… a Fly?

Yep, my new video is of a fly. But flies are more interesting than you might think. It’s fascinating to watch when them clean themselves. When this little guy cleans his head it looks like he’s about to pop it off, and just take a look at his proboscis!

Here’s a bonus picture. 🙂

013 (2)

Look at those big compound eyes and delicate wings!

***Allison***

Bunny Fashion

I recently crocheted a few little accessories for the bunnies to wear, so here is a bunny fashion show!

First, we have Willow. (Of course!)

Willow with flower headband… uh, earband:

002

Willow the athlete!

017 016

And last but not least, a still (ish) life: “Willow with hat.”

002

Next is Lily, sporting the flower earband and an unimpressed look.

005

Diamond “wanted” to try on the hat. (As you may have noticed, my camera doesn’t like black bunnies too well. 😦 )

006

And we musn’t leave Olaf out! Isn’t he handsome in the hat? He looks like the white rabbit from Alice in Wonderland. 🙂

008And thus ends the fashion show. I wish my camera took better pictures of black (and gray) bunnies, but at least Olaf and Lily are pretty clear.

So which was your favorite entry – who’s the winner?

***Allison***

P.S. If you’re wondering why Mango wasn’t included in the show, it’s because she died a couple of days ago. *Sniff, sniff.* Yet another tragedy: Joy the kitten died too. We aren’t sure how she was killed, but she may have gotten hit by a car or something. Two tragedies in a row… *snnniifff!* But my sister Megan is probably going to get another bunny soon to replace Mango, and we still have Coffee Bean the kitten.

DIY Paper Pennant Banner

I made this banner as a present for one of my cousins for her birthday. It was actually pretty easy, although it did take some time. It turned out to be a beautiful, approximately 6 foot long banner. You probably have most if not all the supplies need for this pretty lil’ garland –

  • Pretty scrapbook paper in 5 different patterns (I used two pinks and three neutral colors)
  • Cardstock paper or something stiff for triangle template
  • Jute twine or similar string for hanging
  • Single-hole puncher
  • Scissors
  • Pencil
  • Ruler
  1. First you need to make your template. Don’t get freaked out here but… it does involve a little bit of math. Just a tiny bit. And it’s really easy. This is what I did for my template: Mark a line 5 inches long. Make another mark in the middle of that line. (Here comes the math, guys: 2.5 is half of 5, so make a dot 2.5 inches from the end of the 5 inch line.) Now make a line 5 inches down from the middle-mark. Connect the dots from each end of the top horizontal line to the bottom of the vertical line. Like so:030
  2. Cut out the template.
  3. Using the template, trace three triangles on the back of each of the five sheets of scrapbook paper. Cut out the triangles.
  4. Use a hole punch to punch to holes in the two top corners of each triangle.031 It works well to do the first triangle, then put another triangle behind it, line it up, and punch through the holes you just made so all the holes will line up. Now you can arrange them in whatever pattern you like. 032
  5. Time to string them all up! You can string them two ways, so choose the one that looks best to you. Leave about 10 inches of string extra on the front and end of the banner for tying.034
  6. To tie the knots, bring the end of the string back through the nearest hole, making a loop.035 Turn the triangle over and just tie a knot around the loop to make this:036
  7. And you are done!

037 040 039 038Enjoy!

***Allison***