
Hello friends!
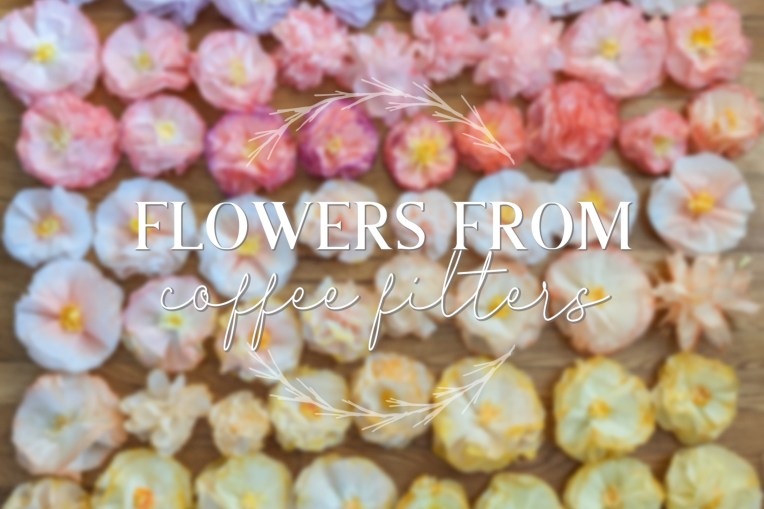
I’m excited to bring you a fun spring-themed craft tutorial today. I’m putting on a bridal shower for my sister Megan tomorrow – yay! Since I knew mid-March could be a little scarce with real flowers, I decided to supplement with these paper beauties.
These make great party decorations and would look beautiful in a bedroom or nursery. You can find other articles on Pinterest for these, but I combined a few how-tos and added my own twists to make this tutorial for you guys. Enjoy!
I have a confession to make: I’m terrible at craft tutorial photography. I always get so invested in what I’m making that I just snap quick pictures regardless of lighting or composition. Apologies. Anyway, here are the supplies you’ll need:
- LOTS of coffee filters (I think I got two 200-filter packages for like $5)
- Bowls of water dyed with food coloring or paint
- Sharp, sturdy scissors
- Stapler or craft wire
- Watercolor paint and paintbrush [optional]
- Hot glue gun or tacky glue

1. First we’re going to cut our coffee filters into more flowery shapes. Stack 4-6 filters together and fold in half, then in quarters. Cut off the top in waves or points. Experiment to make petals in various shapes and sizes resembling different flowers. It’s kinda like making paper snowflakes.

2. Holding the tip, dip the outer edges into dye and let it soak up color for a few seconds. I like to leave the tip undyed to create a natural ombre effect. For added interest and realism (especially for poppy flowers), run a brush filled with watercolor along the very edges to add a rim of darker color.

3. Now you should have something like this. Unfold the filters and let them dry. Separating the stacks will speed drying time but will also make a mess, so I just kept the stacks together. So pretty already!
NOTE: Colors will fade and lighten significantly after drying if you use food coloring. If you don’t want super pastel flowers, I recommend using diluted paint to dye the dipping water instead.

4. Once the filters are dry we can assemble the flowers! Gather the stack into a bunched ruffle by pinching the center with your fingers. Staple it in place. You could also try tightly wrapping craft wire or pipe cleaners to make a stem.

5. Now to make the flowers’ centers. I dyed several stacks of filters yellow for this, though again, they turned out way lighter than I wanted since I just used food coloring. Anyway, cut the coffee filters (or colored tissue paper) into narrow strips. Fold a couple times and cut slits almost all the way through the piece, but not quite, to make a fringe. Take another strip or two and crumple into a ball.

6. Get out your glue (hot glue works fastest) and glue the fringe around the crumpled ball. You can use as much fringe as you like. Then glue the base to the inside of the stapled flower.

7. Now for the best and last step: ruffle the petals! Pull up the layers, one at a time, adding volume and movement to the flower as you go.
NOTE: I later got much better results by restacking the dried filters before stapling so the petals alternate placement and overlap on each layer instead of being identically on top of one another.

And there you have it! Beautiful paper flowers with extremely simple and affordable supplies. If you’re going to make enough for a party, you might want to have a flower making pre-party with some friends or else block off a day or two to work on it because it is pretty time-consuming. But also so fun and satisfying! Look at the beautiful results. ❤

I hung some up for practice and AHH so pretty! The flowers are light enough that you can simply attach them to the wall or trim with a little roll of masking tape. Again, I only have very poor-quality photos to share right now, but make sure to come back next week to see real photos of how I used these at Megan’s actual shower!

I had so much fun making these and can’t WAIT to put them to good use tomorrow. It’s going to be such a lovely bridal shower; I’ll take plenty of pictures to share with you guys in the next post. 🙂
Have you ever made paper flowers?
Thanks so much for reading, my friends, and have a lovely day!
***Allison***


Beautiful flowers. Thanks for sharing
LikeLiked by 1 person
My pleasure! Thanks for reading. 🙂
LikeLike
Ooo these are stunning!! Thanks for sharing Allison!! Definitely tucking this into the back of my mind to try at some point!!
LikeLiked by 1 person
Thanks, Bella! I hope you’re able to try them sometime. They’re so much fun!
LikeLiked by 1 person
Ooh!! Definitely going to try this!!! They are soo pretty and while I wait for real flowers, I’ll have to make these! Thank you for sharing! And I’m sure Megan’s bridal shower will be beautiful! 🙂
LikeLiked by 1 person
Yay, have fun! Yes exactly, they fill the gap where you’re in the mood for spring but the flowers aren’t cooperating, hehe. I am excited to share the shower pictures!
LikeLike
Those are so beautiful, Allison- love those colors!!!! Thank you for the tutorial. 🙂
Oh, I look forward to the bridal shower pictures! Hope it’s a fun and blessed time!
God bless you, friend!
LikeLiked by 1 person
So glad you liked it!
I can’t wait to post them – the shower was BEAUTIFUL. ❤️
Blessings to you too, Valentine.
LikeLiked by 1 person
Very fun and colorful! And…inexpensive! I just sent a bouquet of paper flowers to a friend but it cost me $12.95! Thank you Allison😘🐝
LikeLiked by 1 person
Yes I love how inexpensive yet beautiful these flowers are!
LikeLike
love this
LikeLiked by 1 person
Yay!
LikeLiked by 1 person
Looks absolutely stunning!
LikeLiked by 1 person
Why thank you!
LikeLike
Wow, I wish I could learn to do the same!
LikeLiked by 1 person
You sure can! I hope the tutorial is helpful. 🙂
LikeLiked by 2 people
They look so good I wanna make them forever because of how pretty they are
LikeLike
I think they’re so pretty too!
LikeLike