We were having fun the other day with a little game I made up. You basically try to get the other person to draw exactly the picture you drew, but by only describing it in words. There’s an example of the game below. You can try playing it too, and compare your finished drawing to the picture farther down the page.
*************************************************************************************************
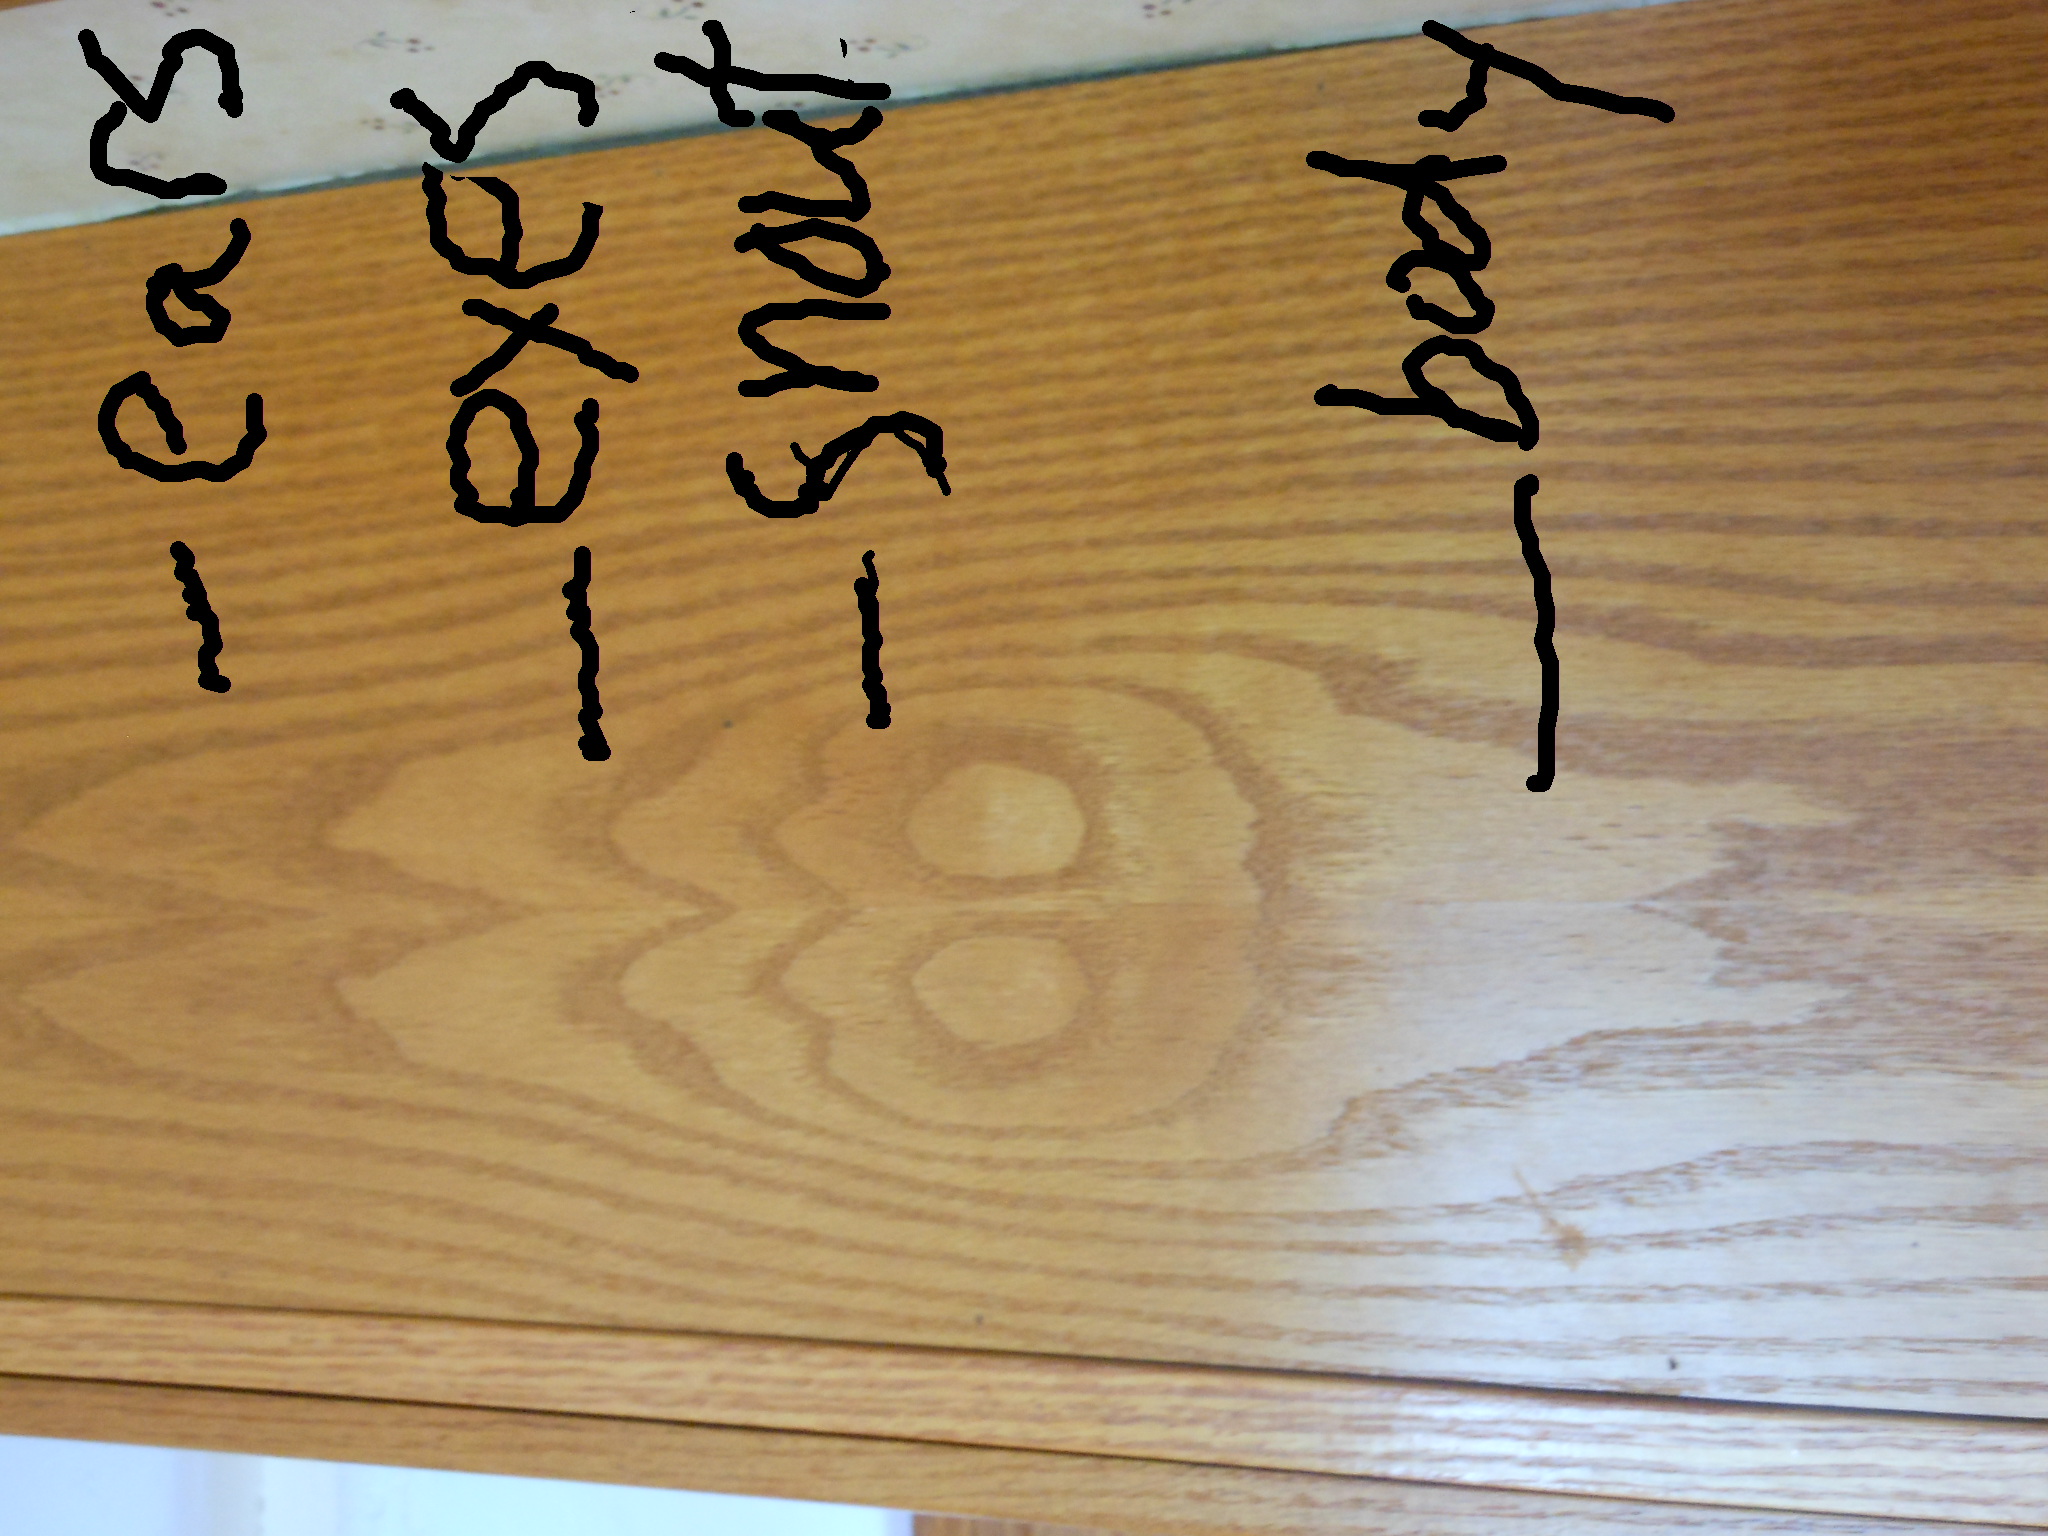
I drew a simple picture for Megan, then I described it in steps for her.
“Draw a small circle in the middle of the paper.
Then draw a half-circle below that circle. Make sure that it’s touching the circle and the bottom of the page.
Inside the half-circle, draw 8 small circles.
In the middle of the circle that you drew at the beginning, draw a small triangle with the point facing down.
Above the triangle, draw two dots, spaced apart.
Coming out from the top of the circle, make three squiggly lines.
On top of each line, draw a small circle.
*****************************************************************************************
Now compare mine and Megan’s:
Mine:

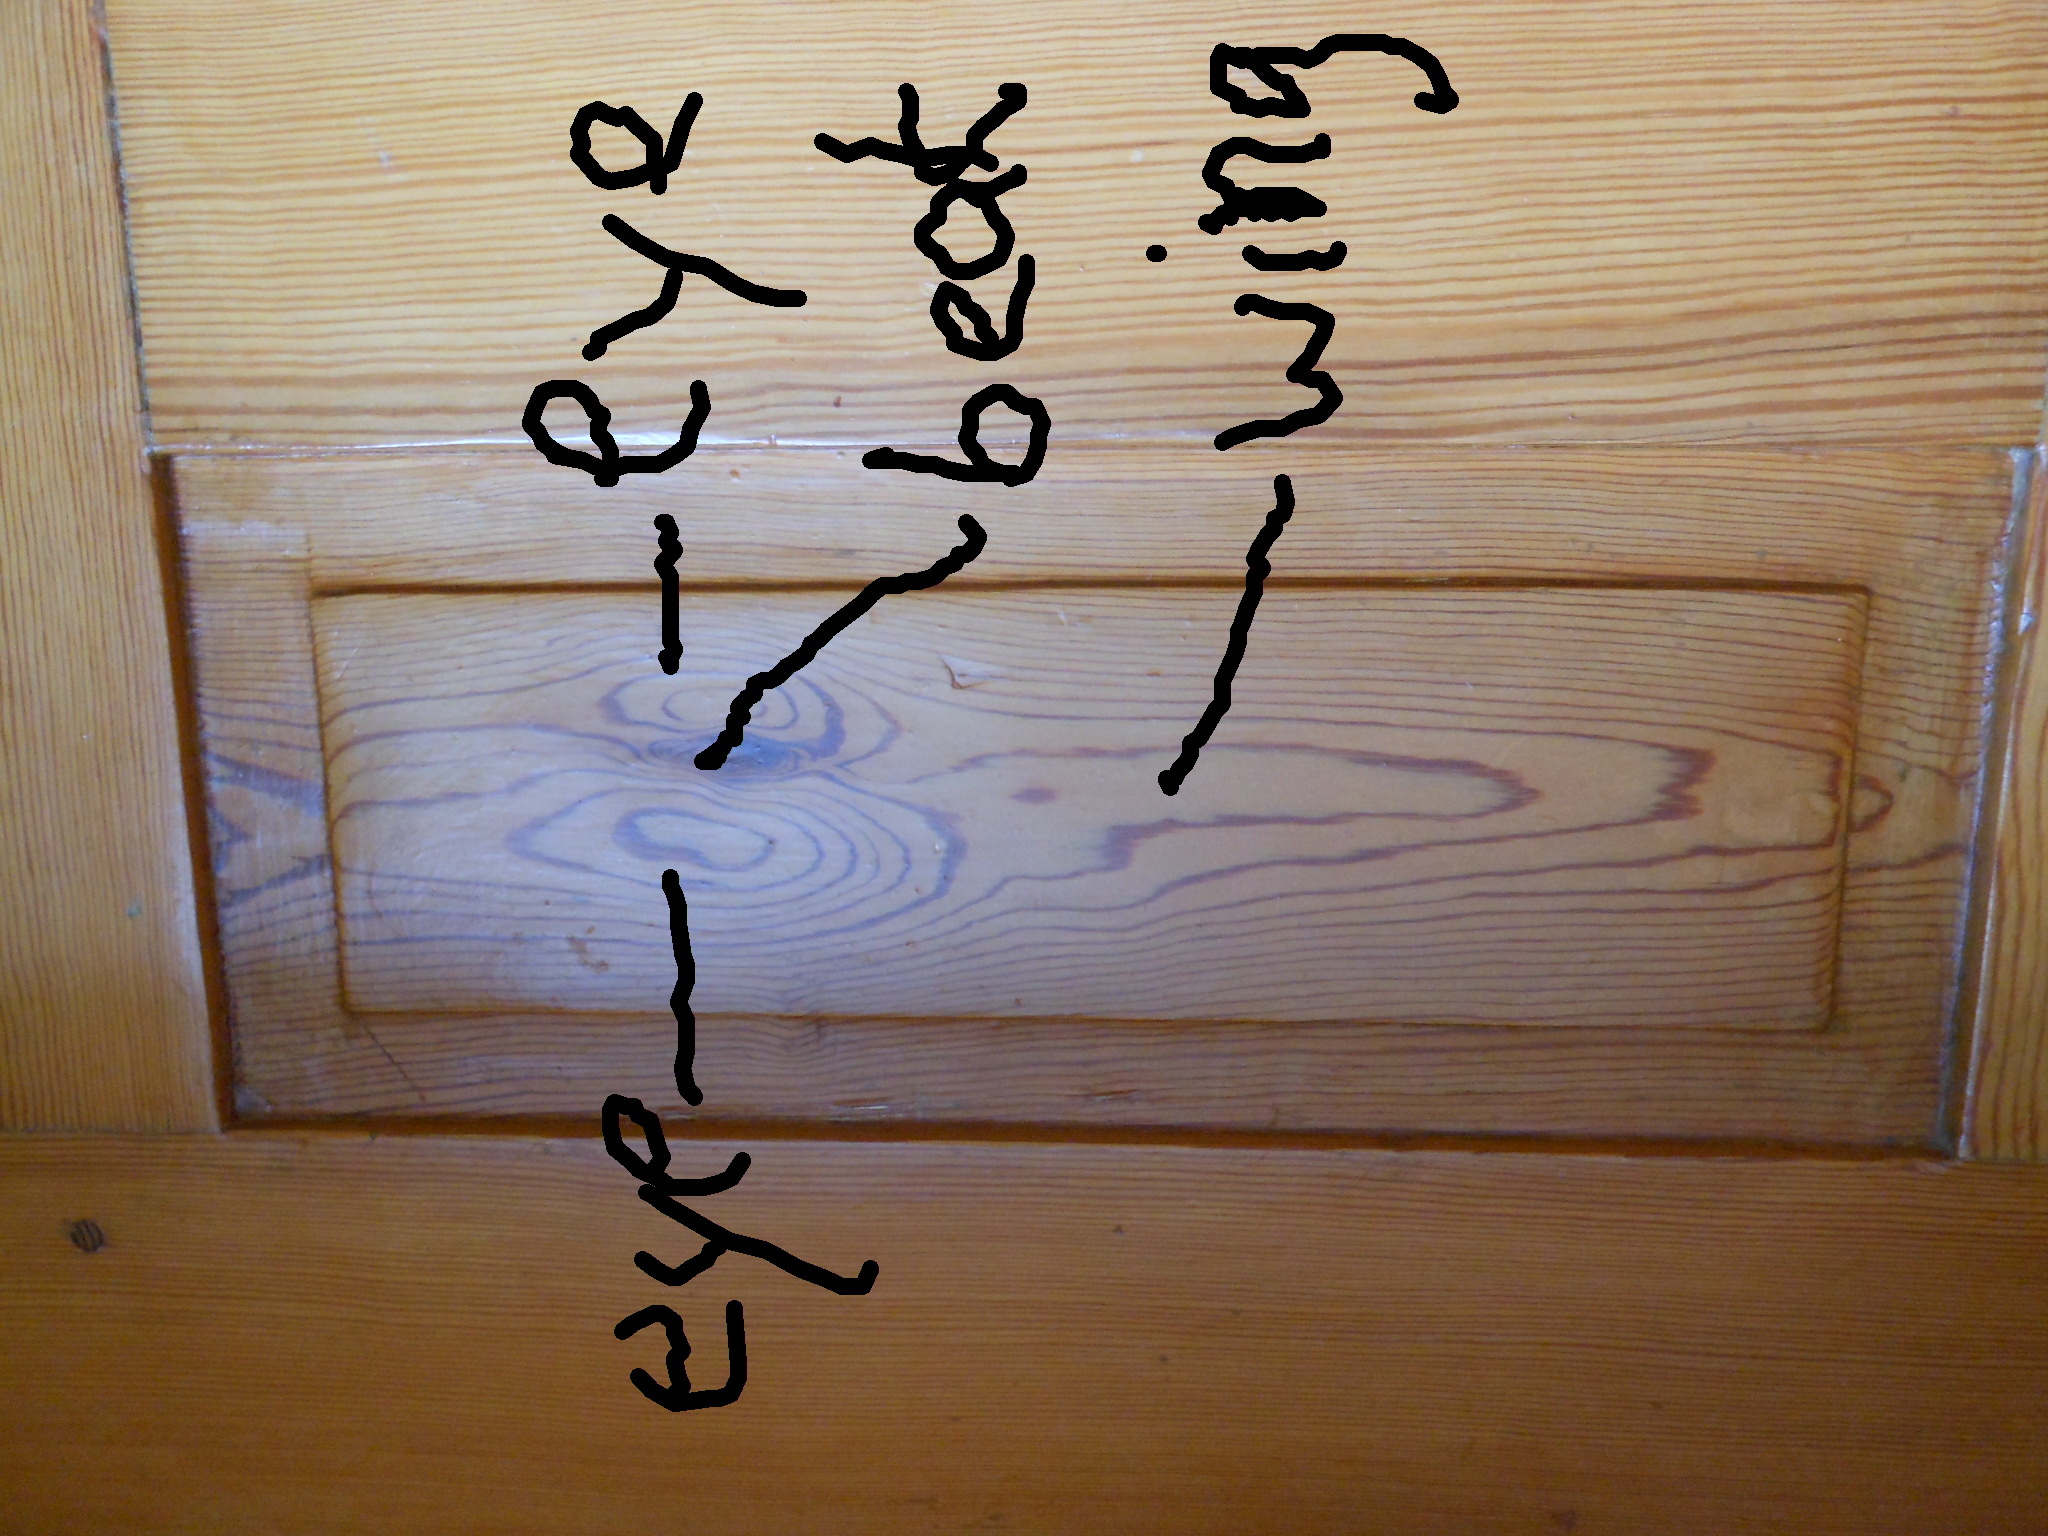
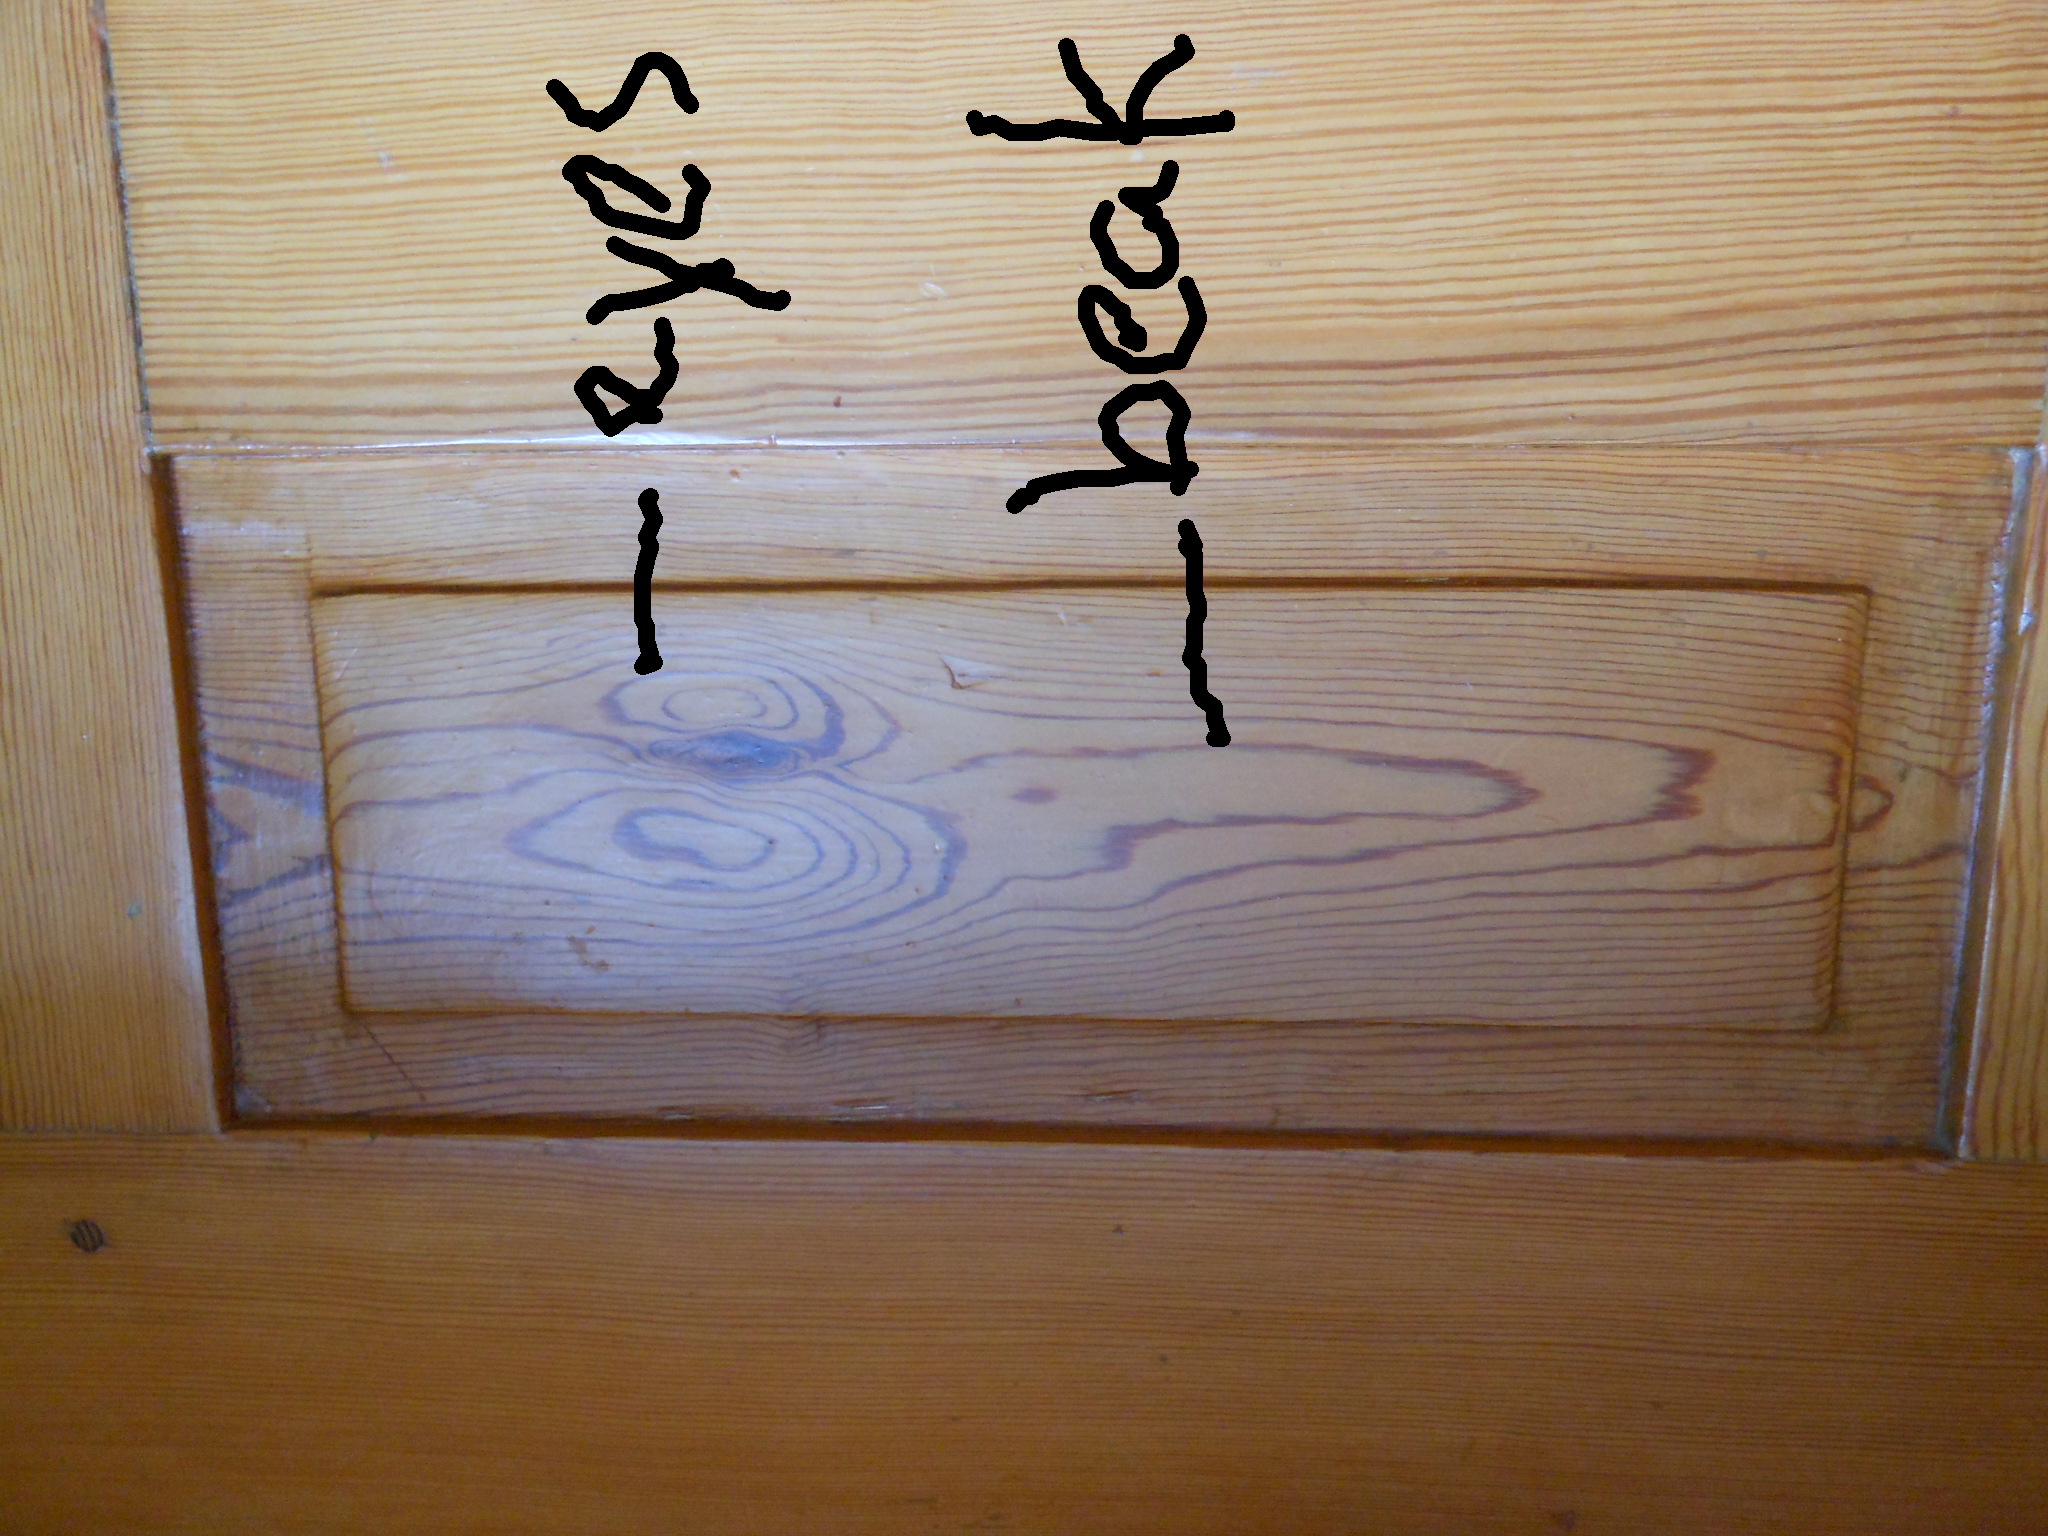
Megan’s:
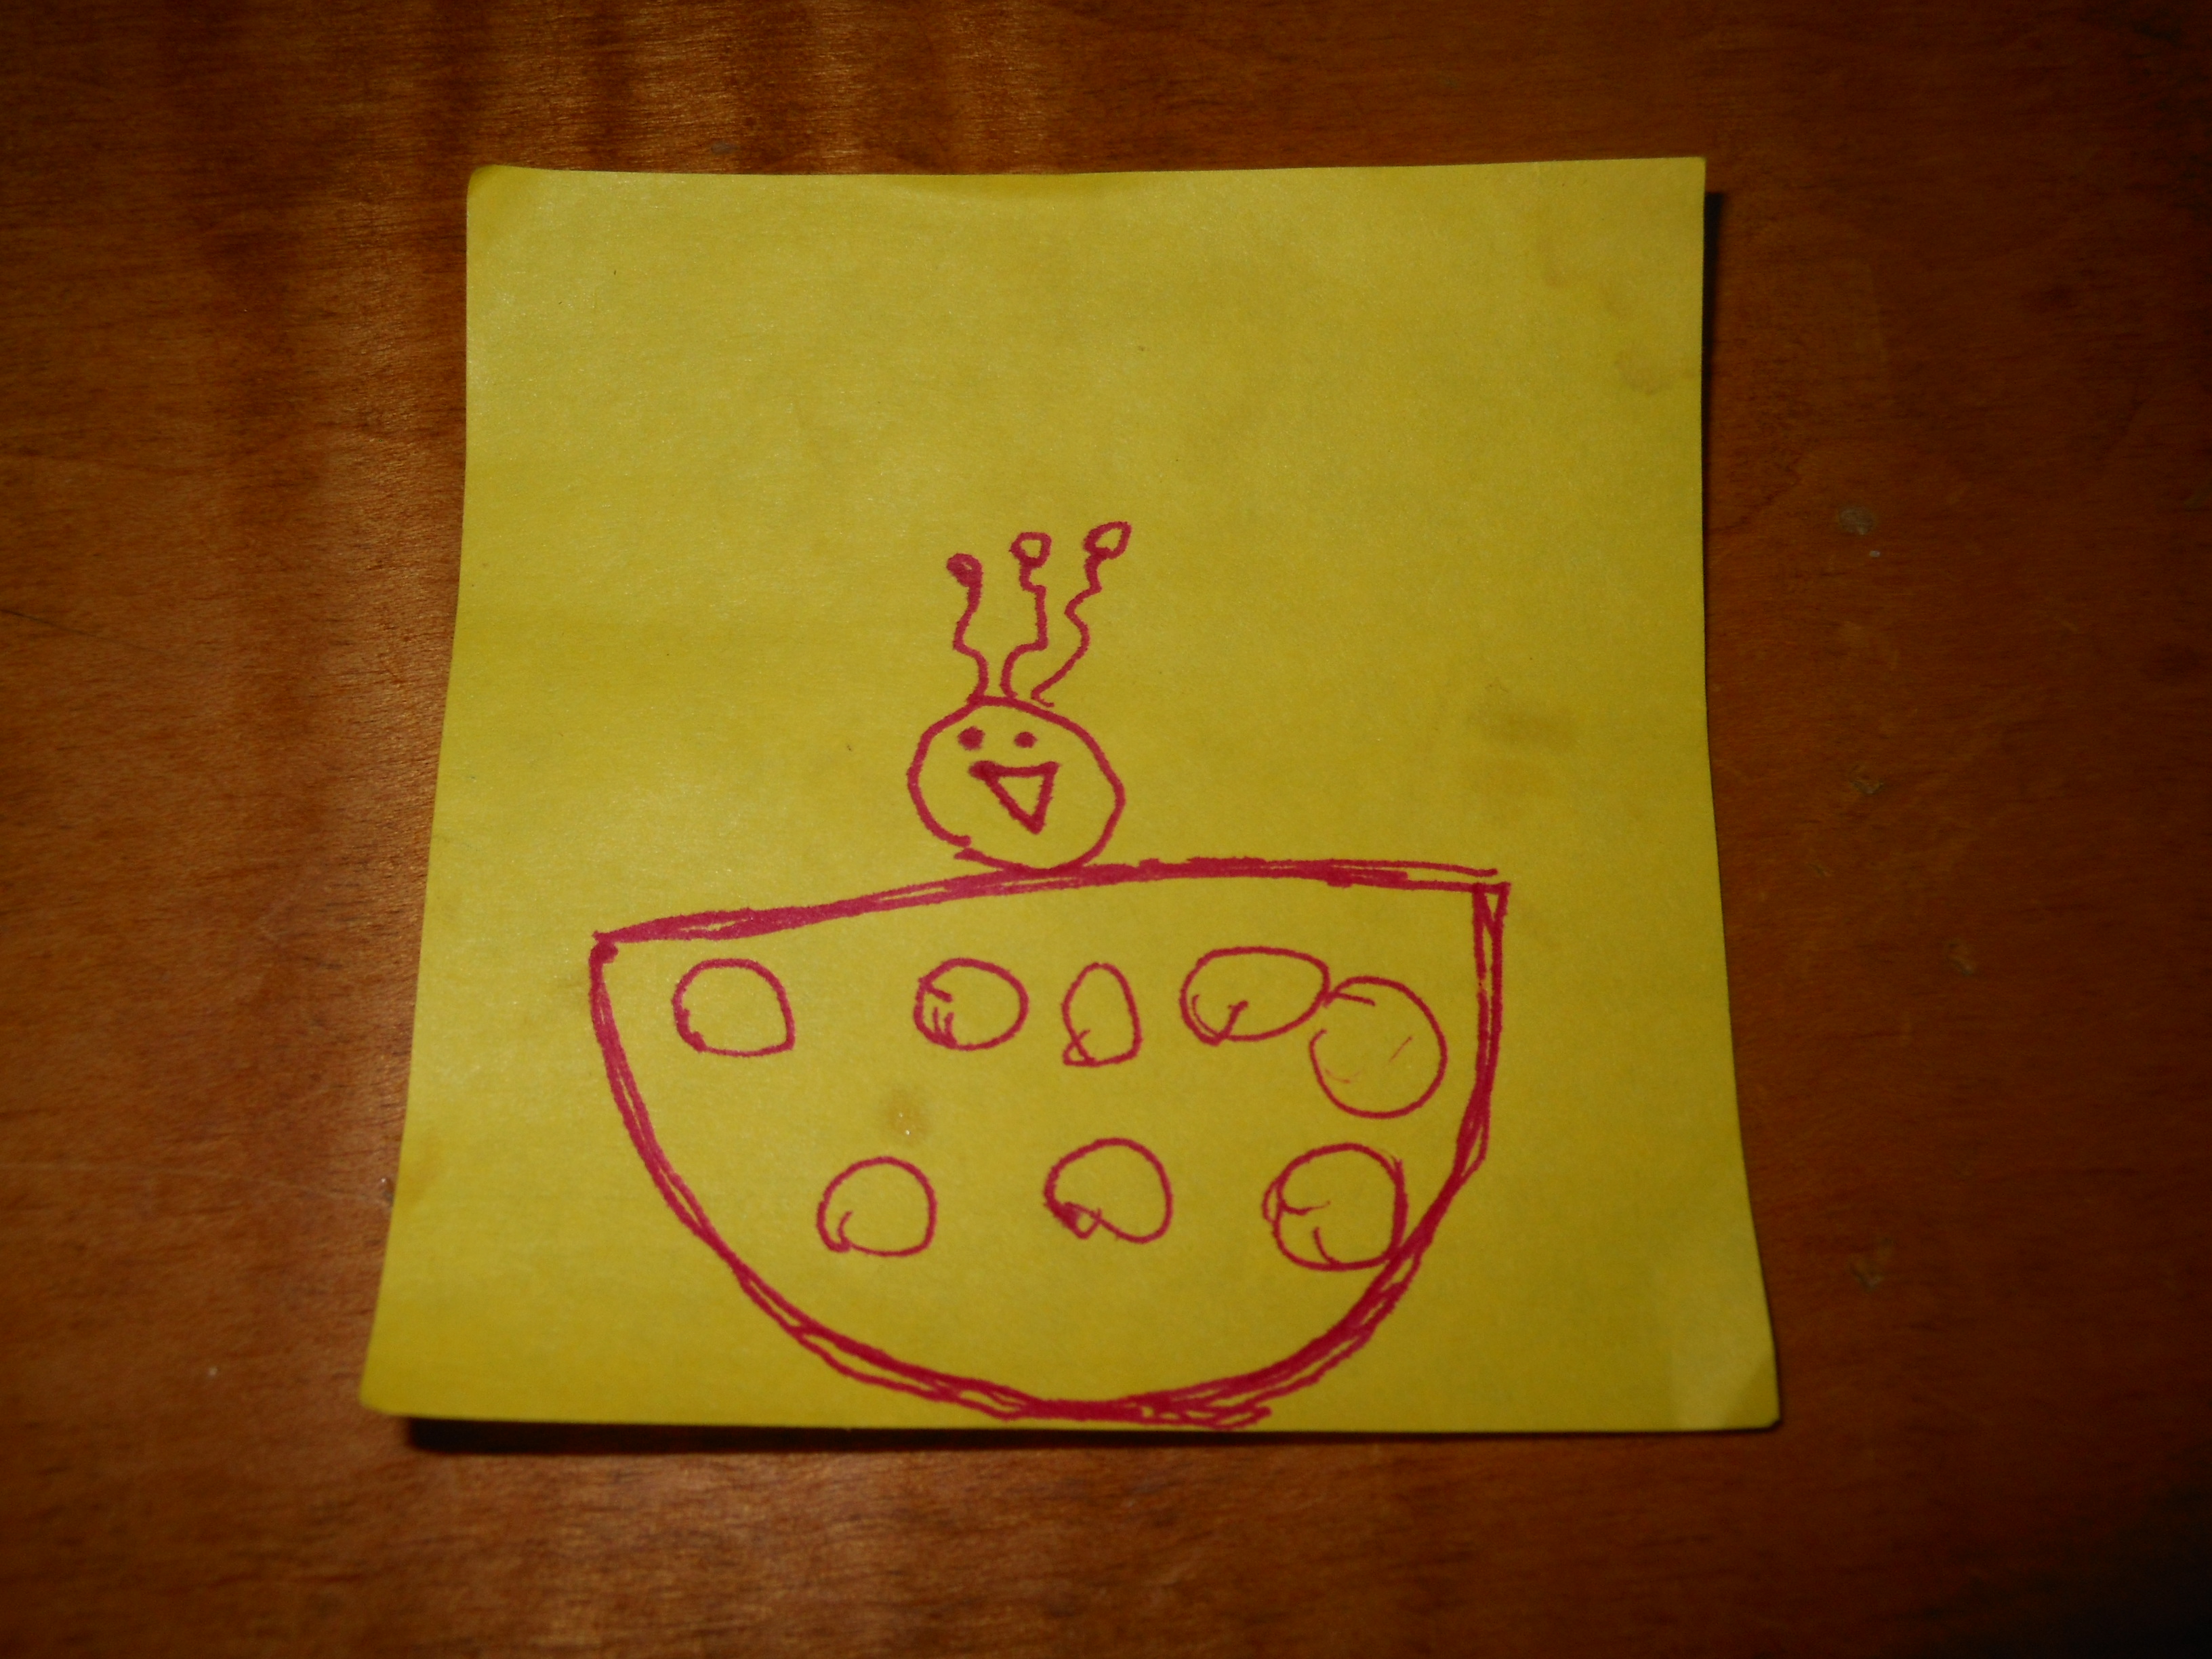
I guess I should have told her to draw an arch instead of a half-circle, huh? Anyway it’s fun to see how they turn out. Sometimes they’re practically the same, and sometimes they’re totally different. Oh, and there are a couple of rules for this game. Of course, you can make up your own version, but I think it works best if you use these rules:
1. No questions- if somebody says,”Draw a triangle,” you can’t ask the size, its position, etc. It’s up to the person telling you how to draw it to give you the details.
2. You’re not allowed to look at anybody else’s paper until the end of the game.
3. You can’t erase anything-make sure the person who’s giving you instructions is finished before you draw!
4. If you’re going to draw, say, a window, you can’t just say, “Draw a window,” you have to say something like, “Draw a square with a plus sign inside it.”
So there you have it! I hope you enjoy playing this game. We’ve also found a website that has lots of fun printable games like Sudoku, word searches, crossword puzzles, and mazes. You can customize most if not all of them. For instance, in the word search, you can type your own words to use in the wordsearch, change the fonts, and other good stuff. If you’re interested, here’s the link: theteacherscorner.net
Have fun!
***Allison***
I am writing this secret note almost two years later. This is the ONLY secret note I have ever done on my blog thus far! If you find it, CONGRATULATIONS! I am heartily surprised. X D !