
I have been having a LOT of fun recently making “quilts” on PicMonkey. Of course, you can’t really make quilts on a photo editing program – they are really more like photo mosaics.
I started with a few simple photos of colored corrugated cardboard, like this:
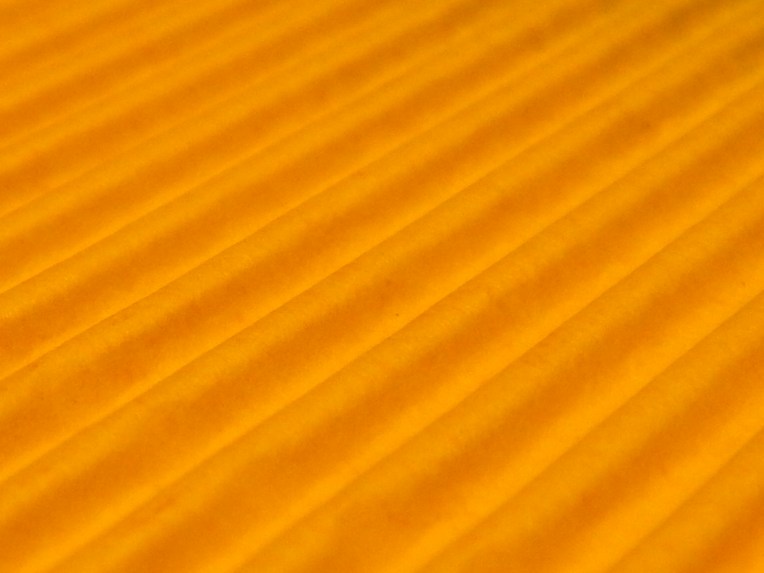
and combined and multiplied and rotated and collaged them a bunch of times in a bunch of ways, to make mosaics! Here is one of the “quilts” I made just using PicMonkey and four different pictures of corrugated cardboard:
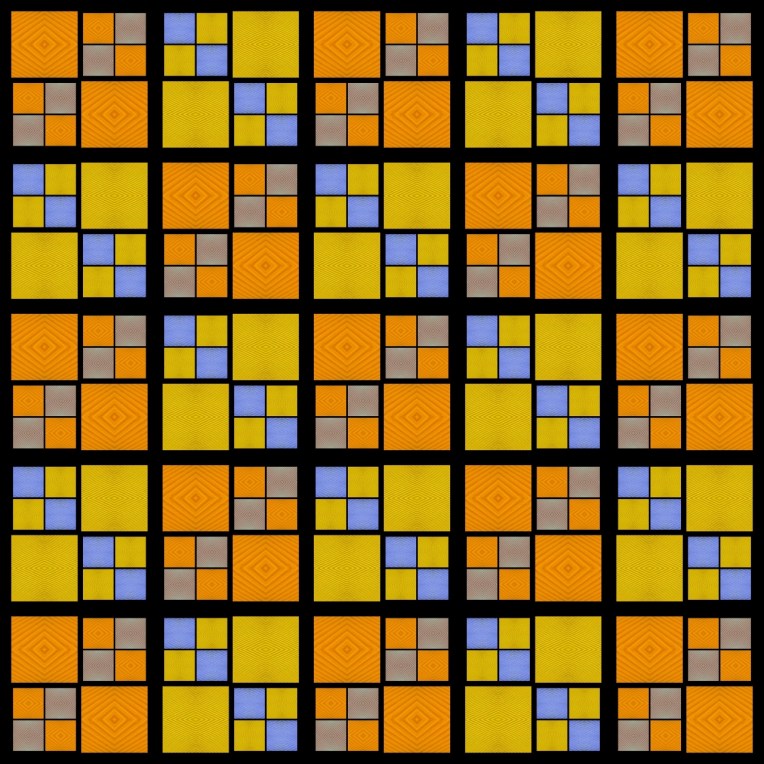
Isn’t it so neat? I don’t really like the colors, but I like the design. Since they are so fun to make, I decided to share the fun with you too! Here is a sort-of-kind-of tutorial on how to make photo mosaics.
************************************************************************************
You can take your own pictures, or use any of these “quilt patches” below that I already made. (But please don’t use any of my other pictures without my permission. 🙂 ) Just right click the pictures you want, and save them to your computer.


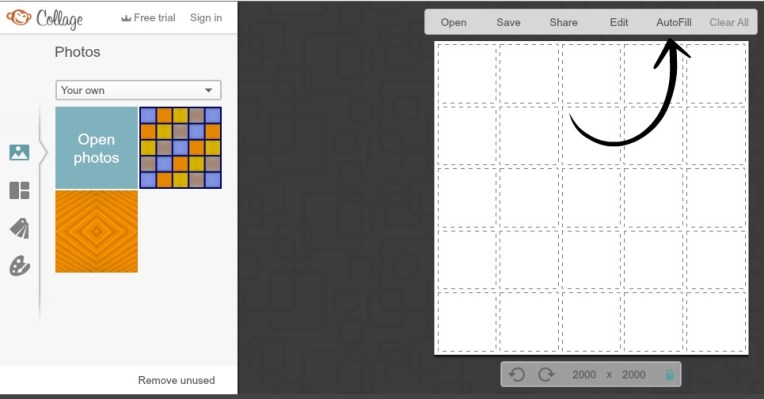
Go to PicMonkey, hover over the ‘Collage’ button at the top of the page, choose ‘Computer’ and open the photos you want to use for your “quilt.” Click the ‘Layouts’ symbol on the left sidebar, click ‘Square Deal,’ and choose one of the last two options. The more squares the layout has, the more complicated and interesting the quilt can be!
Click and drag the “quilt patches” to the squares, and rotate them to make all sorts of interesting patterns! (See this mirroring tutorial on the PicMonkey blog for more details on how to rotate images.) You can use ‘Auto Fill’ (at the top bar) to make interesting patterns without much work. (You have to click ‘Auto Fill’ a couple of times until the quilt is filled up with squares.)
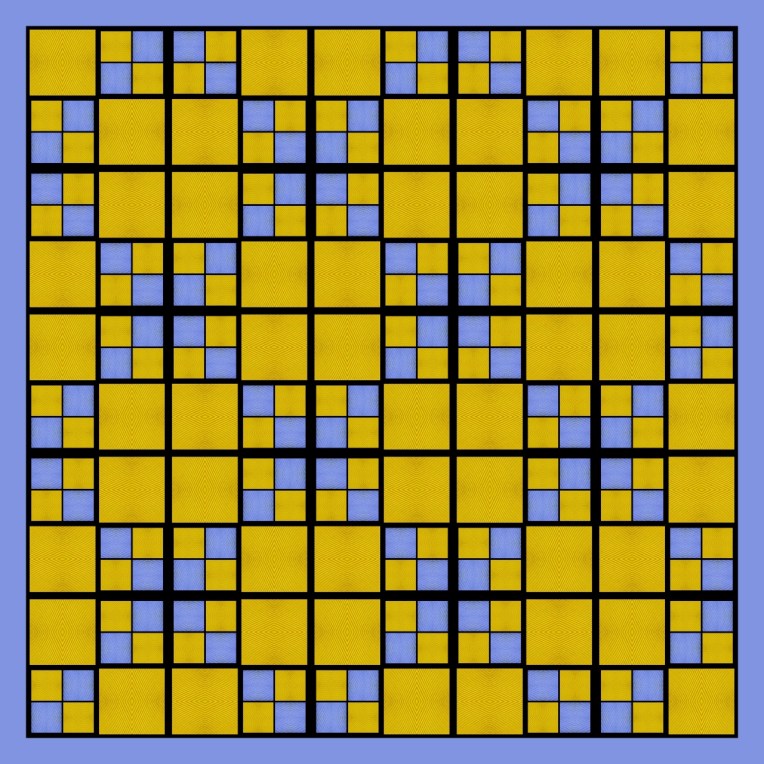
And ta-daa! This is a quilt I made by auto-filling like in the picture above.

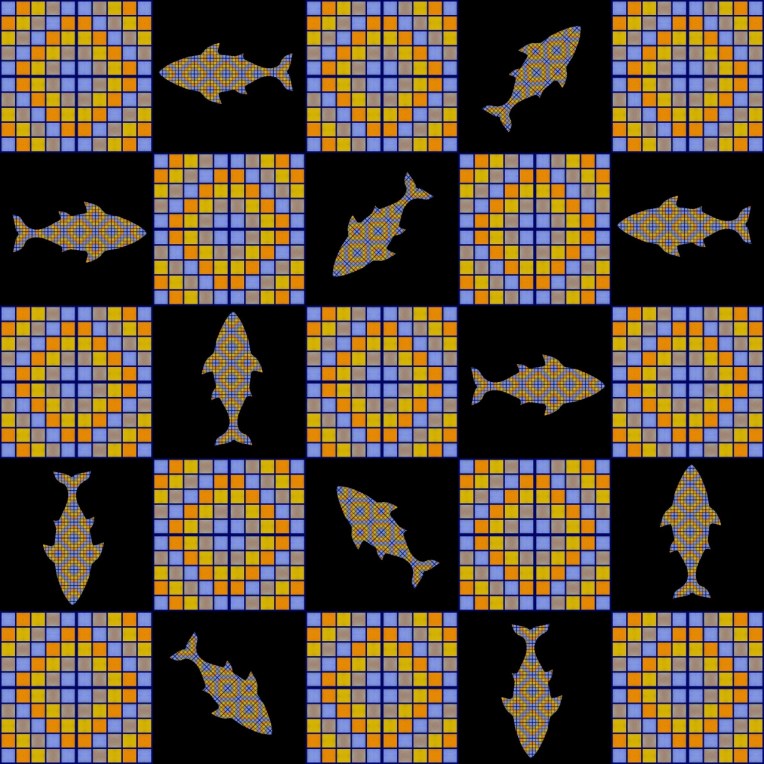
Here are some more “quilts” I made.


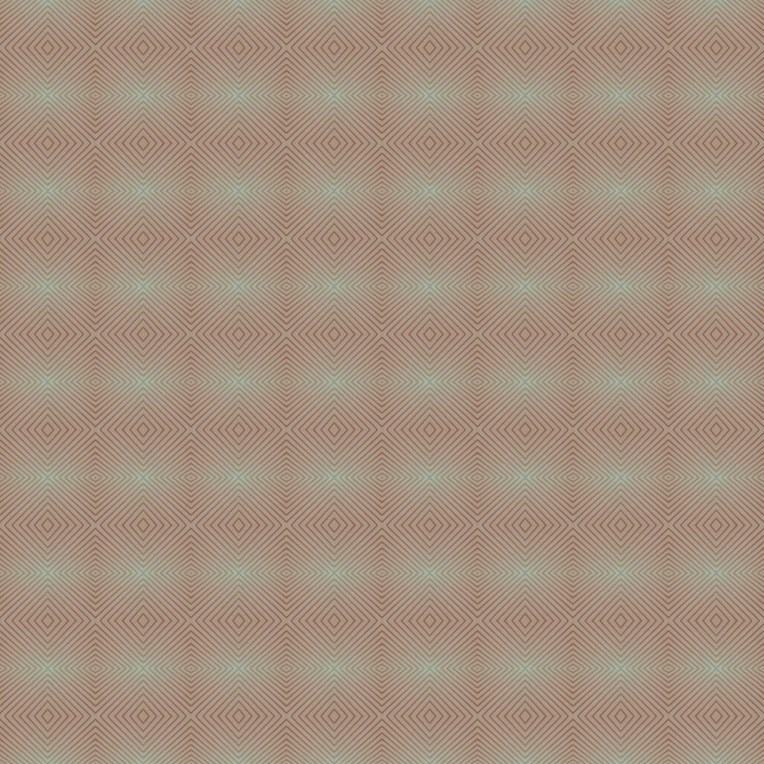
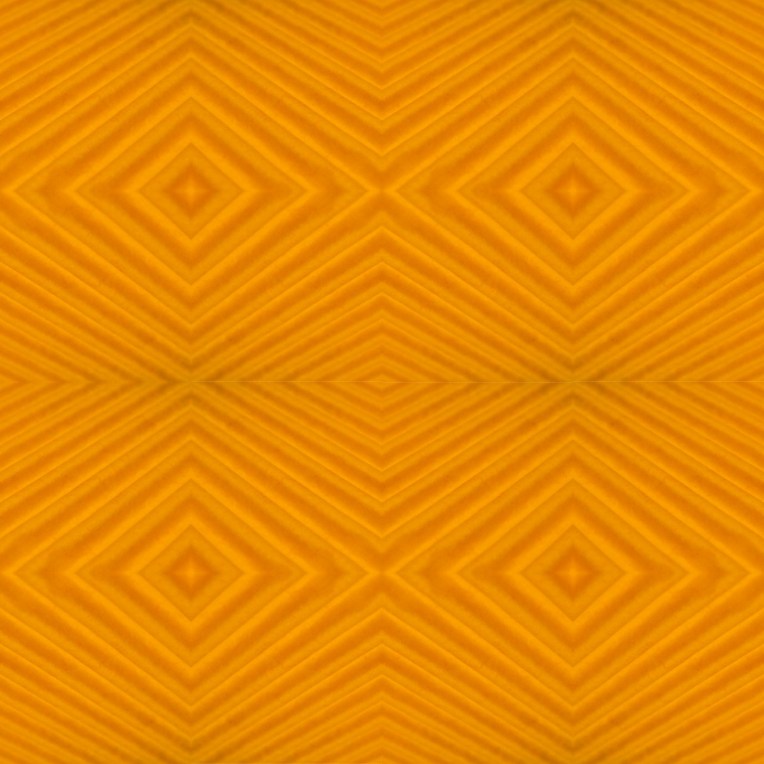
I really wish I took pictures of prettier-colored cardboard, because the colors don’t really go together in the quilts, but it’s really fun anyway.
I hope you enjoyed this random post, and tell me if you make any “quilts!”
***Allison***


I love your fishes! They are so pretty. 🙂
LikeLike
Thanks, Megan! I really like them too. 🙂
LikeLike
I really like the one with the fish! 🙂
LikeLike
Thanks! That’s definitely one of my favorites too. 🙂 Thanks for commenting!
LikeLiked by 1 person
You’re welcome! 😉
LikeLike
That’s so cool!!!!
LikeLike
Thanks so much, Rebekah!
LikeLike
WOW! That is so neat, weird, and cool, and some hurt my eyes! XD 😛 Wow! Just kidding!!!!
LikeLike
Thanks! Yeah, I know – some hurt my eyes too! XD
LikeLike
😀 XD 😛 I didn’t want to offend you by saying that, because I think that they are AMAZINGLY COOL!!! 😀 😛 XD 😉
LikeLike
Aww no, that’s fine, K. A. 🙂 Thank you for thinking about that, though! I’m glad you like them. 🙂
LikeLike
OKay! 😀 XD I do!!! 😀
LikeLike