
Hello, my friends!
This year I decided to make my own planner from scratch – designing and printing the pages, creating a cover, and binding it with my mom’s comb binder. It’s kinda like a bullet journal, but one I pre-made so I don’t have to draw out the layouts again every month. I’m super excited to use such a personalized system for 2022! Enjoy some planner inspiration and a link to some printables you guys can use too!
Note: This post contains affiliate links. If you purchase something through the link, the price won’t change for you, but I get a small commission for advertising and you get to support this blog for free!

We’ll start with the cover, which I’m unfortunately kinda disappointed with. ![]() I was going to laminate it, but we didn’t have any laminator pages so I used contact paper instead, plus some tape for “binding” the edges since I layered multiple pages together. It does have a nice, durable, faux-leather feel to it; it’s just a little more homemade-looking than I hoped. Ah well. I’m able to change out the cover later if I want to.
I was going to laminate it, but we didn’t have any laminator pages so I used contact paper instead, plus some tape for “binding” the edges since I layered multiple pages together. It does have a nice, durable, faux-leather feel to it; it’s just a little more homemade-looking than I hoped. Ah well. I’m able to change out the cover later if I want to.

Here’s the interior title page. Throughout the planner I used some old, pretty floral artwork I’d drawn and digitized to add interest and decoration to the pages. I’m really happy with that design element.

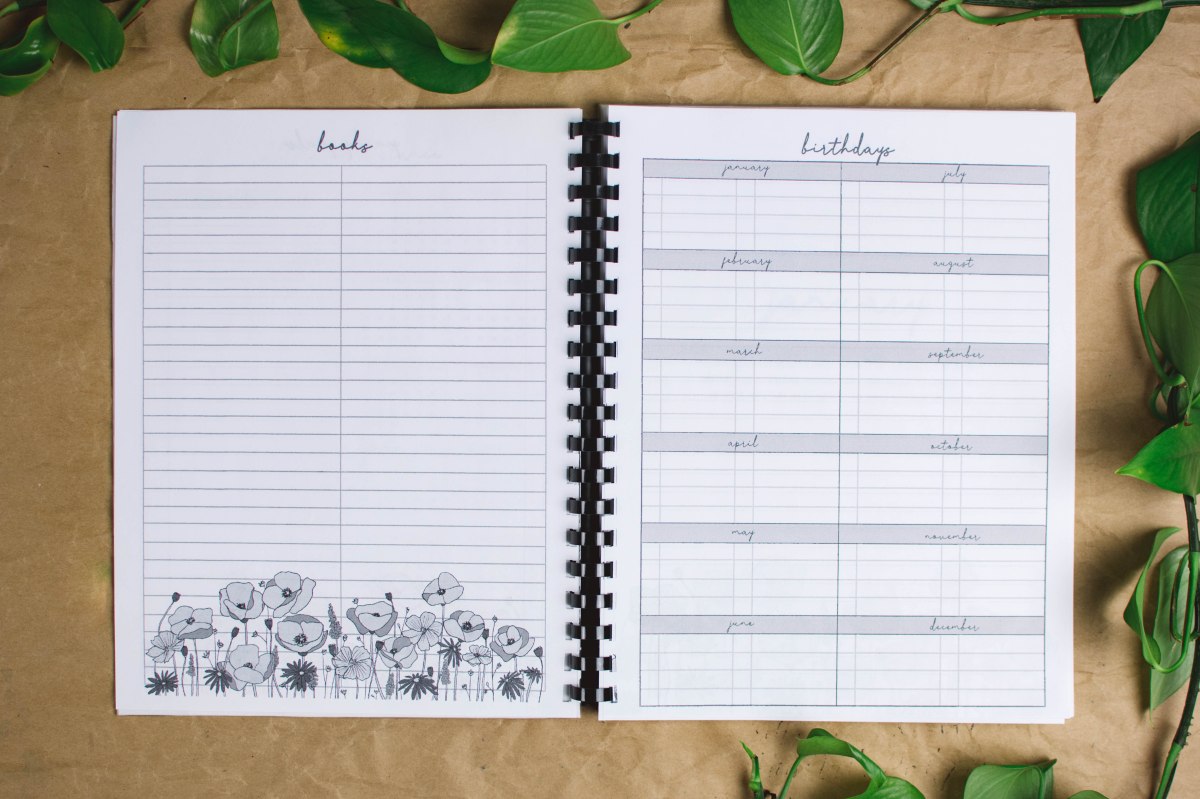
Remember the planner I designed for The Prairie Homestead last year? Jill hired me to redesign it for 2022, so I was able to build off some of the pages I’d already created for her to customize my own layouts. For instance, the page on the left is pretty much the same as hers but with a few different fonts, flowers, and other touch-ups.

I quite like the page layout of lines with flowers growing along the bottom edge. And I’m happy about the birthday tracker since it’s usually hard for me to find a one-page layout that gives me enough room to write all the birthdays I need to record.
I put a “notes” page at the end of each monthly section/beginning of the next. I’m planning to write a little summary or thoughts about the month on each one. 🙂 I really like how the monthly cover pages with the Bible verses turned out too. I might wrap a strip of colored washi tape around the edge of each month’s title page to make them easier to find.

The rest of these pages make up the monthly part of the planner. The spreads are identical for every month, excepting the cover pages. On the left: plenty of room for writing out the projects I want to complete that month. On the right: a finance tracker with different categories. I’m quite looking forward to using this page since I the setup I have right now is… eheh, not ideal.

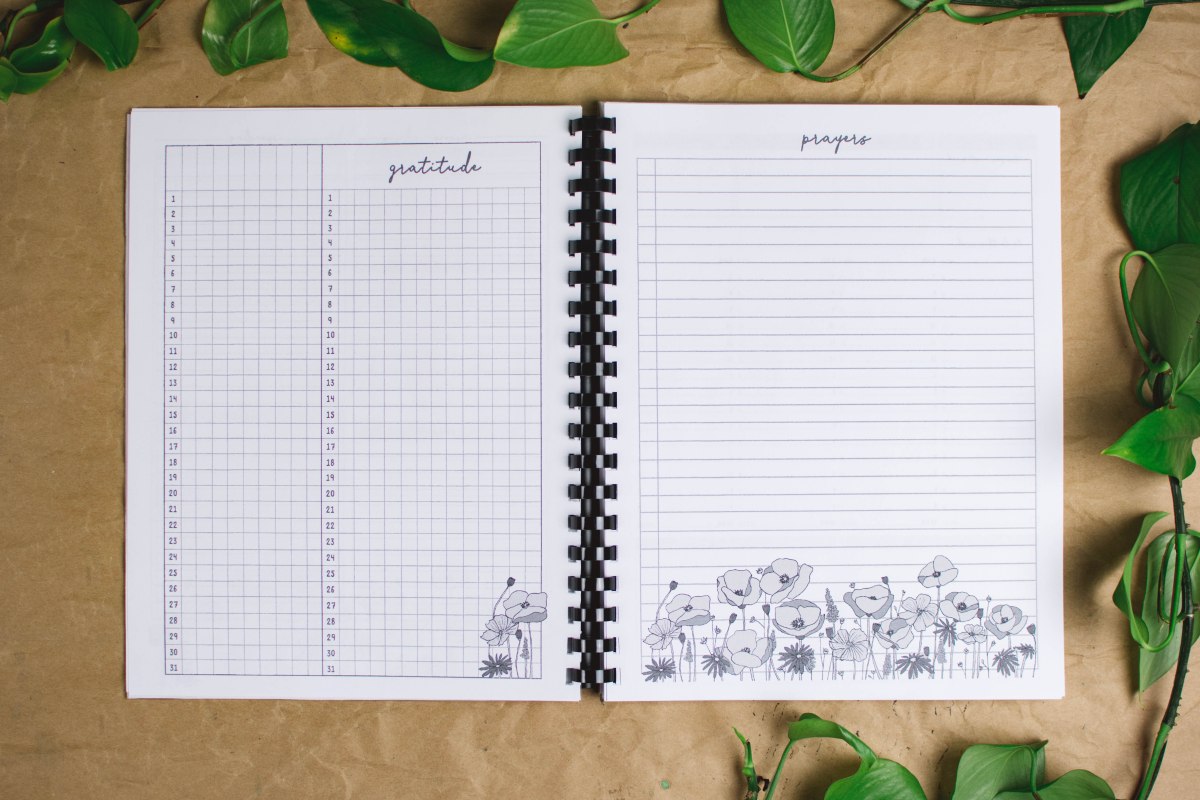
I love this spread! On the right I have a “habit tracker + daily gratitude” page. I didn’t write in the habits to track on the left side since those change from month to month. I’m looking forward to the gratitude list since the setup I have right now isn’t ideal for that either. And I miss having a written prayer-request list where I can easily see it, so I added one back in this year.
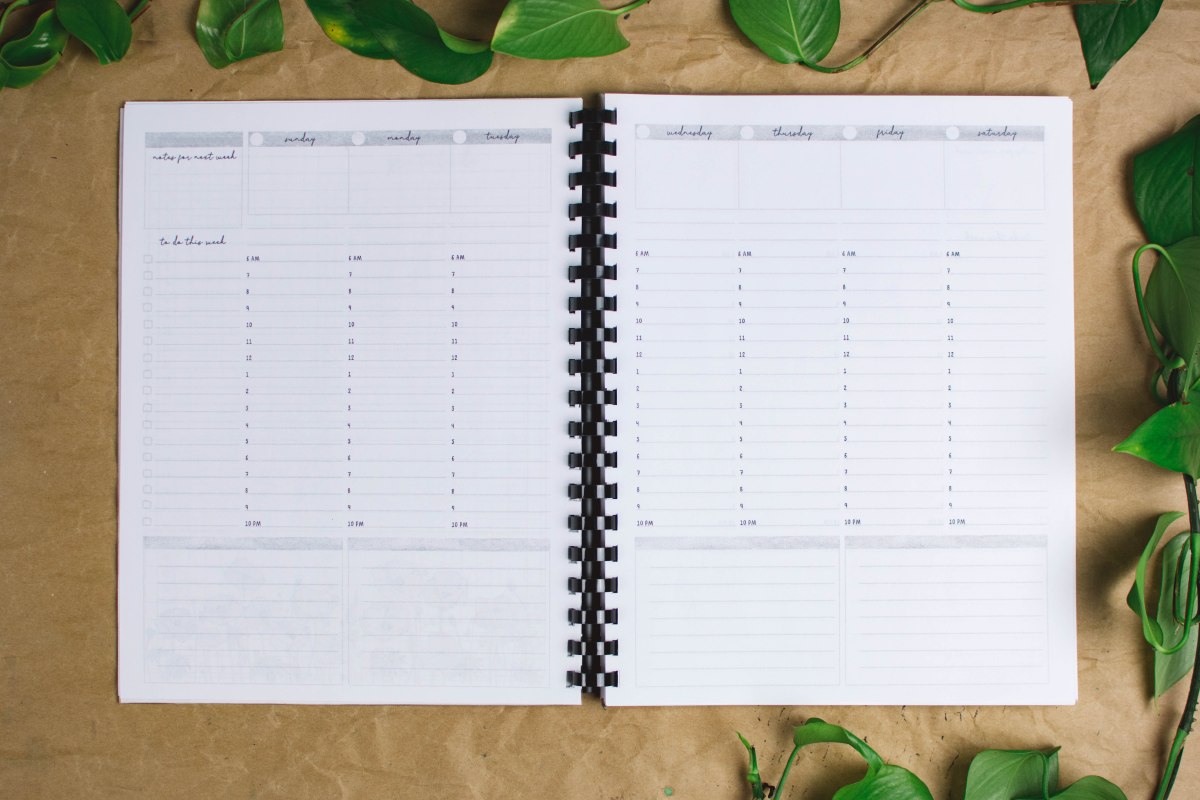
This “week at a glance” spread is mostly identical to the updated spread for the new Prairie Planner I designed for Jill. Except mine is undated; I’ll write those in by hand as I go along. I chose not to add any monthly calendars since I use my phone calendar for that instead.
I’m thrilled that Mom let me use her nice comb binder for making this! I could have put everything in a binder instead, but this is so much nicer. If you need a comb binder suggestion, here’s one super similar hers on Amazon.

If you’re interested in using some of these pages for your own planner or bullet journal, check out the printable set on my Etsy shop here.

I’m really looking forward to trying out this hybrid bujo/planner – it’s something I designed and customized for myself, but also a book that’s already ready-to-use instead of having to be drawn out each month. We’ll see how it goes!

I hope you enjoyed that peek into my planner and maybe found some inspiration for your own planner or bullet journal. 🙂
What page was your favorite? Do you prefer using planners, bujos, or something else?
Thanks so much for reading, my friends, and have a lovely day!
***Allison***


This is so cool! The doodles are so cute 🙂 What software do you use to design the pages? I’m actually working on making a journal like that myself, so I’ll check out the comb binder.
LikeLike
Hehe, I just read that it’s over 100 dollars 🙃
LikeLike
Thanks so much! I used Photoshop for the pages, but you could use a site like Canva too. And heh, yeah, comb binders are kinda expensive…
LikeLiked by 1 person
I love this! What a great way to make sure you have all of the functions you want and a layout that you like! And love the bday tracker! I never know anybody’s birthday lol.
LikeLiked by 1 person
Thanks so much! YES, that’s exactly what I was going for. And haha I know, if I don’t have a birthday tracker I’m like OH WAIT IT WAS YOUR BIRTHDAY about two weeks too late. XD
LikeLike
This looks absolutely beautiful! Do you mind explaining how you bound the journal?
LikeLiked by 1 person
Thanks so much! Sure. I used a comb binding machine which punches holes in the paper and then opens a plastic comb for you to slide the paper into. You kinda need a machine for this, but it’s very easy to use! I linked one in the post. You could also print out the pages, punch them with a regular hole puncher, and place them in a binder.
LikeLiked by 1 person
Gotcha. Thanks!
LikeLiked by 1 person
What a nice way to create it just as you feel you need it.
LikeLike
Yes, I’m very pleased with it!
LikeLike
Great job. Am very impressed. You’ll also be sure to use it after putting so much work into it.
LikeLike
Why thank you! Yeah, that’s a good point.
LikeLiked by 1 person
SO SO CUTE!!! I actually forwent a Bujo this year because it was so hard for me to do month by month new theme new drawing all of it… THIS is an AMAZING idea!!! Absolutely loved this!<3
LikeLike
THANK YOU! Yes I know, that’s my problem with bujos too. I’m so glad you liked it!
LikeLiked by 1 person
This is so cool, Allison. I am inspired to create one myself – thanks!
LikeLike
Well YAY! It always makes me happy to be able to inspire others. My pleasure!
LikeLike
This looks fantastic and very useful!! Great idea!!
LikeLike
Thanks so much, Pearl!
LikeLiked by 1 person