We got our Christmas tree yesterday! We always go to a Christmas tree farm and cut our Christmas tree down with a saw, so this post is for you poor unfortunates who don’t or can’t have that experience. *Wink* @ Loren and Mallory. 🙂 (Oh, by the way, I was going to tell you before. Mallory is my friend, and she just recently started a blog where her bunny, Snickers, “posts” about his life. It’s very cute – you should check it out! Just click Mallory’s name above.) OK, down to business!
************************************************
We don’t always go to the same tree farm every year, but this year we went to a big Christmas tree place called “Evergreen Christmas Tree Farm.” (I know, very original name, right? ☺) They have quite a large amount of space to wander through, and several different varieties of trees to choose from, including Colorado Spruce, White Pine, and Concolor Fir.
I think we got a Colorado Spruce (though I’m not sure), but the Concolor Firs are really neat because if you rub their needles between your fingers, they smell like citrus!
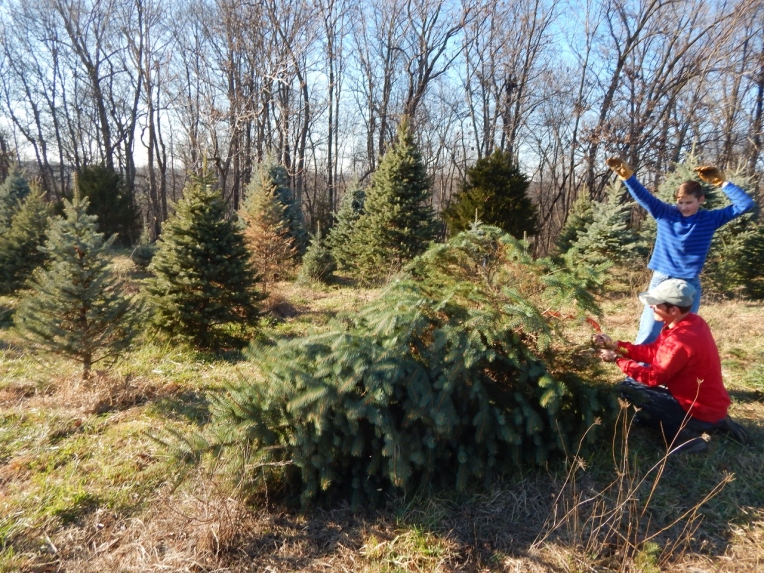
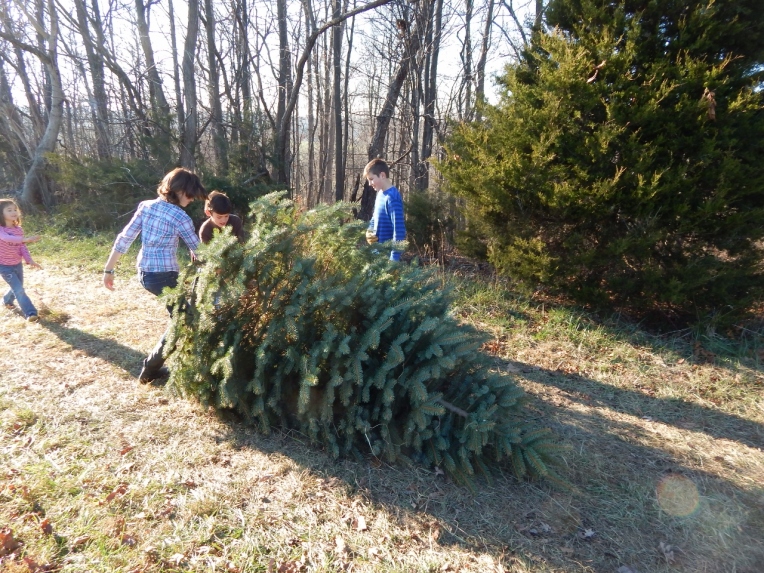
First, my brother picked up a handsaw from one of the saw-poles scattered around the farm. Then we began the search for the perfect Christmas tree! We trekked all over the farm, winding in and out of big trees and small trees; young trees and old trees; trees with long, soft needles, and trees with short, prickly ones. We went up and down the hills and along lots of paths. Finally, we ended up where we had started. At last, in a corner of the tree farm, we found our tree!
The tree was a little too tall, so we cut part of the bottom off. The nice thing is, my mom and dad can kind of measure how tall the tree should be – if it reaches the top of their hands when they stretch their arms out, it’s a good size. (My parents are both pretty tall.) The kids like to yell “TIMBER!” when we cut down the tree.
And now we had to drag the tree all the way down the hill to the “packaging” center. The kids started by taking turns, and my dad finished when we got tired. 😀
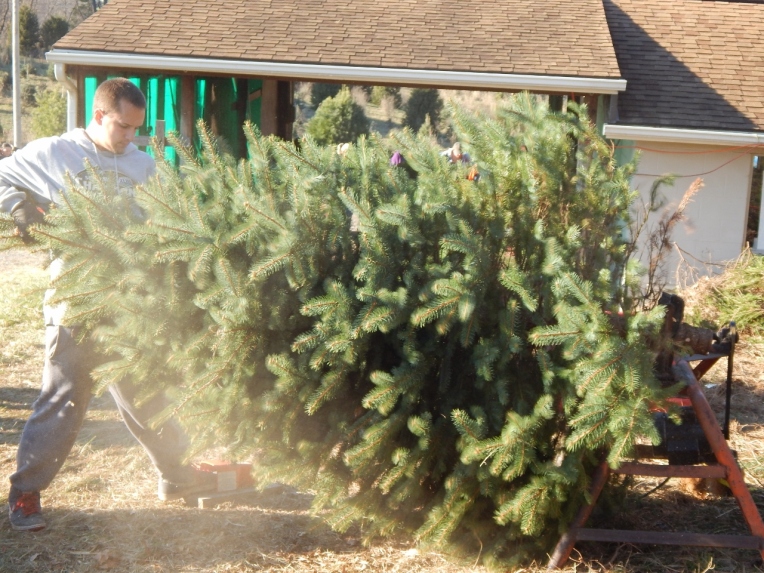
The people at the bottom of the farm set your tree in a stand and turn on a machine that vibrates the tree to shake all of the dirt and dust on it. As you can see, our tree was pretty dusty from dragging it down the hill!
The next part is really fun to watch. The people working at the farm take the freshly-cleaned tree and set it on a sort of conveyor belt thingy. They attach some sort of hook to the trunk, and p – u – l – l the tree through a hoop with net in it. The tree gets all wrapped up in the net. It looks like a cocoon or something!
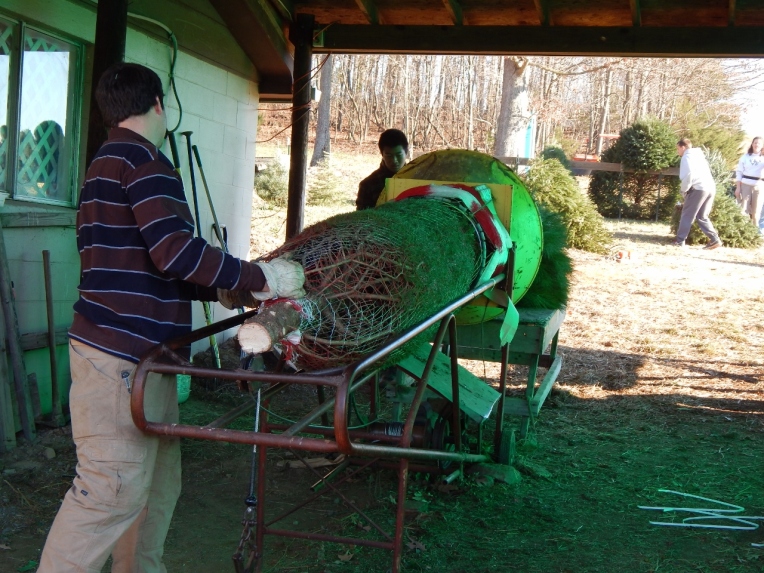
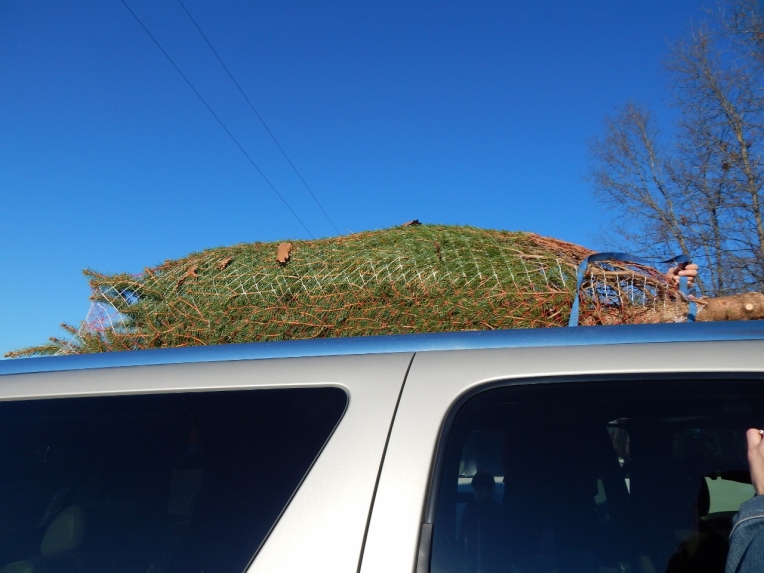
The purpose of wrapping the Christmas tree is to make it easier to carry on your car or truck. Dad strapped the tree to the top of our car, and off we drove!
At home we set the Christmas tree in it’s stand, watered it (with just plain water), and adjusted the screws in the stand so that the tree stood up as straight as possible. Then came another fun part that all of us kids love – cutting off the netting! We each took a pair of scissors and snipped off every last bit. It’s fun to watch the tree unfold from its bonds. 🙂
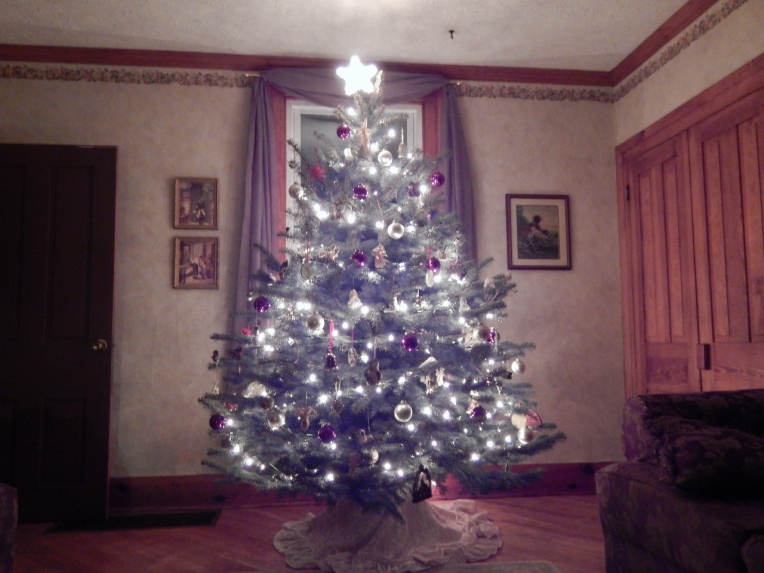
Then we put on Christmas music and started decorating! I love the decorating part. (As you have probably noticed, I love pretty much everything about getting a Christmas tree!)
First we put the lights and star on, then my mom carefully put the glass balls on, then everyone could help with the rest of the ornaments. Finally the tree was chock full of decorations, and we could sit back and look at our work. So pretty!
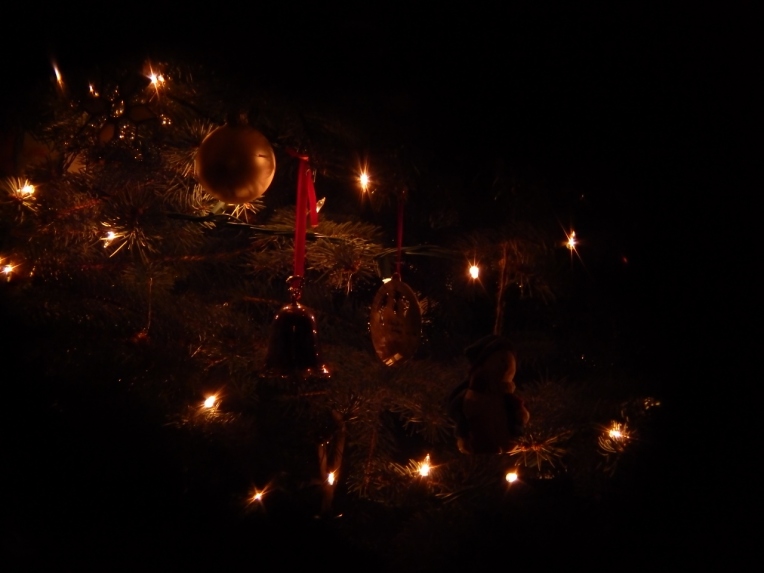
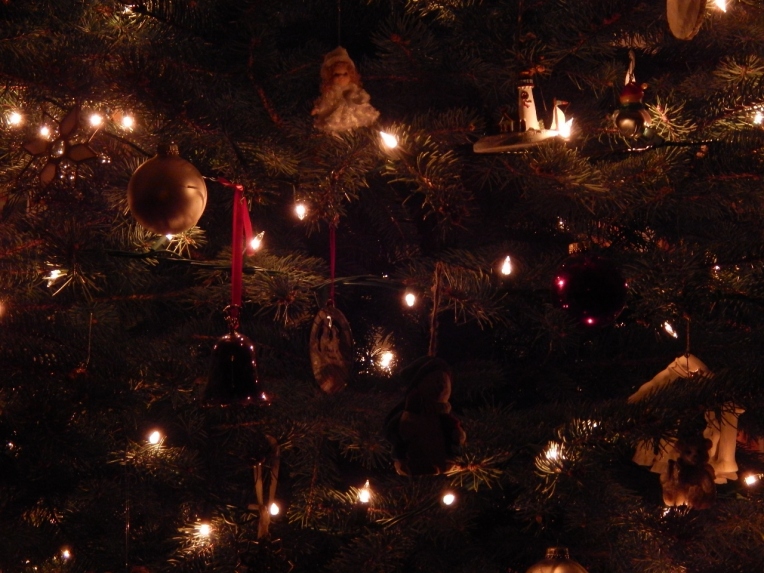
Here are some more pictures of the ornaments that I took in the dark. They remind me of a Christmas I Spy Book.
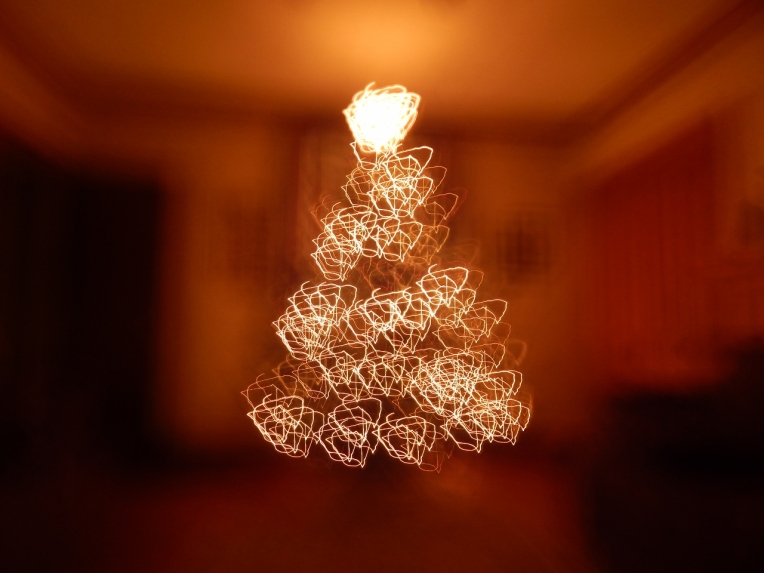
And here is one where I moved my camera around while holding down the shutter button.
Did you get your Christmas tree yet? When? Do you get artificial or real trees? Have you ever gone to a Christmas tree farm?
***Allison***


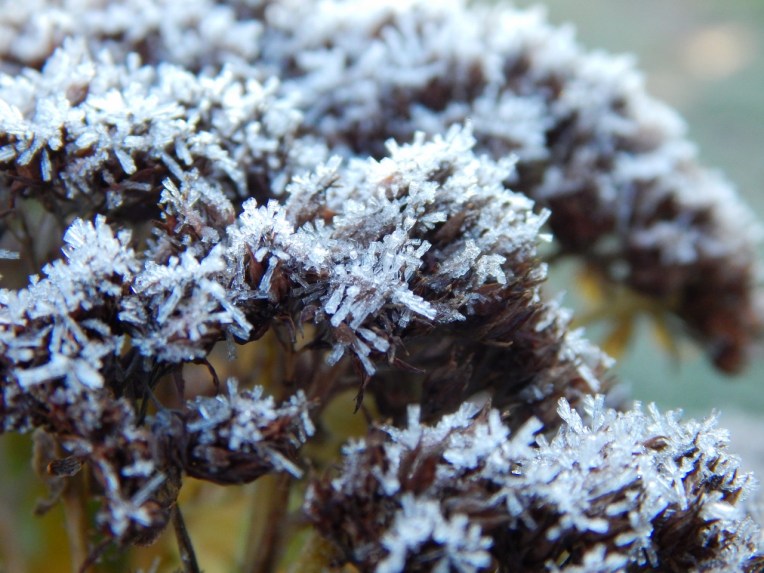
 011 (1280x960)")
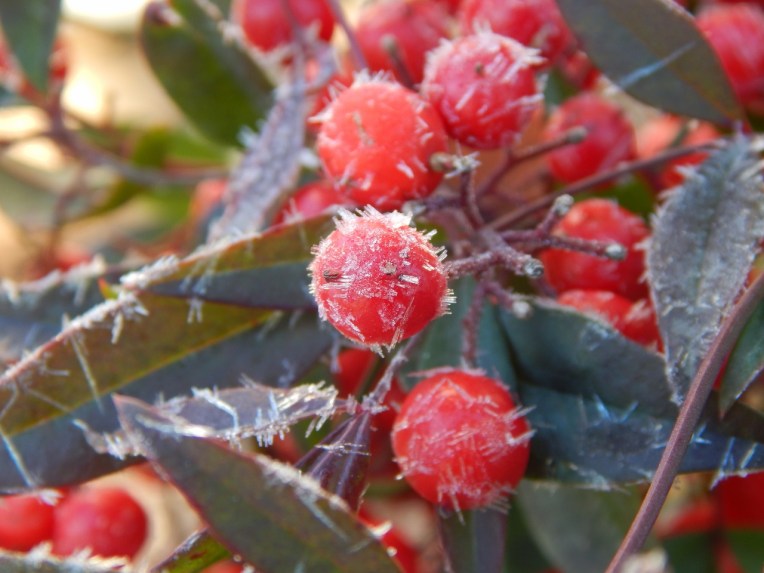
 026 (1280x960)")


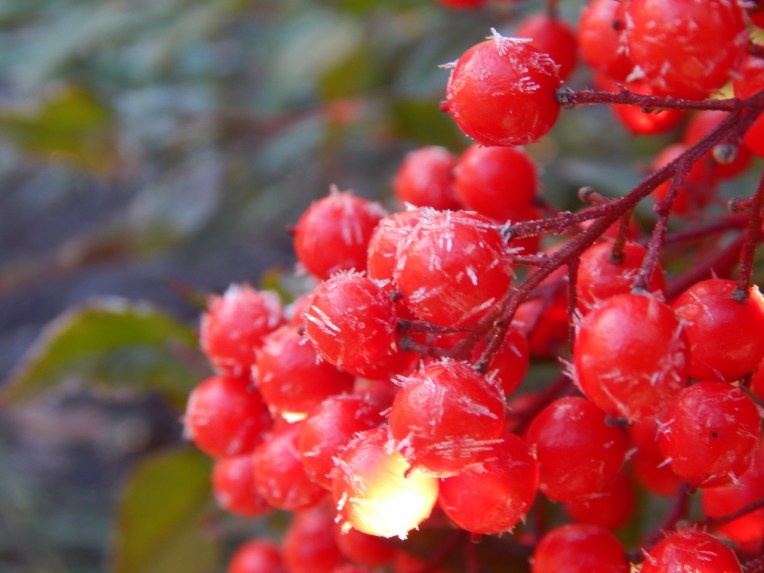
 028 (1280x960)")
 037 (1280x960)")


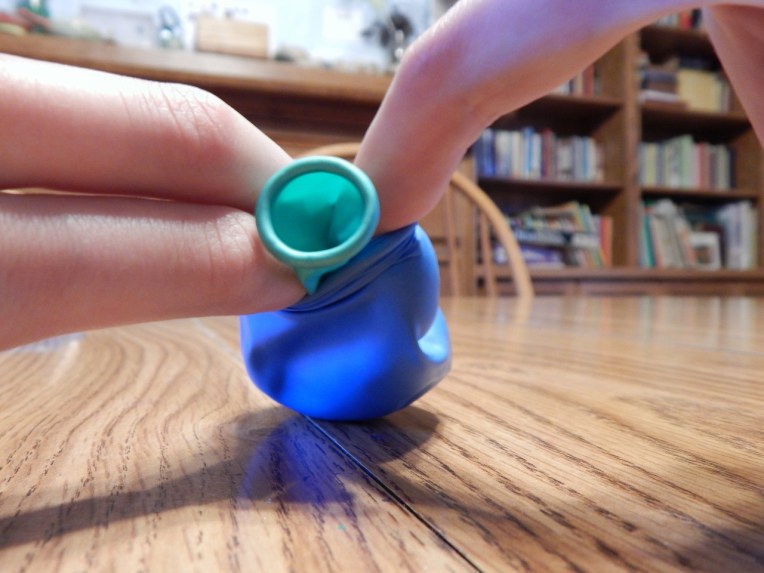 You may need someone to help you with this, but it is possible to do it by yourself because I did! Push the inside balloon down until only the rim sticks out of the neck of the outside balloon. You should see even less of the inside balloon than it shows in the picture. If I unfolded the blue it would be about right. You should just barely see the rim showing.
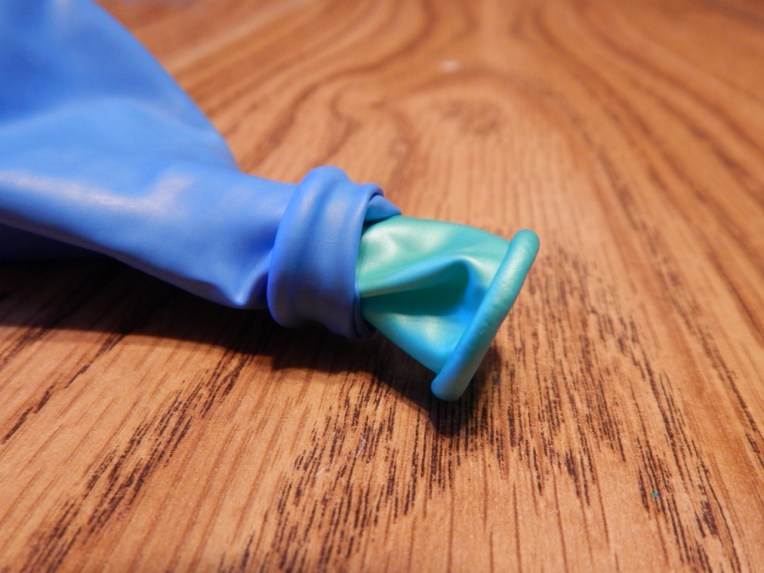
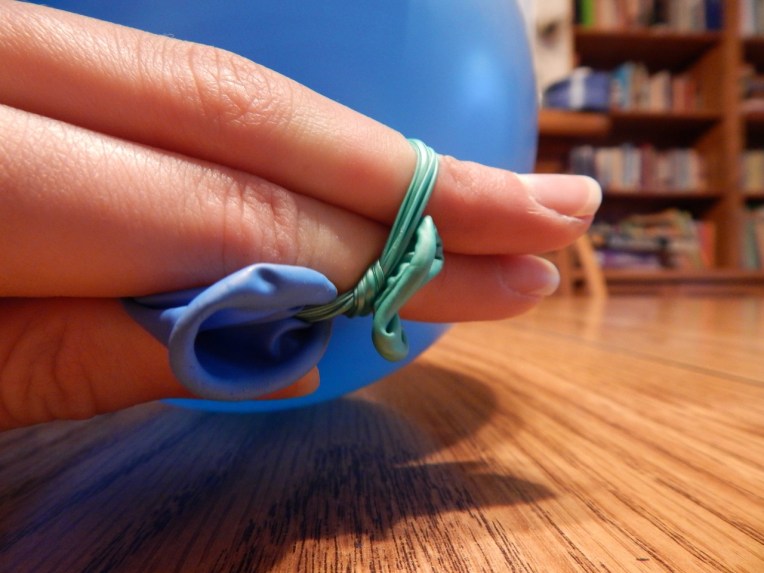
 and blow up the outside balloon. You should be able to see the inside balloon move around when you shake it by the time you’ve blown it big enough.