ART STUDIO {Part 1 + Photowall Review}

featured image 800X800

GUYS GUYS GUYS I AM SO INCREDIBLY EXCITED. Because, as you probably guessed, I’M GETTING AN ART STUDIO. 😀 I have wanted my own space for arts and crafts for practically forever, and I can’t believe I finally get to have one!

My new studio is actually in a closet. XD We definitely don’t need all four closets in our bedroom + bathroom at the new house, so Mom thought I could make the biggest walk-in closet into my studio!

It’s basically a small room, complete with a window and shelves for storage. It’s only about 60 square feet, but I think it will work great for just me. 🙂 However, it certainly wasn’t set up for a studio at first, and that’s what I’ll be showing you today: how I turned a closet into a space for a studio!

PLUS, Photowall contacted me and wondered if I wanted to do a review for them in exchange for a free product, and I was like, “OH YES PLEASE.” (I didn’t actually say that.) XD Are you as excited about this post as I am? I DOUBT IT. XD

Alright, let’s get started! First, this is how the closet looked to begin with:

1

2

3

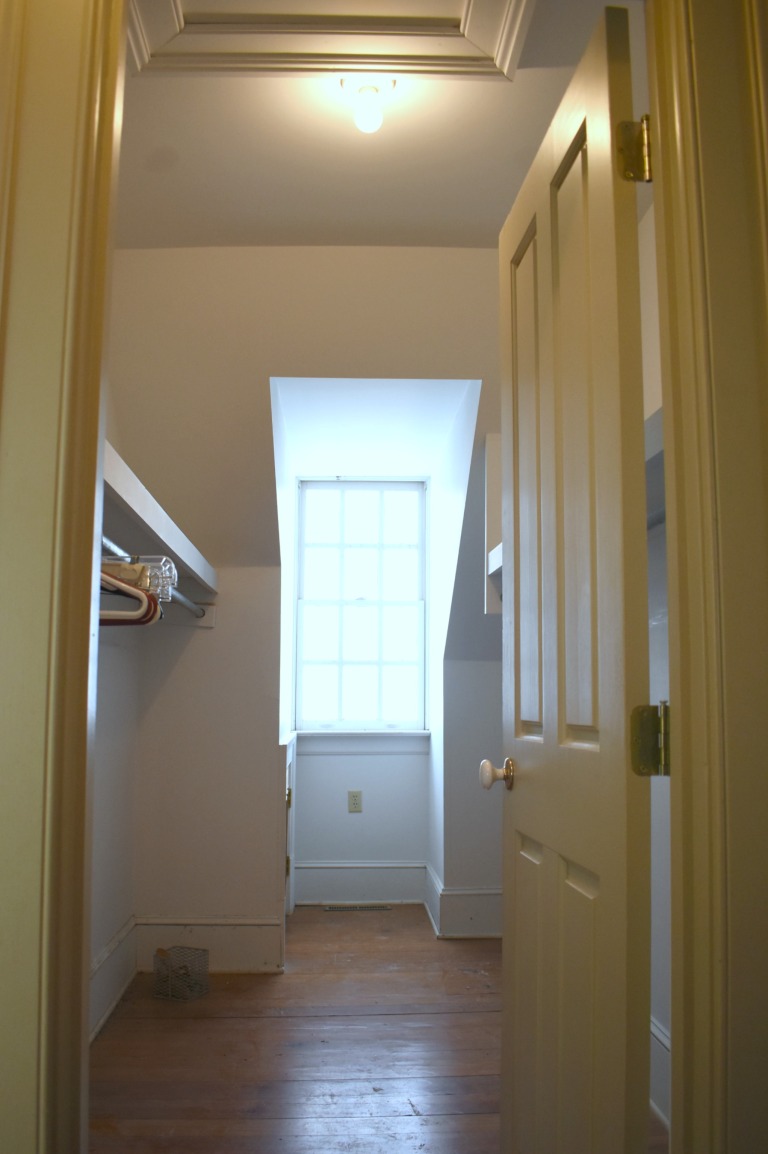
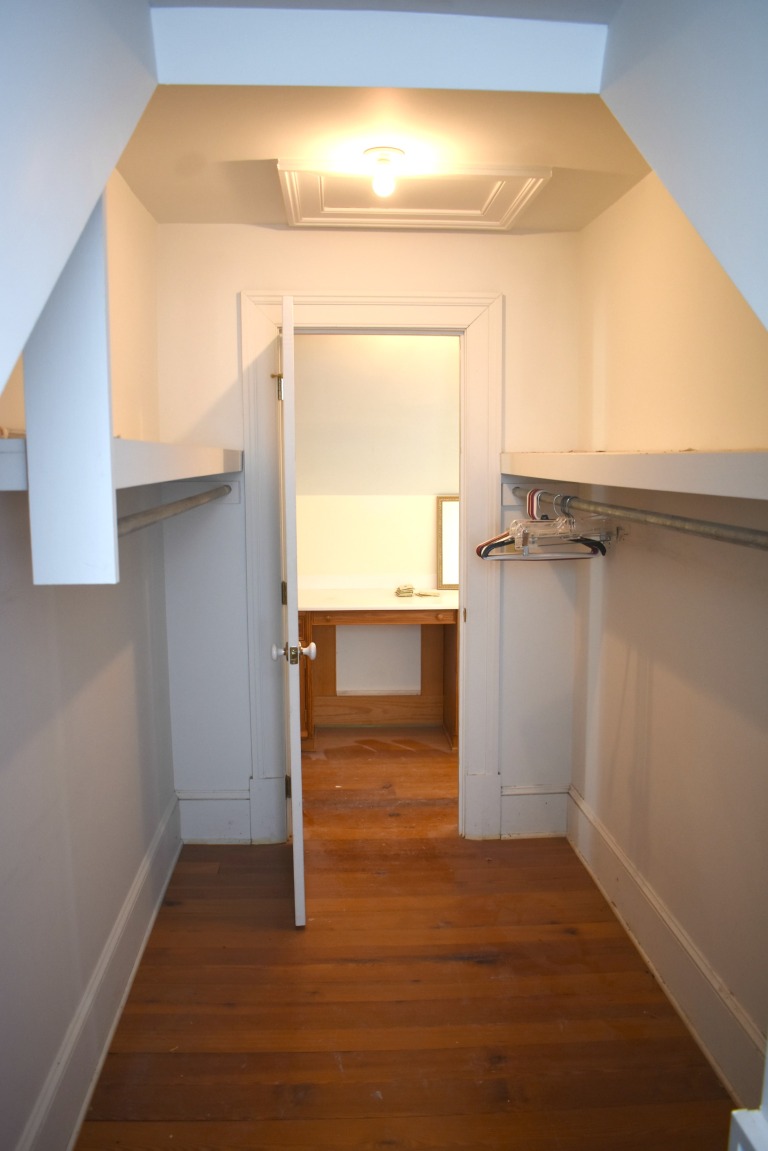
Doesn’t exactly look like a studio yet, huh? Well the first step toward that goal was to get rid of the shelves and to take off the door for more space. I decided to keep the shelves in that little cubby above because really, it was too small and had too low of a ceiling to turn into anything else.

My brother Jeff helped me with the demo, and then Dad spackled (or plastered) over the marks where the shelves and hinges had been (and where Jeff had applied the crowbar a bit too vigorously, heh heh). After a few coats of plaster and some sanding, it was ready to be painted! I painted it in Valspar’s “Dove White” because I want the studio to look clean and bright, with pops of color.

5

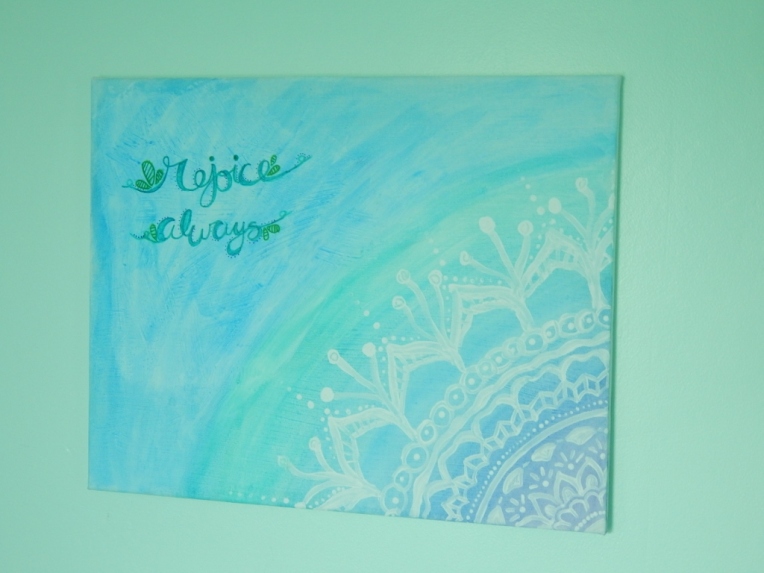
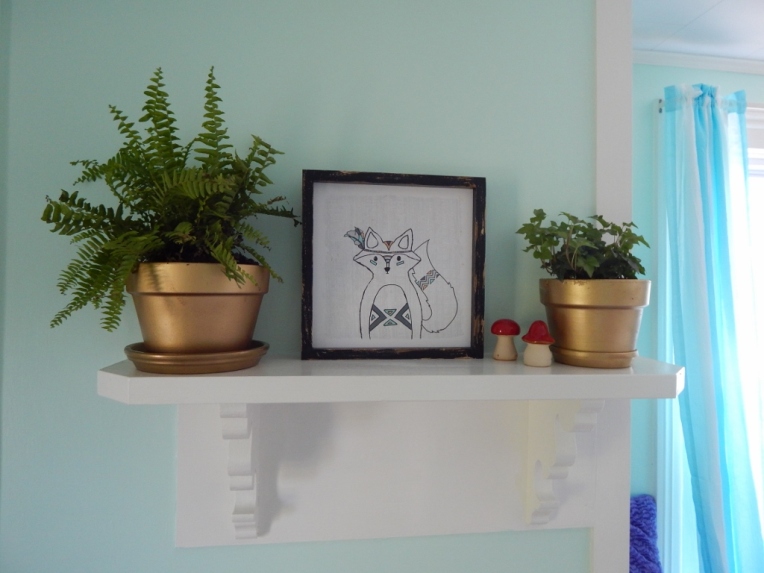
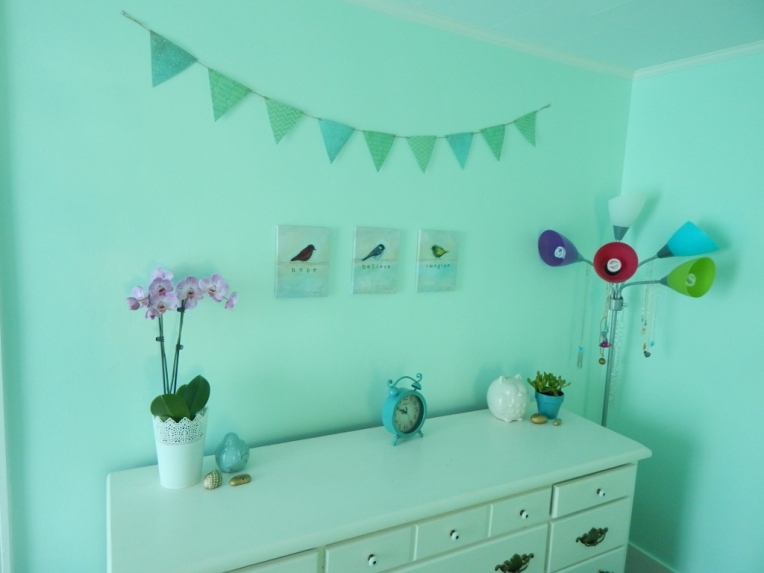
I’ll get more into my color scheme and décor in a later post, but I’m thinking white, navy, purple, pink, and gold. ❤ Ahh, I can’t WAIT!

Anyway, here’s what it looked like after taking out the shelves and door, plastering, and painting. So much better already! Doesn’t it look a lot bigger?

7

Next, it was time to put up the wallpaper, and now it’s time for the review part of the post. As I said, I did get this product for free, but obviously I’m going to be honest about my likes and dislikes, because otherwise what use would a review be? 😉

Photowall is a Swedish design company that sells both canvases and wall murals/wallpaper. Also, one super neat part of their site is that you can upload your own image! So if you have a high-res picture, you can get wallpaper or a canvas with your own photo or art on it! I considered that, but decided to go with a more clean, modern look, like the White Grafo pattern I ended up choosing.

DSC_317921

I went with the premium wallpaper instead of the standard, because hey, why not? It was wonderfully thick and almost rubbery-feeling, like it would wipe off easily. The pattern was printed beautifully as well.

I ordered about 6.7 square meters, which cost $243. Preeetty expensive, especially considering you can get wallpaper at Home Depot for $0.79/sq. ft., compared to $3.67/sq. ft. at Photowall. :[] I also ordered the wallpaper kit, which you can get separately for $20.

However the shipping was free – and super fast! The customer service was also great, in my experience. Here are the boxes the products were shipped in:

DSC_3159

The wallpaper box included the following:

DSC_3174.JPG

  • wallpaper (duh)
  • wallpaper paste powder
  • instructions

And as for the kit box, I was surprised at how many different things were included! It seriously has EVERY SINGLE THING you need to put up wallpaper, except supplies pertaining to mixing up the paste (water, a bucket, and a stir stick).

DSC_3163

  • paste brush
  • wallpaper brush
  • trim guide
  • seam roller
  • spirit level
  • knife
  • pencil

And now for putting it up! It took a bit to mix up the paste and let it set, and it was definitely more work than using pre-pasted wallpaper (or so my mom tells me), but it seemed to work pretty well. Thanks to my mom for taking the next two pictures. 😉

108

One helpful feature of this wallpaper is that the panels are numbered. It’s not just one big sheet, it’s split into several sheets that you cut apart and then paste on. You do have to match up the seams, but it feels more manageable. 🙂 It still took about 2 ½ hours, though, with Mom and I putting it up together.

DSC_3178

It looked SO good once we got it all up, eep! But one thing that really scared me was these brown patches that appeared on the paper as it was drying:

19
Yikes, what a terrible picture. :[]
Thank goodness they don’t stay! It must just take a really long time to dry (more than three days, in fact), but that’s probably because it was cold in there and not super well ventilated. And now, this is how the studio looks thus far:

15
Thanks to my sister Megan for taking this picture. 🙂

14

1312

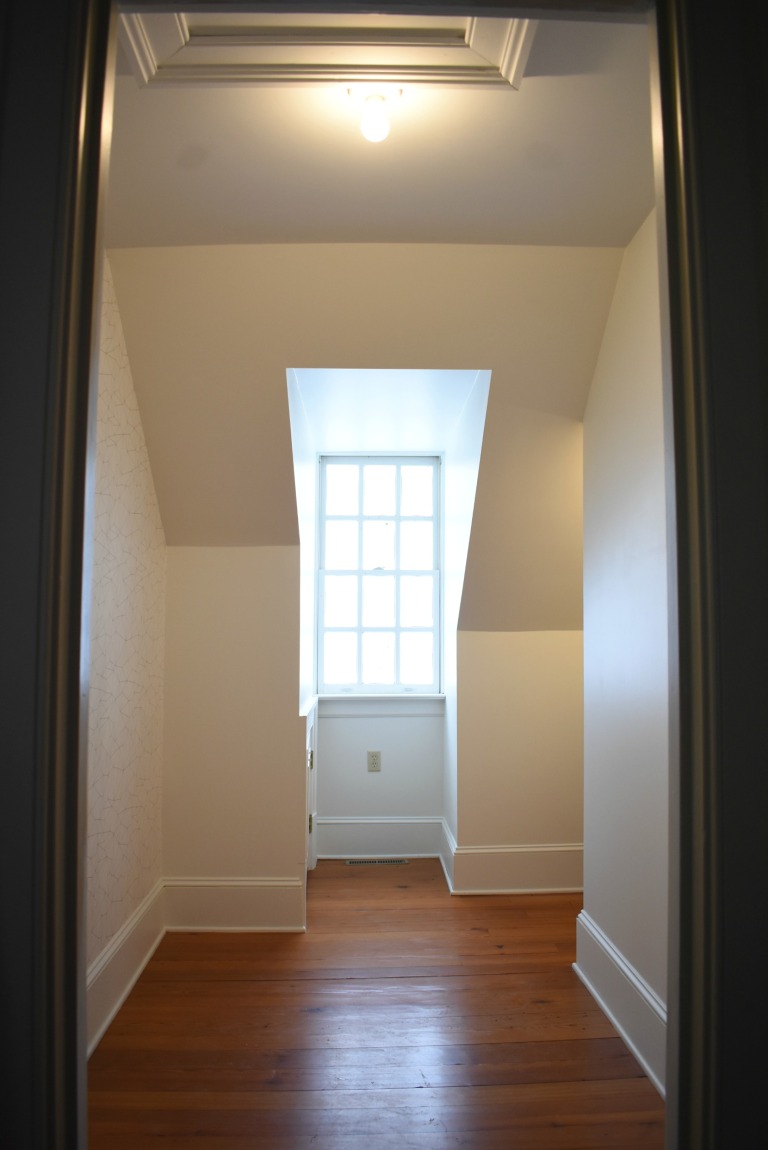
AHHH I LOVE IT. The wallpaper actually made the space feel bigger for some strange reason, and it definitely made it feel more like a room than a closet. I’m really happy with my pattern choice and with the product itself. 🙂

To recap…

PROS

  • Fast, free shipping
  • Excellent quality wallpaper
  • ENORMOUS selection of beautiful prints and patterns
  • Easy-to-use website and instructions
  • Great customer service

CONS

  • Very pricey
  • Doesn’t come pre-pasted
  • Fairly long application and drying times (at least for the premium paper)

Basically, I absolutely love everything but the price. I would highly recommend the product and company itself – the wallpaper is beautiful, high quality resolution, and scratch/tear-resistant – but I personally would go with a cheaper option if I did it again and not for free.

If the price doesn’t worry you, though, or if you just want one of their beautiful and unique murals you can’t get anywhere else, then Photowall is the company to buy from! Even if you don’t need any wallpaper at the moment, you should totally check out their website – remember they also have a huge selection of canvases, and I’ve heard they’re pretty great too! 🙂

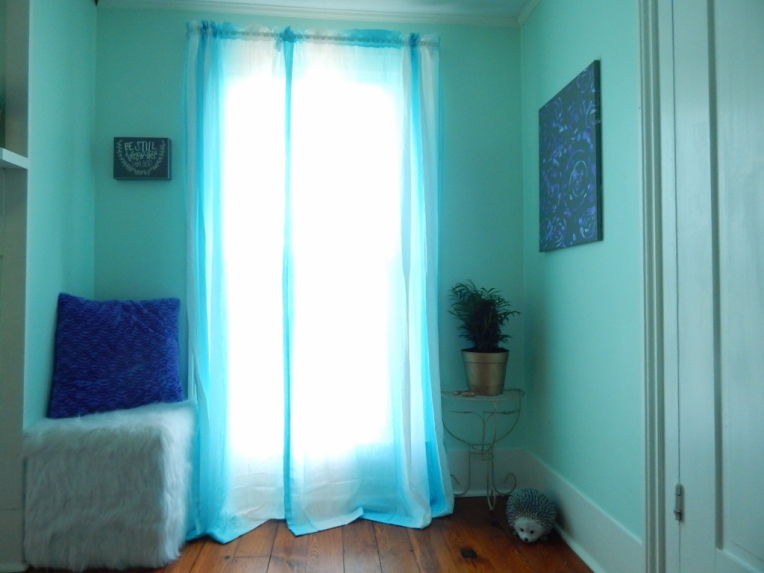
I hope you enjoyed reading this rather lengthy post, and stay tuned for Part 2! In the next art studio post, I’m going to furnish the studio and put up at least some of the decorations. ❤ YAY!

Thanks for stopping by, dears, and have a lovely day!

***Allison***

Bedroom Update

Hey, guys! It’s been quite awhile since Megan and I did our room makeover, and I thought I’d do a post of some of the updates and changes we’ve made since then. (To see the original makeover, click here.)

The two main changes are updating the dresser area and adding a bookshelf. They look so pretty!

This is the bookshelf corner. We repainted an old bamboo bookshelf that my Dad had when he was a boy, and it looks so pretty now. The flower wall hanging is from Hobby Lobby, and I don’t know where Megan got the “laugh” wall hanging. (I told Megan it’s too bad it doesn’t say “read” instead of “laugh.” XD )

dsc_0169-1280x853

dsc_0195-853x1280

dsc_0215-1280x853
The bookshelf has three of my favorite series: The Penderwicks, The Mysterious Benedict Society, and…


dsc_0212-1280x853
The Keeper of the Lost City series. 🙂 Have you read any or all of those? Which one is your favorite?

Moving on now to the dresser area. We added a mirror, a new plant, two new vases… actually pretty much everything on top of the dresser is new. 🙂

dsc_0226-1280x960

dsc_0203-1280x853
I made these roses for decorations for a church potluck, and saved them to use in our room afterward. They’re made of paper streamers wrapped and twisted around a wooden skewer.

dsc_0204

dsc_0202-1280x853
More roses in a neat lantern Mom gave us.
dsc_0224-1280x853
Isn’t that twisty vase neat? (Ahem, excuse the leaves that have been chewed by a cat. XD ) I got the vase and the oil lamp from my grandparents, and the fox was a gift to Megan, the alarm clock is from Walmart, and the gold stones are painted by me. 🙂

Now for some random updates around our room.


dsc_0161-1280x853
I love our mantel decorations! The fox frame and mushrooms are from Hobby Lobby, and the hedgehog was a gift to Megan.

dsc_0198-1280x853

dsc_0168-1280x853
The reading nook or whatever it’s called…
dsc_0179-1280x853
The beautiful fern is from my grandma.
dsc_0182-1280x853
This plant is also from my grandma.
dsc_0220-853x1280
FUZZY CUBE! The cube and solid purple pillow are from Ross, and I made the patchwork pillow. (It’s actually a quillow – a quilt in a pillow.)


dsc_0223-1280x853
What an adorable little hedgehog! This was yet ANOTHER of Megan’s gifts. XD
dsc_0230-1280x853
Air plants are so neat! Why are my fingers neon pink in this picture?


dsc_0227-853x1280
Here’s our painted crate bedstand. Not much has changed here except the things we keep in it.

And last but not least, two pictures of our bedroom in general.

dsc_0221-1280x853dsc_0200-1280x853


*Happy sigh* I still love our bedroom so much, even now. I hope this gave you some inspiration if you are looking to redecorate your own bedroom! Do you have any redecorating tips to share? What is your favorite part about our bedroom? What is your favorite part or decoration about YOUR bedroom? Do you like interior design?

***Allison***

Room Makeover!

Welcome to the long awaited room tour! Goodness gracious this post took a while to get up. I have been wanting to write this for weeks!

Guys, you are going to love the before and after. SQUEEE it’s so pretty!! It looks like a totally different room. Are you ready? Here we go!

*

*

*

*

*

*

*

*

*

*

*

*

before and after (1024x512).jpg

Isn’t that simply amazing? Both of those pictures were taken at the same spot, but they look completely different!

We had 30 year old wallpaper in our room, so we had to take down the wallpaper, plaster over nicks in the walls, sand the plaster, then paint the ceiling, trim, and walls. It was a lot of work – it took a whole week – but it was so worth it! I absolutely love the paint color and the decorations!

A few notes before we proceed to the room tour: I didn’t list the prices for every single thing in our room, just most of the stuff we got recently. Also, the prices are rounded.

Now we can get to the good part! Let us begin with the bed section. First off, I love the bedspreads! They are simple but beautiful, and their simplicity makes them versatile. (If you’re wondering, my bed is on the left and Megan’s is on the right.)

after (7) (1024x768)

Bedspreads // $27 each – Target (Note: I rounded all of these prices. )

*****

These lovely pillows tie in our canvasses and handmade quilts with the bedspreads.

Watercolor Flower Pillow // $7 – Hobby Lobby
Bird Pillow //  $10 – Hobby Lobby

*****

I’m very proud of our upcycled wooden crate. XD It was broken and rough to begin with, so we wood-glued it together, cleaned it, sanded it, and painted it. It works perfectly as a bedside stand!

after (12) (1024x768)

White Flower Wall Hanging// $8.50- Hobby Lobby
Lampshade // $5.50 – Walmart
Lampstand // $12 – Walmart
Crate Bedside Stand // DIY

 *****

Megan and I each decorated a canvas to put above our beds. The first canvas is mine and the second is Megan’s. 😉 I painted mine with watercolor and gesso and wrote in the words with Sharpie and marker. Since Megan’s canvas had more words, we printed them out in a nice font and transferred them to the canvas using this tutorial. (The pencil rubbing part is the transferring part.) Then Megan Sharpied over the words and added confetti from the paint chips we collected while searching for a paint color.

after (10) (1024x768)

after 11 (1024x768)

Above-bed Canvasses // DIY

 *****

We got some really nice ombre curtains from Walmart. They’re opaque enough that we don’t need blinds, but they’re also sheer enough to let in light. And if you’re wondering, that speck in the hanging plant is a little stuffed owl. XD

(Sorry about the really bad lighting here. 😦 )

001 (1024x768)after 14 (1021x766)

Curtains // $10 per panel – Walmart
Feather Print // $16- Hobby Lobby
Bonsai Tree // $12- Walmart
Hanging Plant // $16 – Walmart

 *****

The mantel is one of my favorite spots. I adore the fox print especially! We spray painted the flowerpots gold to add a extra pop.

after (2) (1024x768)

Fern // $5.00 – Walmart
Fox Print // $22 – Hobby Lobby
Ivy // $5.00 – Walmart

 *****

I also love this next spot. It’s sophisticated yet cozy. The white faux-fur cube is one of my favorite purchases – it’s a comfortable seat and a storage chest!

Funny story: My littlest sister was writing a wish list while we went shopping, and  she wrote “fuse cyoob” for the fuzzy cube seat. Isn’t that adorable? You have to love little kid spelling. XD

after (3) (1024x768)

(Horrible pictures again, I know. :/ )

after 15 (705x941)after 16 (1024x768) (768x1024)

Faux Fur Cube // $50 – Ross
Bible Verse Canvas // $12 – Hobby Lobby
Mini Palm // $10 – Home Depot
Purple Swirl Canvas // DIY

*****

Moving on to the dresser… The bunting banner I made myself (remember this tutorial?), and I also hand-decorated the gold rocks around our room. We spray painted smooth river rocks gold, then I either hand lettered words on them with Sharpie, or dotted them with white paint. They turned out really well!

after (5) (1024x768)003 (1024x768)002 (1024x768)

Bird Canvas Set // $4 each – Walmart
Orchid // $13 – Home Depot
Mint Clock // $10 – Walmart
Succulents (in the blue pot) // $4-$5 each?? – Home Depot
Bunting Banner // DIY
Gold rocks // DIY

*****

And lastly but not leastly, we needed some new rugs since we took our big blue carpet away. Behold!

Chevron Rug // $16 – Walmart
Teal Rugs // $19.50 each – Walmart

*****

And thus concludes my room tour! I hope you enjoyed it! Are you going to redecorate your room anytime soon? Have you redecorated recently? What was your favorite part of our “new” room?

***Allison***

P. S. WordCrafters 2 is coming right along! Nicole just recently finished her chapter – read it here. Hmm, Katri seems more and more suspicious, isn’t she? I had no idea!