Guess what? Last Sunday we got eleven inches of snow, AHHHHH! Since church was canceled and it was Mom’s birthday, we just stayed home and had possibly the best snow day ever. IT WAS MARVELOUS. I took heaps and piles of snow pictures, and I can’t wait to show you a selection of my favorites!
Yesterday it snowed (though a rather disappointing amount), and Mom decided to make snow day doughnuts with us! She and her sisters used to make them on snow days with their mom when they were girls.
It was a lot of fun to do, and it wasn’t actually that hard – just time consuming. Make sure you plan ahead before making doughnuts because it takes most of the day to let the dough rise the two or three times required.
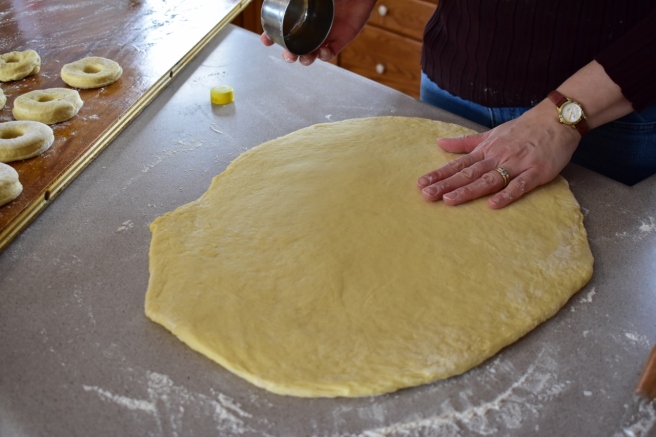
After mixing up the dough, Mom rolled it out fairly thick.
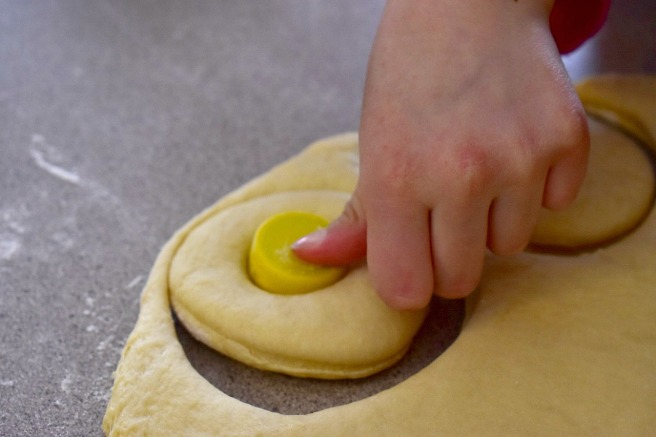
Since we, ahem, didn’t actually have a doughnut cutter (which my mom noticed a little too late XD ) we used a round measuring cup for cutting out the doughnut and a bottle cap for cutting out the hole. It actually worked quite well!
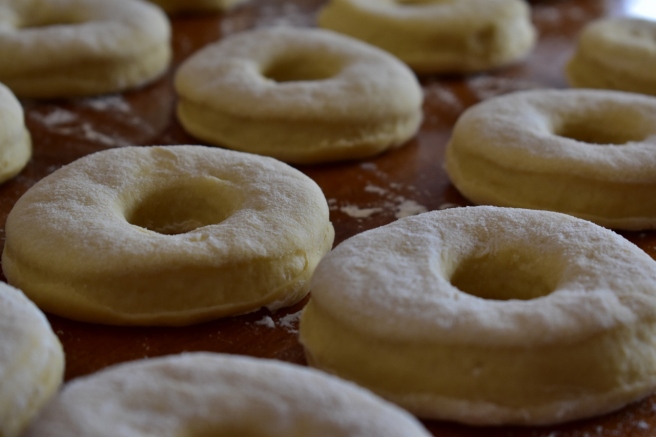
We put the cut out doughnuts on an extra table board which was big enough to hold them all but still portable.
Don’t worry, we made more than this. 😉
We didn’t forget the doughnut holes!
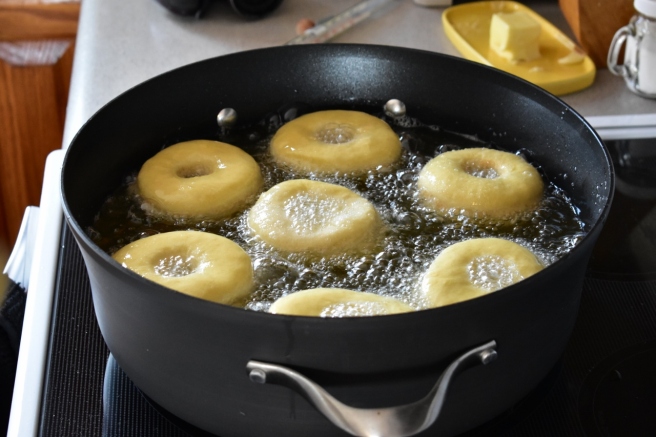
Next we needed to fry them – the fun part! Make sure to slip the doughnuts into the hot oil very, very carefully to avoid getting splattered: don’t plop them in! Watch the middles of the doughnuts and flip them over every so often to see if they’re getting browned. You have to be quick because once they’re done, they’re all done at once.
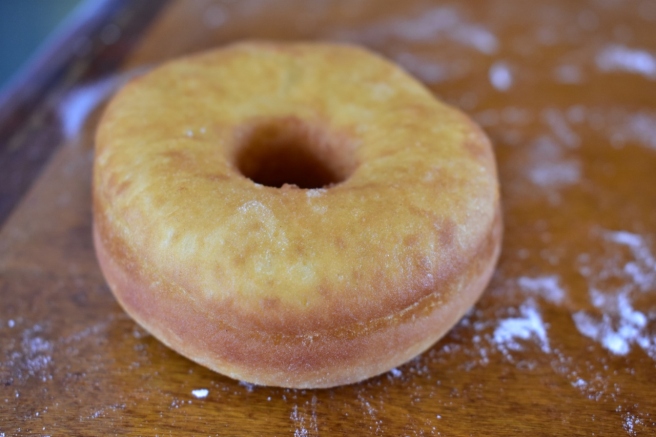
This is what an unglazed doughnut looks like. Pretty tempting, huh?
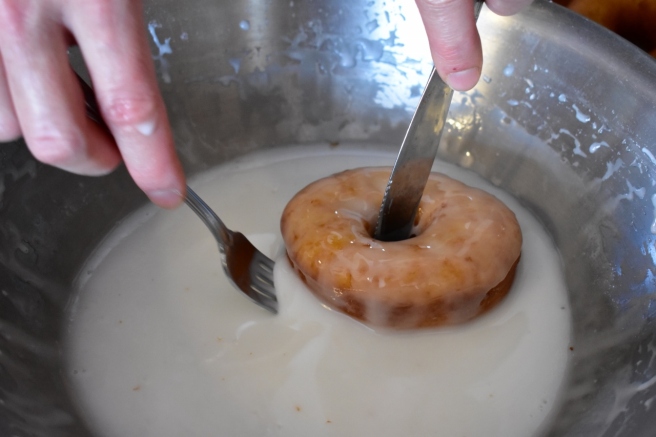
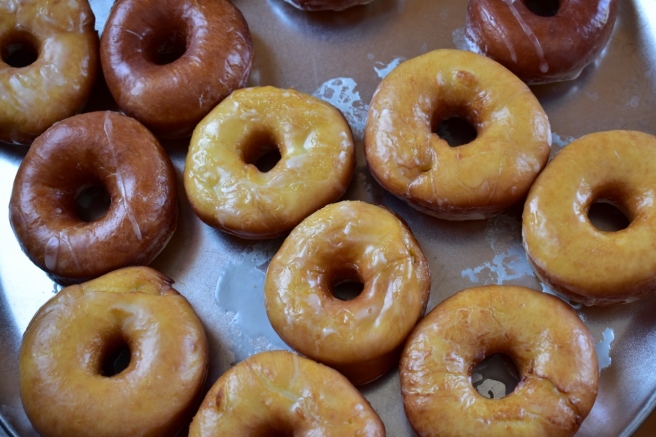
But take a look at these! YUMMY! Let the doughnuts cool and drain on some paper towels for just a bit, then take a knife and fork and coat them in a delicious glaze.
Yikes, this isn’t the best picture ever, but oh well. 😛
Never forget the poor yummy doughnut holes!
Let them dry on a metal rack, like we did, or hang them from a wooden dowel, and then DIG IN! Ohhh they taste so good! This recipe made about 50 doughnuts for us, so we froze the extras in Ziploc bags to have for Sunday morning breakfasts. Mmmmm!
Okay, are you ready for the recipe now? The doughnut recipe was handed down from my Grandma and the glaze recipe is from Mennonite Country-Style Recipes & Kitchen Secrets (but we always call it Esther Shank’s). Mom and Dad grew up Mennonite, so we use this cookbook a lot! It has a lot of great, classic recipes as well as some more unusual ones, and it also has plenty of tips and tricks for cooking your best. If you’d like to see the Amazon listing, click here.
(*Sigh* Since I’m not a food blogger, I therefore don’t have the fancy “Print this Recipe” button. 😦 XD )
Heat milk. Dissolve yeast in warm water and mix into warmed milk. Add 3 cups of flour to mixture and beat until smooth. Set back and let rise about 2 hours.
Cream butter, sugar, and salt, then add eggs. Add to yeast mixture. Stir in the rest of the flour and let rise until dough doubles in size.
Roll out the dough, cut, and let rise again. Fry in fat or oil at 375 degrees. Glaze (see below).
Glaze Recipe:
1 lb. powdered sugar (3 1/2 cups)
6-8 tbsp. boiling water
1 tsp. vanilla
Mix until smooth. Pour into small, deep bowl and dip the fried doughnuts with a fork and knife. They should be well covered with a thin coat of glaze.