{Little Drummer} A Story + Christmas Photography

7 (1280x853)6 (1280x853)5 (1280x853)2 (1280x853)1 (1280x896)10 (1280x853)9 (1280x853)

“Come,” they told me, “a newborn King to see.”

The journey was long, but we were strong.

“Our finest gifts we bring… to lay before the King.”

Blankets and wool against the cool.

“So to honor him… when we come.”

Kneel down, creaking sounds; bow low, down we go.

My father and the other shepherds knelt beside the manger in awe, but I stood back. I had come to see a king, and here was a child wrapped in dirty rags and laid in a feeding trough. I had come to see a palace, and here was a drafty stable shed. I had come to honor him, but he didn’t even look at me. The baby’s eyes were closed and he slept silently.

But then I remembered what the angels said, and a thrill of fear pierced me again at the thought of their thundering voices and blindingly bright faces, faces that had seen God Himself and yet deigned to appear to us, the lowest of the low. Shepherds. They had said, “You will find a baby wrapped in cloths and lying in a manger,” and at the thought, they had been filled with such ecstasy that they poured out the most beautiful and terrible song I had ever heard, with a thundering, pulsing beat that made my heart ache in reply. And they were right. There you were, sleeping among the stiff rags and coarse hay.

Remembering this, I knelt – out of obedience at first. But when you opened your eyes and looked straight into mine, I knew that you were no ordinary King: you were our Messiah, our Savior, the long awaited perfect Lamb, better than any unblemished sheep we raised for the temple. For in your new-opened eyes I saw the wisdom of eternity, and a love more beautiful and terrible than the song of the angels. Love for me, a lowly shepherd boy, a little drummer.

I longed to give you a gift then, a gift worthy of such a King. But I had nothing.

Little Baby,
I am a poor boy too.
I have no gift to bring
That’s fit to give the King.

I looked down at my feet in shame and there was my drum. The only thing I possessed. It would not do much good to give it to you, but maybe… I raised my eyes humbly to your mother who was watching you with worship on her calm and tired face. I asked her if I could play for you. My father held out a hand to stop me, but your mother smiled and nodded.

The night was silent then. Silent but for the rhythms in my memory, the precious stones I had collected on our journey until I had a chance to drop them one by one onto my drum. Now I let them go.

Tha-THUM. Pa-RUM. Tha-THUM. Pa-RUM. The piece started slowly and softly, to the deep beat of my own heart. Rip, strip; rip, strip. I added the comfortable beat of sheep chewing up grass.

The song was gaining strength, but it was still hungry. I fed it more rhythms, dropped more stones: The heartbeat quickened and pounded as the angels appeared, then the tempo scattered and broke into the complicated, powerful roll of the angels’ hymn that had nearly ripped my heart out when I listened. Finally the heartbeat slowed again, accompanied by the slap of our footsteps traveling to meet you. And then everything sped up and crashed together at the moment when you looked at me and I saw a Redeemer in your eyes.

I thought I was finished, but the rhythm took hold of me and I played a song I did not know, a song I had never learned. The staccato tempo of the donkey’s feet carrying your mother here. The cries of pain as she brought joy into the world. The first breath of a new life and yet a life that had always been. The sound of a thousand thousand hearts beating in unison, aching with longing for a King, a Savior to heal up the cracks where sin seeps through. And the shivering bleat of a perfect, unblemished little lamb who held deep power inside.

The song swelled and grew as I added each new rhythm, flying upwards and outwards until it blended with the billowing, whirling wind outside. The pulses crept under my closed eyelids and traveled with a delicious tingle down my cheeks and into my mouth, where they piled so high that the corners of my lips stretched up to hold them all. Still they kept seeping in until at last they overflowed and burst out my mouth in a jumble.

The laugh bounced off the drum with the rest of the precious stones, then followed them over the side, single file, until the only stone left was the soft, deep thump of my heartbeat. At last, it too danced off the drum and the world was silent once again. I sighed, satisfied, my gift completed.

I opened my eyes and looked at you. And you smiled at me.

**************

Well, that was fun! Maybe not the best thing I’ve written, but something I’ve been wanting to write for a while. I know, I just posted a Christmas story… sorry ’bout that. :/ (I promise I will cut down on the writing and Christmas-themed posts and get back to normal after December. XD)

But I just love the Little Drummer Boy song. It’s such a sweet and powerful reminder that we, too, have nothing fit to give our King – and yet he laid down his life for us. Though we crown him with thorns, yet he smiles at us. The least we can do is play our life song to him in gratitude. ♥

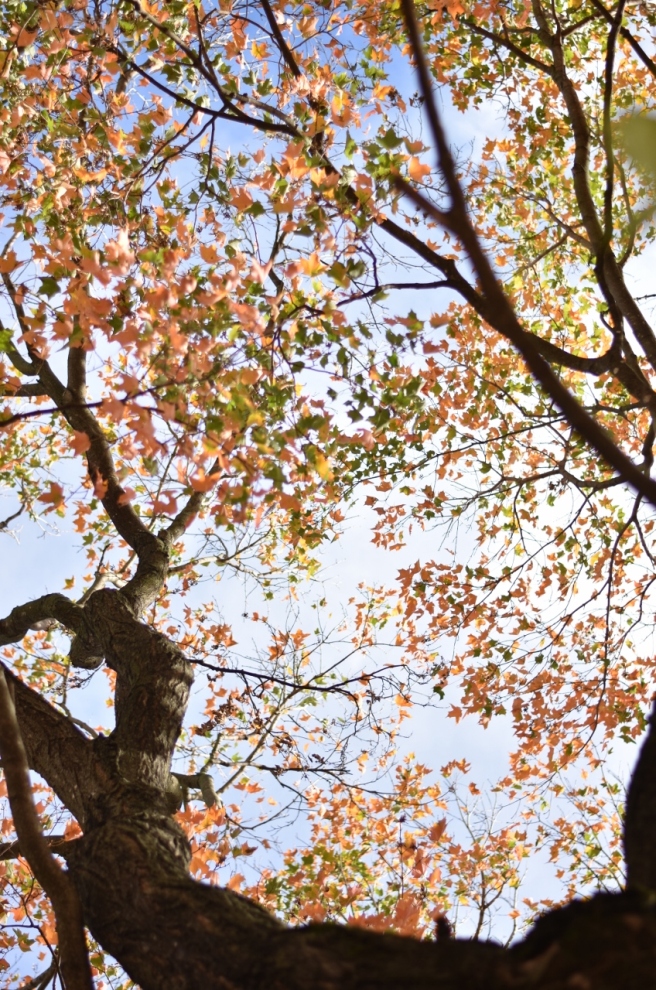
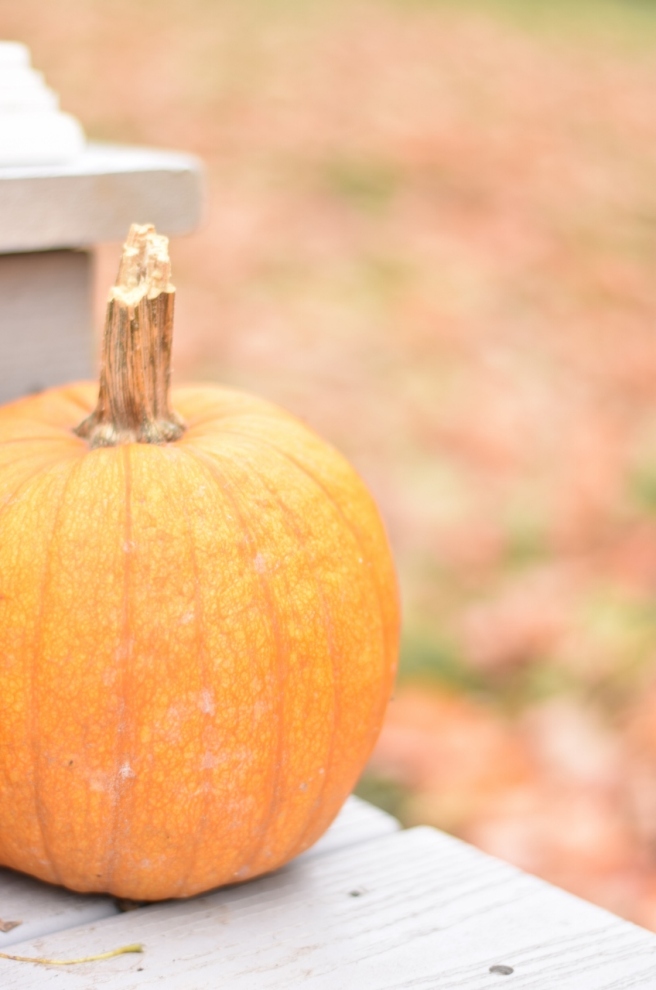
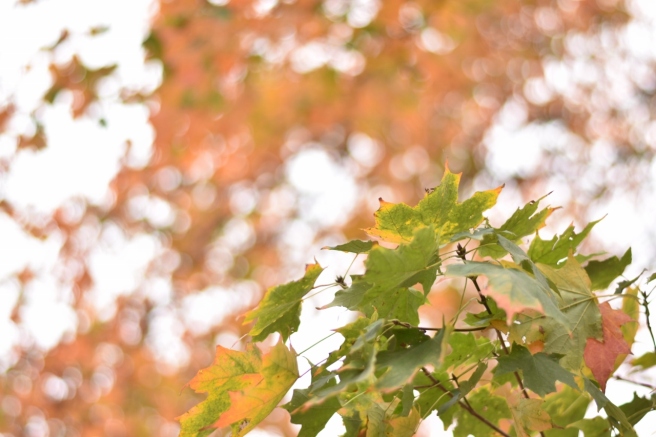
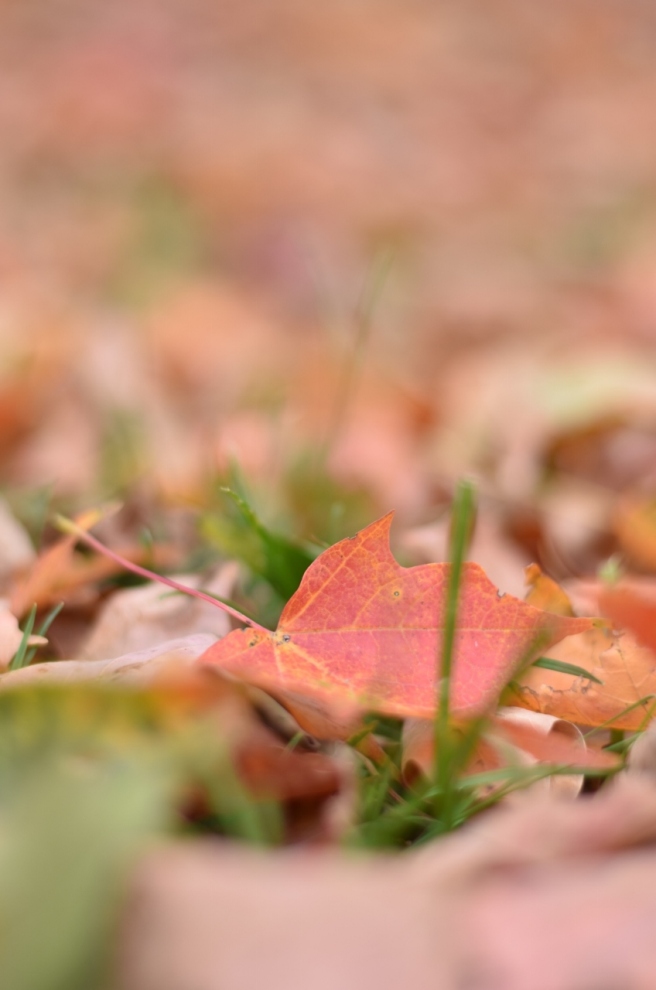
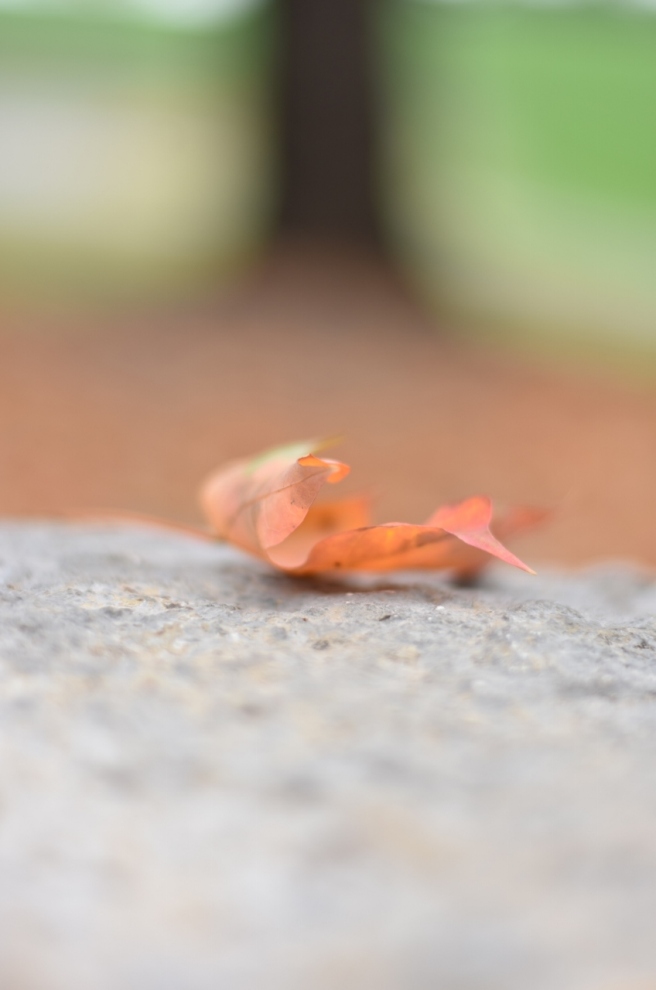
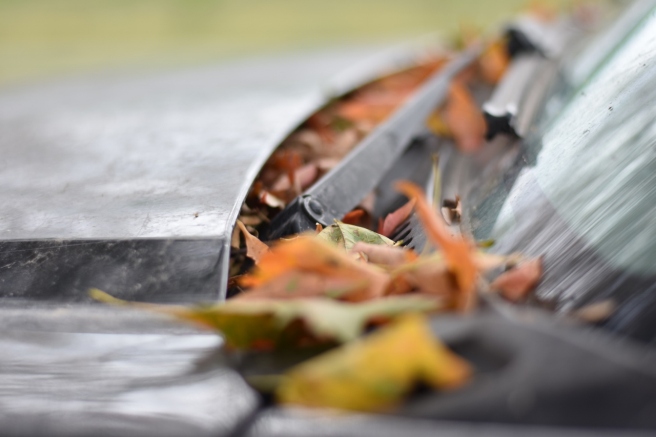
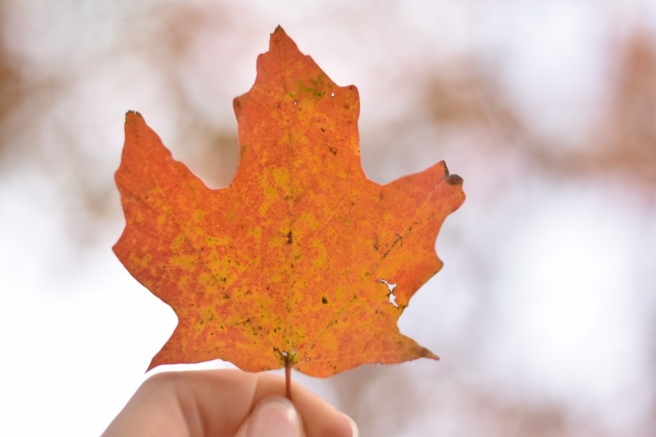
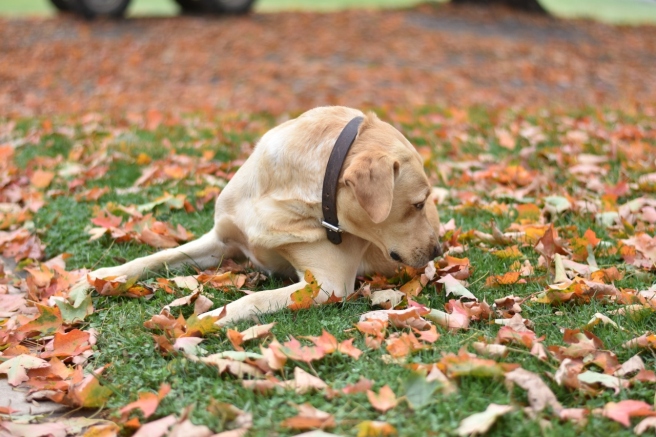
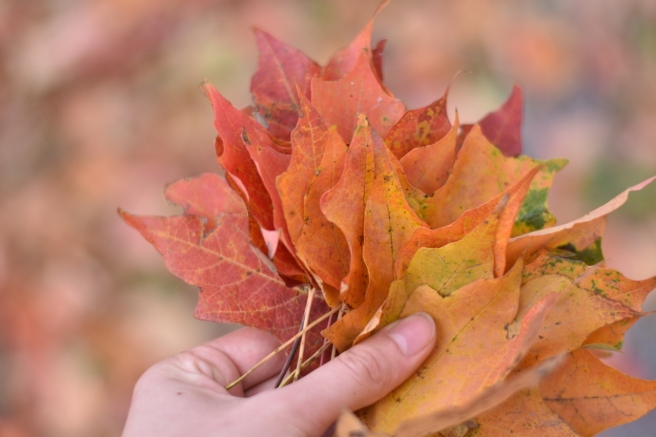
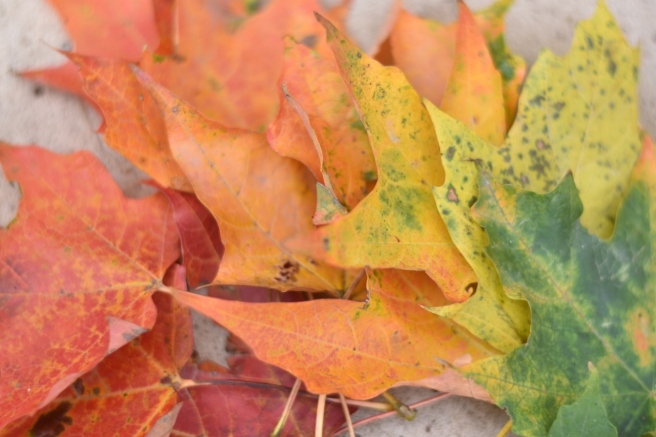
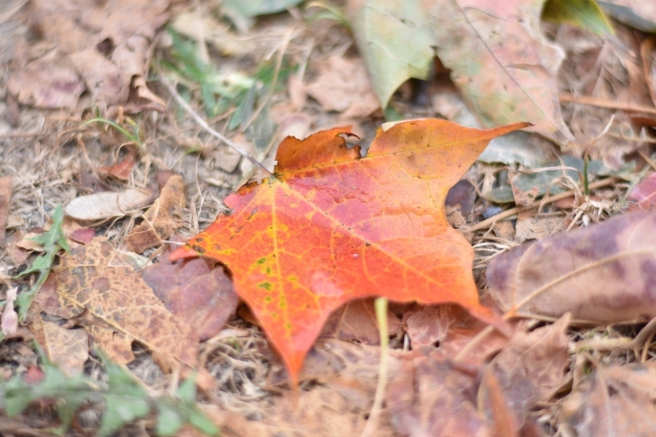
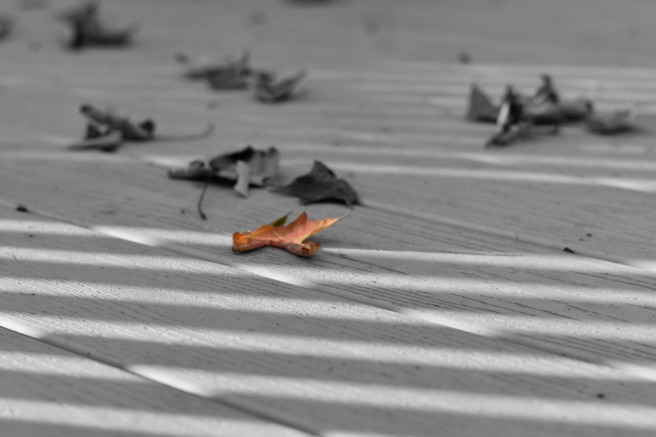
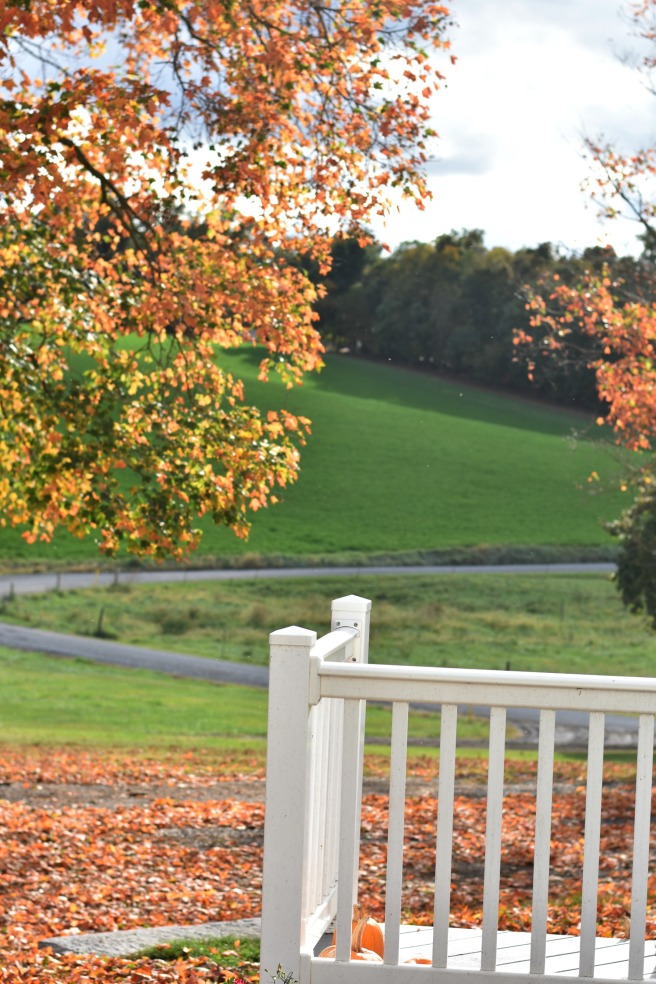
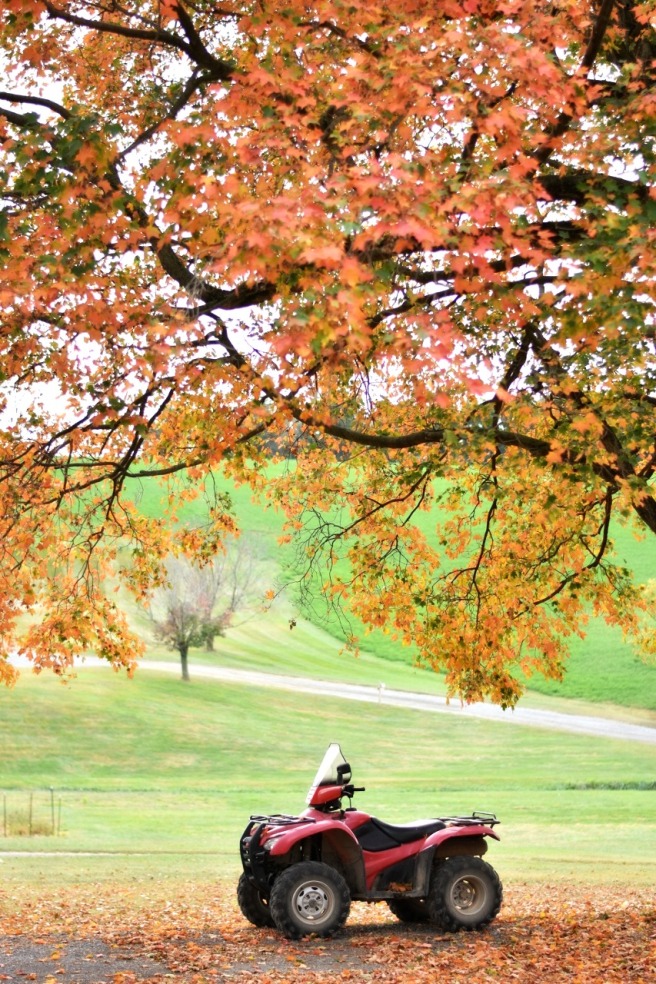
Thank you for reading, and I hope you enjoyed the little story and Christmasy pictures. 🙂 And MERRY CHRISTMAS, GUYS! I hope you have an absolutely stupendous one. ♥

***Allison***

Falling Again

Heh heh. Aren’t my puns great? *Sigh* Yes, I know they’re awful. ANYWAY, I’m super excited to show you guys these fall pictures! I’ve been saving them up for a while now and I finally get to post them. 🙂

First I want to show you our beautiful ombre maple tree. 😀 Well actually the leaves are all fallen from it now, but this is how it used to look. Isn’t it lovely?

DSC_2463 (853x1280)

One of the other maples beside our lane was absolutely gorgeous this year! Especially with the sun shining through the leaves… ah, it was beautiful.

DSC_3356 (853x1280)

I LOVE these pumpkin pictures! 😀

DSC_3338 (853x1280)

fall 4

And back to the tree again. This bokeh… OH MY GOODNESS! ♥

DSC_3328 (1280x853)DSC_3326 (1280x853)DSC_3324 (1280x853)

DSC_3317 (853x1280)

I really like the composition of the next one. (Wow, I’m doing a lot of portrait, vertical photos aren’t I? Here’s a question: Should I make them smaller so you can see them without scrolling, or do you like them full size as they are?)

DSC_3309 (853x1280)DSC_3306 (1280x853)DSC_3250 (1280x853)

Leaves can make even dusty black trucks pretty. 🙂

DSC_3239 (1280x853)

I promise I didn’t put the leaf there. Isn’t the position so neat and funny?

DSC_3236 (1280x853)

And of course we musn’t forget the classic holding-a-leaf-up picture, am I right?

DSC_3233 (1280x853)

Ooh, and then I got several adorable pictures of Maggie looking all dejected. 😛

DSC_3222 (1280x853)DSC_3218 (1280x853)

HA HA Maggie looks like she’s havng an intent conversation with a leaf or something and the leaf just said something shocking. XD What would you caption this photo? (No winners this time – just for fun. 😉 )

DSC_3214 (1280x853)

DSC_3219 (1280x853)

DSC_3220 (1280x853)

Here’s a fun fall photography prompt: try to find fall leaves in a half-rainbow, from red to green. Arrange them in an ombre pattern and snap away! 🙂 I had a lot of fun with this, but it also took FOREVER to collect the leaves.

DSC_3191 (1280x853)

fall 2

DSC_3207 (1280x853)DSC_3206 (1280x853)DSC_3190 (1280x853)

Huh, what do you know. I’m wearing the same skirt as in this post. (I promise I don’t wear it every Sunday. XD )

DSC_3183 (1280x853)DSC_3182 (1280x853)DSC_3171 (1280x853)

I rather like this edit.

fall 6.jpg

DSC_3085 (853x1280)

And lastly, just a few edited photos. I spent SUCH a long time trying to capture a leaf falling. XD

fall 1fall 3

And we end with a photo featuring a picturesque (?) four-wheeler? Okay…

fall 5

Alright, you got to the end. *applause* Actually, you didn’t. Let me talk for a bit first.
Ahem. Some people mentioned in the survey that they don’t love scrolling through so many pictures in my photography posts, and I definitely understand that. I always try to cram a ton in. XD So I shall attempt to be a little more picky and not burden you with so many at once. What do you think? More photos, which might contain some less quality photos, or less photos, but more quality ones?
Also it seems like I kind of failed my goal with this post, but let me tell you, I was much more selective than normal. IT WAS SO HARD. THERE ARE SO MANY PICTURES TO SORT THROUGH.
Thank you guys so, so much for taking my survey, by the way! I can’t please everyone nor am I going to try, but it really is helpful to hear your thoughts. ♥ Thus, my goals are…
  1. Condense my photography posts a little. And post more people and pet photography rather than mostly random nature photos like I just did.
  2. Keep my header but maybe change the theme and clean up the sidebar. (Question: do you ever use the category pictures on my sidebar? If not, I’ll just delete them.)
  3. Make more art posts and start up with Art Lab again! The thing is, it’s a little hard to do a collab art blog with just me posting… heh heh. I want to get that figured out too. Anyway, I already have a fun Art Lab post in mind which I will hopefully post maybe Saturday or Sunday.
  4. Make featured images for all my posts, not just some, for more cohesiveness.
Okay, I am FINALLY done with this post. Thank you so much for bearing with me, dears, and listening to my many questions! Do you have a favorite photo? What do you think of my four goals?
Have a lovely fall day!
***Allison***

P. S. GUYS. I JUST REALIZED SOMETHING ELSE. If you type this: :{), it looks like an emoji with a mustache. WHY IS THAT NOT A THING? Oh, right. Probably because it’s completely useless. True. BUT STILL. Okay, I’m actually done now.

My County Fair Entries for 2017

Hello, my friends! 😀

I know some of your were looking forward to seeing my fair entries and what prizes I won, so here you go! This is for you. 🙂

Here’s a picture of all my entries except the photos. It’s… kind of hard to tell what’s what, so let me show you a little more clearly…

DSC_1506 (1280x853)

A strange little octopus. 🙂

DSC_1511 (1280x853)

I like this one! Two little gnomes in a flower house. 🙂

DSC_1516 (1280x853)

Look how tiny he is!

DSC_1518 (1280x853)

A doughnut turtle! She’s so cute. 😀 (Also note you can find this and the previous three clay things at my Etsy shop.)

DSC_1521 (1280x853)

This is a lil’ hippo I made for my little sister’s birthday to hold trinkets and such. She said, “No, Allison, do you have to enter it? I need it to hold my things!” XD 😀

DSC_1523 (1280x853)

I also won a sweepstakes ribbon for ceramics, so that was really exciting!

DSC_1537 (1280x853)

I made this tissue paper flower from a DIY book.

DSC_1524 (1280x853)

These didn’t win a prize because I accidentally grabbed a falling-apart one from my collection. XD Oops.

DSC_1525 (1280x853)

I made this cute little elephant in a sewing class. It was rather hard to make, but I love how it turned out!

DSC_1526 (1280x853)DSC_1527 (1280x853)

Just a bonus picture of a butterfly that was passing through. 😀

DSC_1528 (1280x853)

Here’s the picture of my friend Aria from the last post. Sadly, it didn’t win a prize. :/ Oh well! I like it anyway. 🙂

drawing 2 (1280x1040).jpg

Strangely enough, this won third prize, even though I think the portrait was a lot better. Perhaps they were judging by creativity?

moonrise galaxy (1280x948)

Okay, now for the photos I entered. I entered this in “Abstract,” but it didn’t win a prize.

abstract (1280x853)

This was for “Action.” It also didn’t win a prize.

action (1280x853)

I entered this in “Close-Up,” and it won first prize!

closeup 2 (1280x960)

“Architecture,” and no prize.

architecture (663x497)

“Artistic,” and it won third prize! 😀

artistic (1280x922)

“People,” and no prize.

people (2) (1280x853)

“Pets” – isn’t Clemmy so cute? Sadly, no prize.

pets (1280x849)

“Landscape” – no prize.

rural rockingham 2 (1280x853)

“Rural _____,” with third prize!

rural rockingham 3 (656x437)

“Wildlife,” and no prize.

wildlife 4 (1280x915)

“Humor,” and first prize! Heh heh, isn’t it funny? XD

humor (1280x914)

And that’s all for this year! Altogether I believe I got 12 prize ribbons out of 21 things entered, plus one sweepstakes ribbon. Not too bad!

Well, I hope you enjoyed looking over a summary of the stuff I made and photos I took in a year’s time. 🙂 Do you like to enter things in your fair? Did you win any prizes?

Thanks for reading, my dears, and have a lovely day. ♥

***Allison***

P. S. Guys, please pray for the people in the aftermath of Hurricane Harvey and the ones possibly in the path of Hurricane Irma. I can’t even imagine how hard it must be. We’ll keep you in our thoughts and prayers, friends! ♥

How to Edit Photos, Part 3: Editing Portraits

How to Edit Photos, Part 3 (800x800)

Hello, folks! 😀

I’m back with another edition of the photo editing series I’m doing! 😀 (Click here to see part one, and here to see part two.) Today I want to go over how to use PicMonkey to touch up a portrait of a person, as well as some clever tricks to use the touch-up tools in unexpected ways. I’ll also talk about how to use PicMonkey to create the perfect book character portrait for those of my blogging friends who love writing. 😉 I hope you find this helpful!

To begin with, let’s go over some common problems and how to fix them with the tools in PicMonkey’s “Touch Up” tab.

  • Blemishes: Well obviously you can use the “Blemish Fix” tool, but you can also use the “Clone” tool if that doesn’t work (because sometimes it doesn’t). If Blemish Fix doesn’t work and you don’t have Royale, you can fix small blemishes with the “Draw” tool from the Effects tab. Set the hardness to zero and use the dropper to select the skin color surrounding the blemish. Then paint over the blemish, like you’re using concealer.
  • Erasing Flyaways and Frizzy Hair: I learned this tip from the PicMonkey blog! Use the “Wrinkle Remover” tool to erase that annoying halo of frizz around your subject’s head. Wrinkle Remover softens whatever it’s painted on to, so it basically blurs the stray hairs (and wrinkle lines) into their surroundings. On a related note, you can shape eyebrows with wrinkle remover too – just don’t overdo it! XD
  • Brightening Eyes and Other Shiny Things: The “Eye Brighten” tool is one of my favorites in the touch up tab because it’s so versatile. Use it to, duh, brighten peoples’ eyes, but also to brighten the eyes of animals and pets. Cat’s eyes, especially benefit from a little brightening to make them pop. Eye Brighten is good for other shiny things too, like jewelry, cameras, and watches, that are shiny in real life but are dull in the picture. Oh, and one more thing! Paint Eye Brighten onto the eyelashes, eyebrows, and any other parts of the face you want to sharpen and darken.
  • “Ironing” Wrinkly Clothing: You can actually smooth out wrinkles in clothing with Wrinkle Remover too! Imagine that. 🙂
  • Whiten Eyeballs: You can brighten the whites of your subjects eyes with Teeth Whiten! You can also use Clone to erase blood vessels or other blemishes.

Now that you know a few tricks, let me show you some examples.

before after.jpg

I have to say, I did use the Exposure tab first (mainly Highlights), since this photo was so dark to begin with. But after that, I used  a little bit of blemish remover/clone; some eye brighten (for eyes, camera, and watch); wrinkle remover to tame Megan’s flyaways, blur the background, unwrinkle her shirt, and smooth her eyebrows;and I think some airbrush too. Looking good!

before and after.jpg
photo credit via abarefootgal.wordpress.com


Here I used wrinkle remover again to erase my flyaways and a few wrinkles in my shirt; and then eye brighten on my eyes, eyebrows, and Lily’s eye. 🙂

before and after.jpg

This is my Dad’s eye. 🙂 I chose not to erase the wrinkles completely, but I did smooth them just a tad. I also used Teeth Whiten and Clone to whiten the whites of his eyes, Mascara ( XD ) to darken his eyelashes, and Eye Brighten to brighten his eyes and darken his eyelashes as well.

before after.jpg

Here’s an example of using “Touch Up” to edit photos of your pets. This little kitten was so cute, but it’s face was kind of dirty. The only things I used here were Blemish Fix and Eye Brighten.

Now for the other part of the post…

How to Create the Perfect Book Character Portrait With PicMonkey

What happens when you know exactly what your character should look like, but you can’t find any pictures on Pinterest to match? That’s a terrible problem. 😛 But never fear – here’s how to fix it. Start with the best photo inspiration you have of your character, the photo that’s the closest thing to the picture in your mind. Try to find a picture where the structure of the face and hair is right, even if the colors are wrong. Then change the color of the character’s eyes, hair, lips, skin, etc. on PicMonkey!

Here’s an example I did. I’ve been trying to find the perfect picture for a character I have in mind, but I just couldn’t find it. This was a close one, but the eyes and eyebrows needed to be darker and the hair lighter. I touched this photo up on PicMonkey, and voila! (original photo via)

Aeryn before and after

I used Highlights and Clone to lighten her hair, Eyebrow Pencil to darken her eyebrows, Spray Tan to turn her irises brown, and Mascara and Eye Brighten to darken her eyes and eyelashes. It’s a lot of fun to edit pictures like that because they turn out so different than the original!

Before we finish, here’s a few miscellaneous tips:

  • Don’t Overdo It! This is one of the most important things to remember when editing portraits. You might be tempted to make your subject’s skin look perfectly smooth and their eyes look super shiny, but that looks fake. Stick to realistic edits unless, like for book characters, you’re purposely making them look different.
  • Go Royale: Unfortunately, a lot of the Touch Up tab is Royale. If you take pictures of people a lot, you might want to consider upgrading to Royale to get these and many more features. I have Royale, and I love it! It is, however, 30 something dollars a year, so I would recommend thinking about how much you’ll use it before buying it.
  • Improvise: If you don’t have Royale, you can often concoct your own Touch Up tools from various free effects and features elsewhere in PicMonkey. (For instance, using “Draw” instead of Clone.) The more you use PicMonkey, the more you’ll be able to master it.

So that’s about it! Many of the tools I didn’t talk about are self explanatory, so have fun experimenting by yourself! 🙂 If you have any questions, I’d be happy to hear them I’ll try and help you the best I can.

Thanks for reading!

***Allison***

How To Edit Photos, Part 2: Adding Effects

How to Edit Photos, Part 2 (1280x1280) (800x800).jpg

Hello, my friends! 😀

I’m so happy that you guys liked the first part of this series! (If you missed Part 1 or would like to review it, click here.) Are you ready for Part 2? Today I’m going to show you how to use some beautiful and fun effects, along with a few tips and tricks as well.

Again, I’m going to be working with the PicMonkey editing site, so go ahead and open that up on your web browser and choose the photo you want to edit. Last time we used the Basic Edits section of PicMonkey, but today we’re going to use the Effects tab. It’s represented as a little sparkly wand symbol on the left hand sidebar of the PicMonkey Editor, just below the Basic Edits tab.

Alrighty, let’s do this!

How to Add Effects

To be honest, I don’t use effects that terribly much, but there are a few very helpful tools in the effects section of PicMonkey – and all of the effects are just so fun to play with! I’m going to edit a picture and walk you through the steps so you can do it too.

Here’s our starting picture. ♥


To begin with, I used the Focal /soften tool. This is a very useful effect, especially if you don’t have a DSLR or if your camera doesn’t allow you to adjust aperture. See, by adjusting the aperture to a smaller or lower f-stop, you can make the subject sharp and in focus while the background is beautifully soft and blurry. Personally, I LOVE this effect, and so do a lot of other people. It looks professional. But if you take photos with your phone or a little pocket camera, it’s not easy to get a blurred background. But that’s why you’re here, my friends! 😉 Let me show you how…

First, find the “Focal Soften” Tab. It’s toward the bottom.

edit-focalsoften-1227x520

If you’re a little overwhelmed by all the different sliders, don’t worry! Trust me, it’s not as complicated as it looks. I’m pretty sure you could all figure it out by just playing around with the sliders, but in case you want some more detailed information, here it is. 😉

The Blur slider simply adjusts how soft or blurry it is around your subject. Tip: Be careful not to add too much blur or the effect will look fake. Focal size adjusts the size of the part of the photo which is sharp, or in focus. Edge Harden determines how distinct the edge is between the blurry and non-blurry parts of the photo. Tip: I suggest normally sliding the edge hardness to zero or close to zero. This provides a smoother, more natural transition. And lastly, the Fade slider controls how much of the whole effect, Focal Soften, shows up on your picture.

Okay, next I used the “Boost” effect.

edit-boost-1215x513

Tip: A little “Boost” can go a long way. You will quickly see this if you play with the slider. I used 8% boost for my picture, just to make the colors more vibrant.

I also added a teensy bit of the HDR effect.

edit-hdr-1216x512

This is yet another effect to use sparingly – although it’s really fun to play with the sliders and create weird and wonderful artistic effects. HDR is basically a more interesting, advanced form of the “Sharpen” tab in Basic Effects.

Lastly, I finished it off with another of my favorites: the Miniature effect.

edit-miniature-1232x523

Now, as you can see by that little yellow crown up there, this effect can only be used by Royale members. Like I mentioned in Part 1, Royale is an upgraded version of PicMonkey that gives you access to more effects, more graphics, and generally more features all around. I have Royale and I love it! You really get a lot of fun and useful stuff when you buy the package, including this Miniature effect. Tip: If you’re not sure whether to get Royale or not, you can always try out PicMonkey’s free trial!

Ahem, getting back to the effect… The Miniature effect is kind of like a combination of Focal Soften and Boost, but it’s a little different from either. For one thing, you can choose whether to make the focal shape linear or circular – in other words, make the in-focus part of the picture a rectangular section or a circular section. For landscapes and such, it works best to use the linear option, but for close-ups and individual objects, use circular. Adjust the Boost and Impact sliders to control the saturation and blur of the effect respectively.

Alright, I’m finished! Here’s the before and after photo: (before on the left and right on the right side)

before-after-2-2-1280x640
So pretty!

I’m going to go through these next photos a little faster now that you know basically how the effects work.

Black and White

The classic B&W. 🙂 I like to use this effect when 1.) my photos are cluttered or have a distracting background, and 2.) when I want the photo to have a special, nostalgic feel. PicMonkey seriously has like 7 different black and white effects, and they’re all a bit different. Tip: Start with classic Black and White, then add some toned-down Super B&W or Tri-X to make your photo pop. If you use the Fade slider on Super B&W or Tri-X without first making the photo black and white, you’ll end up with a bunch of washed out colors instead of true black and white. Which, incidentally, is another neat editing technique of its own.

Here are some black and white photos I edited.

tag

As you can tell, this isn’t completely black and white. If you click the little paintbrush symbol on the Black and White tab, a little menu with even more sliders pops up! Choose “Effect” at the top of the menu to paint on the effect you’re using, and “Original” to erase it off. I erased the black and white effect off of only the cupcakes here, for a fun pop of color.

tag

This is an example of B&W used to create a nostalgic or special atmosphere. Black and white is great for preserving special memories or sweet moments like this. Isn’t is adorable? ♥ (By the way, the original picture was from this post.)


Clone

This is a VERY useful tool, but sadly, it is a Royale feature. 😦 Clone can be used to erase unwanted items right out of a picture – from power lines to trash – as long as the unwanted object is fairly small. Simply click on the part of the photo close to the unwanted object, and start erasing. This tool takes a bit of practice to master, but it is quite helpful once you do. Take this photo, for example:

allisonvacation-52

Gorgeous Niagara Falls, right? And annoying blue people, huh? Well we can whisk those people far, far away with the Clone tool. Ta-daa!

edit-clone

Isn’t that amazing? I simply copied the bushes and rocks from around the people and painted over all that blue.

Other Tools and Tips

  • Two other very useful tools which I didn’t show are “Dodge” and “Burn.” Both are located at the bottom of the Effects page, and both require Royale membership to use. Use Dodge to brighten specific areas of your photo; use Burn to darken specific areas of your photo. Tip: Dodge is helpful when the face of your subject is dark or cast in shadow.
  • A really neat feature which PicMonkey added recently is the ability to create your own effect by layering other effects together. It’s a little button labeled “Save custom effect” up at the top of the Effects tab. But… you guessed it, it’s a Royale feature too. I actually don’t use it that much anymore, but it’s really fun to play with. 🙂 Tip: Mix up your own custom effect to provide the photos for your blog or business with one cohesive (and personalized) look.
  • Be creative! I encourage you to try out all the effects in the tab and play around with the sliders. Even if you don’t have Royale, PicMonkey at least lets you preview the Royale effects.
  • One last tip: have fun with editing, but don’t go overboard! Sometimes over-edited photos are much worse than the original. Think of the effects like make-up – use them to enhance your photo’s natural beauty, not plaster them on until your photo is unrecognizable and fake-looking. Unless, of course, you’re doing an artistic effect on purpose.

Phew! That was a lot to take in, but I hope you guys found it helpful! Let me know if you have any questions about that, and I’ll do my best to answer them. 🙂

Have fun editing!

***Allison***

How to Edit Photos, Part 1: The Basics

how-to-edit-photos-part-1-800x800

Hey, guys! 😀

Grace recently wondered if I could do a tutorial on how to edit photos, and I thought that was a great idea! I decided to make this a mini-series, covering basic photo editing, adding effects, touching up photos of people, and maybe a little bit of graphic design and collaging too. I’m really excited!

Anyway, let’s get started. Today I’m going to go over the basic photo editing tools and then show you how to use those tools to fix two common photo problems.

Introduction

I use PicMonkey for pretty much all of my photo editing, and I highly recommend it! It’s very easy to use, and it’s free – although you can pay to upgrade to Royale and get some extra features. (I have Royale, by the way, and I would definitely recommend it if you edit photos a lot. I’ll talk more about Royale later in the series.) But don’t worry about that for now. All the tools I’m going to go over today are completely free.

So, open PicMonkey, and hover over the bar at the top of the page where it says “Edit.” Open the photo you want to work on. The section of the editor that pops up is called “Basic Edits,” and that’s what we’ll be using today.

Basic Edits

  1. Crop: The first tab of the “Basic Edits” section is “Crop.” Cropping is quite a valuable tool that allows you to cut out ugly surroundings from the corners of your pictures, make the composition of your photo more interesting, or simply zoom in closer to the subject.
  2. Canvas Color: This just covers your whole picture with one color. You won’t use it to edit your photos, although it’s great for graphic designing.
  3. Rotate: The rotate tab allows you to flip your picture any way you want. It also allows you to straighten your photo, which is very helpful if you were accidentally holding your camera crooked and your subject looks like it’s sliding off the picture. 😀
  4. Exposure: In my opinion, this is the most important tab in the Basic Edits section (well, maybe it’s tied with “Crop”). You can work wonders simply by adjusting the exposure of a photo, and we’ll be using this tab a lot, later in this post.
  5. Colors: This tab includes sliders for saturation and temperature, as well as a mysterious button called “Neutral Picker.” Actually, it’s not that mysterious. 🙂 Basically, when you click on the parts of your photo that should be white, the Neutral Picker auto-adjusts the temperature to turn those off-colored spots white again. Temperature controls how warm or cool a photo is – in other words, whether it has a red (warm) tint or a blue (cool) tint. And saturation, as you probably already know, makes the colors of your photo more saturated and bright.
  6. Sharpen: Sharpness and Clarity actually ARE different – just a bit. My unscientific description is that Sharpness yields a more subtle effect and focuses on sharpening the details, while Clarity is bolder and boosts the contrast of your photo while giving it a gritty effect at the same time.
  7. Resize: This simply downsizes your photo to a smaller file size so it takes up less space on your computer (or blog). Anywhere between 800 and 1280 (and even a bit larger) would be a good size for sharing online. One thing to keep in mind is the smaller the size, the lower the quality of the picture.

Using Your Tools

Now that you know what everything does, let’s put your tools to use! I’m just going to show you a few examples and walk you through what I did. (Note: the “before” pictures are on the left, and the “after” pictures on the right. Just in case you couldn’t tell. 😉 )

before after 8.jpg

Isn’t it amazing what the Shadows slider can do? That’s seriously all I did. I moved the “Shadows” slider to -44, and that’s it.

before after 4 (1280x640).jpg

This is a more subtle edit, but I think the “after” picture definitely looks more vibrant. The photo on the left is kind of drab and gray, so I upped the saturation a bit and adjusted the exposure. I also straightened the photo so the ocean isn’t tipped to one side like that. (And hmm, I might have lowered the temperature also, but I can’t recall for sure. Oops. XD )

before after 7.jpg

The main difference in this photo is that now you can actually see the cute wittle kitten instead of losing him in the surrounding scenery. I told you cropping was a helpful tool! 😀 I also straightened the photo so the kitten wasn’t falling off the face of the earth, upped the “Sharpness” slider, and adjusted the exposure just a tad.

before after 3 (1280x640).jpg

Wow, so much better! This picture was washed out to begin with, but by lowering the brightness and shadows, and adding a little bit of contrast, it looks bright and beautiful again like it’s supposed to. And speaking of over-exposed photos, we should move on to the fixer upper part of this post. (By the way, I l♥ve the show Fixer Upper! Have you ever watched it? It’s sooo good. Ahem…)

How to Fix an Over-Exposed Photo

An over-exposed photo is one of my most common problems. But thankfully it’s easy and fun to fix!

This is the photo we’ll start with:

087

Eh. The content is good, but the lighting is off: it’s too bright and has a sort of bland grayish-white wash over everything. We must rescue this poor photo in distress!

Pretty much everything you need to fix an over-exposed photo is in the Exposure tab, so go ahead and open that up. The two main things to do for an over-exposed picture are to lower the brightness and lower the shadows. Here’s a screenshot of what I did:

photo editing part 1 5 (1033x518).jpg

You can tell from the sliders that I lowered the brightness and shadows significantly (to -14 and -18 respectively) and added a tiny bit of contrast and highlights. And that’s pretty much it! (Note: I did also use the “Burn” tool to darken a few spots in the photo, but I’ll talk about that more in another post. For now, just concentrate on using the “Exposure” tab.)

Before and after. So much better!

before after 6 (1280x640).jpg

How to Whiten a Photo

Sometimes photos have a weird yellowish or bluish tint, especially on the light parts of a picture.

Like in this photo:

snowy-owlet-1-1-1024x768

This really isn’t a bad picture, but you can see a slight orangish tinge over everything, which makes it look dingy rather than fresh and clean. It’s especially important to get good, clean-looking photos of products you sell, and this owl just so happens to be in my Etsy shop. So, let’s clean him up a bit, shall we?

First, open the “Exposure” tab.

photo editing part 1 10 (1179x522).jpg

The main thing you need to do here is bump up the highlight slider, but I also messed with the brightness and shadows slider a bit too. Here’s a tip: use mostly highlights instead of brightness to brighten up a photo, because too much brightness will make the photo look washed out. “Highlights” brightens just the white parts instead of the whole photo.

photo editing part 1 11 (1182x528).jpg

Next I opened up the “Colors” tab. Since my picture is too red, I moved the Temperature slider down to -10, which added some blue to even it out.

And here’s the before and after. A subtle difference, but do you see how the one on the right looks cleaner, fresher, and more appealing?

before-after-2-1280x640

Well, I guess that’s it! I give you a pat on the back and a virtual bag of chocolates if you read that whole thing. O.o XD

Heh heh. I hope that was helpful to you! Feel free to ask me any questions in the comments if you didn’t understand something. 🙂

Have a lovely day, lovely people!

***Allison***

The Cutest Wittle Fluffballs

My brother Jeff found a litter of barn kittens today, so I thoughtfully went down and took some pictures for you. XD Take a deep breath, guys, ’cause THESE KITTENS ARE ADORABLE! Jeff found four, but when Megan and Carmen and I went down to see them, we only found two. 😦 Oh well, they were the two fluffiest ones, so that’s good, right? YES IT IS THEY ARE SO CUTE OH MY GOODNESS THE FLUFF! Okay, I’ll stop screaming so you can see for yourself…

kitten-3-827x552
AHHHHHHHHH HELP MEEEEEE!
kitten-4-1280x854
LOOK AT ITS TAIL!

kitten-8-1280x854kitten-9-1280x854

kitten-10-1280x853
This was a fun edit to do. It makes everything look really wintery…
kitten-12-1280x854
“Help, Mom! Come get me down!”
kitten-13-1280x853
This is Violet, the momma cat.


dsc_0578-1280x853
Hee hee, isn’t this picture hilarious? What would you caption this? I would do “Ugh, is he doing the smug face AGAIN? Just because he’s two minutes older than I am… *Rolls eyes*” XD XD


kitten-19-854x1280
Oh look, a pile of fluff. AHHHHHHHH!


kitten-14-1280x853
kitten-16-1280x853
And a sleeping fluffball. AHHHHH AGAIN!
kitten-17-854x1280
Oh my goodness I love this picture so much! (And if you’re wondering why I’m doing so many black and white photos, it’s because the background was horribly distracting and ugly and B&W really helps with that.)

kitten-18-1040x693

kitten-22-1280x854
Chubby cheeks!
kitten-20-1280x854
Kitten love. ♥

kitten-21-1280x854


AHHHH! *Pant, pant* Settle down, Allison. Don’t hyperventilatEEEEEEE I JUST CAN’T HELP IT. Oops.

Was it just me, or do they seem to have that effect on people? XD

I hope you enjoyed this post, dear readers. 🙂 Merry almost Christmas! 😀

***Allison***

P. S. Do you like my new sidebar layout and profile picture? Yep, that’s one of the pictures Megan took in our sisters photoshoot, and then I edited it a bit.

County Fair Photo Entries 2016

Greetings and salutations! XD

Our county fair opens in about two weeks, and I’m so excited! These are my entries for the photography section of the fair. (The fair categories are in bold). The links will take you to the post where the photo was first featured on my blog. Enjoy!

Abstract: {Flower Overload, Part 2}

Action: {The View from the Roof}

Artistic (which means creative photo editing): {CWWC}

Close Up: {More Snow Pictures!}

Humorous: {Bunny Therapy}

Landscape: {Vacation, Part 1: Niagara Falls}

Patriotic: {Boom, Crackle, Bang!}

People: {The View from the Roof}

Pets: {Meet Casey the Kitten}

Pictorial: {Mystery Revealed! #8}

Rural (Um, I’ll take out the county name): {Gone Fishing}

Wildlife: {BIBPC  #2: Praying Mantis’ Feast (and Other Critters)}

There we go – a few photography highlights from 2016. 🙂

Which photo was your favorite? Do you have an annual fair where you live? Do you enter things in it?

**Allison**

P. S. Hayley and I are renovating Art Lab! We’re adding a few more artists to the group and starting it up again. We’re also going to collect and repost all of the Art Lab posts onto the official Art Lab blog, so you can scroll through the posts with ease. 🙂 You can follow it if you like! Hopefully there will be an Art Lab post up tomorrow. 😀

Of Kittens and Cuteness

Calm down, calm down, guys. I can’t type when you’re squealing like that. XD All right, all right, I’ll show you the pictures.

(Note: most of these pictures are edited because kittens are just a teensy bit hard to photograph sometimes. 😉 )

Ahem. We shall start with our own dearest Casey. SHE IS SO CUTE! If she’s cute in pictures, she’s even more adorable in real life! (See more pictures of her here.)

casey 1 (1024x768)
Casey-in-a-shoe!
-Allison(doll, mystery pictures, bunnies) 011 (1024x768)
Casey taking a nap beside some (rather dusty) mice. Hey, you’re not supposed to like mice, remember?
-Allison(doll, mystery pictures, bunnies) 037 (1024x768)
Stttttretch!
Casey (1280x960)
Casey can be quite the deep sleeper. Mom picked her up like this and Casey didn’t bat an eyelash. Well, she doesn’t have eyelashes, but still…
Casey 1 (1024x768)
“How ya’ doin’, folks? Shake a paw.”
Casey 2 (1024x768)
And off she goes.

Now for some really tiny, just-born kittens! Megan found them in the cow barn. The lighting was really bad so my pictures aren’t anything gorgeous, but at least you can see their little selves! There were five kittens in this litter.

kitten 1 (1024x768)

kitten 2 (1024x768)
This little guy is all white!

And last but not least, an adorable VERY FLUFFY black and white kitten! My siblings say there were other kittens, but this is the only one that I have seen. Maybe I can get more pictures of this guy’s brothers and sister if we can ever find them.

edit 2 (1280x960)
He looks relaxed here, but he normally wasn’t. XD
edit (1280x960)
IS THAT NOT THE CUTEST FACE? Sorry Casey. 😛 Casey definitely has a sweeter personality than this kitten, but just look at his FACE! Those eyes! 😀 (By the way, this is one of the photos that I edited.)


That was a lot of kittens! We know of at least three litters of barn kittens on our farm currently, and then we have Casey and Jinx, our kitten and cat.

Did you survive the cuteness tidal wave? If you’re still in good health, what was your favorite picture(s)?

***Allison***