
Hello, dears!
Lately I’ve been pressing a bunch of flowers and using them for different things, so I thought I’d do a post about it and hopefully inspire you guys to preserve some beauty on your own. Also I wanted an excuse to take pictures of the very aesthetic results. 😛
Today I’ll go through some simple tips for pressing flowers, as well as a few beautiful ways to use them and some mini DIY tutorials. Let’s get started!
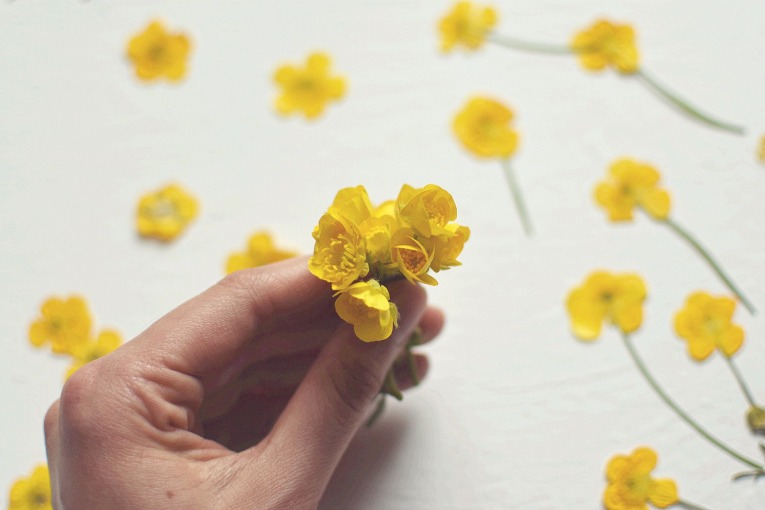
To start with, select your flowers. I chose buttercups since there are millions around here and I love how bright they are, but you can try all sorts of flowers. Keep in mind that bulky blossoms or flowers with very succulent or juicy petals won’t yield the best results.

You can press flowers with or without the stems on. As long as the stems aren’t too chunky, I’d recommend leaving them on since you can easily snip them off after pressing if desired.
You can buy official flower presses (or make your own with a few pieces of cardboard), or simply use a couple of heavy books! I’ve found that flowers flatten best if you lay them on the page face downward and stems up. You can also try a few on their side, but just be aware that the resulting 2-D shape might not look much like the original flower.

Positioning is especially important for complex flowers like these pansies. See how the ruffled petals won’t lay flat except when I put the flower face down (on the left)? It will be harder to close the book on the pansies on the right without smushing them out of shape.

Depending on the flower, it could leave a slight print or smudge of pollen on the page. I used a drawing prompt book with blank pages so I wouldn’t mess up an actual book. If you do use a regular book, I recommend adding two sheets of scrap paper to protect the pages.
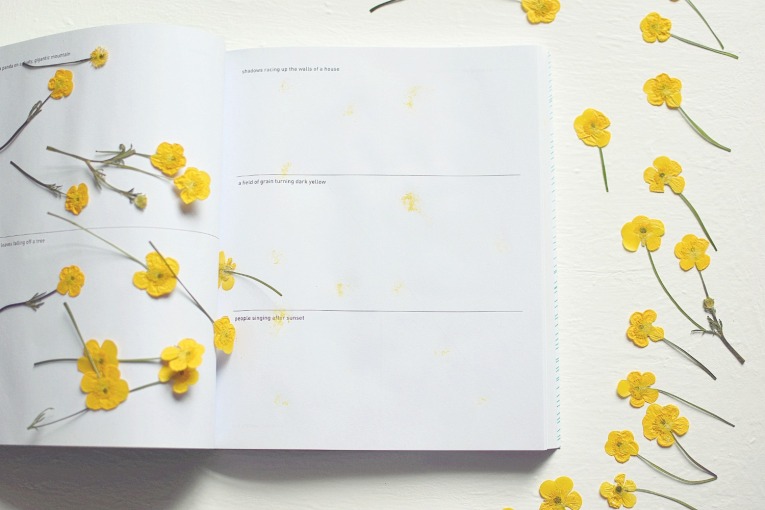
Sometimes the blooms will stick to the page and you have to be careful not to tear them off. If you have problems with this, try pressing them between two sheets of parchment paper.

If you don’t care about the possibility of staining the pages, it’s really fun to press a flower or two in random books. You almost inevitably forget about it until you read the book again, and out falls a pretty surprise!

I plan to keep pressing flowers throughout the coming months, so I made a pretty container to hold the current blossoms. I used an empty chocolate box, brown paper, scissors, Mod Podge, and pressed buttercups. You can use tape instead of glue for wrapping the box if you wish. I also ended up writing on the lid with a Sharpie and white gel pen (not pictured.)
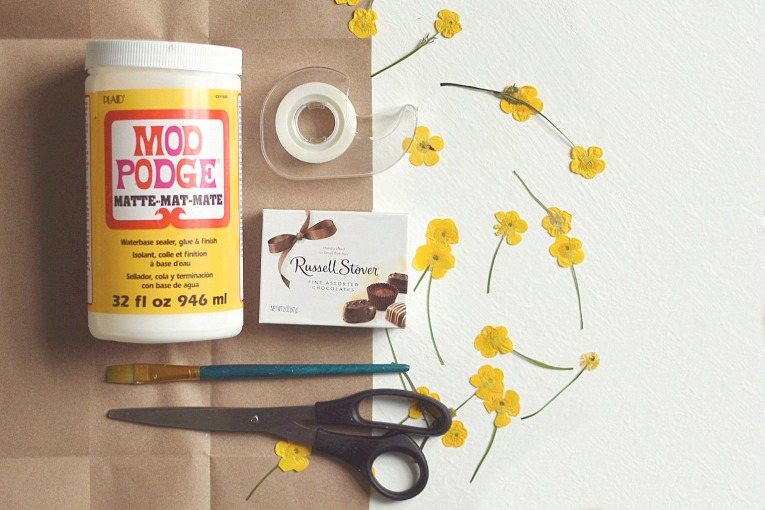
I first cut out a square of paper large enough to wrap the lid with and crumpled it to give it texture. I brushed each side of the box with a thin, even coat of Mod Podge and covered it all with brown paper.

After wrapping, I brushed the whole thing with another coat of Mod Podge to stick down any loose edges and make the paper a bit more stiff and protected. You could use it like this if your box doesn’t have a lid.

For the top of the box, I did the same thing, except before the second coat of Mod Podge, I labeled the lid with simple lettering and glued a scattering of dried buttercups on the top and sides. That’s it! I think it turned out pretty cute, and it will be nice to have a safe place to keep the flowers I haven’t used yet.

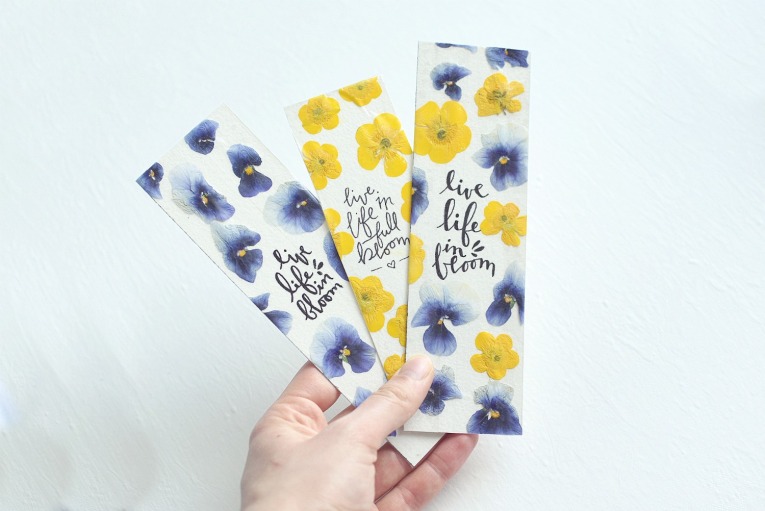
Bookmarks are one of my favorite things to make with dried flowers. I made three – two for pen pals and one to keep.

I recommend using thick paper (I used watercolor paper) because flimsy bookmarks don’t last long for me. To finish them off, I sealed each one with clear packing tape.
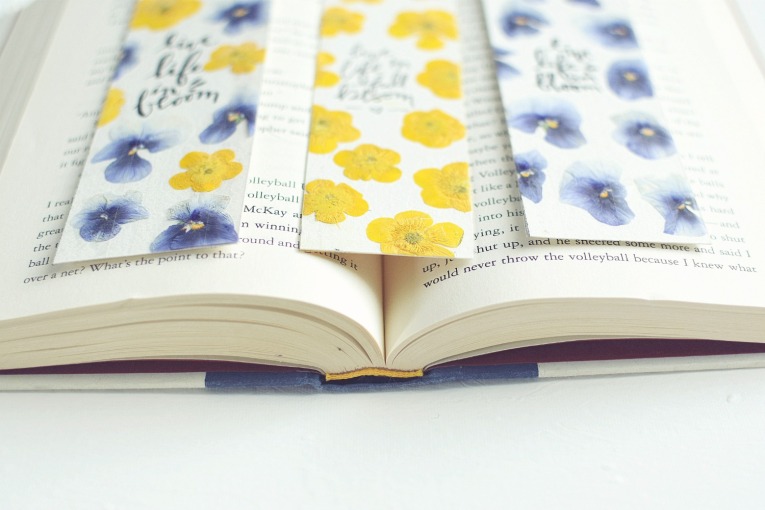
I love how they turned out, don’t you? Which one is your favorite?
You’ve already seen my third idea for using dried flowers – aesthetic photography! 😀 It’s really fun to play around with the placement and color of the flowers. Add a pretty, faded filter for a Instagram-ready look.

Lastly, here’s a little more inspiration for ways to use pressed flowers.
- Arrange them between two sheets of glass and frame the result.
- Use as “confetti” in pen pal letters or invitations
- Mod Podge a single flower onto a torn piece of brown paper for an interesting element to add to your bulletin board.
- Attach pressed flowers with stems to your wall with washi tape for one-of-a-kind wallpaper.

There you have it! I hope this post inspired you to press your own flowers and gave you some ideas for what to do with them. 🙂 If so, feel free to pin this post or share it with others!
What was your favorite idea? Do you like pressing or drying flowers? What is your favorite way to use them?
Thanks so much for reading, dears, and have a lovely day!
***Allison***


AHHHHH I LOVE THESE! SO. PRETTY! I should definitely try this. *nods*
LikeLiked by 1 person
AHHH THANK YOU SO MUCH. And you should. *nods back*
LikeLike
Great ideas! I absolutely loved pressed flowers, and these were such simple yet fun ideas. Those bookmarks are gorgeous! 😍👍🏻 Lovely post as always!! 😉😊 Did you get my letter btw?
LikeLike
Thanks so much, Annie! I do too! ❤ And YES, I'm so sorry – I forgot to tell you but I did get your letter! Thank you SO much for it! I always love getting letters from you. 🙂
LikeLiked by 1 person
You’re so welcome! 😊 Oh, no worries! I’m glad you got it! ❤️
LikeLiked by 1 person
Oh my goodness!!! Those bookmarks!!!! I’m definitely doing this!!!
LikeLiked by 1 person
Ahh, THANK YOUU! I hope you can!
LikeLiked by 1 person
Those bookmarks are gorgeous, Allison! 😀
LikeLiked by 1 person
Thanks so much, Liz!
LikeLiked by 1 person
These are so pretty!
LikeLiked by 1 person
Thank you, dear!
LikeLiked by 1 person
You’re welcome!
LikeLike
OOH! OOH! *happy clapping and much bouncing* I SOOO PRETTY! I absolutely Love the bookmarks, especially the one of solid pansies!! Ah! My word, this is such a pretty post!
~TheJunebugblog
LikeLike
AWW, this made me smile! THANK YOU SO MUCH, AK!
LikeLiked by 1 person
You’re SO very welcome!!♥️
LikeLike
Love this post! My mom used to press flowers all the time, I love when I flip through one of her old books and pressed flowers fall out, some 20+ years ago!
LikeLiked by 1 person
Yay! Aww, that’s so sweet!
LikeLike
Ooh those are such pretty ideas – so aesthetic too! I love doing this with flowers! Also random note: Those chocolates are my favorites. XD
LikeLiked by 1 person
Thank you so much, Hannah! Also HA HA, they are quite tasty indeed. 😉
LikeLiked by 1 person
These are so pretty! I might try making some! 🙂 How long do you leave them inside the book?
LikeLike
Why thanks, Noah! I hope you can! Good question. I don’t know for sure what the minimum time is, but I usually leave them in for 3 or 4 days. You could check after one or two days to see if they’re completely dried or not!
LikeLiked by 1 person
Awesome, thanks!
LikeLike
Sure thing!
LikeLiked by 1 person
Wow this is awesome!!!
LikeLike
Thanks so much!
LikeLike
When I was a child, I used to this technique with rose petals and other small flowers..but I did all that on my school books 😂
But now you gave an idea about using scrap paper or parchment paper.. So now can try this hack..
Thanks for sharing. 🤗
LikeLiked by 1 person
That’s so neat! HA HA! XD I’m so glad my tips were useful! Thanks for reading and leaving a comment. 🙂
LikeLiked by 1 person
These are so creative and so pretty!! They’re such happy flowers, too. :D<3
LikeLiked by 1 person
Thanks so much, Olivia! I agree. ❤
LikeLike
Oh I LOVE these! Your box is really cool! AND THE BOOKMARKS! Especially the ones with the blue flowers! *crosses fingers and mutters to self* pleaseletonebeformepleaseletonebeforeme 😛
I really want to try making bookmarks like that when they finally bloom up here! We are finally starting to see some actual green in our landscape, and I’m really excited! 😀
LikeLike
AWWW THANK YOU. (Heheheh, you’ll just have to wait and seee.) XD Ooh, that IS exciting! I hope spring soon comes for real!
LikeLike
Yes it finally did!!!! I’m so happy everything is really getting green now and all the leaves popped out! It was so warm the other day it actually got up to like 65 degrees! 😀
LikeLike
WOW, THAT’S GREAT! It’s in the upper 80s here. :[]
LikeLike
Ugh that’s WAY too hot for me. XD
LikeLike
XD
LikeLike
This is great!
I think I’ll try it with my kids soon!
LikeLiked by 1 person
Why thank you! I hope you have fun. 🙂
LikeLiked by 1 person
I loove the bookmarks you made! They are so beautiful and girly! ❤ I also press flowers, I use them mostly as skirts for my fairies and other figures in my art!
LikeLiked by 1 person
Thank you so much! I love how they turned out too. That’s SUCH a neat idea for how to use them!
LikeLike
Ooh!! *dies over the prettiness* I really want to try this now!! *runs outside and immediately starts picking flowers* I ❤️❤️❤️ the bookmarks! You are SO talented!!
LikeLike
HAHA THANK YOUU. You’re so sweet! ❤
LikeLiked by 1 person
You’re welcome! Btw, how long do I leave the flowers pressing for?
LikeLike
Good question! I don’t know exactly, but I usually do three or four days. 🙂
LikeLiked by 1 person
I used to do this all the time as a kid! I may try and do some more for my travel journal x
LikeLiked by 1 person
It’s just so fun! Ooh, that’s an excellent idea!
LikeLiked by 1 person
So fun!! I used to really be into pressing flowers! 🙂
LikeLiked by 1 person
Yeah, I remember doing it when I was younger too!
LikeLiked by 1 person
Reblogged this on By the Mighty Mumford and commented:
MAKES A BEAUTIFUL IMPRESSION!
LikeLike
Thank you!
LikeLike
!!! My sister is really into crafting and gardening, and the pressed-flower-bookmarks idea had never occurred to her… so I’m going to badger her about helping me make some bookmarks now. 😉
LikeLiked by 1 person
Hee hee, GOOD FOR YOU. XD
LikeLiked by 1 person
I love this! The bookmarks are beautiful!
LikeLiked by 1 person
Thank you so much! I love them too. 🙂
LikeLike
Those bookmarks are so pretty, and I would love to use one like that! How are your dried flowers so vibrant? They’re so so pretty, and now I really want to dry some flowers for a bookmark or something. Do you think violets would press well? We have a ton of those in bloom around here right now. How long do you wait before you use the pressed flowers?
~Sassafras
LikeLike
Thank you so much, Sassafras! I love using mine too. 🙂 You know, I’m not sure. XD I always thought dried flowers got really faded, but so far mine haven’t. Ooh yes, I’ve actually pressed several violets! It’s tricky to get them to lay flat, but they worked okay. I hope you can try it! I usually wait three or four days before using the flowers, but you can check them earlier to see if they’re sufficiently dried. 🙂
LikeLike
Flower pressing is so pretty! I use to do it when I was little, and this post makes me want to start doing it again!
LikeLiked by 1 person
Ahh, I know, right? Yay, I’m so glad it inspired you!
LikeLiked by 1 person
Wow! Your pressed flowers are absolutely gorgeous, Allison. 😀
LikeLiked by 1 person
Thank you so much, Sara!
LikeLiked by 1 person
Beautiful work!
LikeLiked by 1 person
Thank you!
LikeLike
These look really cool! I might have to try the bookmarks. How do you meet your pen pals? I feel like that would be really fun to write to people, and if there is a certain program for it that would be good to know! 🙂
LikeLiked by 1 person
Thank you so much! I hope you can. 🙂 A program for pen pals would be SO neat! But I just met them through blogging, actually. 🙂 My sister is also pen pals with several of her real life friends – it’s just a fun alternative way to talk to people!
LikeLike
That’s cool, thanks for the info!
LikeLike
Sure thing!
LikeLike
Thank you so much for doing this post. I never realized just how easy it is to press flowers. Not did I realize how’d much aesthetic appeal they have. I suppose wild flowers work well. How do you think roses would fare? Perhaps just passing the petals and not the whole flowers. My favorite idea is the bookmarks. I think the Buttercups were my favorite. Keep pressing on!
LikeLiked by 1 person
My pleasure! Yes, it’s really quite simple. Wildflowers should work great, as long as they’re not too bulky. Roses might be a little large for pressing, but I’m sure the petals would work beautifully. Thank you so much for the comment!
LikeLike
Loved all of these ideas especially the bookmark
LikeLiked by 1 person
Thank you so much! I love the bookmarks too. 🙂
LikeLike
I literally wanna make one. Think I might send this to my sister shed looveee it
LikeLike
Yayyyy!
LikeLike
The bookmarks are my favorite. 👌
LikeLike
Thank you! I love them too. 🙂
LikeLiked by 1 person
AHH SO PRETTYYYYYY. *runs around gathering flowers* I don’t know why I’ve never tried pressing flowers before – there are so many wildflowers growing all around our house! All your ideas for how to use pressed flowers are great – I absolutely love the gorgeous bookmark you sent me. 🙂
-Clara ❤
LikeLiked by 1 person
Hee hee, I KNOOOOW. Aww, thanks so much!
LikeLiked by 1 person
ahh the bookmarks that you made are so cool!! these tips are so great ❤
LikeLike
Aww, thank you!
LikeLike
Great post! I think I once pressed flowers when I was little. I will have to try this again! Thanks for sharing!
LikeLike
Thank you! I love pressing flowers. 🙂 My pleasure!
LikeLiked by 1 person