PicMonkey Mosaics Tutorial

I have been having a LOT of fun recently making “quilts” on PicMonkey. Of course, you can’t really make quilts on a photo editing program – they are really more like photo mosaics.

I started with a few simple photos of colored corrugated cardboard, like this:

-Allison(gnome photostory) 007.JPG


and combined and multiplied and rotated and collaged them a bunch of times in a bunch of ways, to make mosaics! Here is one of the “quilts” I made just using PicMonkey and four different pictures of corrugated cardboard:

picmonkey finished quilt (3) (1280x1280)

Isn’t it so neat? I don’t really like the colors, but I like the design. Since they are so fun to make, I decided to share the fun with you too! Here is a sort-of-kind-of tutorial on how to make photo mosaics.

************************************************************************************

You can take your own pictures, or use any of these “quilt patches” below that I already made. (But please don’t use any of my other pictures without my permission. 🙂 ) Just right click the pictures you want, and save them to your computer.

picmonkey quilt square - blue (1) (1280x1280)picmonkey quilt square - yellow (1) (1280x1280)picmonkey quilt square - brown (2) (1280x1280)picmonkey quilt 1 (1280x1280)picmonkey quilt patch 2.1 (1280x1280)

picmonkey quilt patch 1.2 (1280x1280)

picmonkey quilt patch 1 (1280x1280)

picmonkey quilt patch 2 (1280x1280)


picmonkey finished quilt (2) (1280x1280)picmonkey finished quilt (1) (1280x1280)


Go to PicMonkey, hover over the ‘Collage’ button at the top of the page, choose ‘Computer’ and open the photos you want to use for your “quilt.” Click the ‘Layouts’ symbol on the left sidebar, click ‘Square Deal,’ and choose one of the last two options. The more squares the layout has, the more complicated and interesting the quilt can be!picmonkey tutorial 1

Click and drag the “quilt patches” to the squares, and rotate them to make all sorts of interesting patterns! (See this mirroring tutorial on the PicMonkey blog for more details on how to rotate images.) You can use ‘Auto Fill’ (at the top bar) to make interesting patterns without much work. (You have to click ‘Auto Fill’ a couple of times until the quilt is filled up with squares.)

picmonkey tutorial 3

And ta-daa! This is a quilt I made by auto-filling like in the picture above.

picmonkey finished quilt (11).jpg

Here are some more “quilts” I made.

picmonkey finished quilt (4) (1280x1280)picmonkey finished quilt (9) (1280x1280)mosiac fish (600x330)

picmonkey finished quilt (6) (1280x1280)picmonkey quilt square - brown (1) (1280x1280)picmonkey finished quilt (10) (1280x1280)picmonkey quilt orange 3 (2) (1280x1280)

I really wish I took pictures of prettier-colored cardboard, because the colors don’t really go together in the quilts, but it’s really fun anyway.

I hope you enjoyed this random post, and tell me if you make any “quilts!”

***Allison***

PFA #1: Hot Glue Snowflakes (and Bunny Slides)

Okay, I guess I’ll need to explain the title… 😀 PFA stands for “Posts from the Forgotten Abyss” and it’s a new series I’m starting where I drag back a post from long ago that I like, and that no one had really noticed, and repost it, along with a new photo or tidbit so the post is not entirely the same. It’s kind of like Photos from of Old. (Which I will post more of probably in spring.) So! Today’s post I thought seemed appropriate for winter, and since we, sadly, do not have any snow, here’s a way to make your own!

But first, here is the new part of the post: bunny slides! I took some videos of Lily and Willow sliding down a little sliding board that we’ve had for years, and I turned parts of the videos into pictures – they’re so cute and funny!

A pile of fluff is going down!

056 (1280x960)

↓Lily is going to be so mad at me for taking a picture of her in this highly undignified pose. XD

Wasn’t that hilarious? XD Okay, now I am about to transport you back about one year… hang on!

~~~~~~~~~~~~~~~~~~~~~~~~~~~~~~~~~~~~~~~~~~~~~~~~~~~~~~~~~~~~~~

These really look like snowflakes (well, giant, oversized ones) because of the color of hot glue.  They are very easy to make and just take a few supplies.  Let’s get started!

You will need:

*********************************

Hot glue gun (with hot glue)

Parchment paper

Sharpie (optional)

snowflake pattern to trace (optional)

*************************************

-Allison (hot glue snowflakes) 014

There are several different ways to do this.  You can either

1. Draw a snowflake directly onto the parchment paper (the sharpie lines will show up on the finished snowflake)

2. Print out a simple snowflake drawing from your computer and place it under the parchment paper

3. Just use hot glue to make a snowflake freehand.

What ever way you do it, the basic idea is to make a snowflake by squirting out hot glue onto parchment paper and letting it dry.

-Allison (hot glue snowflakes) 017-Allison (hot glue snowflakes) 025

Since it is hot glue, it won’t take long to dry (YAY!).  If you want, you can sprinkle some glitter over the snowflake before it dries.  When you’re sure the hot glue is dry enough, carefully peel it off the parchment paper.  You may need to remove those annoying hot glue strings too.

To activate the cling, turn it upside down in the palm of your hand and run it under water.  Gently shake the water off, but don’t dry it off.  Press the snowflake to a window.

-Allison (hot glue snowflakes) 040

The water helps it stick to begin with, but even when the water dries, the snowflake stays on.  You can also make little swirls, dots, and other snowy doodles to go along with your snowflakes.

Make a whole blizzard!

***Allison***

P. S. You get one point if you remembered the snowflake post. XD What do you think of this new series?

WordCrafters #1, Chapter 1

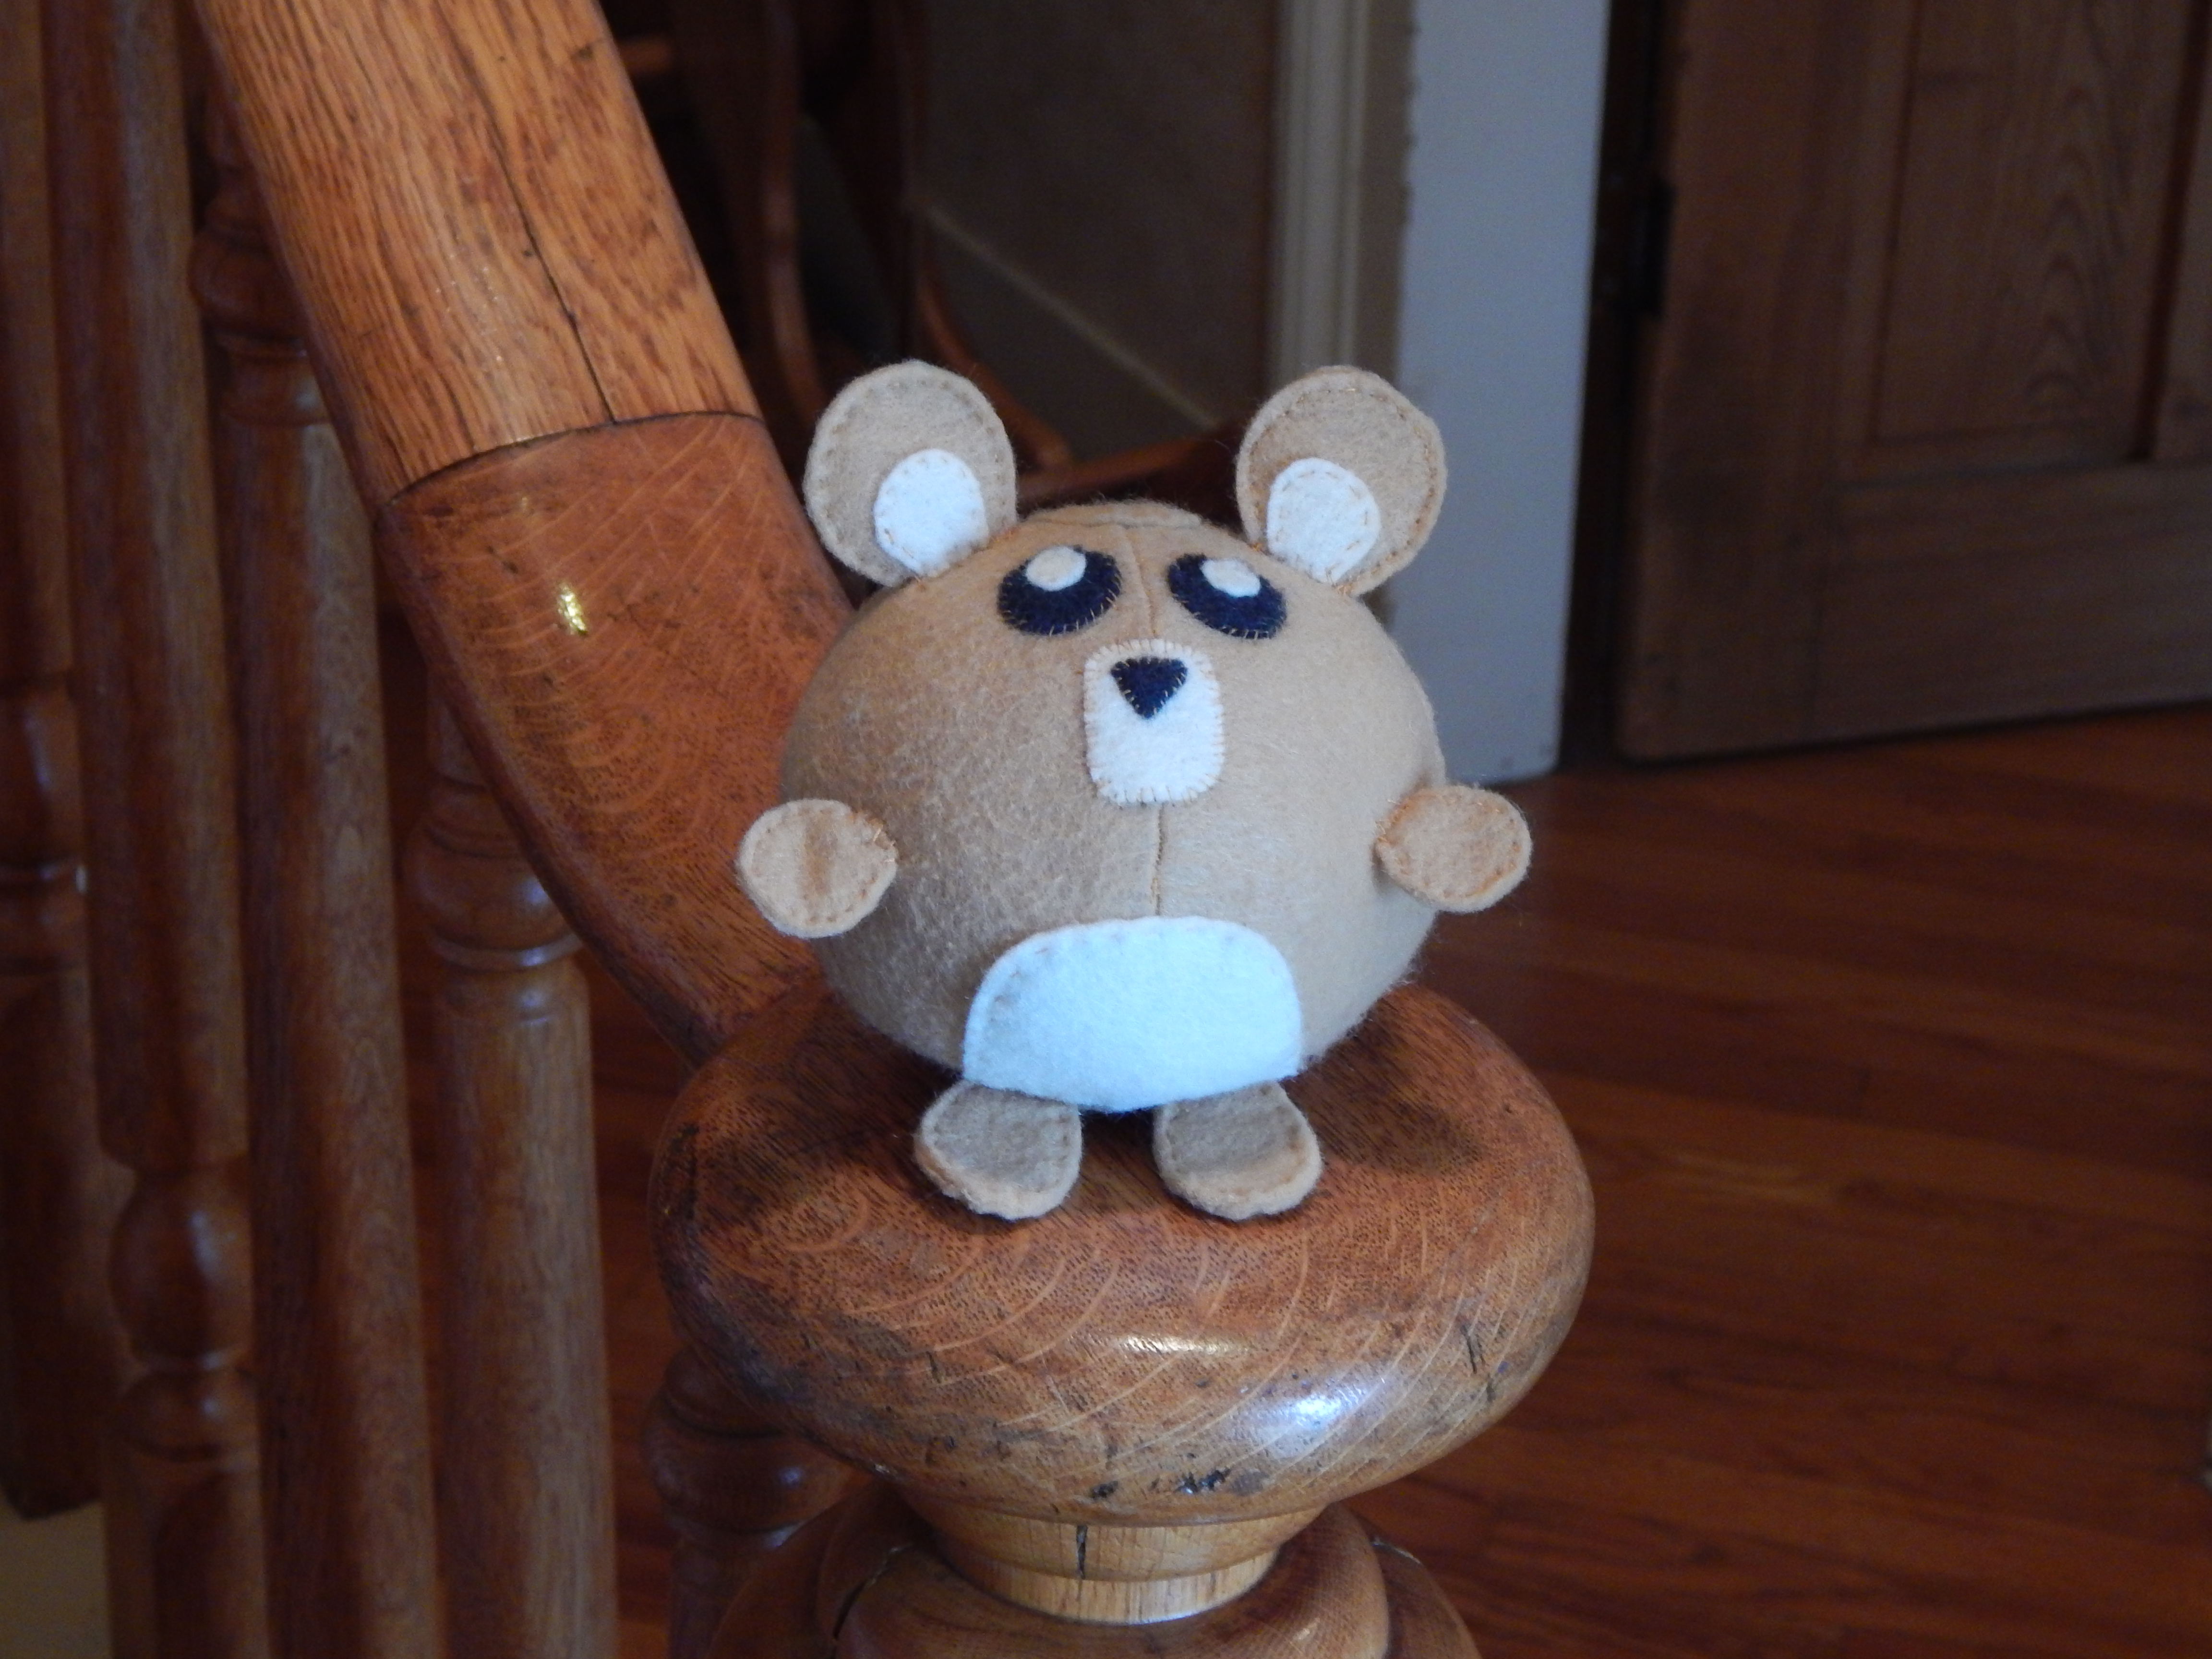
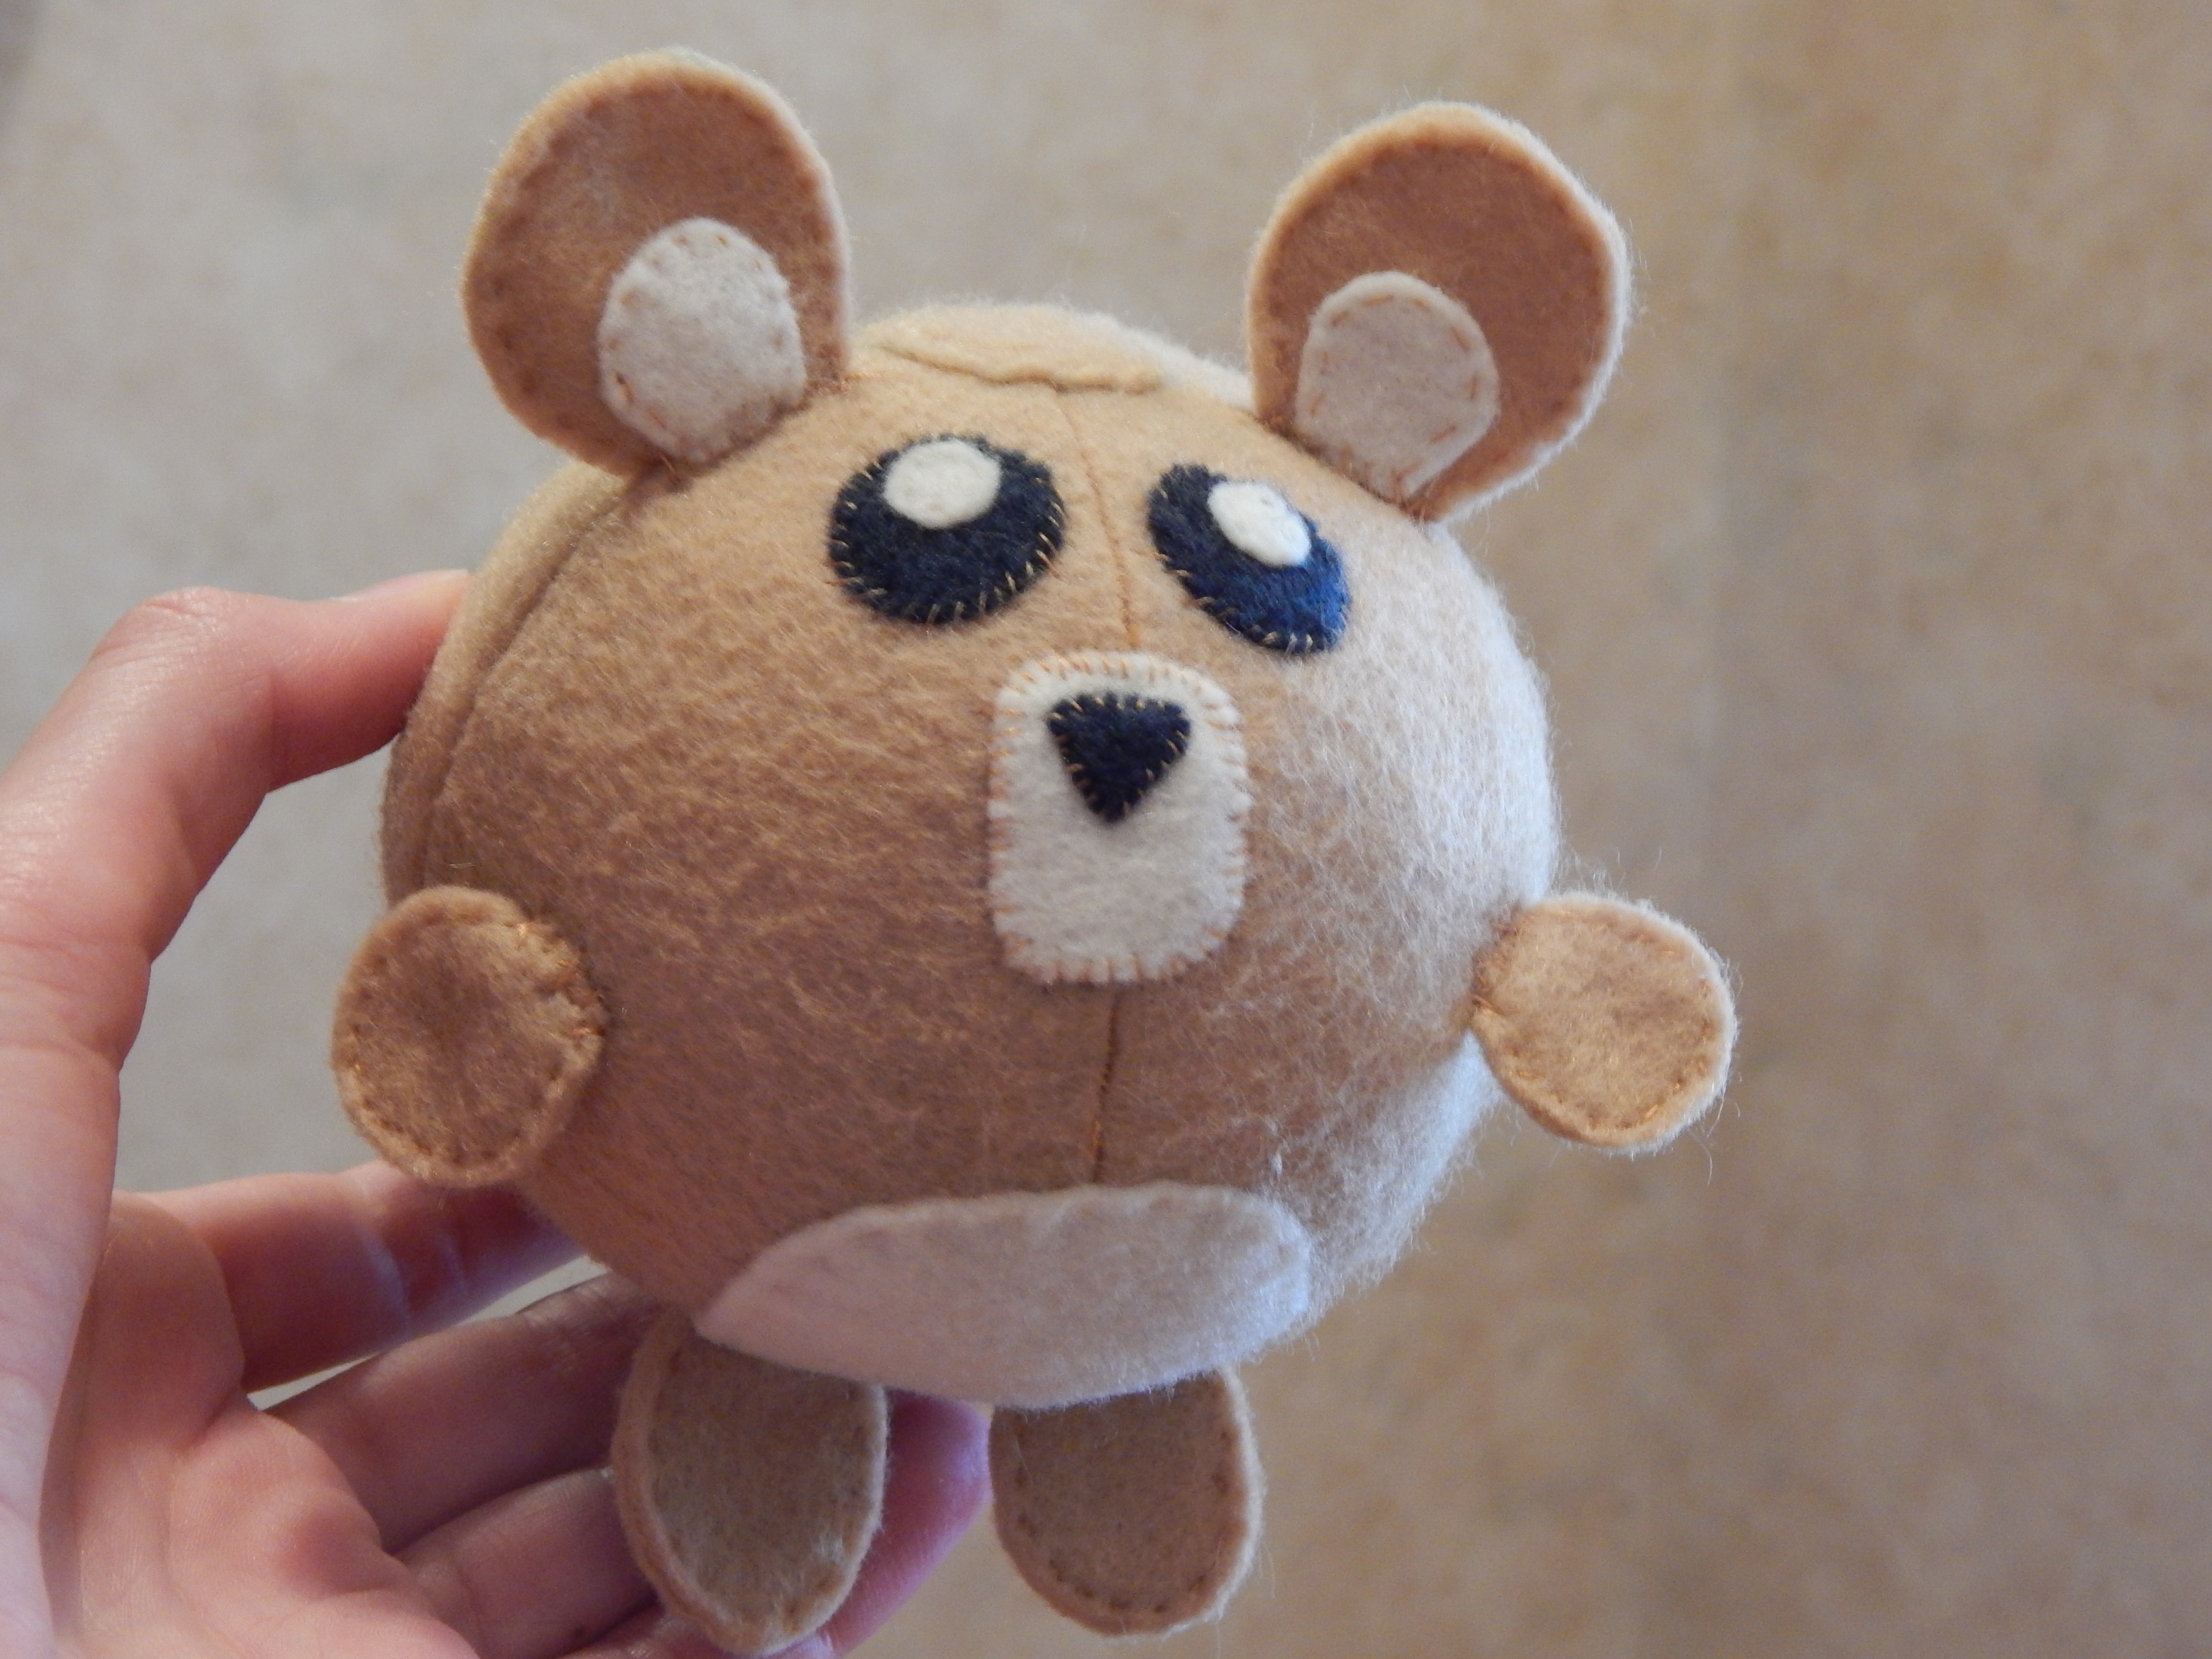
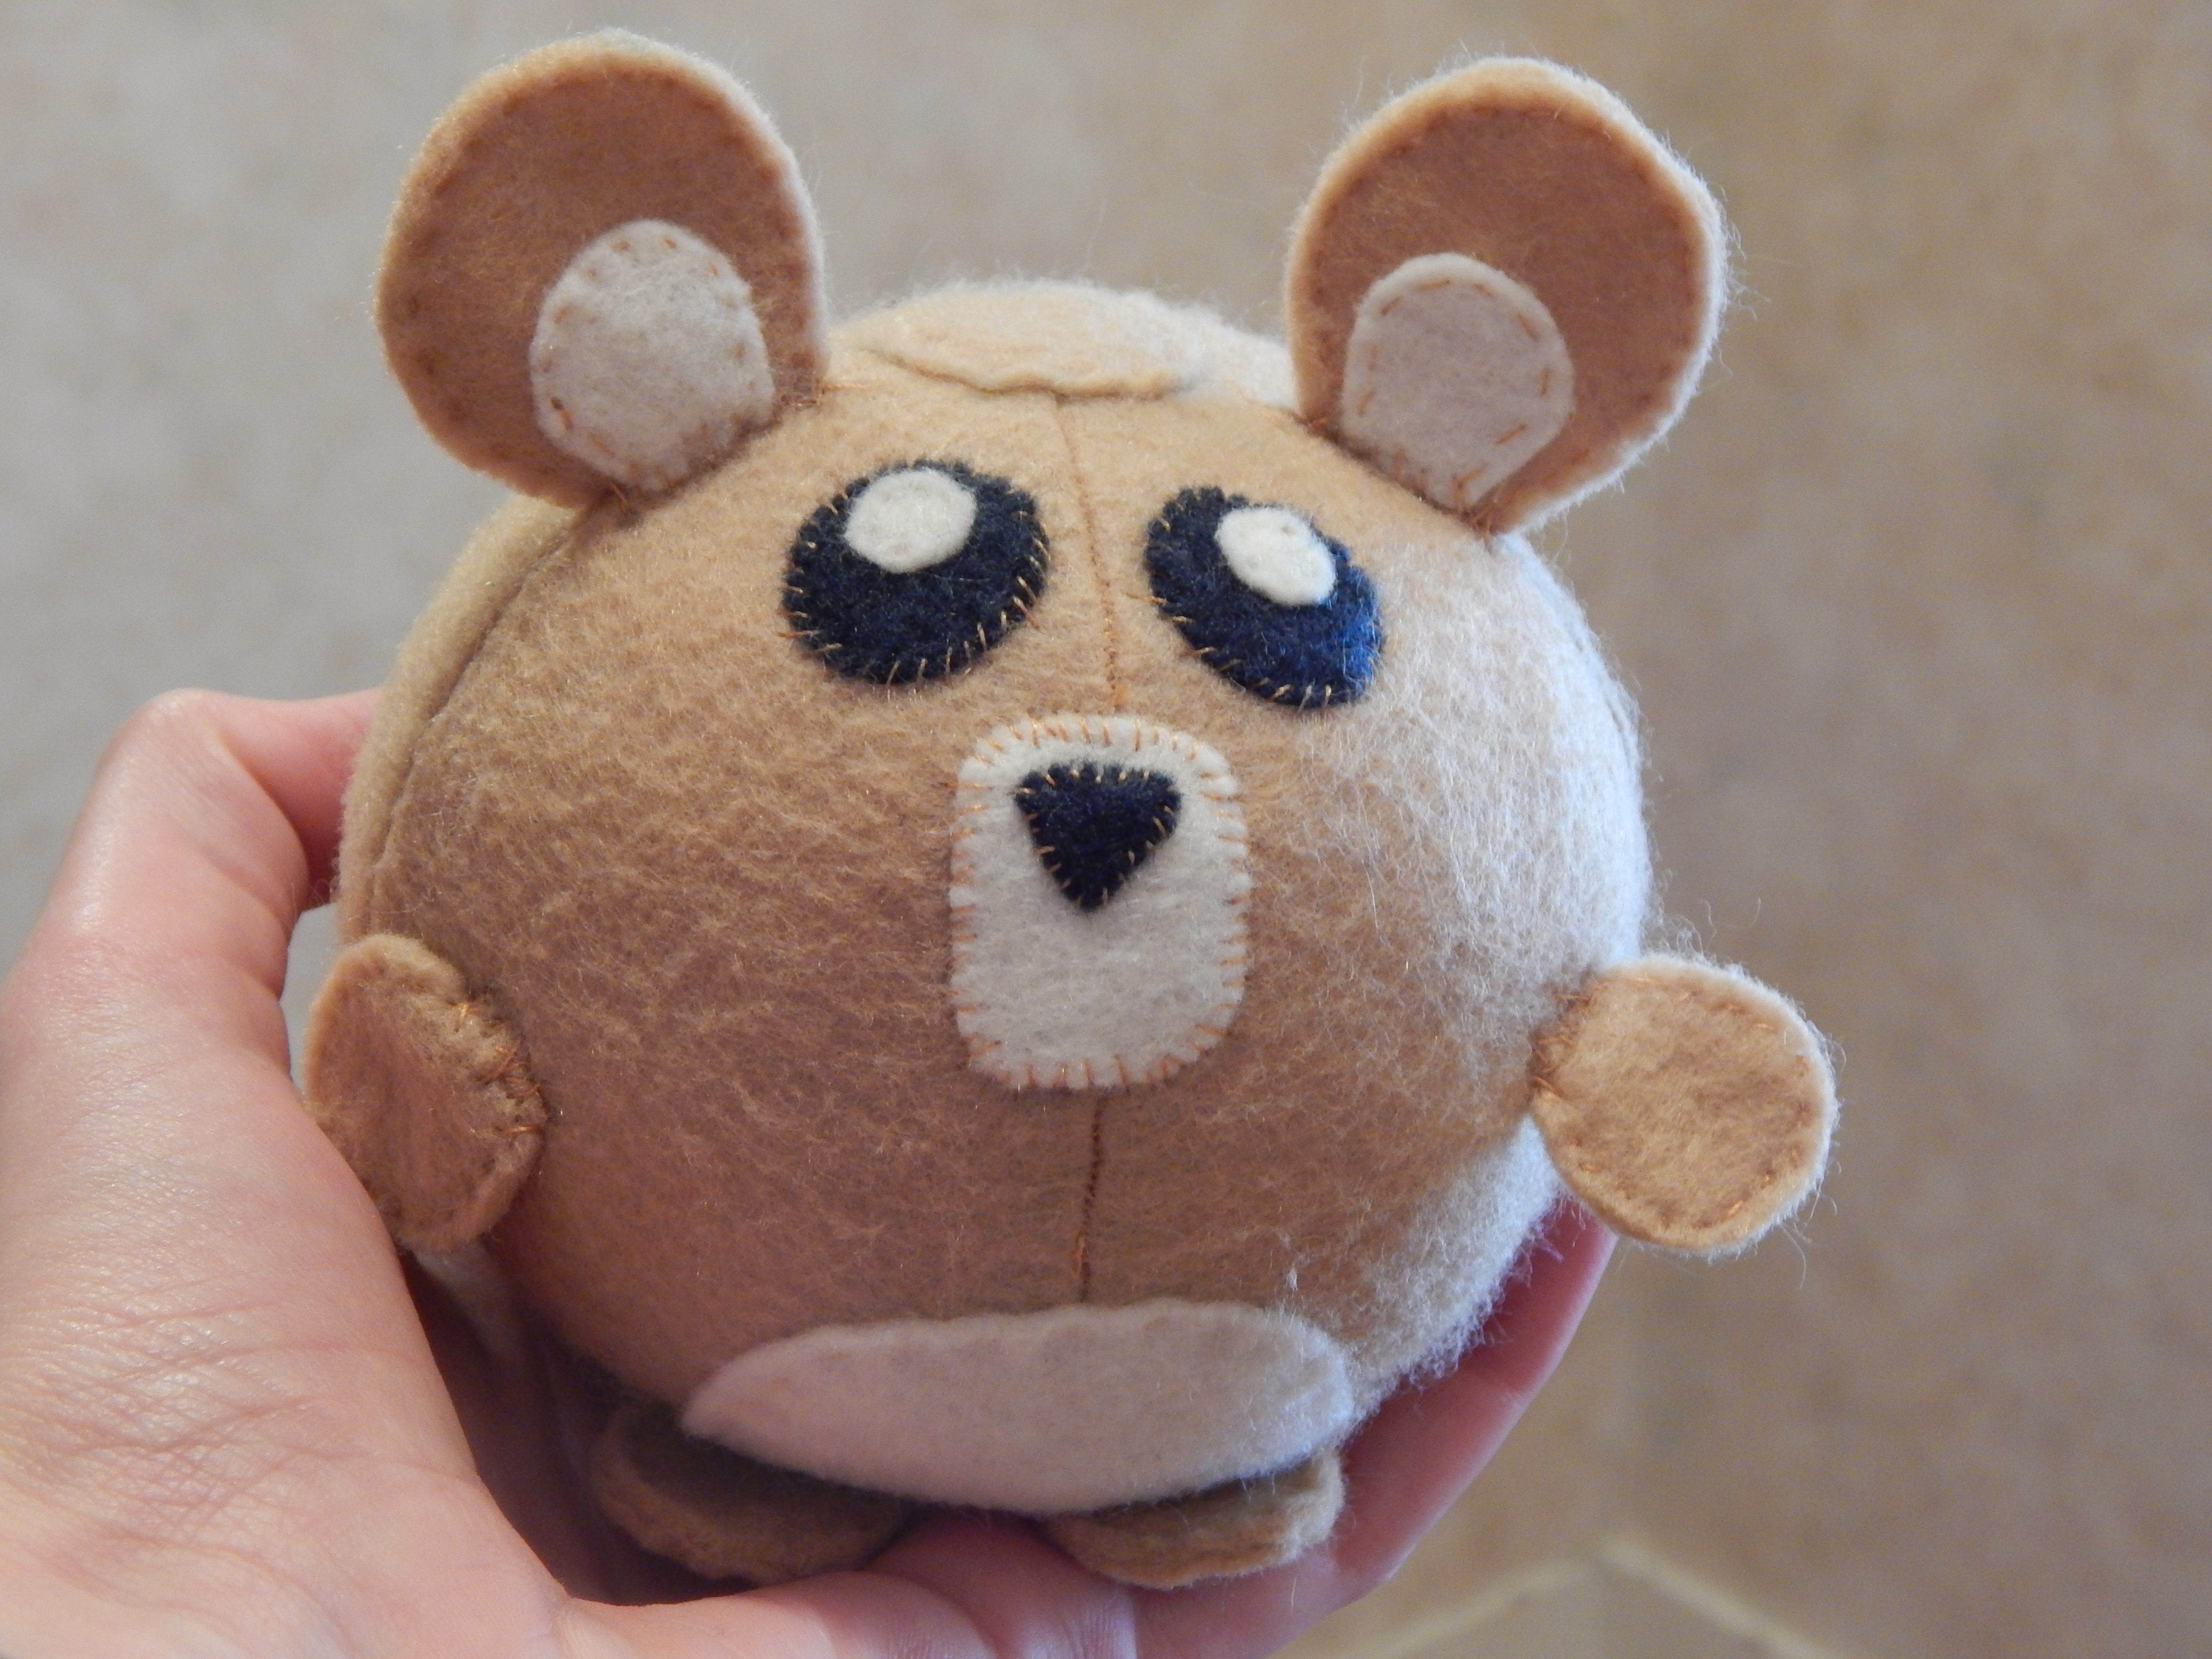
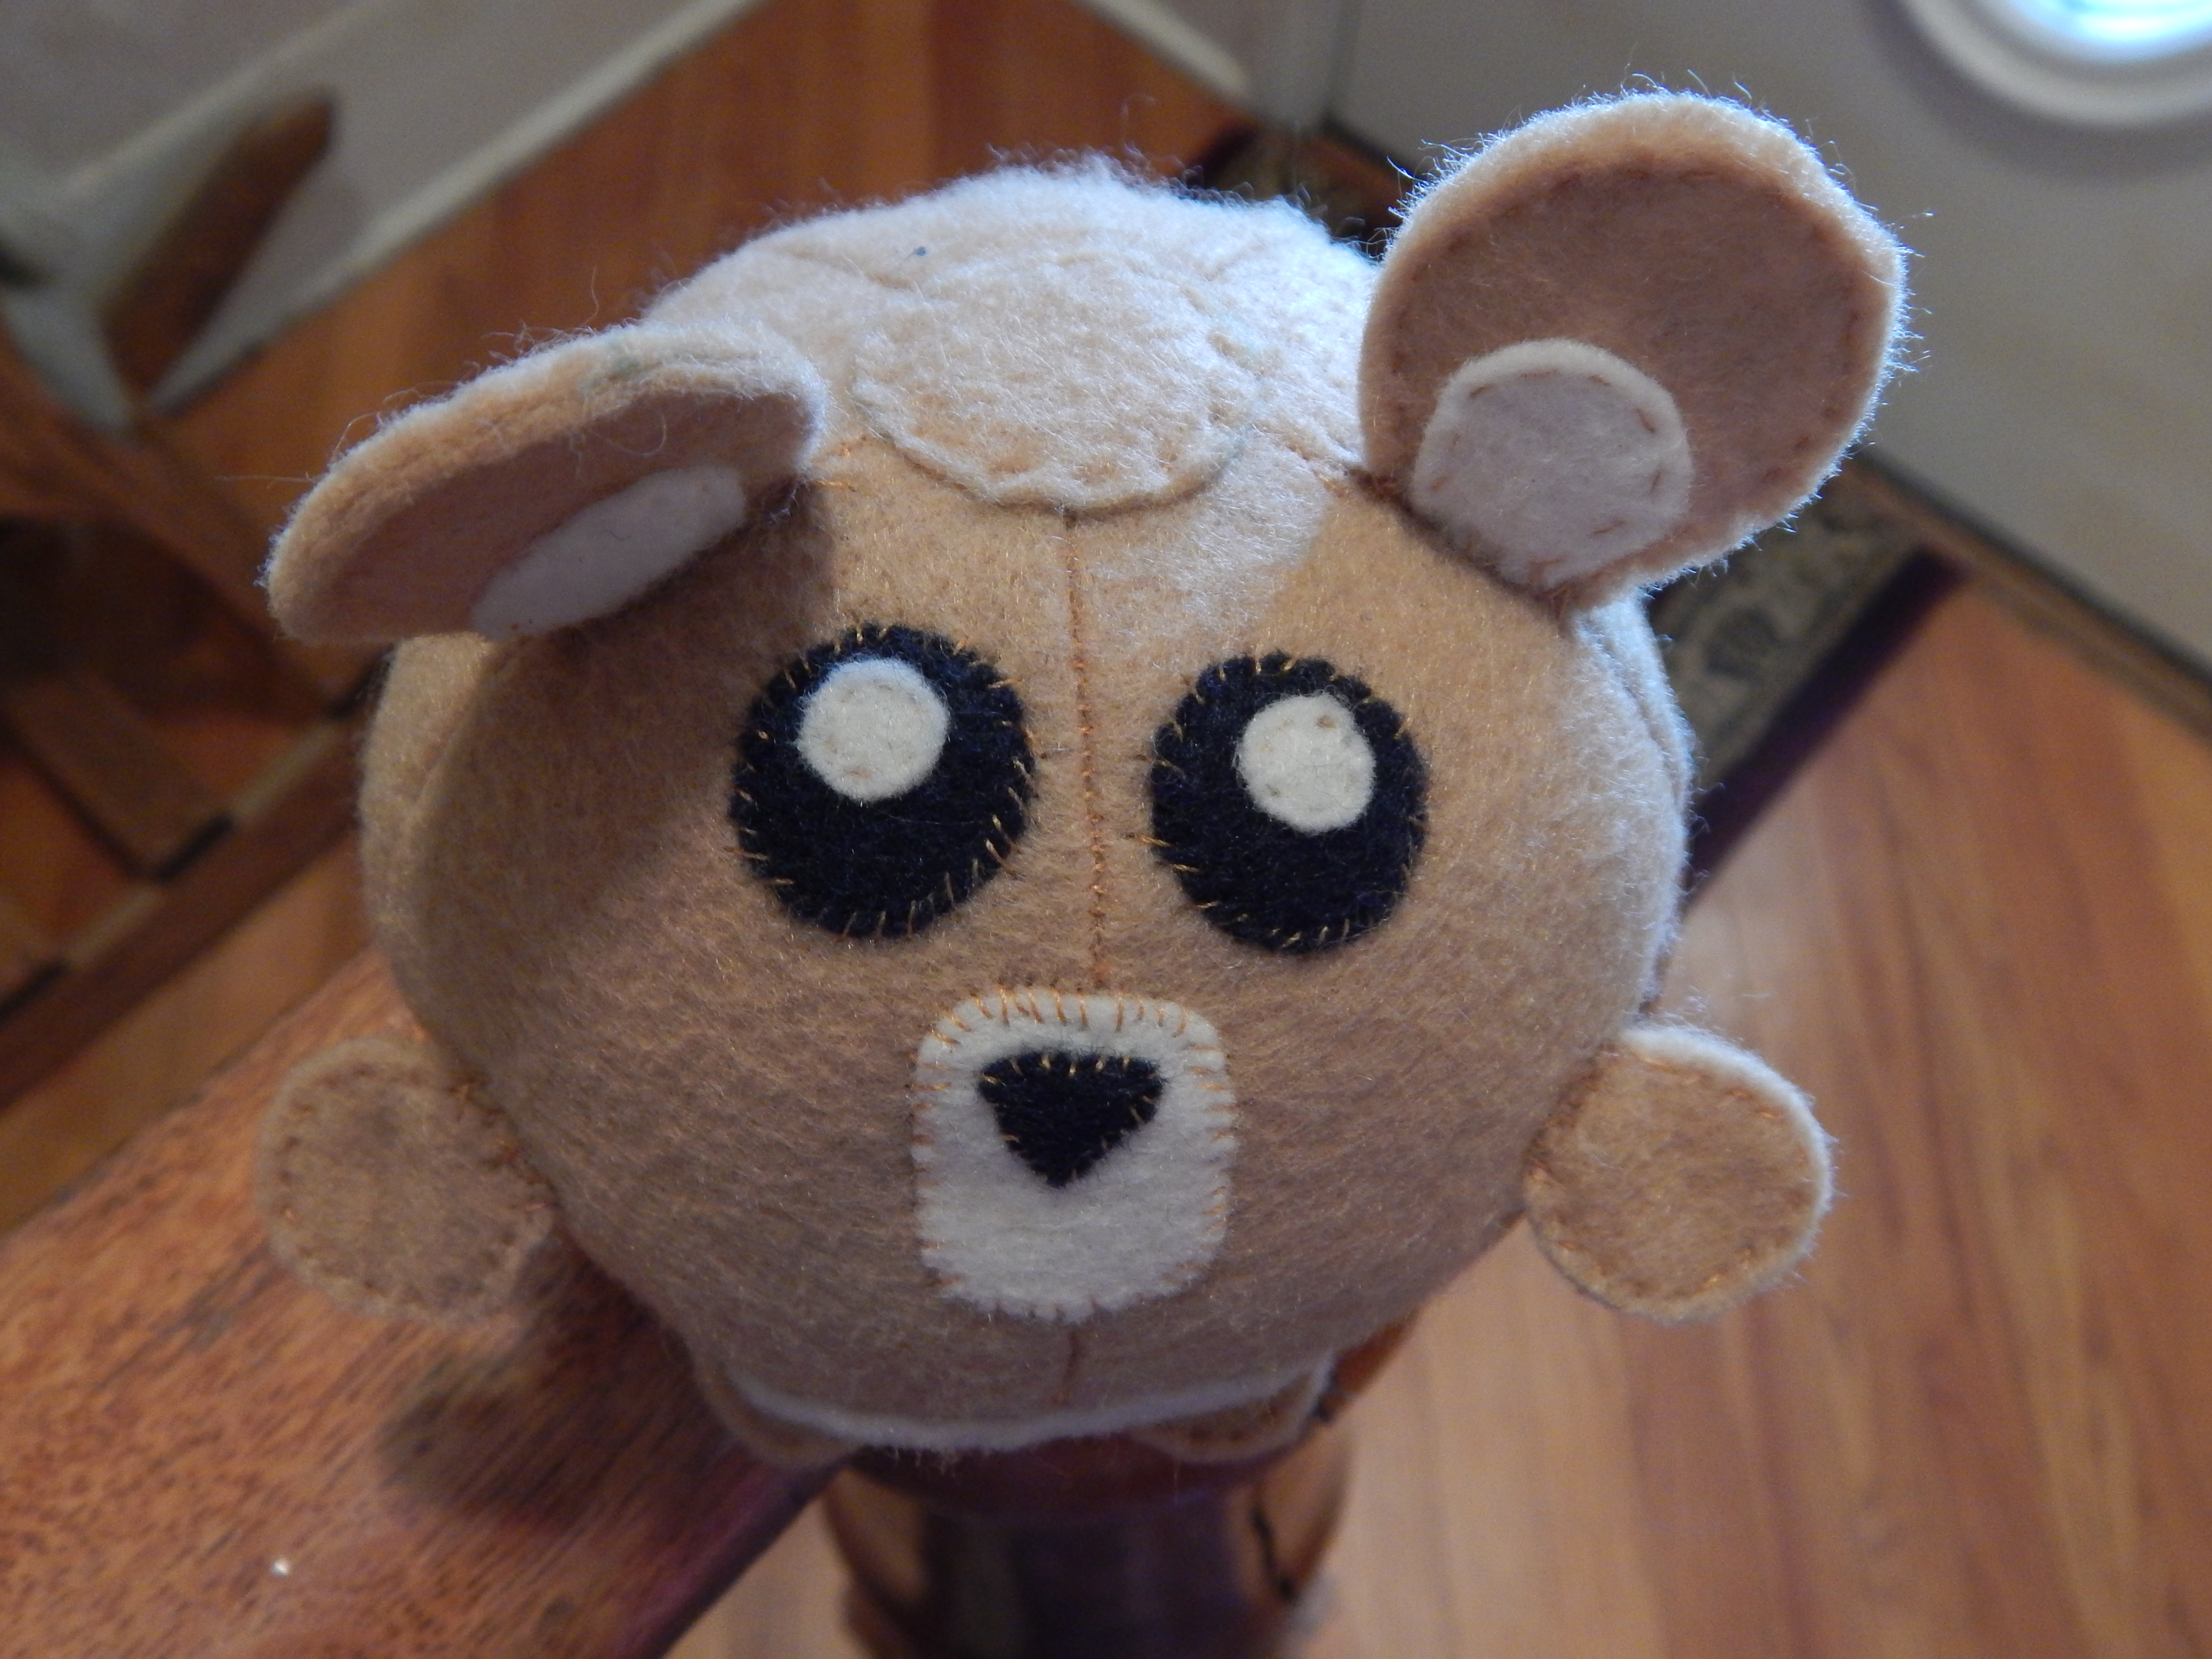
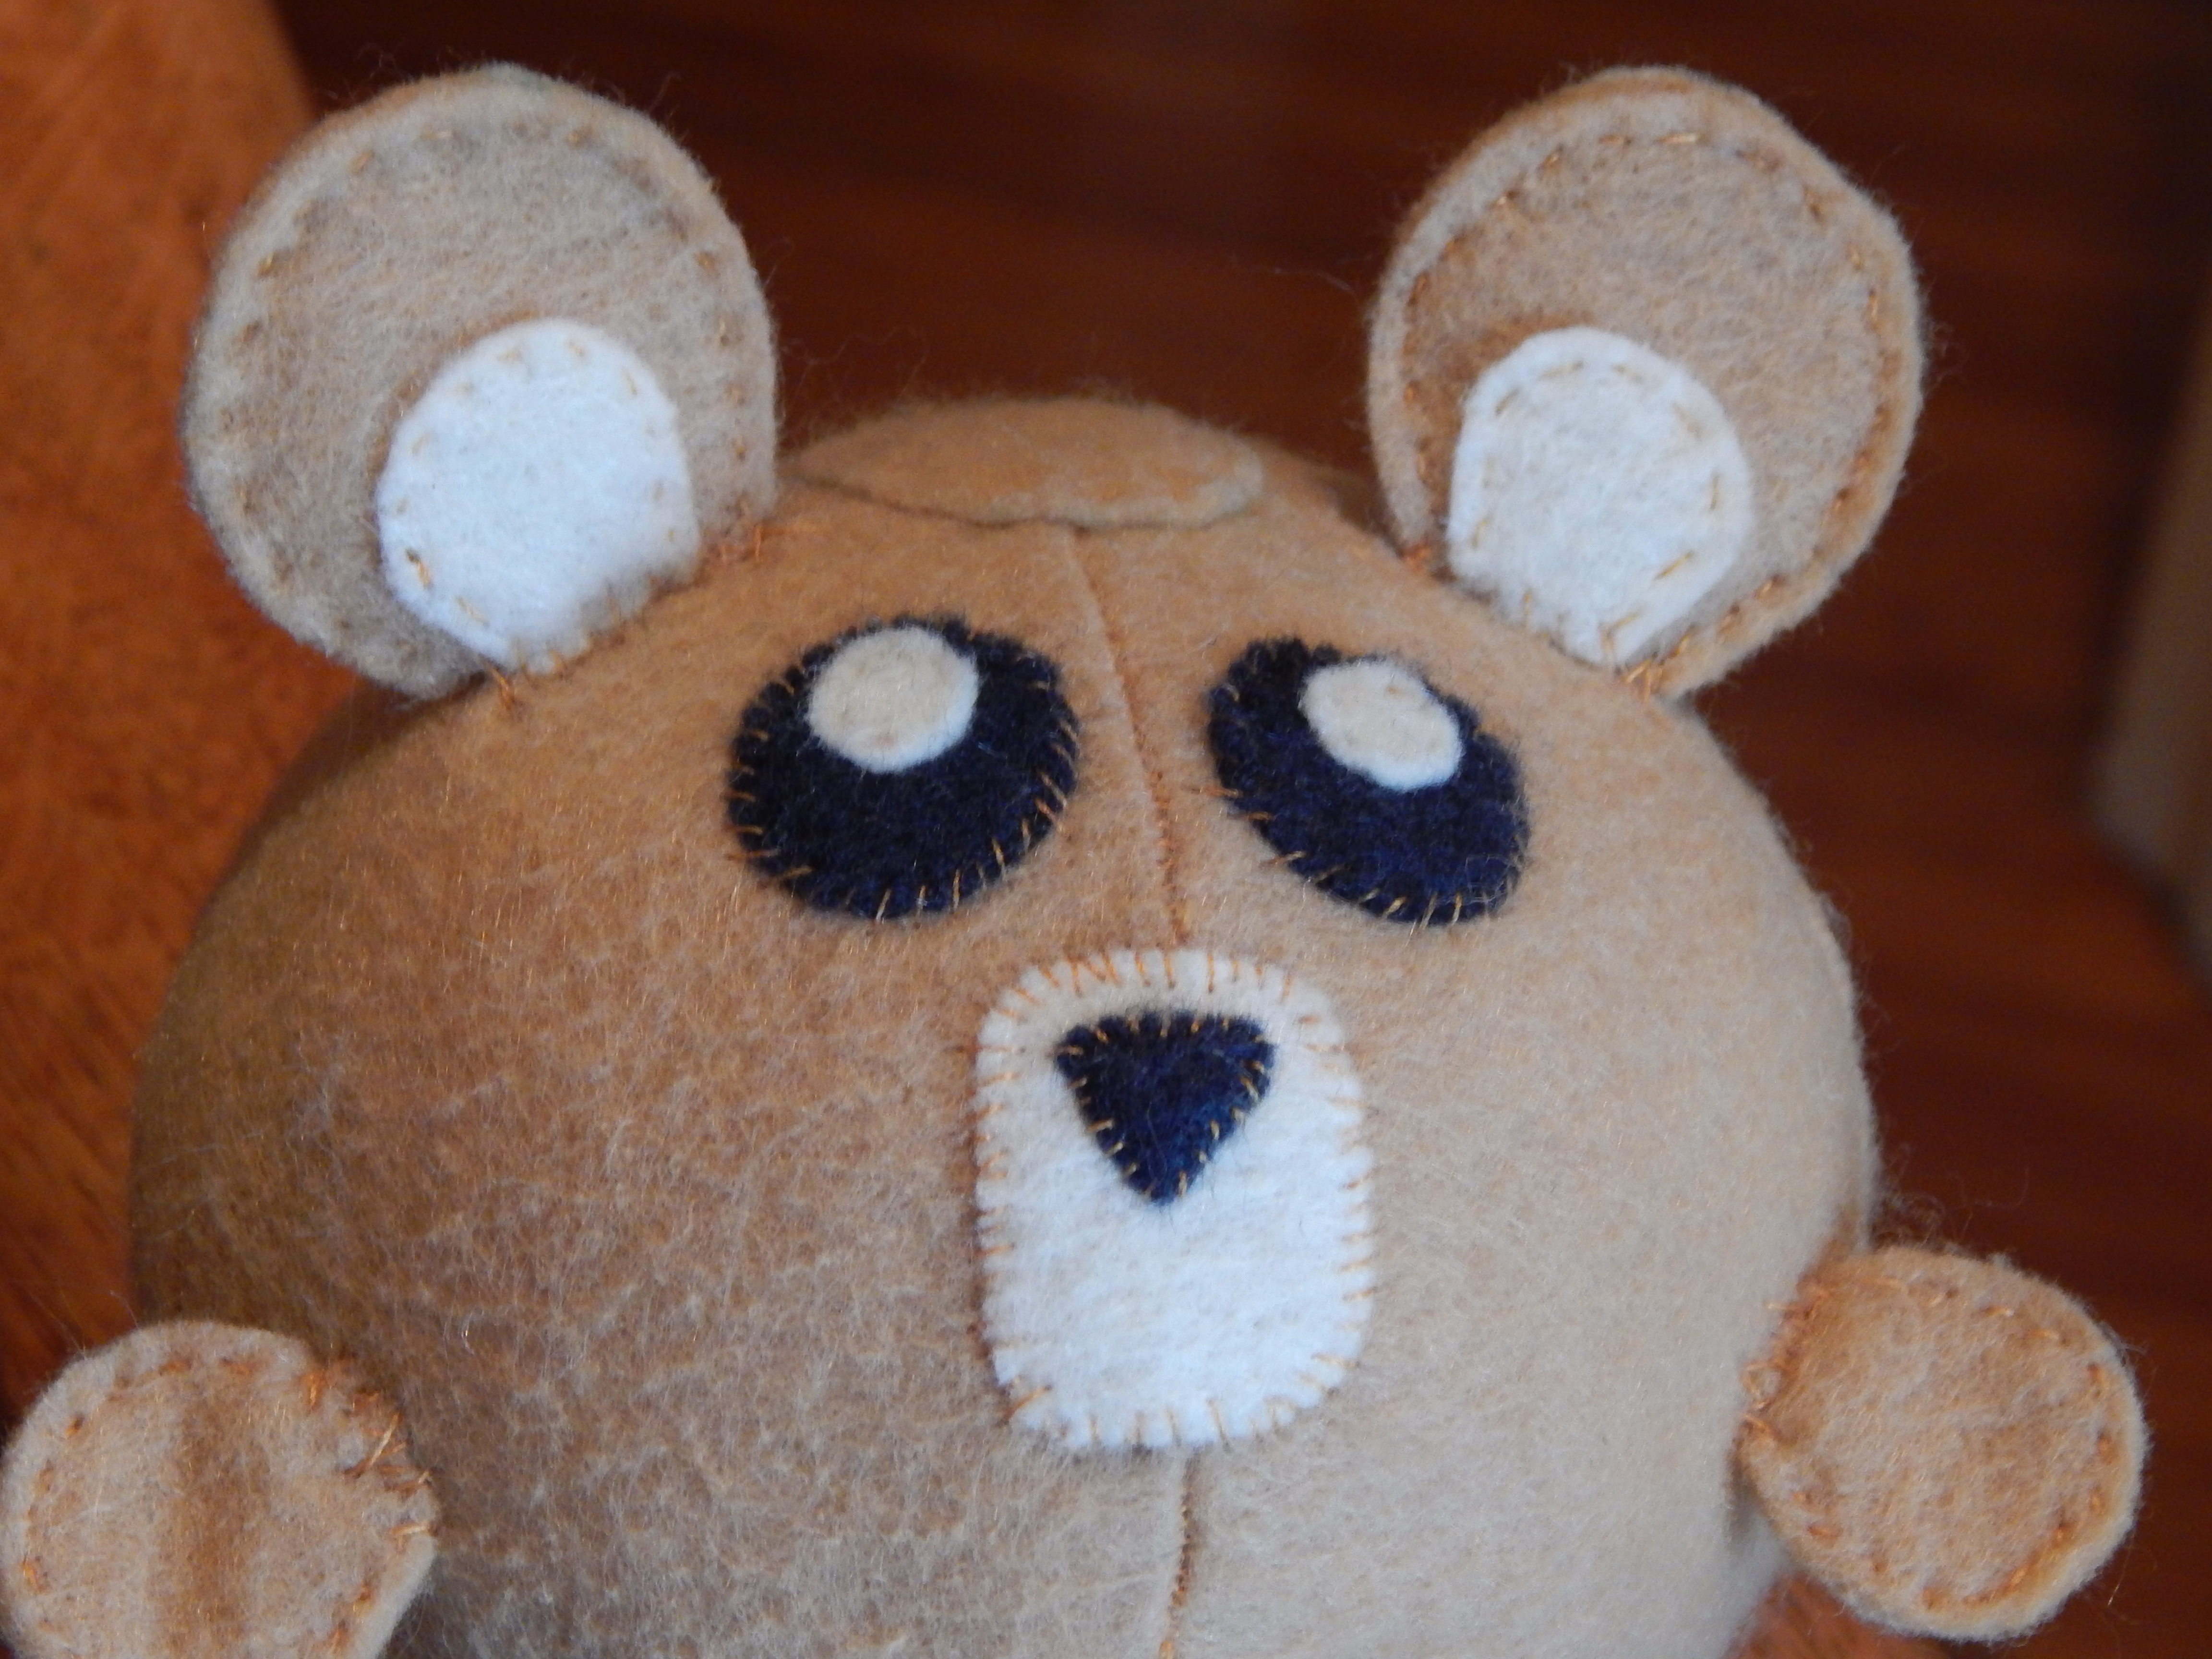
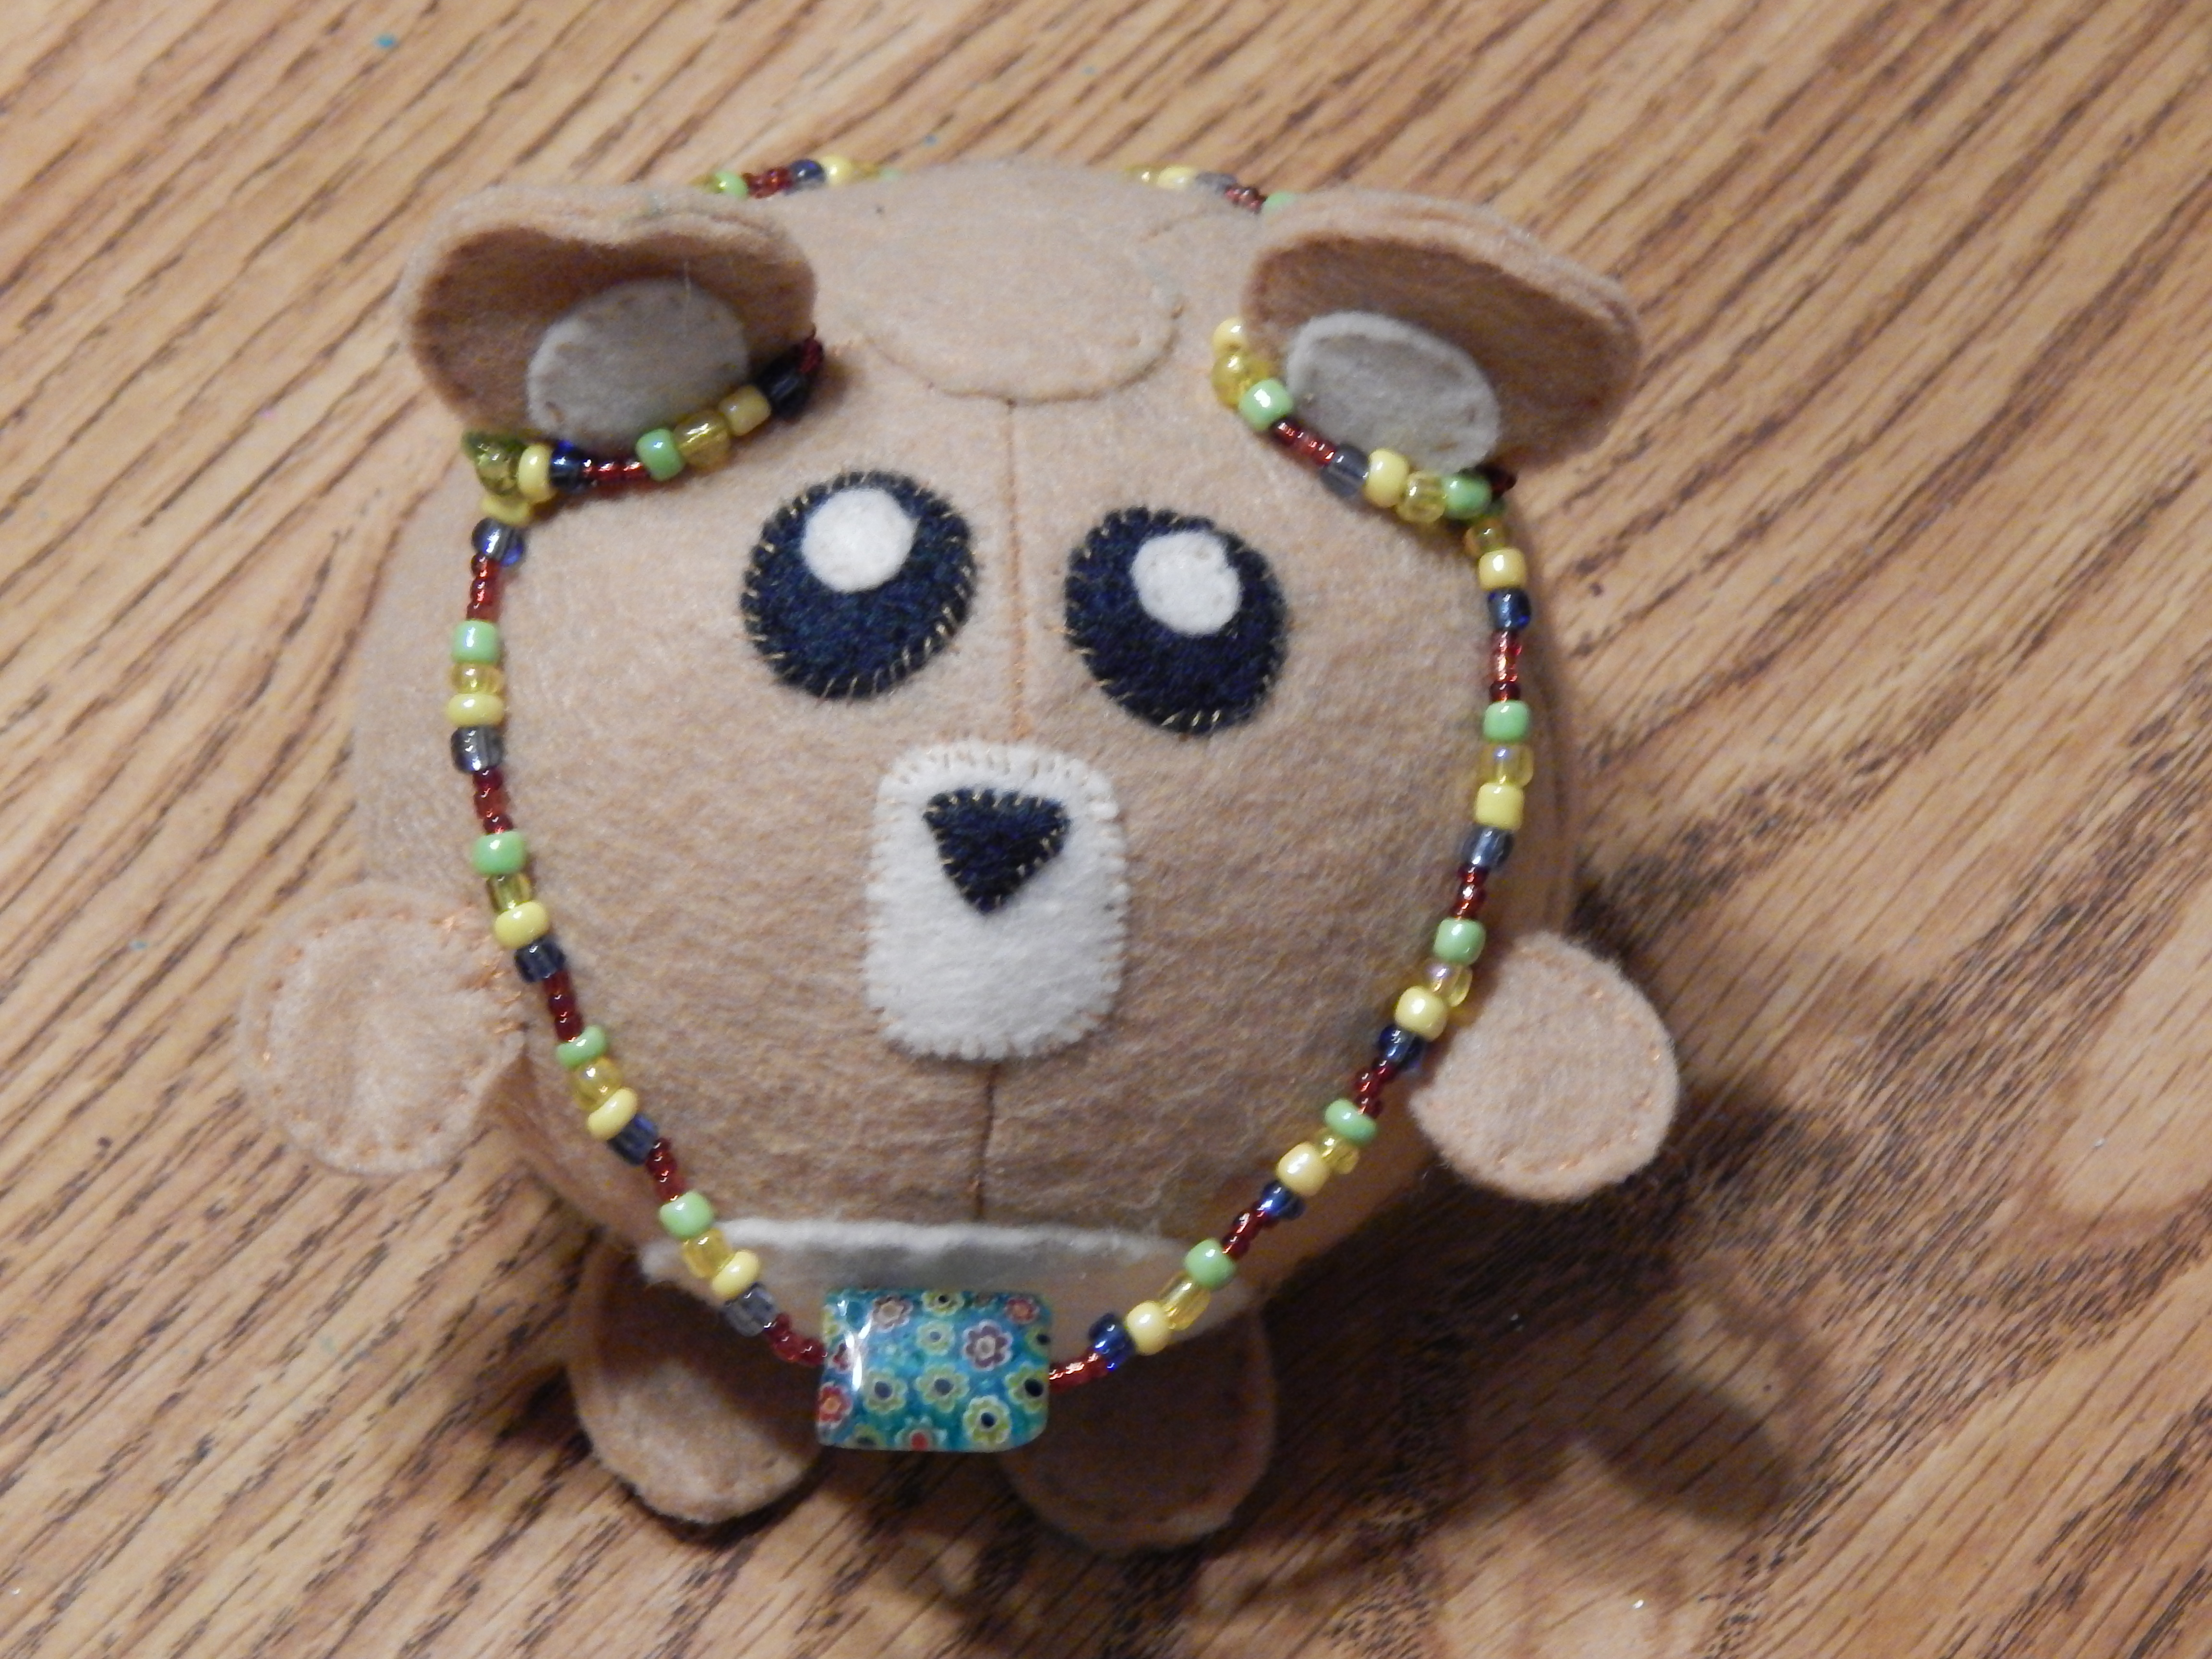
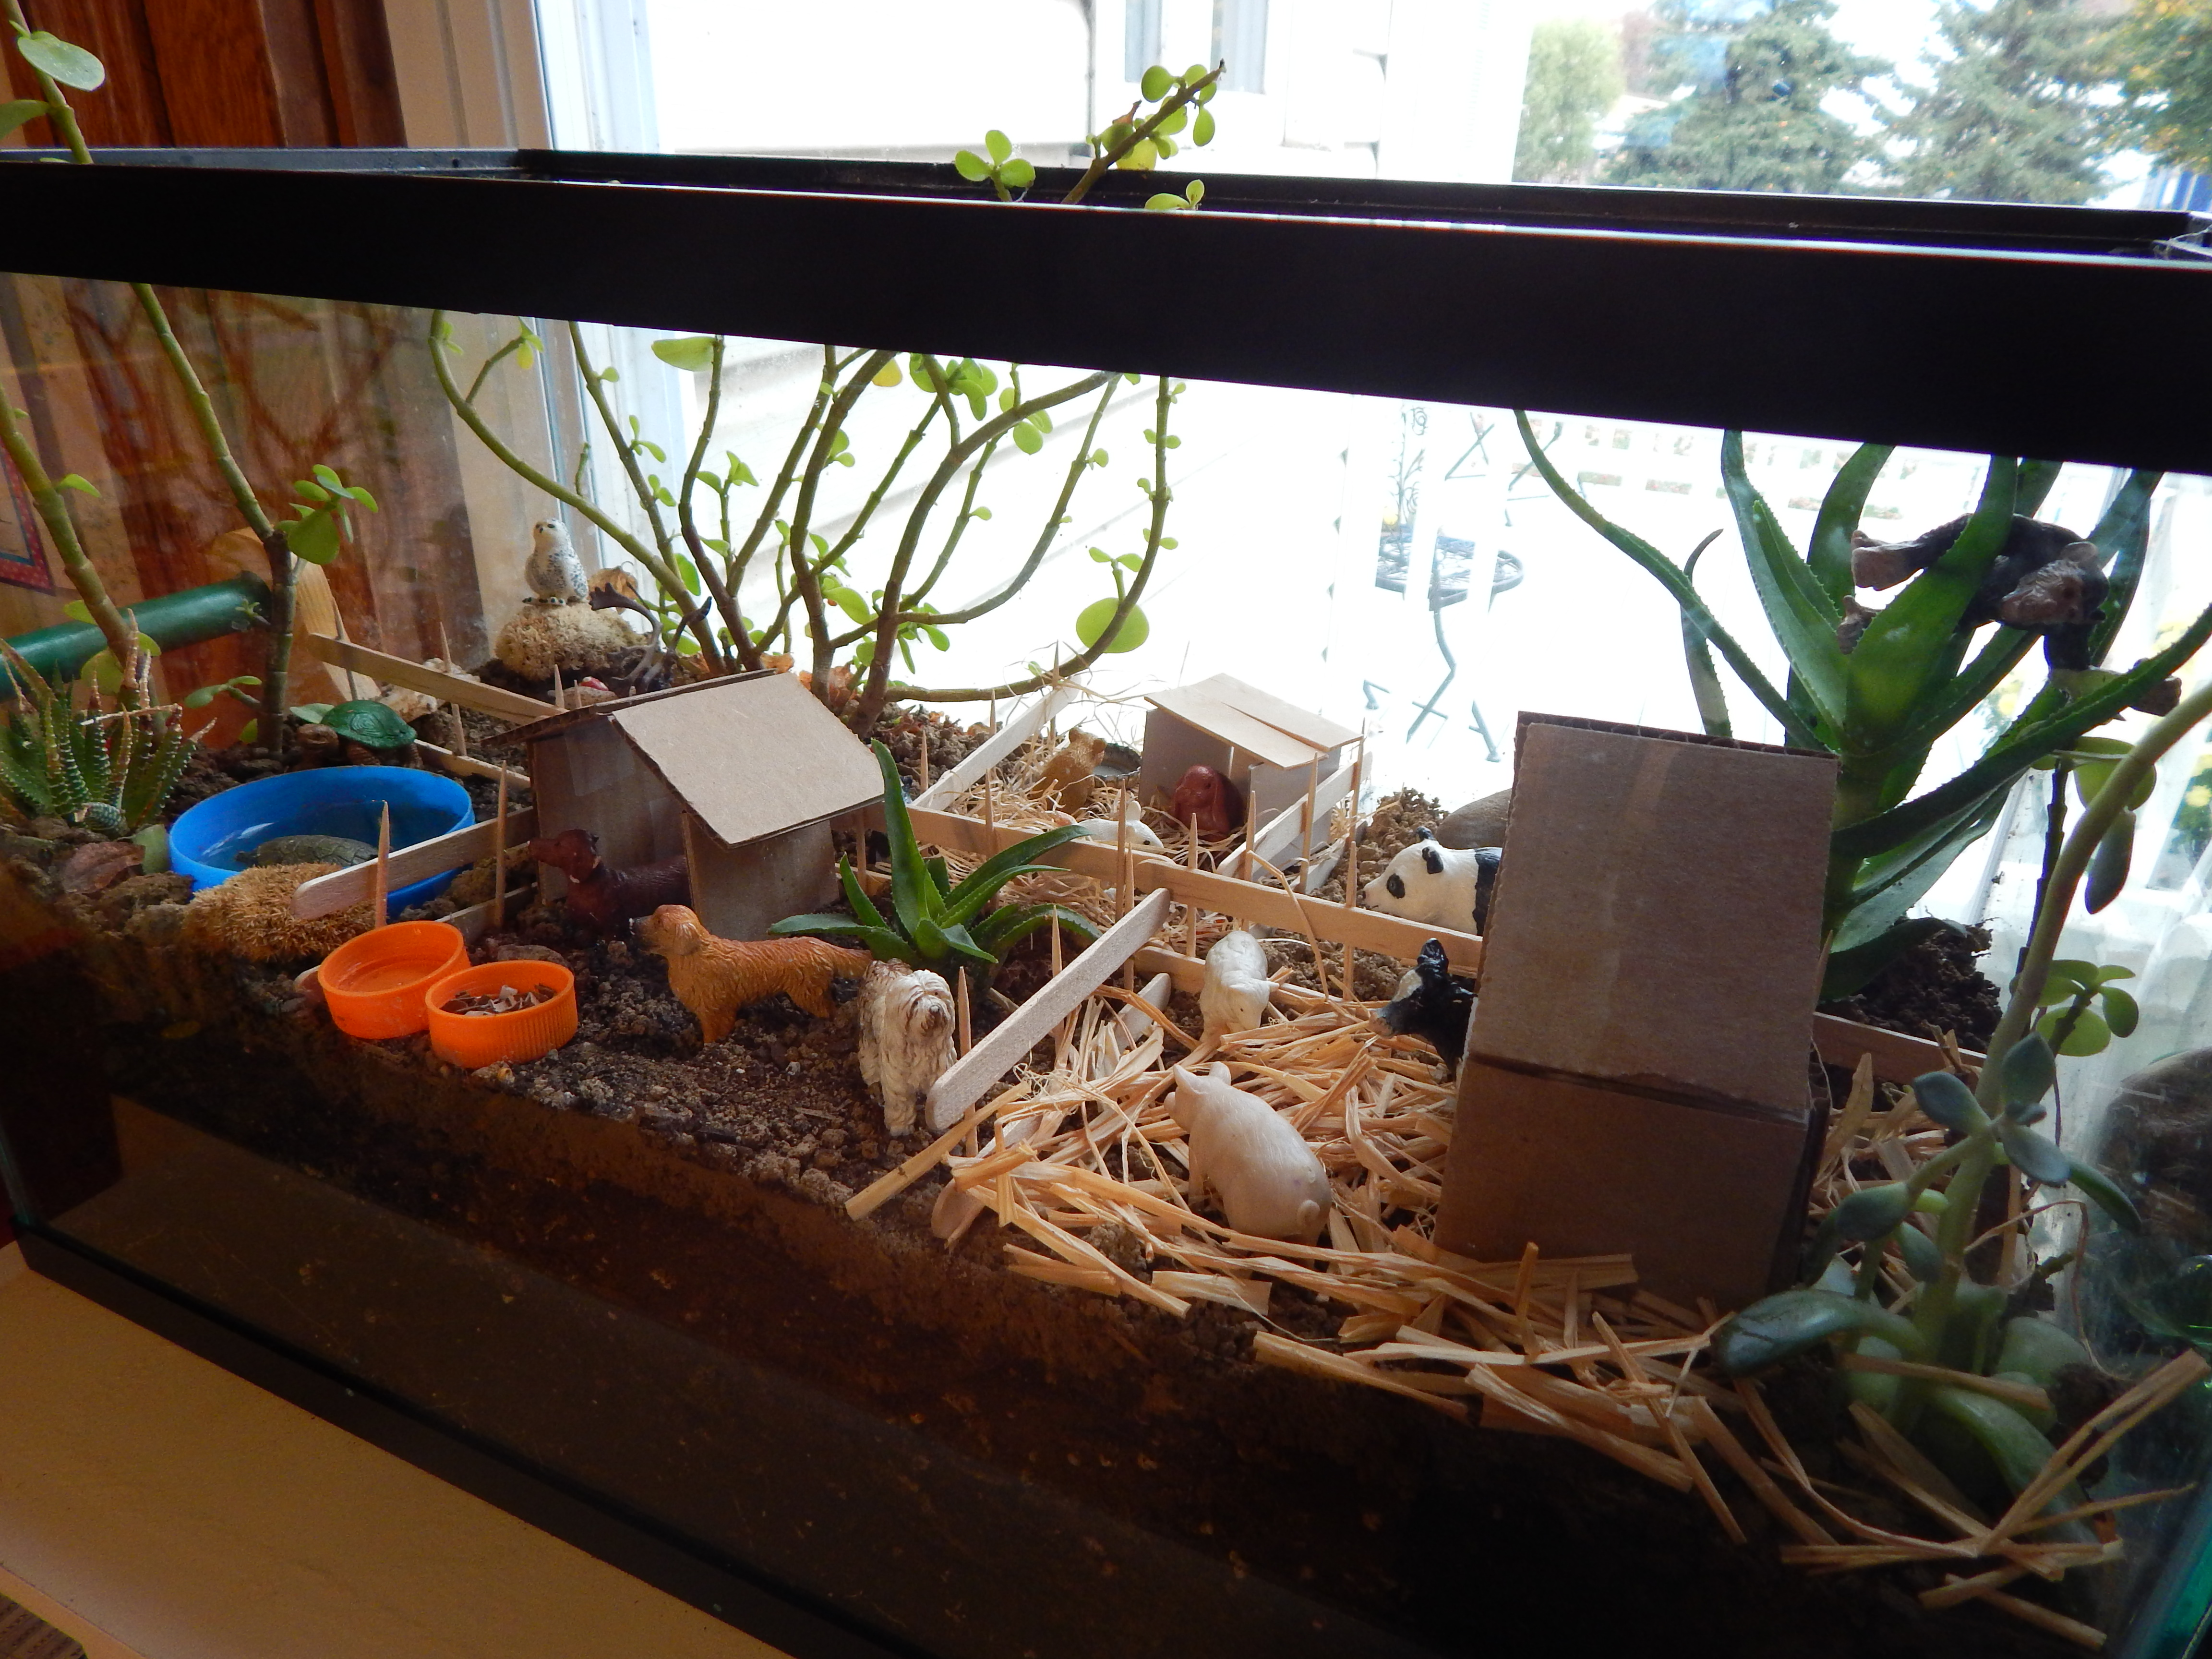
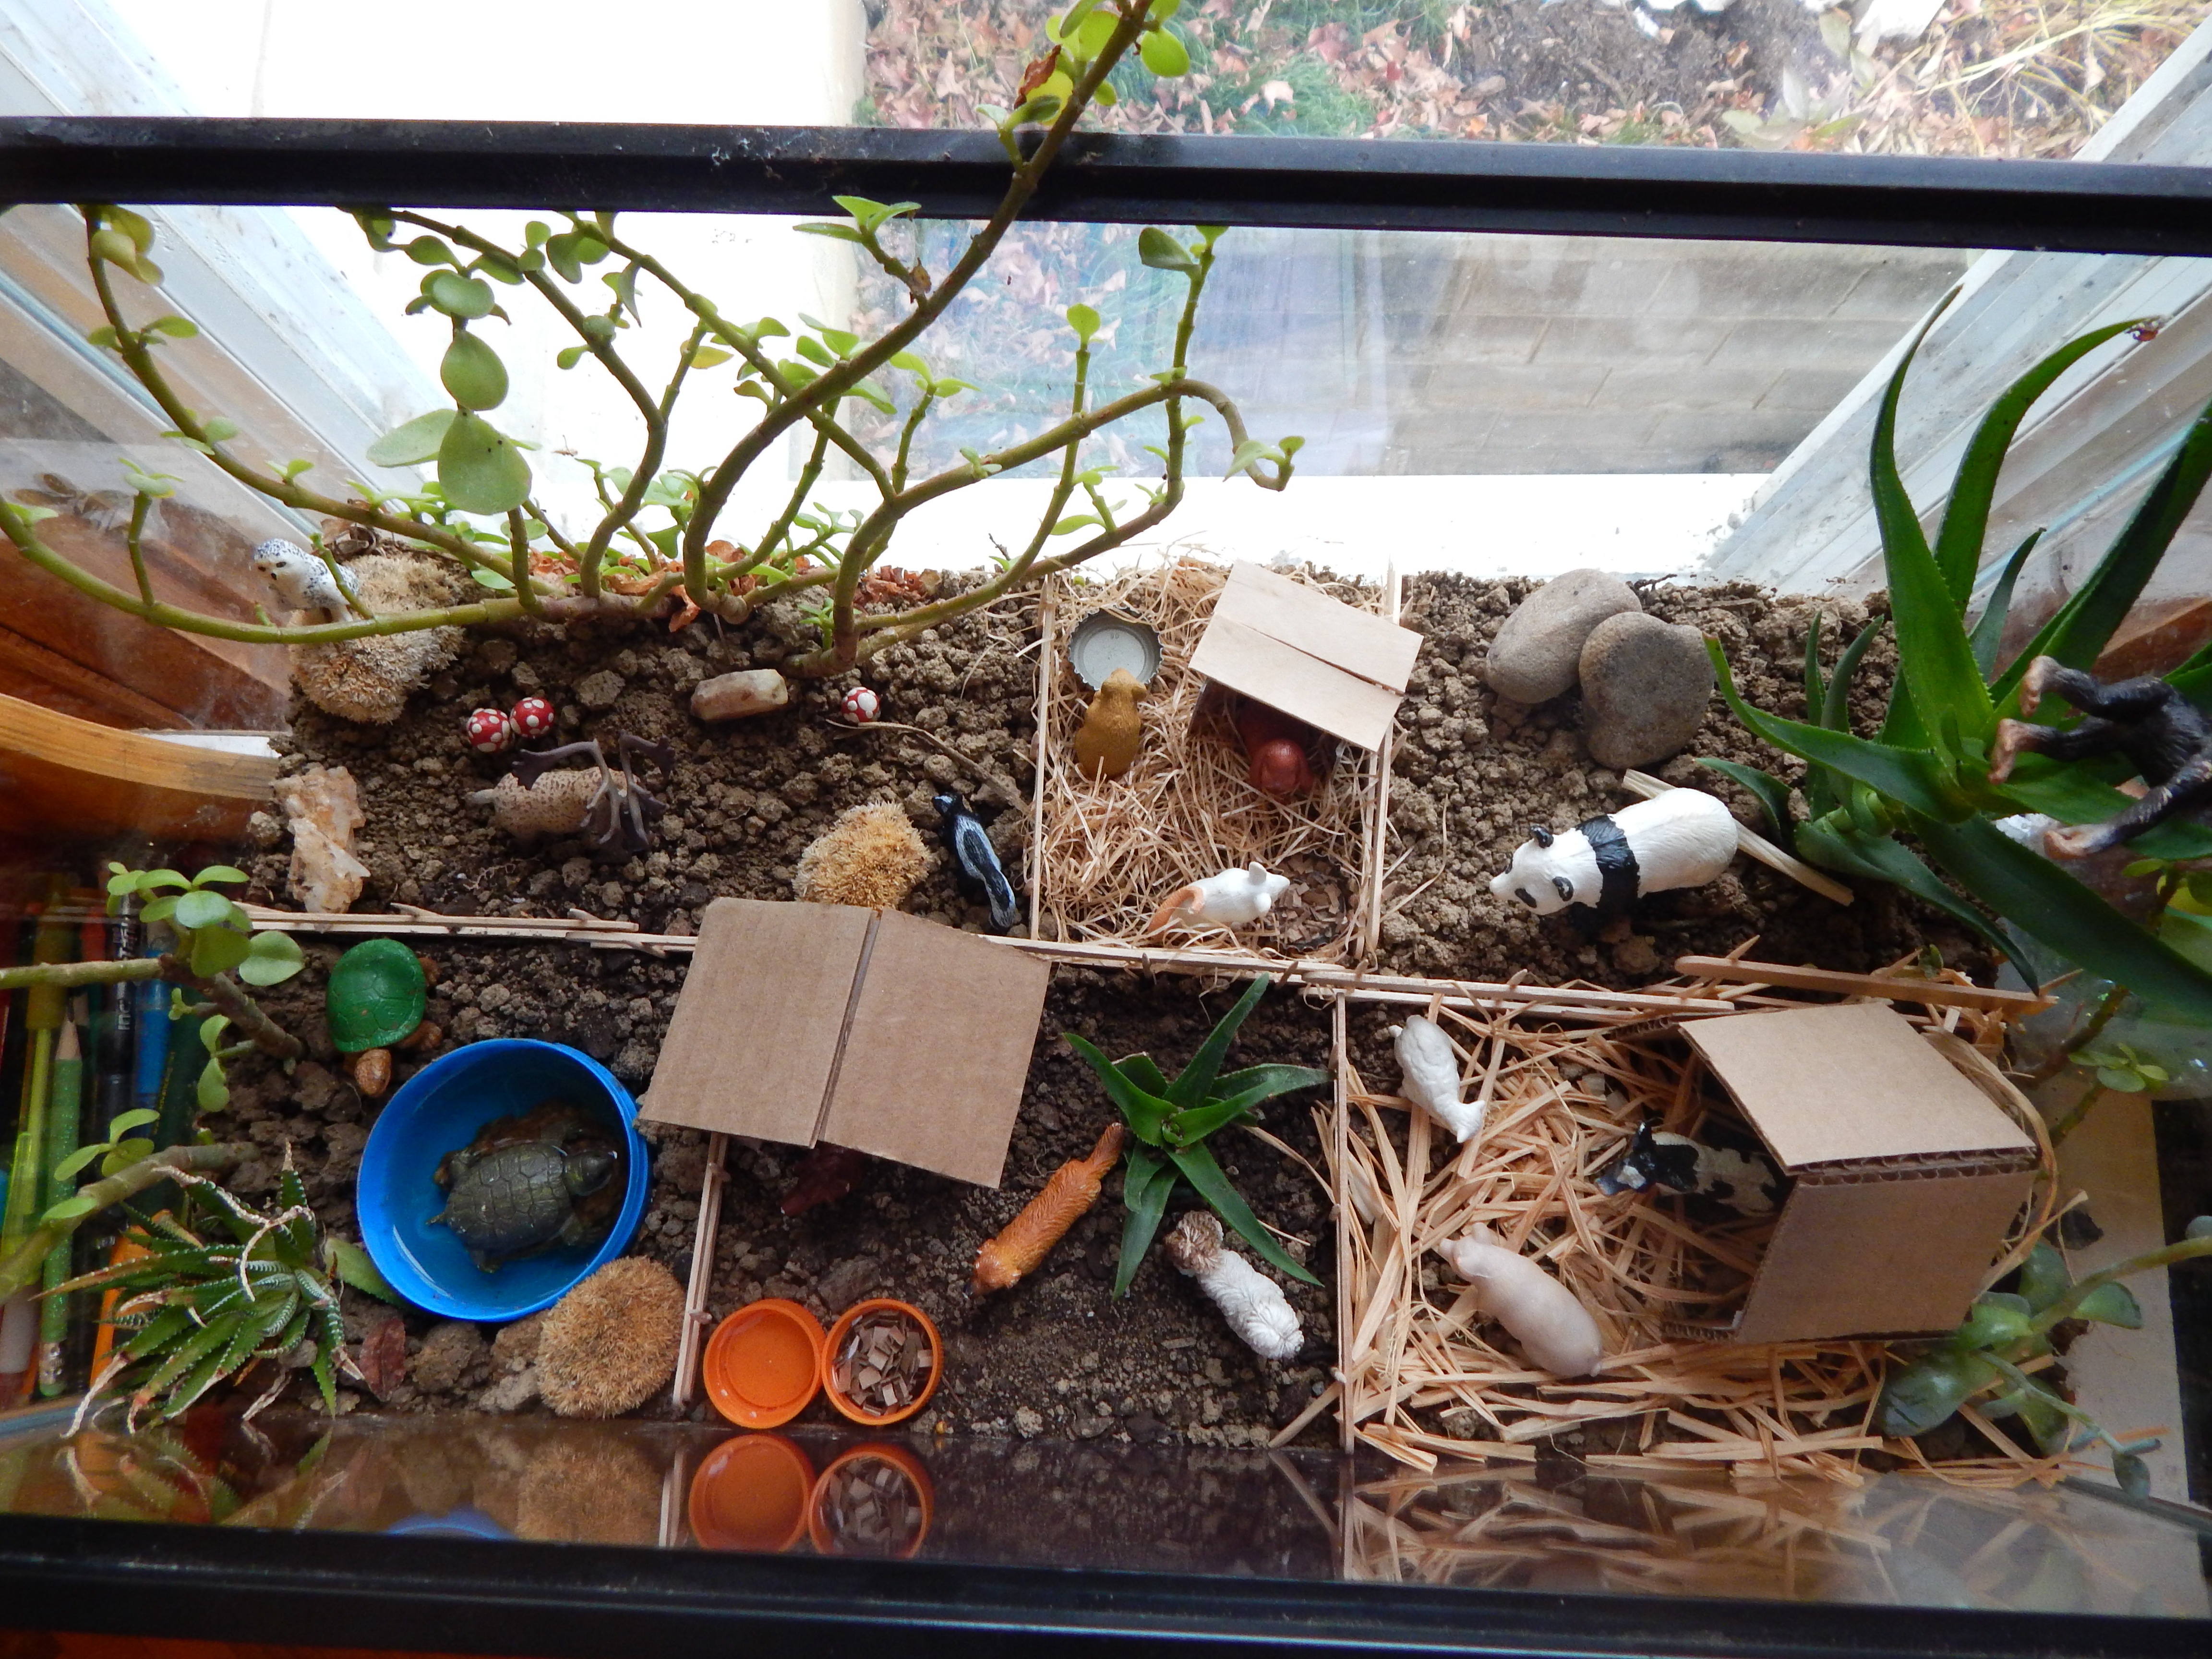
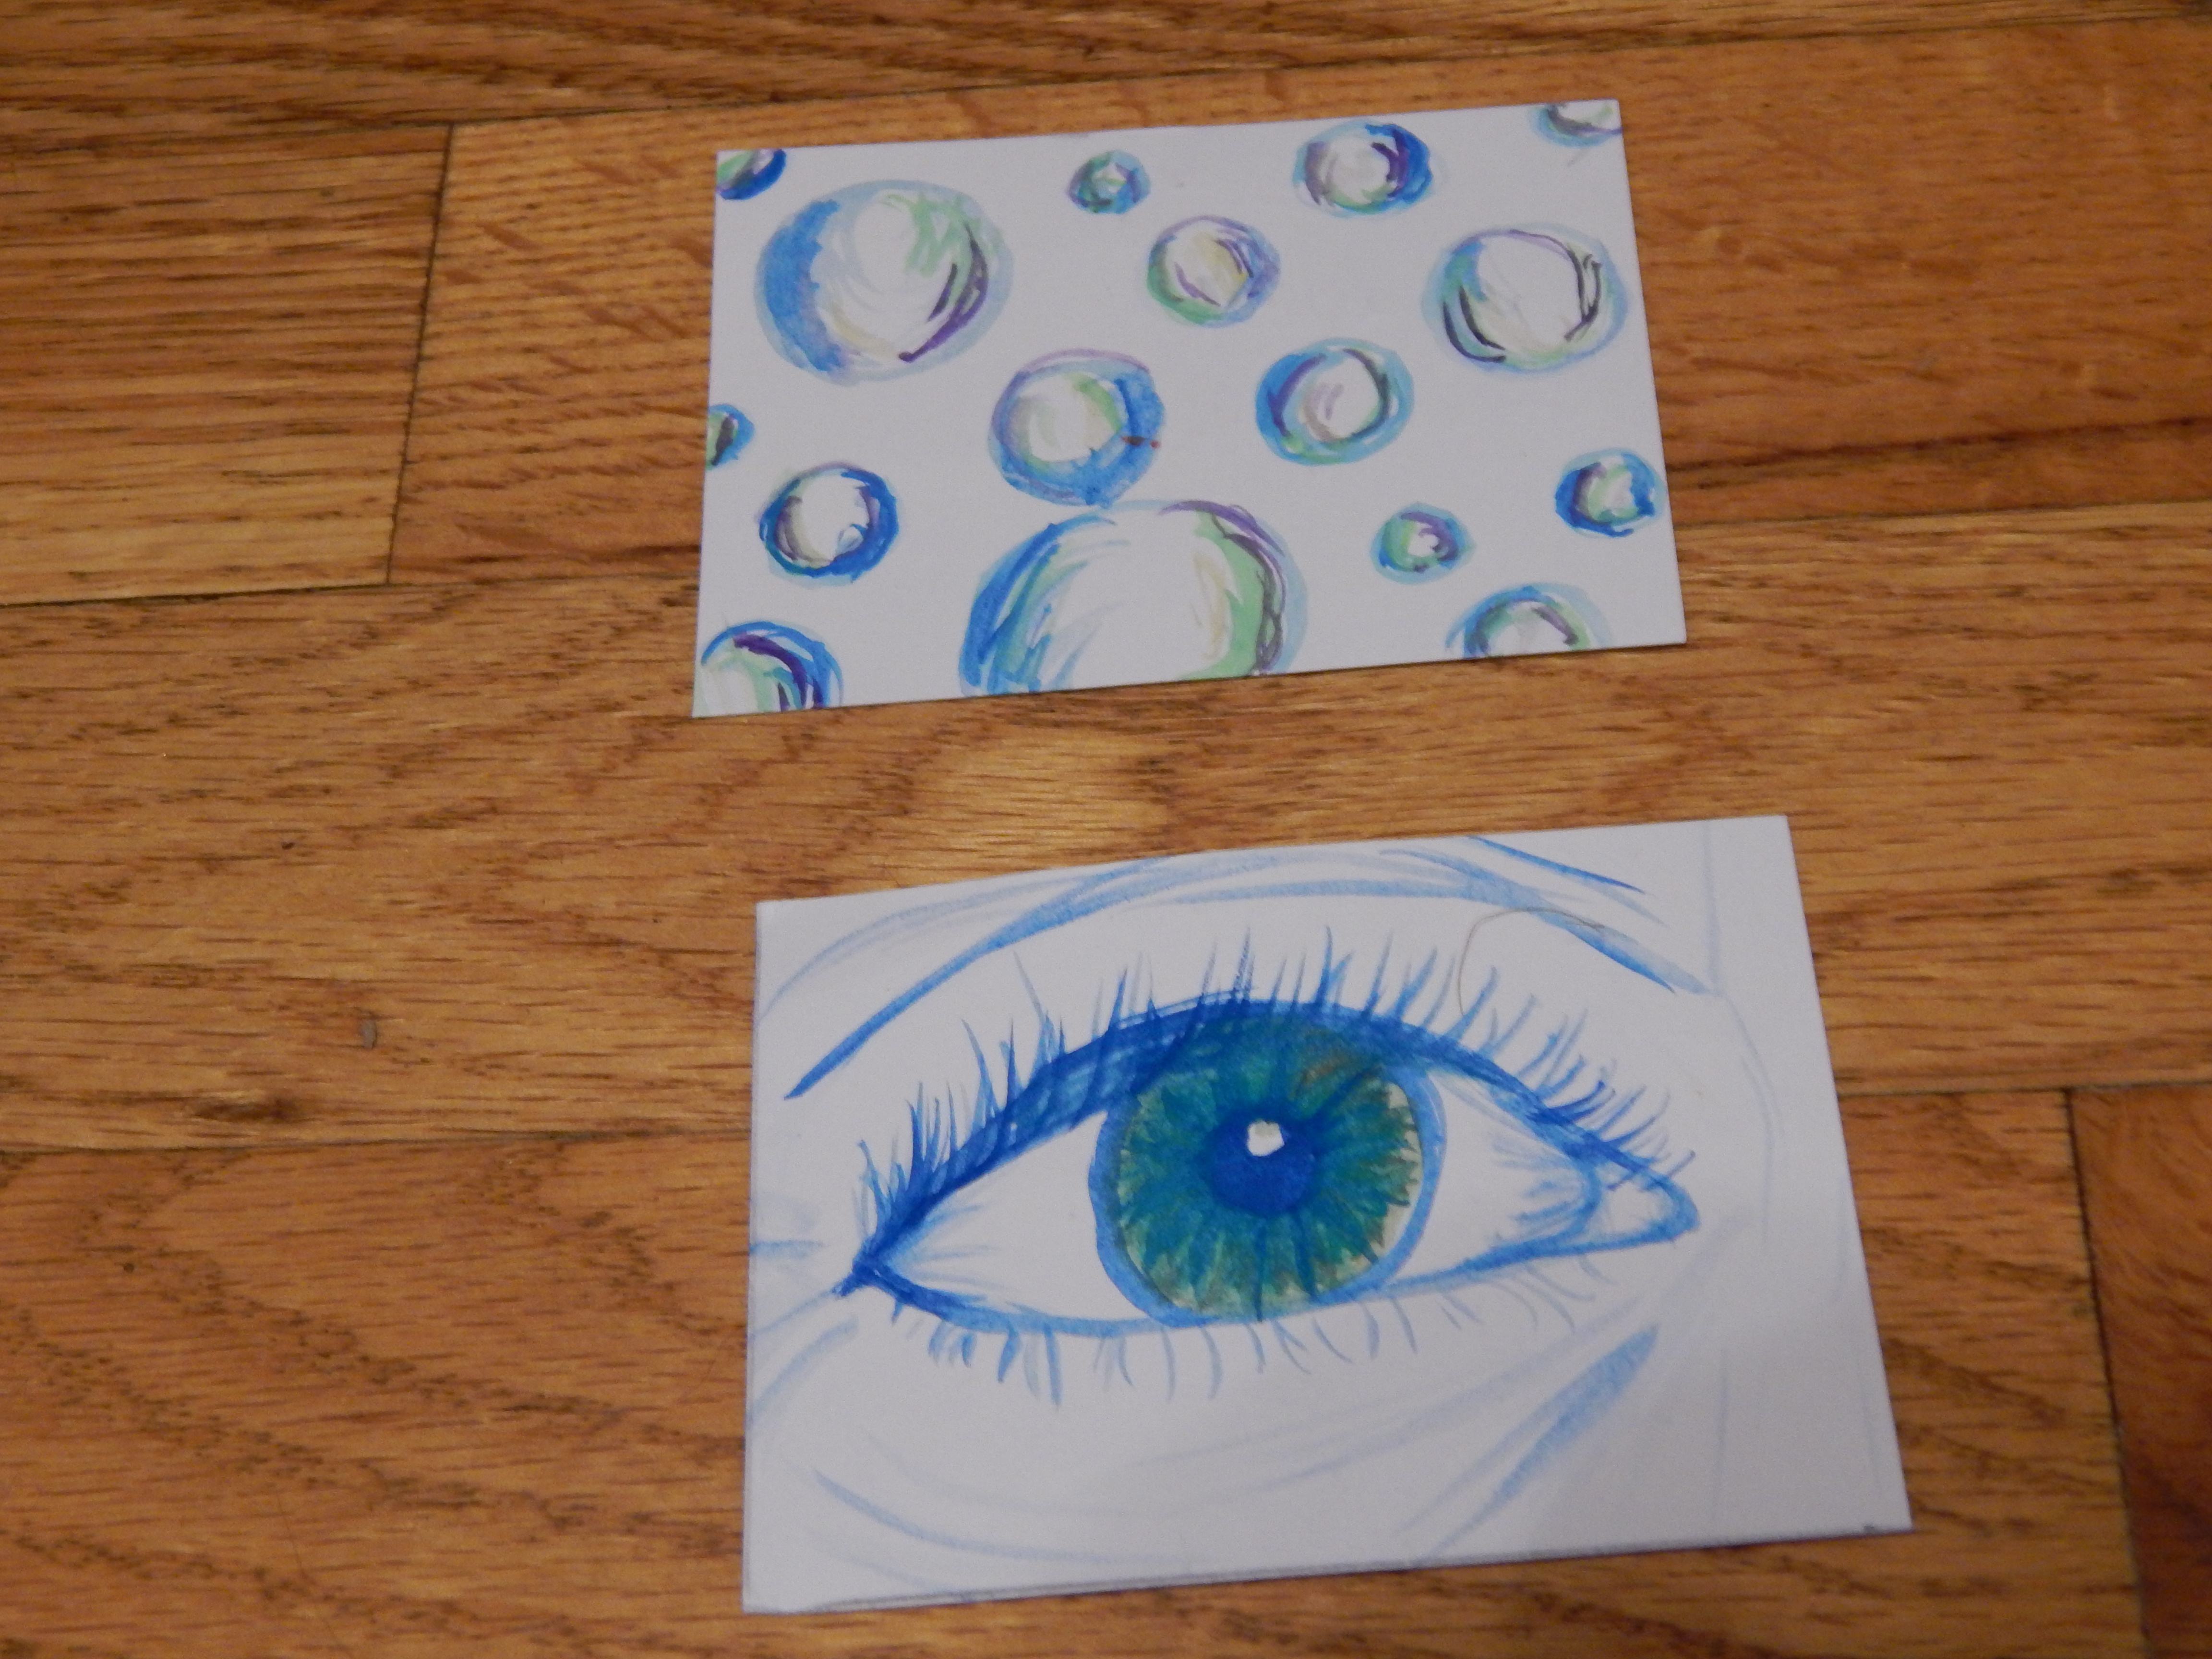
HOORAY! WordCrafters is finally here! Read on to see the first chapter of WordCrafters #1, and some notes at the bottom of this post. (I also included a picture I took for an illustration for my chapter. Feel free to do that for your part too!)

WordCrafters 3 (1280x1280)

*********************************************************************************************

Alalia huffed and puffed up the mountain slope, trying to keep the backpack straps on her thin shoulders. Well, no strangers so far. She supposed that hiking wasn’t too bad of a pastime, although it could never compare with reading.

Alalia Marie Celinette was shy – painfully shy, so instead of playing outside or having sleepovers with her friends, she could almost always be found in her cozy reading nook, devouring a delicious book.


Until last night…

“Alalia! Time for supper!” the voice of Alalia’s mom wafted through the kitchen doorway where she was cooking up some vegetable stew for supper. Alalia closed Alice in Wonderland with a sigh. She wished she could go through the looking glass and explore the world beyond.

At dinner that night, Alalia’s dad put down his fork and began a little speech for Alalia.

“Alalia, we know how much you love reading, and reading itself is a good thing, but you have been doing entirely too much reading and not enough other activities lately.” Alalia sighed. They had had this conversation before. “We were thinking of some activities you could do to get outside and play with your friends more often, and here are some things we came up with.” Alalia’s mom brought a rumpled list out of her pocket and began reading: “You could go hiking, horseback riding, sign up for a club or sports…”

Alalia plunked her head on the table. “But I don’t want to do any of those things. I just want to read!”

Her parents gave each other an exasperated glance. “Honey, we just talked about this! How about you just choose one of those activities and try it out for a little while. You won’t have to do them every day – maybe once or twice a week, depending on the activity. Then, if you still really don’t like it, we’ll think about it again.”

So Alalia had thought it over for a while, and then decided to try hiking, because hiking was probably the best of those choices for avoiding strangers. Now here she was, dragging herself up Mount Minley – and she hadn’t met any strangers so far!

Soon, Alalia came to a sharp turn in the path, and was faced with a decision. Right, left, or take the shortcut? Hmm… I think the shortcut. The shortcut passed close to the edge of the mountain, which gave Alalia the jitters, but she stopped and took in the view anyway.

018

She had decided to bring her camera along, in case walking got boring. Just then a beautiful brown spotted butterfly flew past Alalia. Alalia whipped out her camera and followed the butterfly’s path with her lens. Finally, she saw it come to rest on a pretty green vine below the path where she was standing. Then Alalia saw something else – there were dozens of little sky blue butterflies also flitting around the vine. Alalia just had to get a picture of them!


She stumbled down from the path and approached the vine. It was dark green with red berries, kind of like holly, and it trailed down over several large boulders. As she watched the butterflies, the breeze blew the vines away from the boulder, and revealed a dark hole – it looked like an unexplored cave!

Although Alalia had never been the adventurous sort, she loved caves, and as she was prepared with a flashlight, food, and water, she decided to at least peek into the cave. Who knew but that she would discover a beautiful cavern – that would be worth writing her own story about!

She cautiously stepped inside and beamed her light around the cave. It was pretty tiny – Alalia had to stoop to fit inside – but it looked like it opened up ahead. Alalia tromped on further into the cave until she reached a dead end. But Alalia could see a little ray of light peeking in from behind the wall. She touched the wall, which felt surprisingly like vines, and to her astonishment, it gave way! Alalia pushed the vines out of the way, and stepped out into a brilliant green light.

She blinked and looked around. This place was not Mount Minley. This place wasn’t even her city. This place was an entirely different world!

************************************************************************************

Gaaaah! I want to write more, but I must leave a cliffhanger for the next person to finish! It’s probably a good idea for each person to end their chapter with a cliffhanger so that the other person has a good place to start. According to the list, it is Misty’s turn to write the next part! Here is the whole randomized list. (Well, I randomized it with all of the writers in the list and then realized that I would have to rearrange it a little bit so that I would start and Josie would end like we had planned.)

  1. Allison
  2. Misty
  3. CutePolarBear
  4. Nicole
  5. Addy
  6. Clara
  7. Suzy
  8. Loren
  9. Hayley
  10. Rebekah
  11. Megan
  12. Chaespeedreader
  13. AG Dolls and Fun
  14. Mallory
  15. Anonymous A.
  16. Josie

So there you have it! You can also see the list on my WordCrafters page, where I will also update the story as new parts are added to it. I can’t wait to read the finished story – thanks for entering, everyone!

***Allison***

My ATC Collection

If you don’t know what ATCs are, you can read about them here. My family and friends and I enjoy making ATCs, and I just recently got a really nice pack of ATC holders and a binder to display them in. They look beautiful altogether, like a scrapbook, and they are much easier to see and trade. So get ready to see a LOT of ATCs! (I’ve traded with at least 25 different people so far, including several adults! I’ll bet to some people that doesn’t sound like a lot, but for me it is!)

If you like a certain one, you can tell me in the comments and I’ll tell you who it was made by and what the title is, because sometimes the title is the funniest part! Most of the ATCs in the first three pictures were made by me.

026 (1280x960)

027 (1280x960)

035 (1280x960)036 (1280x960)028 (1280x960)029 (1280x960)030 (1280x960)034 (1280x960)031 (1280x960)

These three ATCs below are “mix-it” ATCs my friends and I made, where you can trade different ATCs to make funny, mixed-up creatures.

032 (1280x960)

Here are my “special” ATCs. I try to keep at least one ATC from everyone I’ve traded with. So the ATCs below are either my favorite one or two cards from each person I’ve traded with,  or the only card I have from them. Oh, I just have to tell you something: the first two ATCs are by my dad (the first one is a sort of riddle – try to figure out what it says!) and the really good leaf painting in the third picture is my mom’s. Aren’t they good?!

033 (1280x960)038 (1280x960)037 (1280x960)039 (1280x960)

So that’s my collection! I hope it inspires you for your own ATCs!

***Allison***

P. S. Do you like my new profile picture on the side bar?

P. P. S. Thank you so much to everyone who has signed up so far for WordCrafters! I can’t wait to see how the story turns out!

Christmas Gifts by Yours Truly

I hope you had a Merry Christmas – I did! I always make my Christmas gifts because I love to make and give things. This year I made this candy bark for my dad and my aunt and uncle’s family, lots of mix-and-match paper flags for a pennant banner like this one for my mom, a cross-stitch picture of their grandkids (including me) for my grandmother and grandaddy, and a clay model of each of my brothers’ and sisters’ bunnies for their presents (along with some sugared pecans.) Whew! That was a long list, huh? I really enjoyed making those presents, but I only took pictures of the cross-stitch piece and the bunnies to show you.

First, the cross-stitch thingy. My grandparents really liked it, which I am glad about, because it took me a really long time to make! I first planned my design out on graph paper, and then embroidered it. From left to right: my brother Jeff, Me, my cousin Leisha, my sister Carmen, my brother Logan, my cousin Jianna, and my sister Megan. I worked really hard on this and I’m quite pleased at how well it turned out!

All my siblings really liked these little bunnies too. They are cute if I say so myself. 🙂 In the picture of all of the bunnies in my hand, they are from left to right: Clementine, Yoshi, Olaf, and Diamond. Which is your favorite clay rabbit?

This is Yoshi and Clementine together, because Clemmie is a soon-to-be mother (we hope!) and Yoshi is the dad. (!!!)

025 (1280x960)

I hope you enjoyed looking at my creations! Did you make any presents this year?

***Allison***

How to Blow Double Balloons

I hope you all had a good Thanksgiving. I did! At one of our Thanksgiving celebrations we had a lot of fun watching home videos from years ago. We were hilarious back then, and so cute!

Anyway… moving on. For my brother Jeff’s birthday party awhile ago I figured out how to blow up two balloons, one inside the other! Like this: (although it’s a little hard to see in the picture).

-Allison(sunset, balloon, mold) 024 (1280x960)

It is kind of hard to explain how I did it, but I will try my best because it looks really neat when you’re finished! It would look especially good if you used really clear balloons instead of colored ones for the outside balloon because then you could see the balloon inside of it better. I sort of learned that the hard way. I tried it once with blue inside and green outside, and another time the opposite way. When I used the blue balloon as the outside balloon, it was so colored you could hardly see the green balloon inside it. So, lesson learned: use the lightest or most transparent balloons for the outside balloons.

Now I’ll stop jabbering and actually tell you how to do this.

  1. Pick two balloons. You will want a light colored balloon for the outside and a darker color for the inside. I, sadly, did not obey this rule for this balloon, so in this case, my darker color (blue) is going to hold the lighter (green) balloon inside it.
  2. First blow up the outside balloon (in my case, blue), to stretch it.
  3. Now hold open the outside balloon with your fingers, stretching the neck as far as you can, while pushing the inside balloon down inside it. I took this picture while doing all of that – aren’t you proud of me? ;D  -Allison(sunset, balloon, mold) 014 (1280x960) 
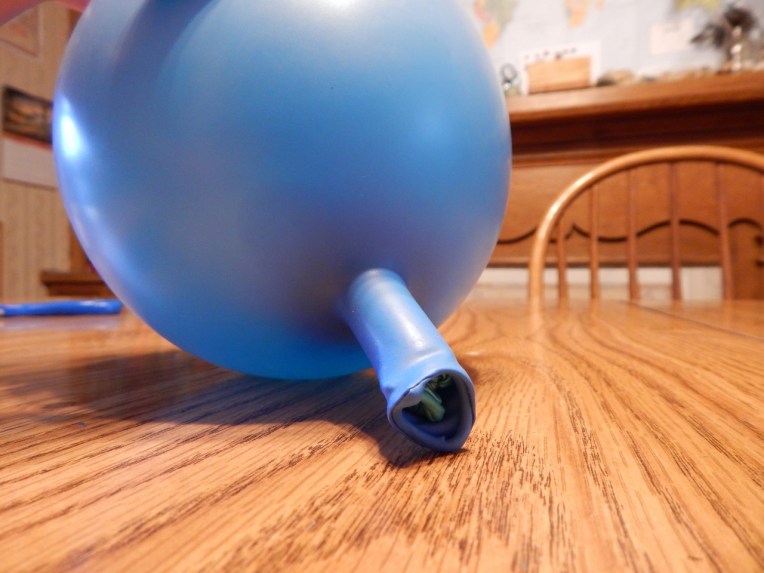
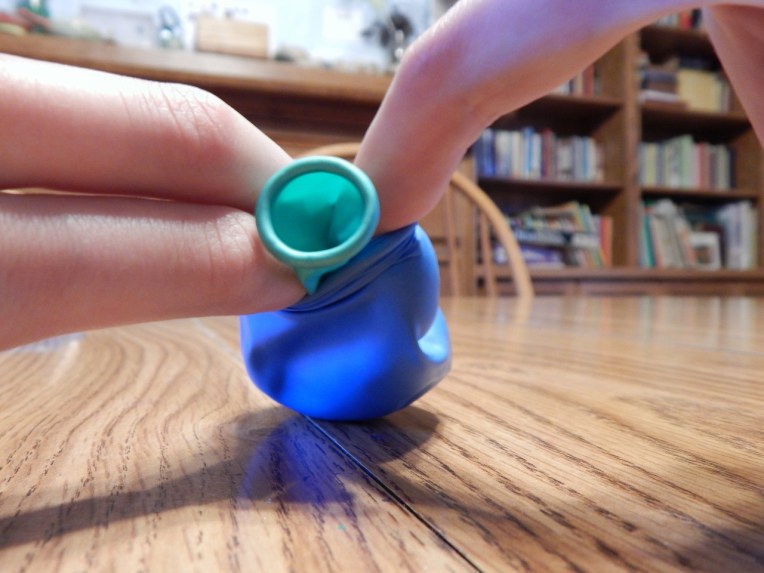
You may need someone to help you with this, but it is possible to do it by yourself because I did! Push the inside balloon down until only the rim sticks out of the neck of the outside balloon. You should see even less of the inside balloon than it shows in the picture. If I unfolded the blue it would be about right. You should just barely see the rim showing.-Allison(sunset, balloon, mold) 015 (1280x960)
  4. Blow! Since there are two balloon layers, it is harder to blow, but again, it is possible! The inside balloon will blow up the outside balloon too. Stop blowing when the balloon is still fairly small.
  5. Now tie off the inside balloon by stretching the neck far out of the outside balloon and tying it. -Allison(sunset, balloon, mold) 019 (1280x960)-Allison(sunset, balloon, mold) 020
  6. Push the inside balloon as far down as possible -Allison(sunset, balloon, mold) 021 (1280x960)
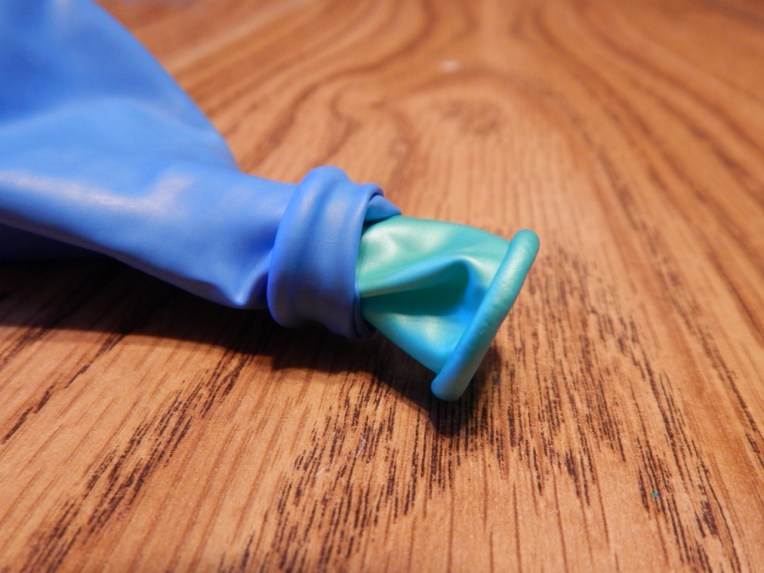
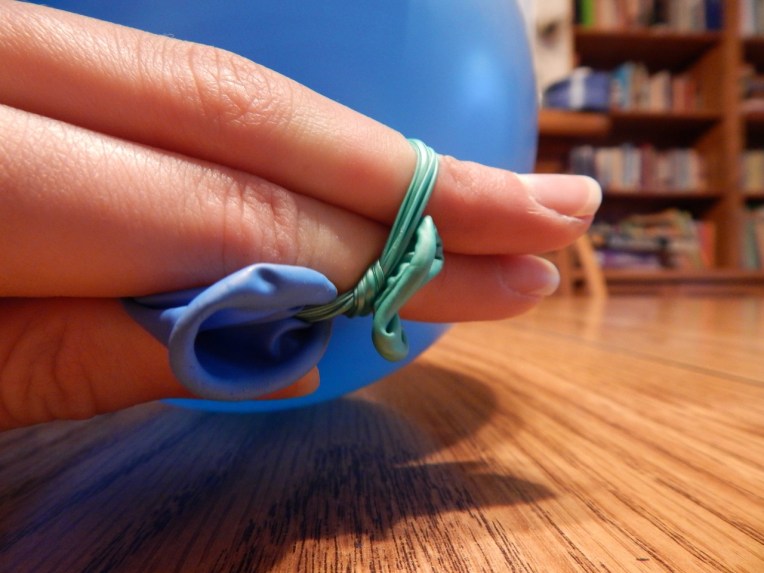
and blow up the outside balloon. You should be able to see the inside balloon move around when you shake it by the time you’ve blown it big enough.
  7. Tie off the outside balloon.
  8. You’re done!-Allison(sunset, balloon, mold) 024 (1280x960)

I hope you can figure out the instructions because they look amazing when they’re finished!

See you later!

***Allison***

Roly-Poly Stuffed Bear

I made this little guy for a gift for one of our friends. He was so cute I almost didn’t want to give him away! 🙂 I found this great tutorial with templates for making the round felt sphere part of him, and once you make the sphere you can customize it to be anything you want! Here’s the link to the tutorial on how to sew the pieces together (the actual tutorial part is towards the bottom of the post) tallystreasury.com And here’s the link to the template – it’s down near the bottom of the page under “Sewing Patterns” #14: tallystreasury.com/patterns/.

And now for a photoshoot!

097 105 104 103 102 101 100 099 098

This last picture shows him with a necklace I made that I also included in the gift. Doesn’t he look like he’s wearing earbuds or something?

-Allison(rabbits) 002

Don’t you just want to squeeze him?!

***Allison***

Make a Zoo Terrarium

My little sister Carmen, and I had fun making a little zoo terrarium with some of the bajillions of plastic animals we have piled up. We first put a fresh layer of soil down in a glass aquarium and divided the space into six pens of various sizes by scraping a line in the dirt. Then we made fences by gluing three toothpicks evenly spaced onto a pair of small wooden craft sticks, like so. I was too lazy to get up to take another picture, so I just sat at the computer and made a diagram instead. 🙂

fence

I transplanted a few succulents in the pens. Then came the fun part – furnishing the pens!

-Allison(felt doll, zoo terrarium, Clemmy) 004

Rabbit, hamster, and mouse pen: Hutch: sides from cardboard, roof from wooden craft sticks. Food and water bowls: metal bottle caps, water for water bowl, cardboard bits for food bowl. Straw: Uh… something like really thin raffia.

-Allison(felt doll, zoo terrarium, Clemmy) 011

Turtles’ pen: half of a plastic Easter egg for the pond, a rock inside the pond for an island, water in the pond, and a little ‘moss puff” on the side.

-Allison(felt doll, zoo terrarium, Clemmy) 005

Dog pen: Doghouse from cardboard, bowls from plastic bottle caps. Food: tiny squares of cardboard.

-Allison(felt doll, zoo terrarium, Clemmy) 006

Safari pen: Um, pretty much a succulent with a couple of smooth rocks.

-Allison(felt doll, zoo terrarium, Clemmy) 007

Farm pen: Cardboard barn, straw from raffia. (By the way, this is definitely NOT what our farm looks like. :P)

-Allison(felt doll, zoo terrarium, Clemmy) 008

Woodland pen: Moss puffs, quartz rocks, and clay toadstools made by yours truly.

Here are some shots of the whole thing.

-Allison(felt doll, zoo terrarium, Clemmy) 010 -Allison(felt doll, zoo terrarium, Clemmy) 009And thus ends the tour of our little zoo. Hope you enjoyed!

***Allison**


Host an ATC Party (And Some of My ATC’s)

My friends and I got together and came up with the idea of an ATC party where you make and trade ATC’s, eat snacks, and have fun! (If you don’t know what ATC’s are, you can read more about them here, here, and here.)We put our plan into action and it was a great success! Here are some tips in case you would like to plan your own.

  1. First, know how many people are coming. About 15 people came to our party, and mostly they were friends from church who make them.
  2. Cut out blank ATC’s ahead of time, or have your guests each bring a few. We used on average from 5-10 cards per person. It kind of varied.
  3. Set out a bunch of supplies. We also had a painting table and a drawing/gluing/etc. table. Here is a list of some supplies you can set out:
  • Sequins
  • Colored scrap paper
  • Glitter
  • Buttons
  • Magazine pages
  • Pretty tape
  • Stamps and stamp pads
  • Fabric scraps

And of course the basics:

  • Markers
  • Crayons
  • Colored pencils
  • Scissors
  • Glue/ fabric glue/ tape/ glue stick

So yeah, it was a lot of fun. (But it did take quite some cleaning afterwards! 🙂 ) It’s a good idea to put a scrap piece of paper down at each person’s place, and maybe a tablecloth on the table.

And now for my ATC’s. These are some of my favorites:

Top: Mushroomscape

Bottom: Toadstools. Get it? The toads are sitting on the mushrooms?

001

Top: Whimsical Landscape

Bottom: And…

002

Top: Cute as a Button

Bottom: A Full Heart

003

Top: Transformation (I kind of forget the title, actually. 🙂 ) I made this one by folding a paper in thirds, gluing the middle fold to the ATC, and cutting the two edge folds into three sections.

Bottom: Rainbow Hedgie I got the idea for this from Pinterest

004

Top: Scallops

Bottom: Crayon Resist This one I made by drawing with crayon first, then painting with watercolor over top. The paint doesn’t stick to the crayon lines, but it does stick to the paper.

020

Top: Coat Pocket Made out of fabric, marker, button tape, and sequins

Bottom: Herringbone I made the prints from scratching the pattern in Styrofoam, and using it like a stamp with a stamp pad.

021

Top: Oodles of Doodles

Bottom: Connect-the-Dots This one was a lot of fun to do. I just drew lines through the white dots on the paper to make a picture.

022

Top: Bubbles

Bottom: I’ve Got My Eye on You

023

Uh… Top and Bottom: Fall Collage

024

Whew, that was a lot of “favorites!” Do you like making ATC’s? It would be fun to see your ATC’s too!

***Allison***