DIY Paper Pennant Banner

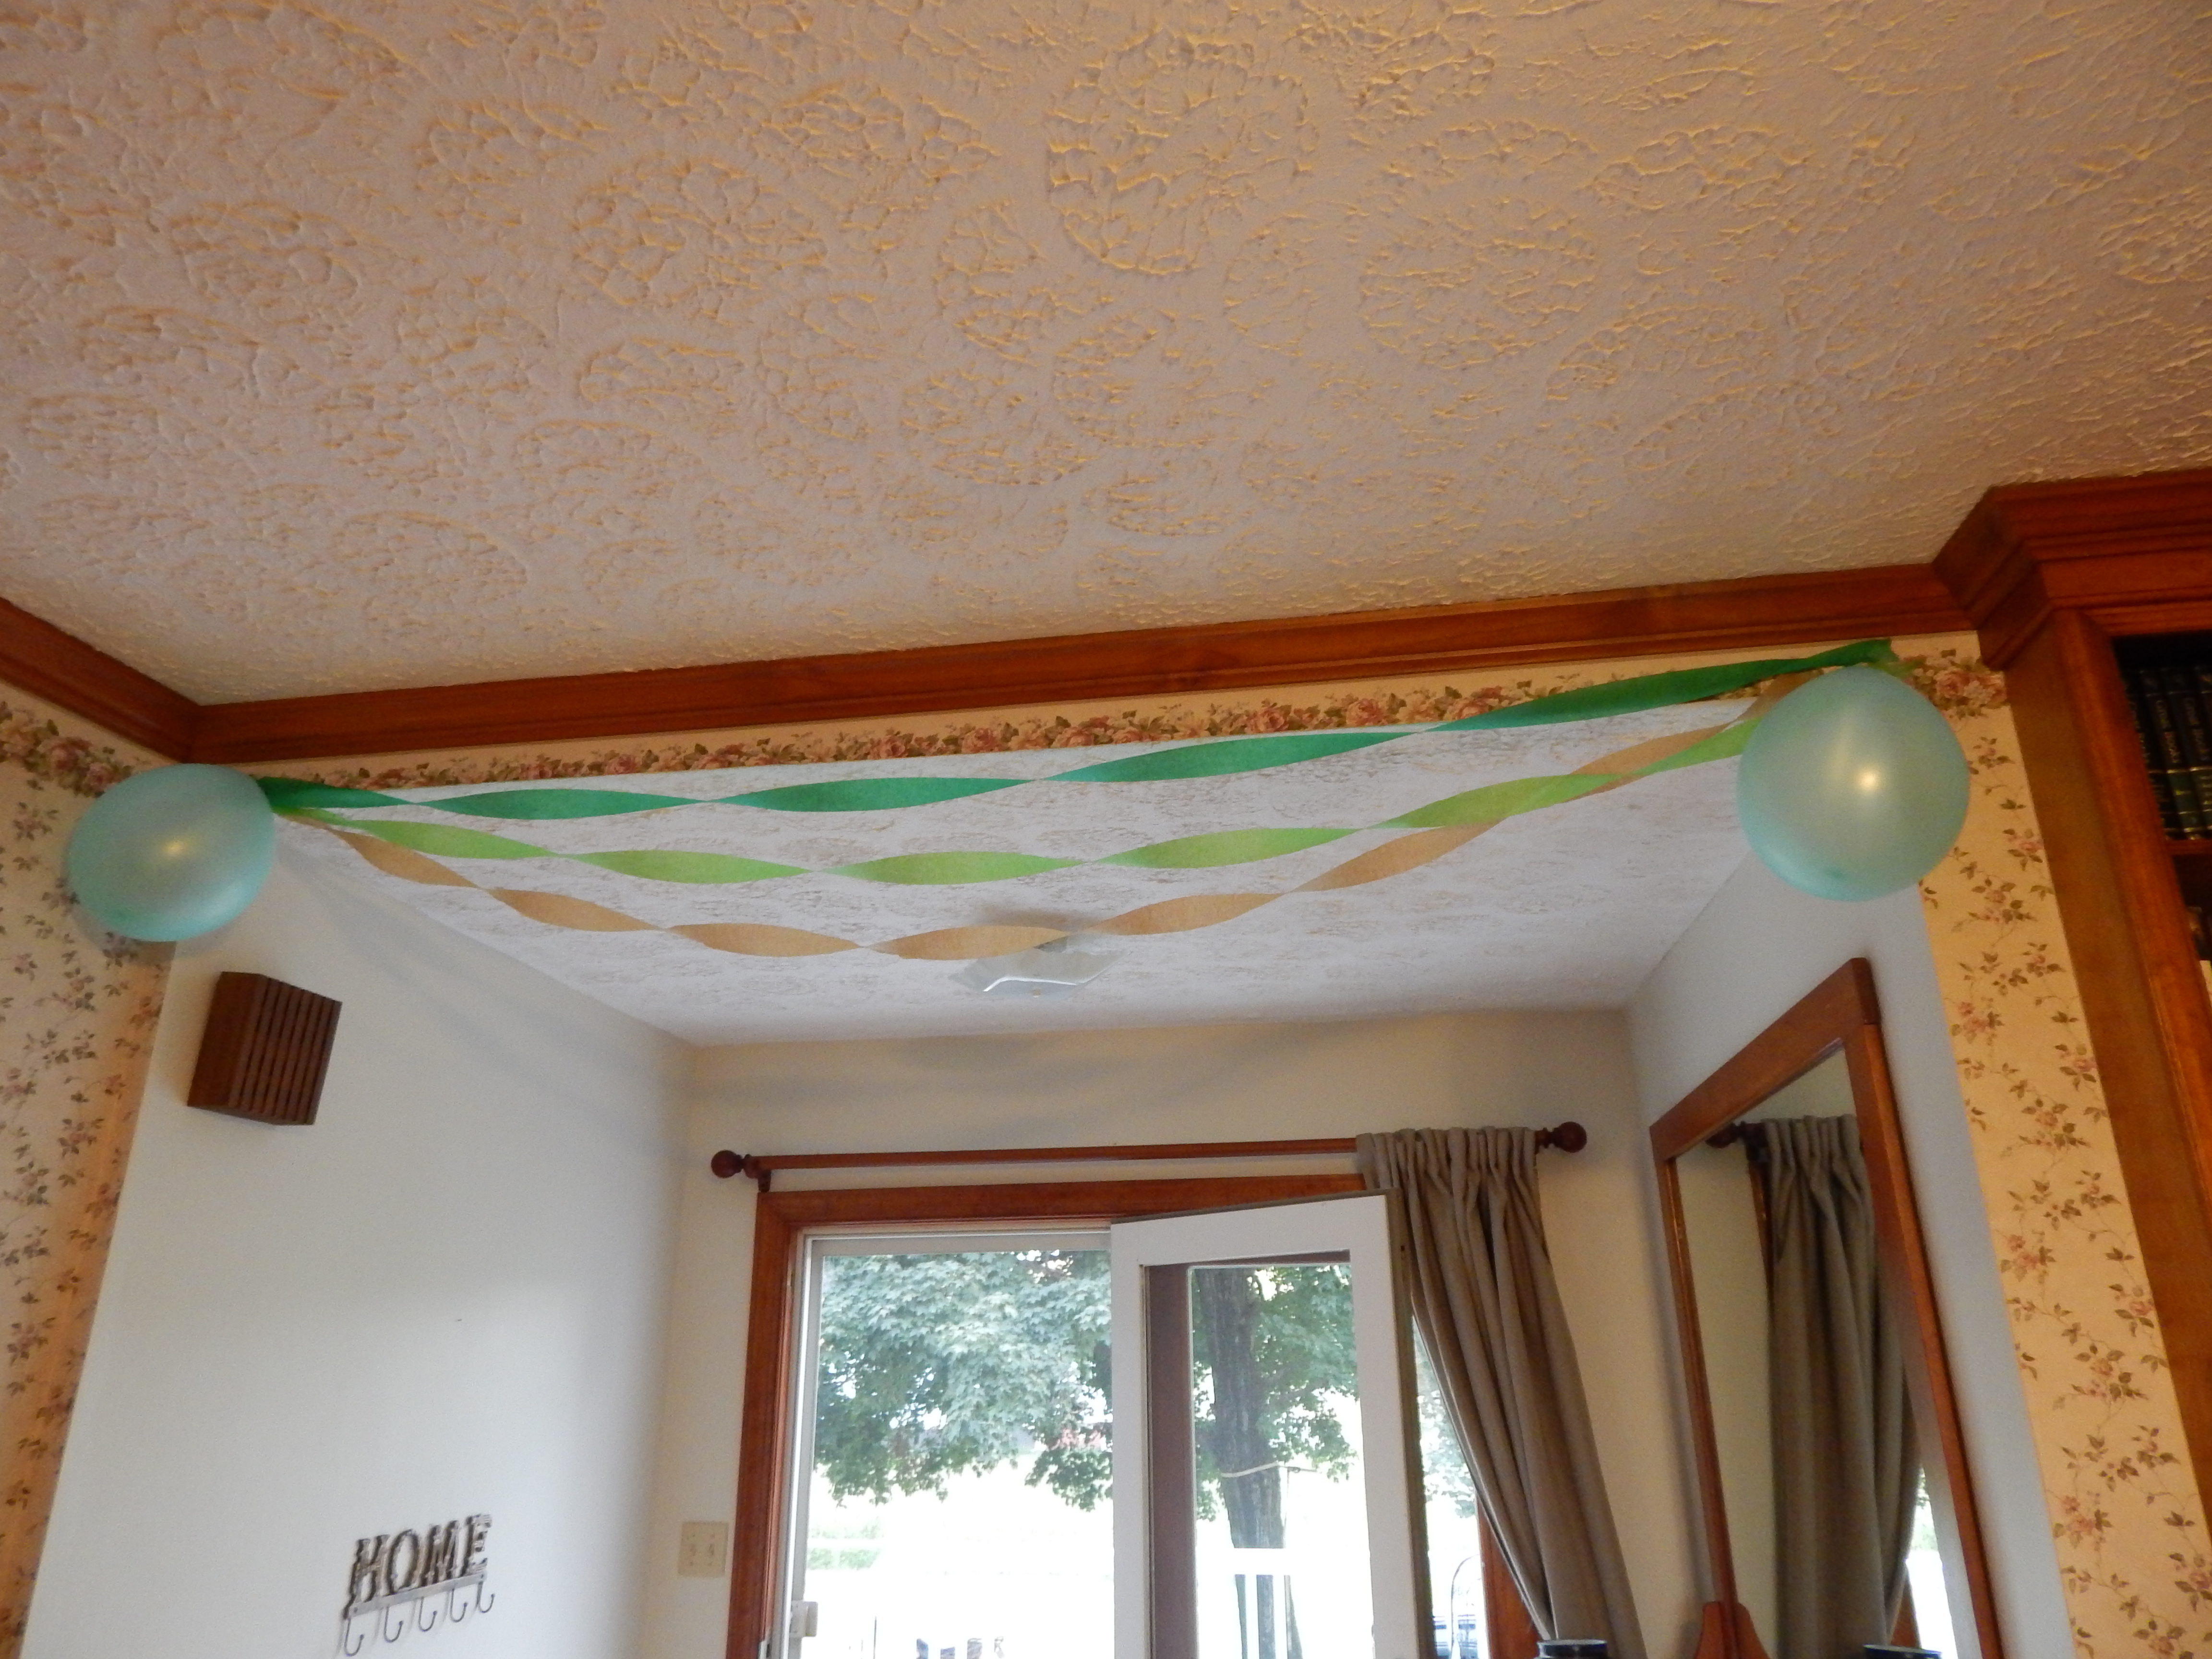
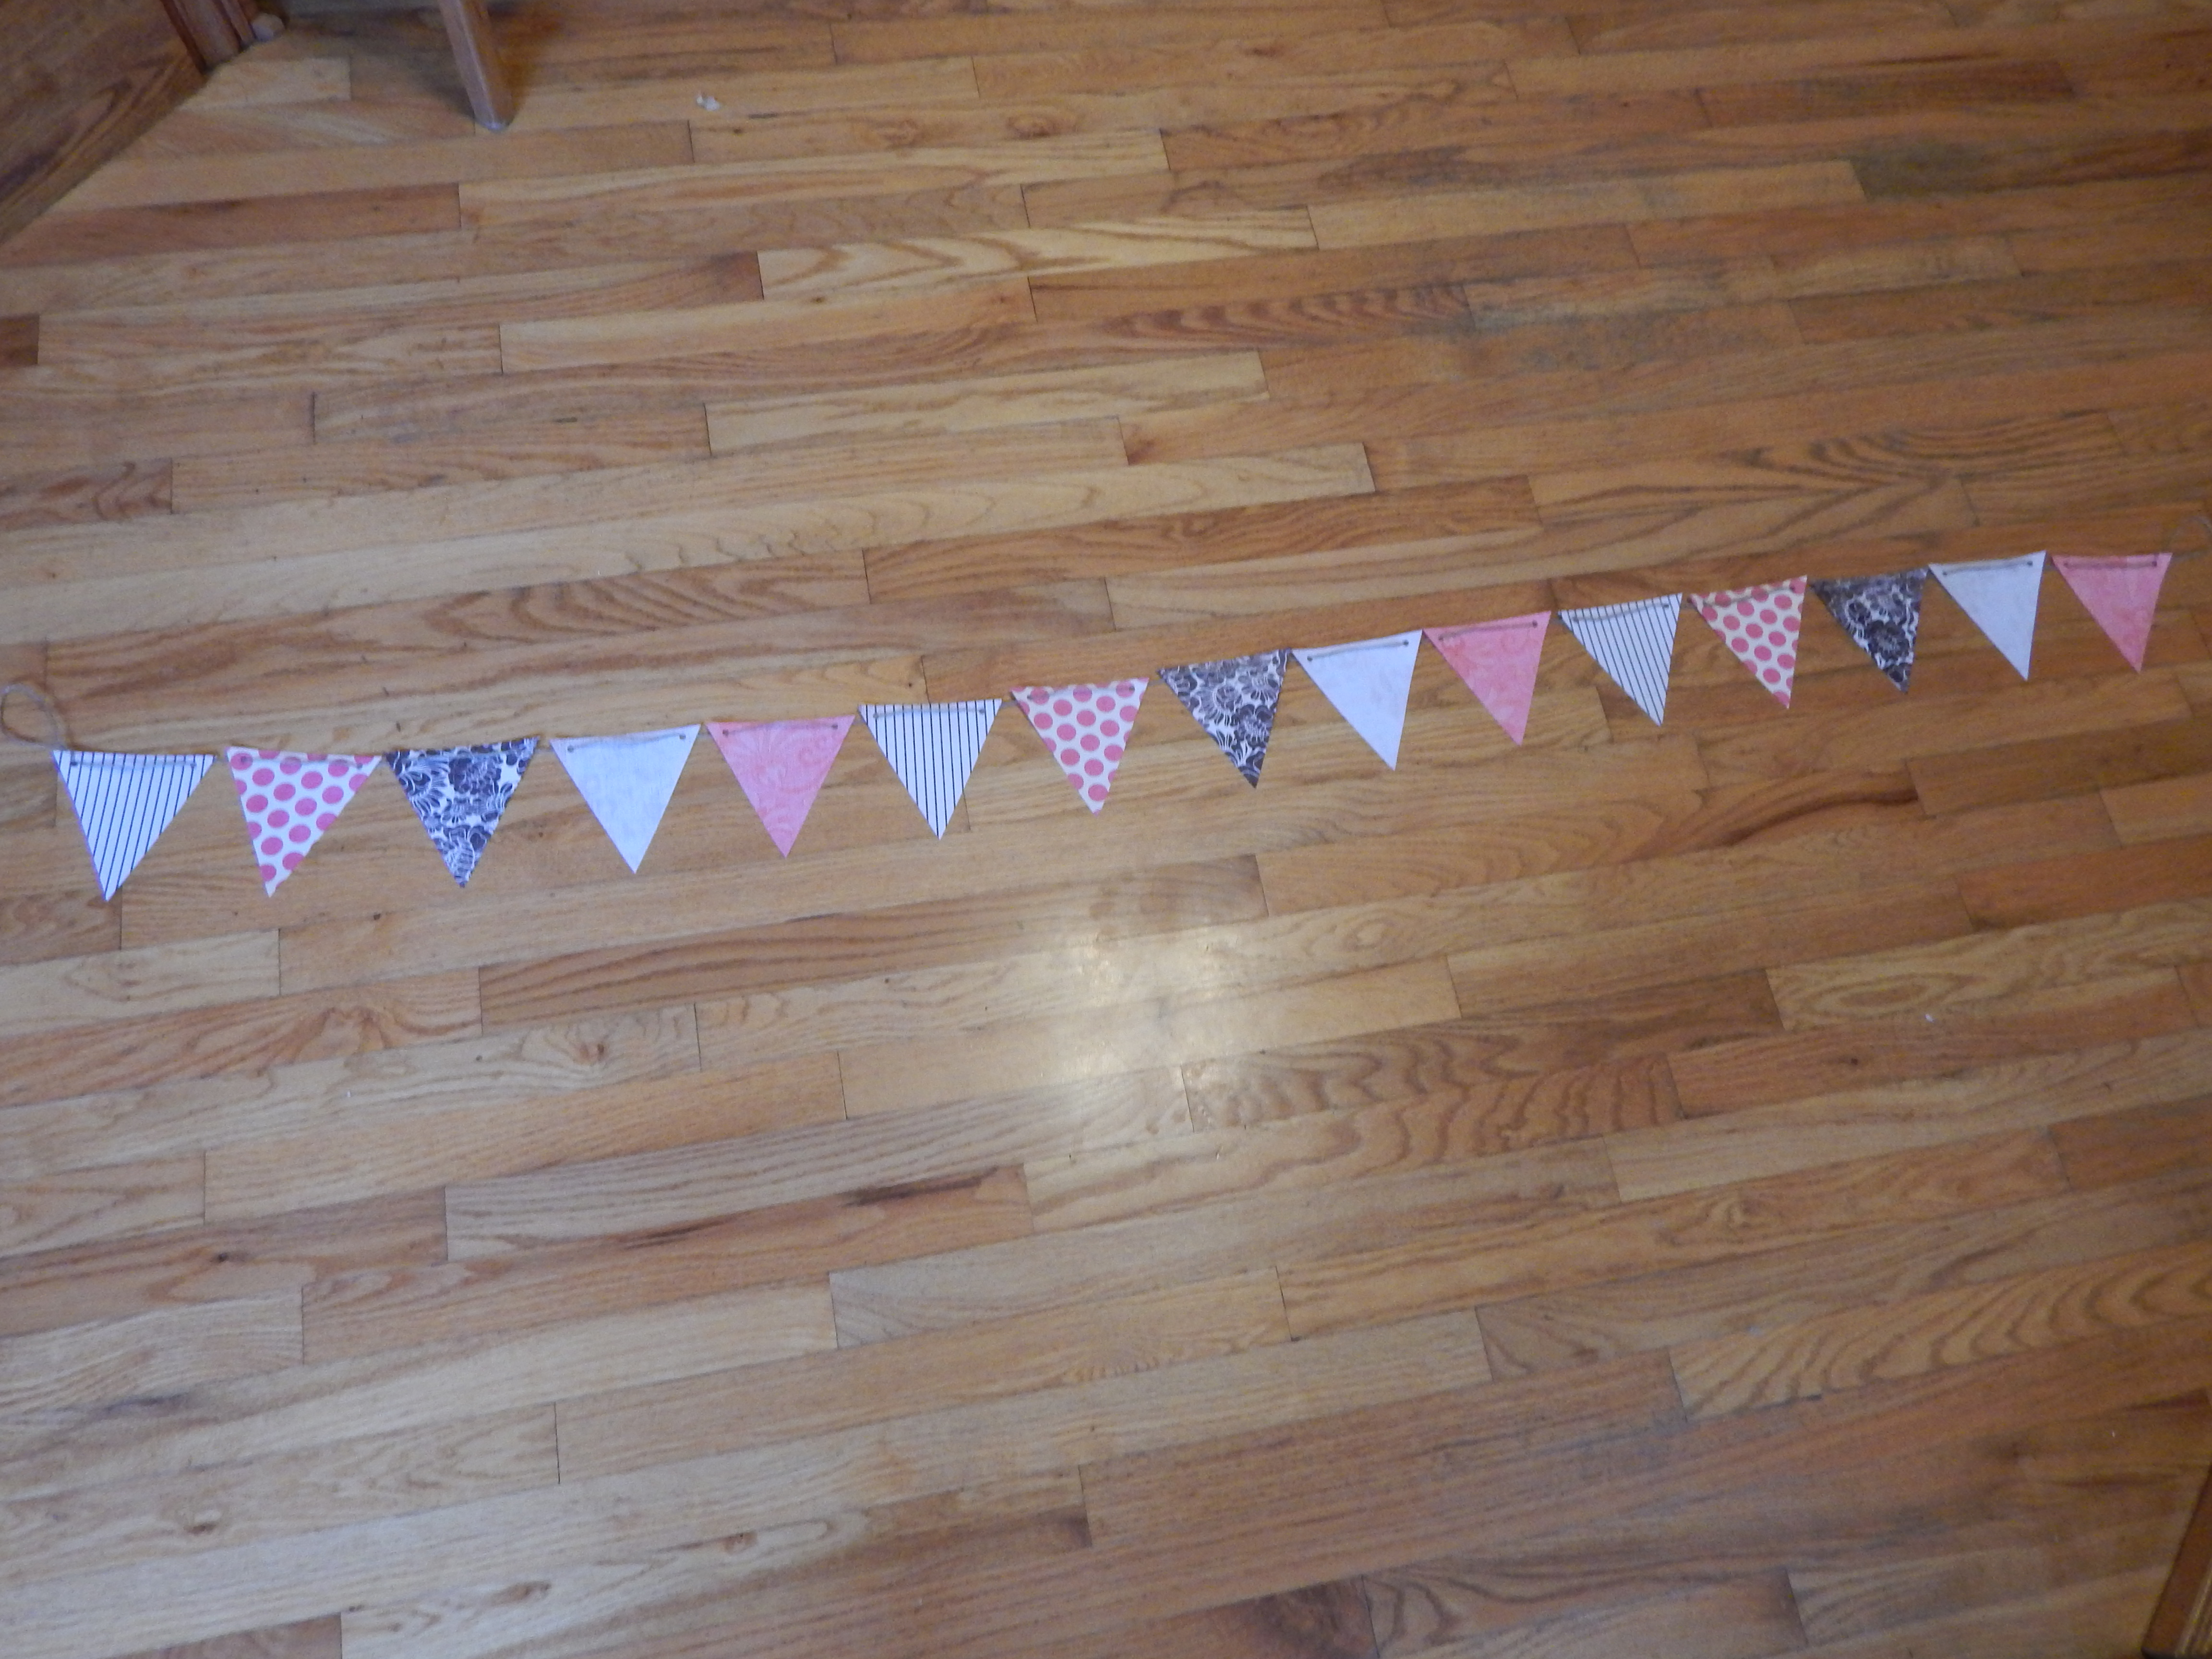
I made this banner as a present for one of my cousins for her birthday. It was actually pretty easy, although it did take some time. It turned out to be a beautiful, approximately 6 foot long banner. You probably have most if not all the supplies need for this pretty lil’ garland –

  • Pretty scrapbook paper in 5 different patterns (I used two pinks and three neutral colors)
  • Cardstock paper or something stiff for triangle template
  • Jute twine or similar string for hanging
  • Single-hole puncher
  • Scissors
  • Pencil
  • Ruler
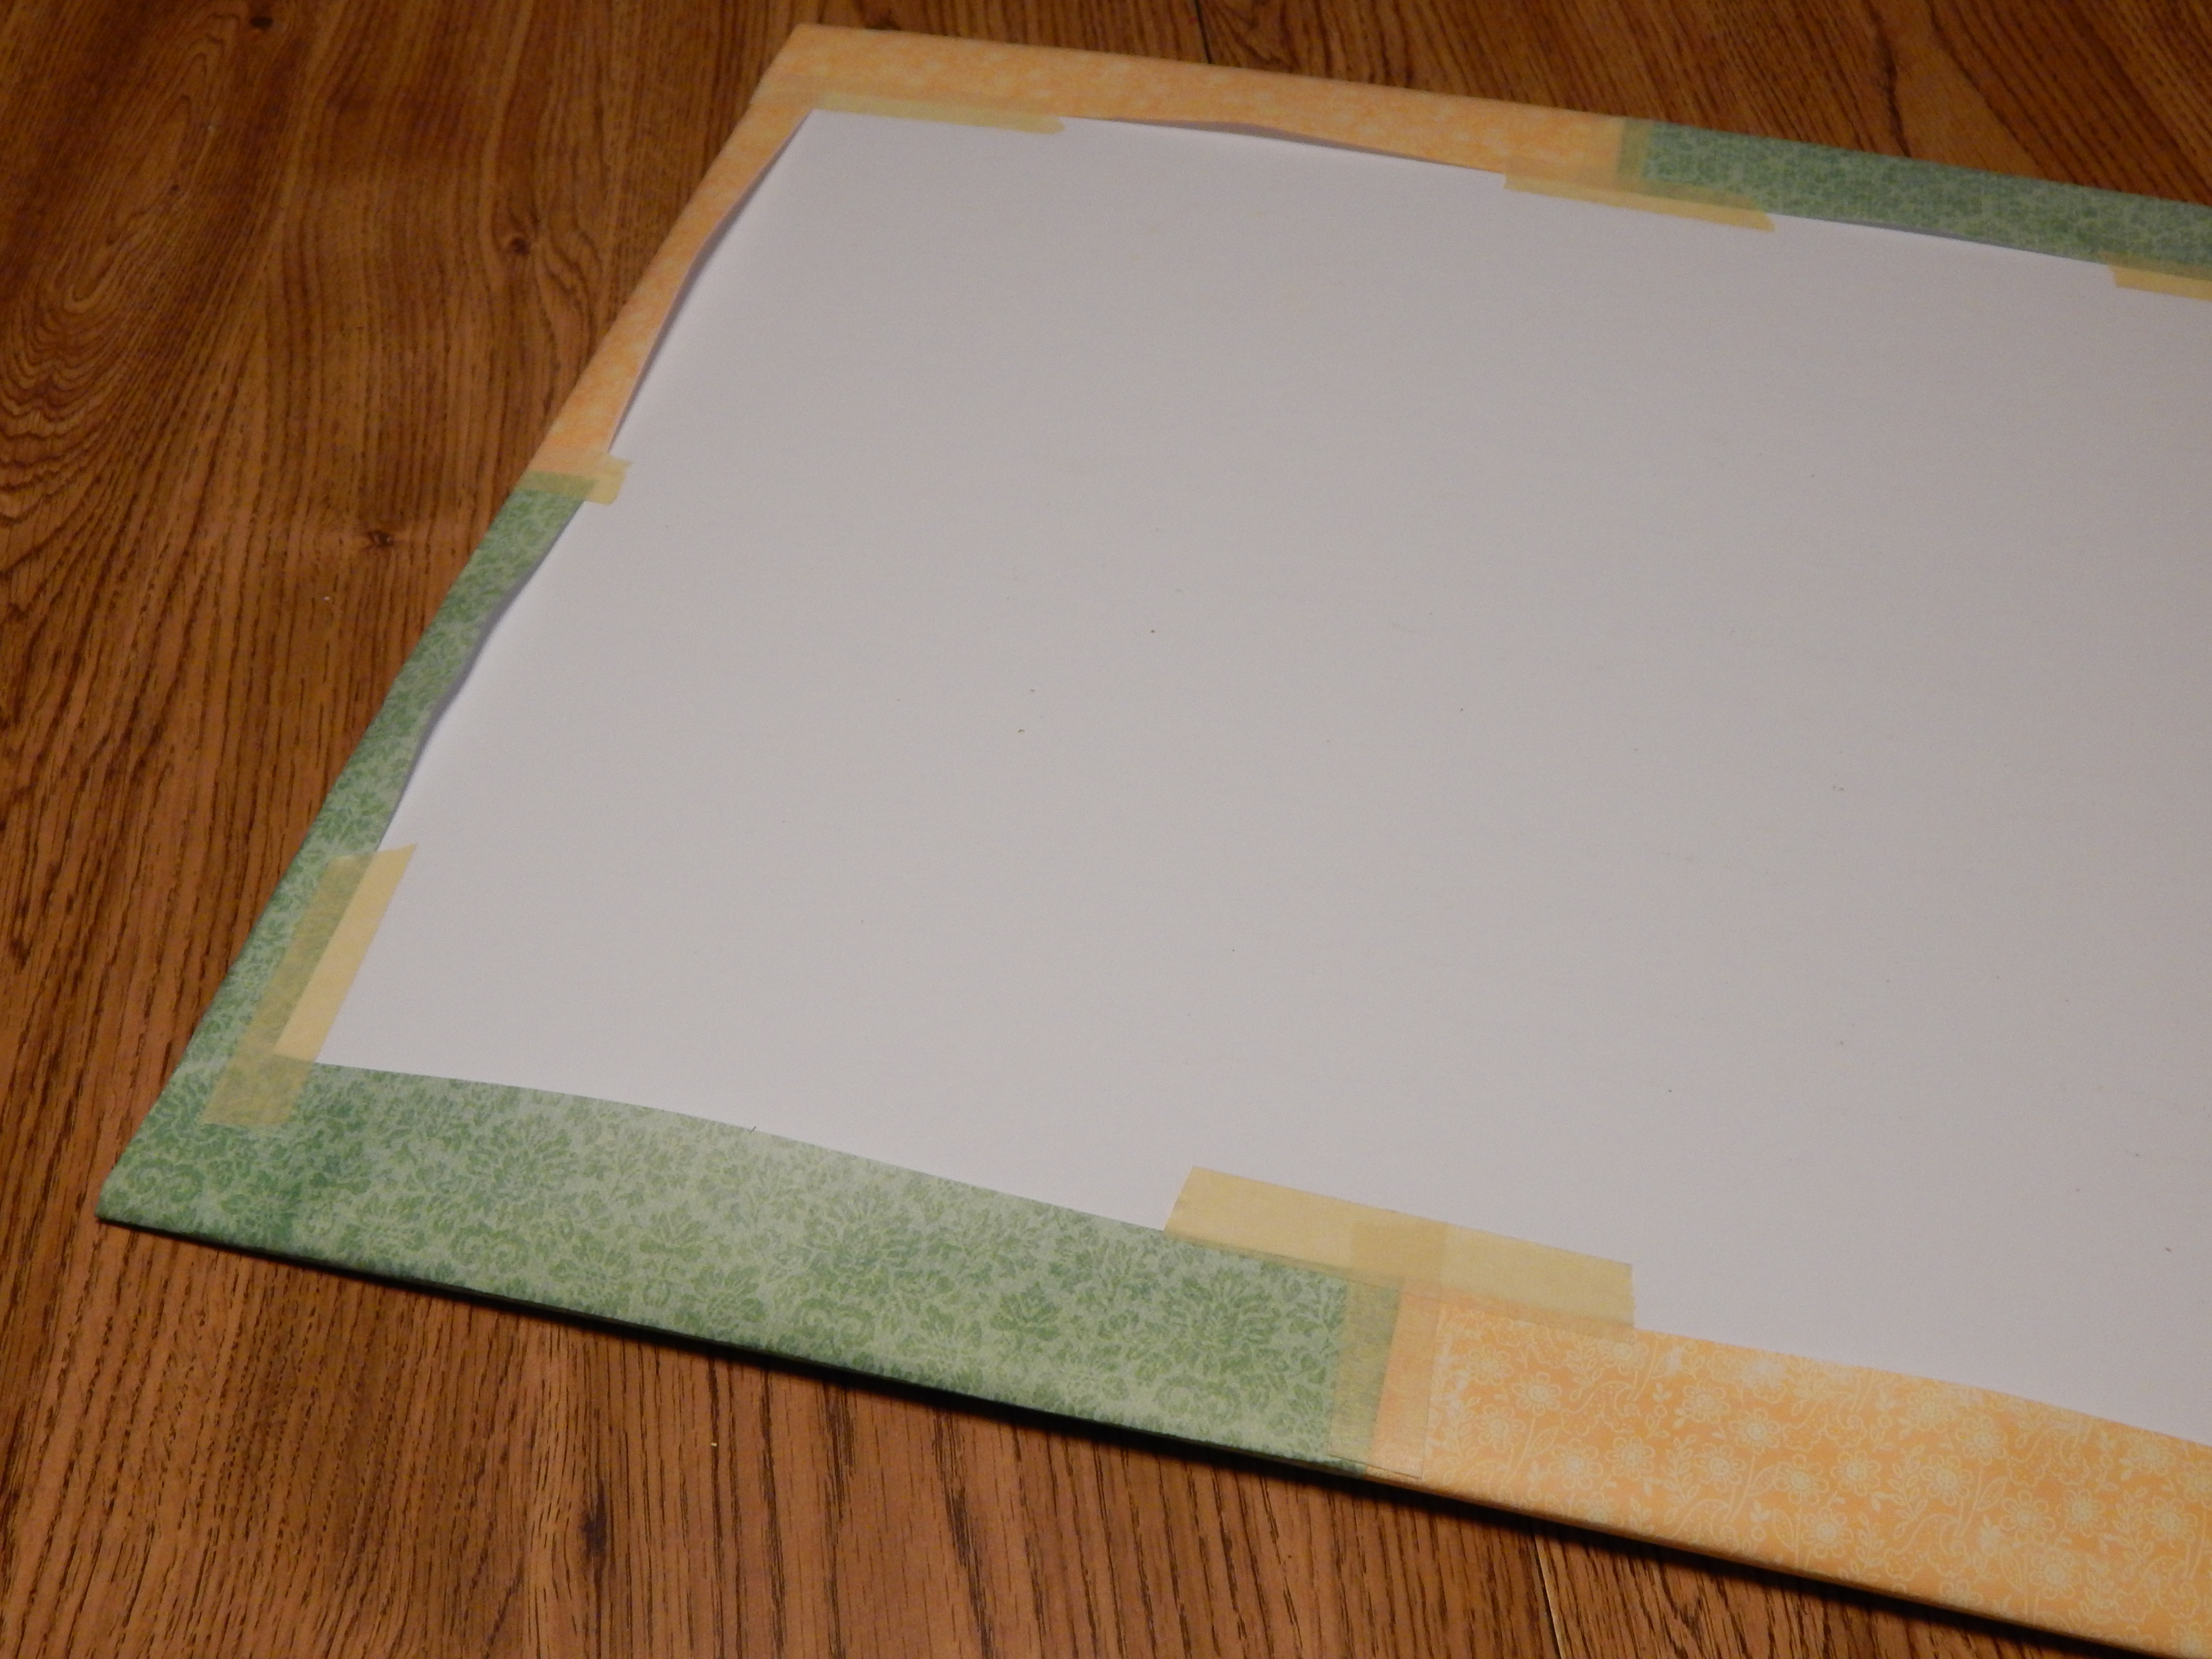
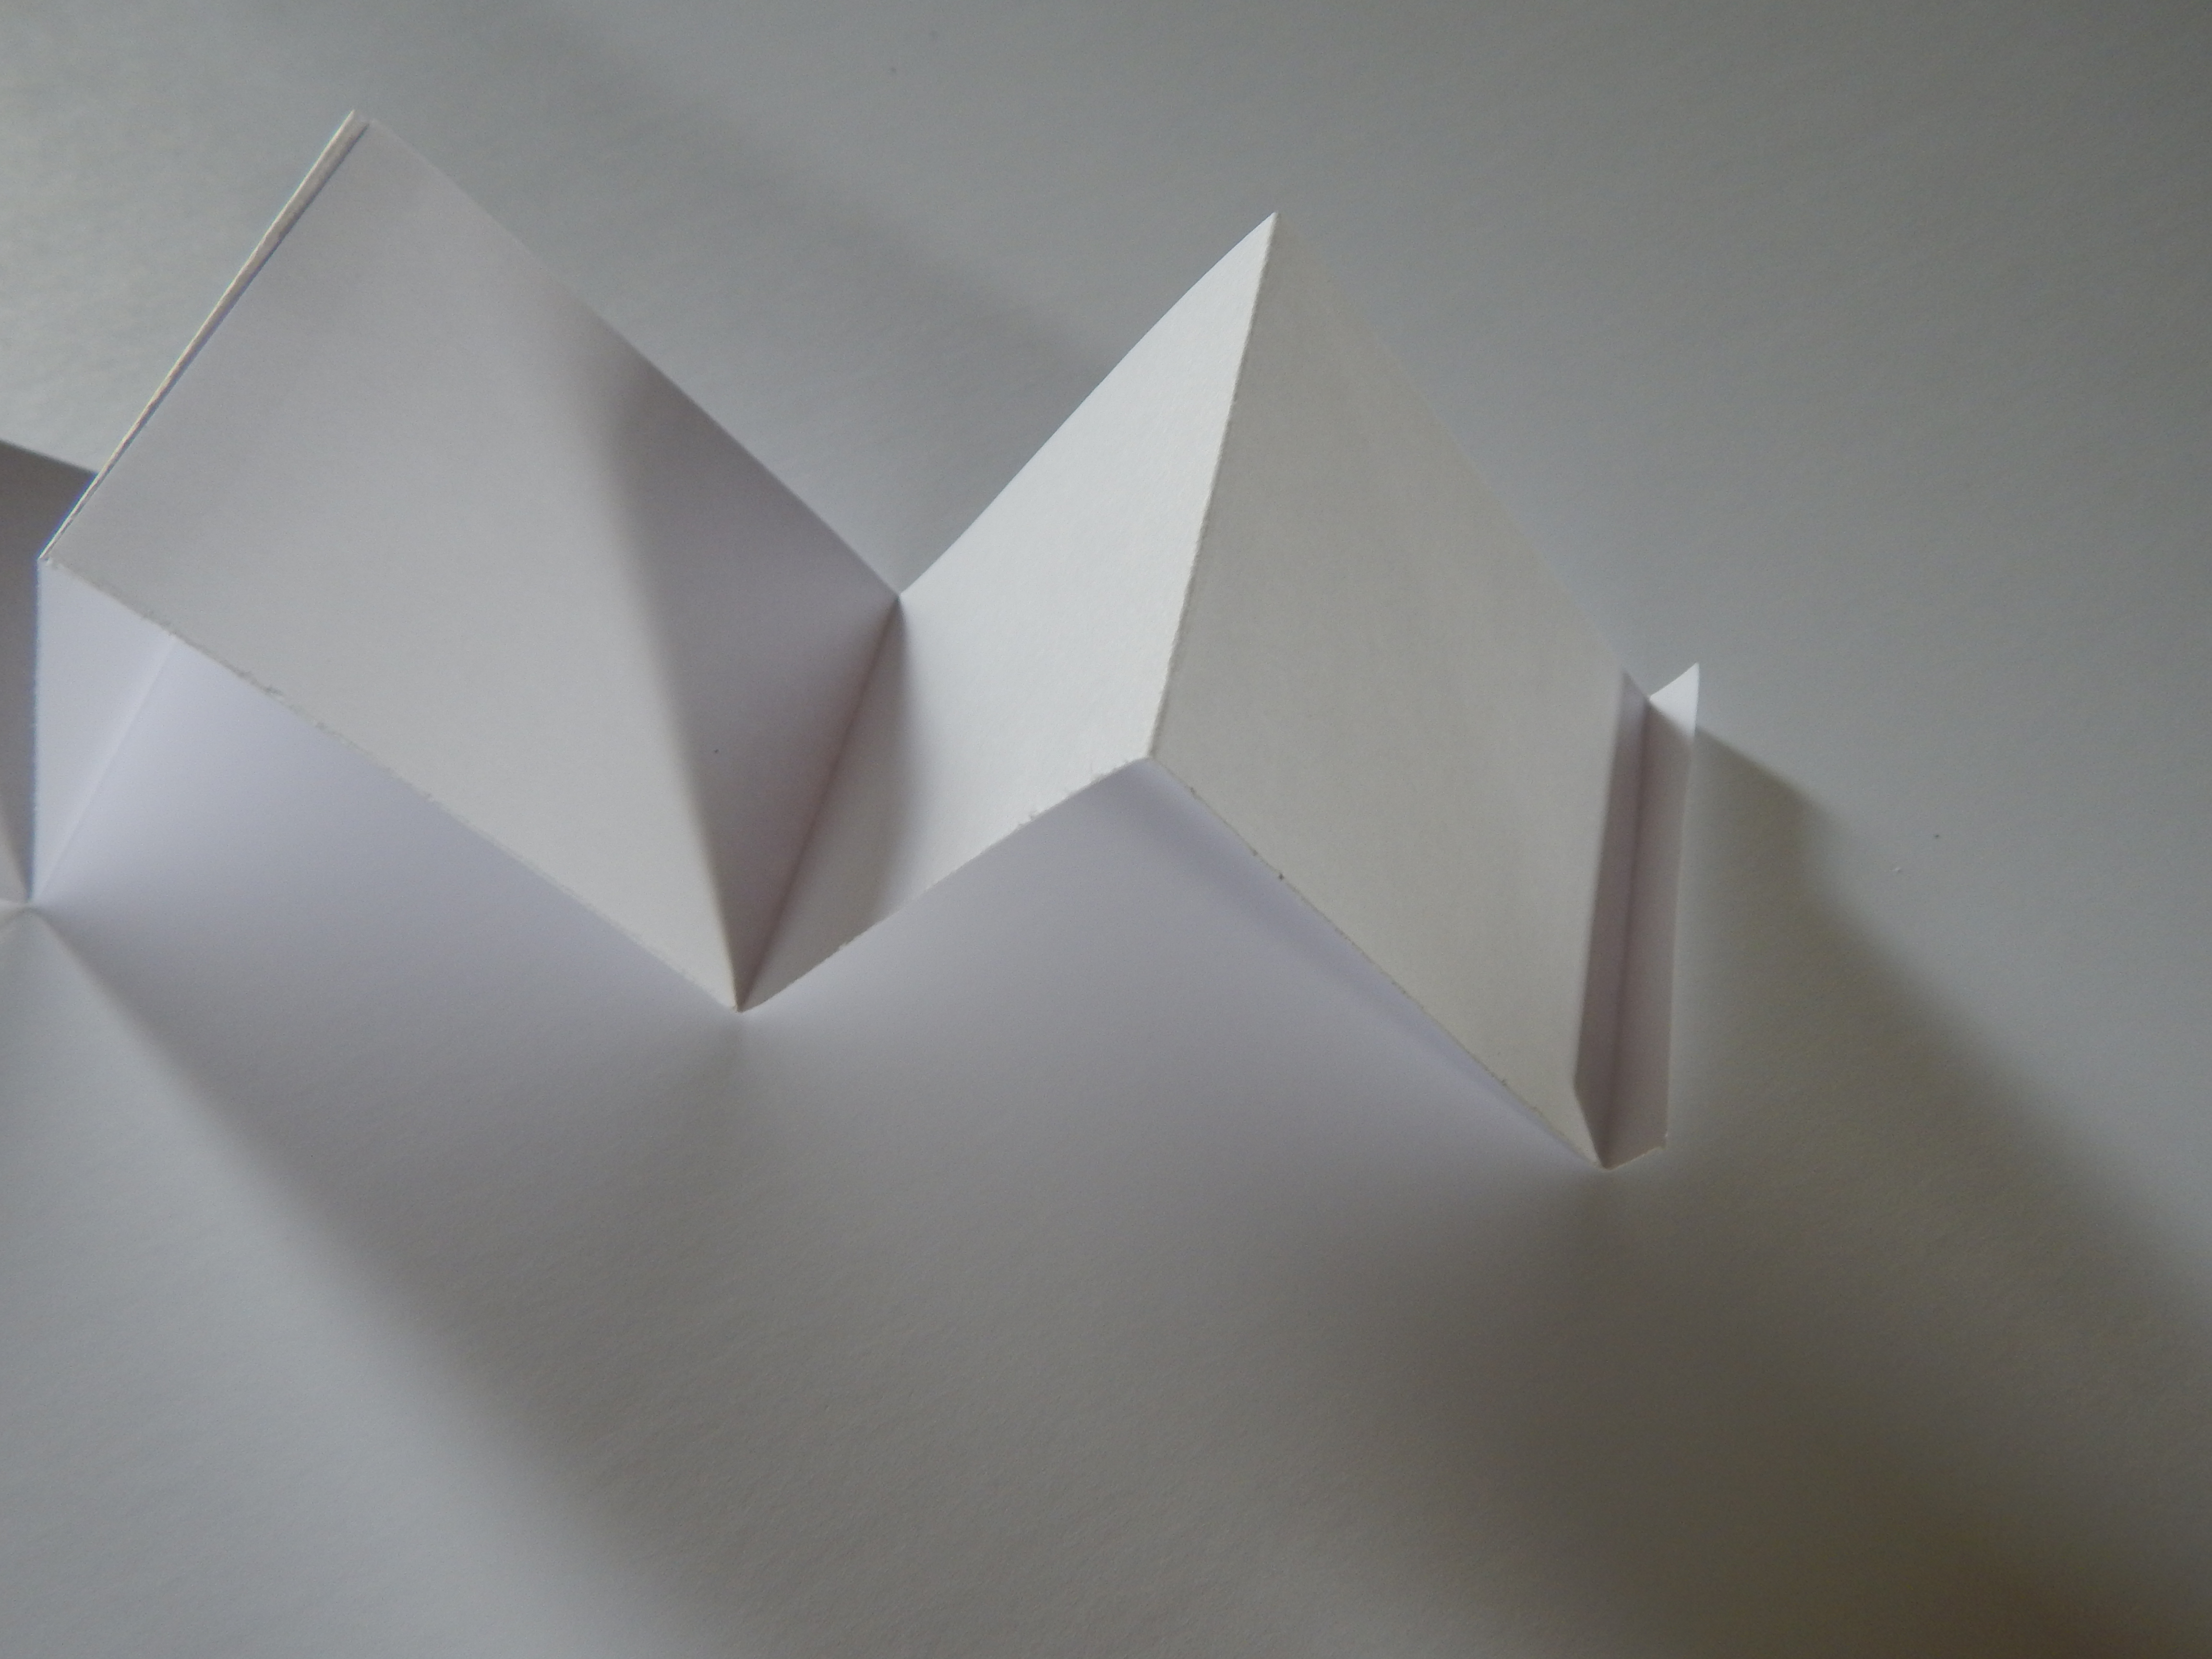
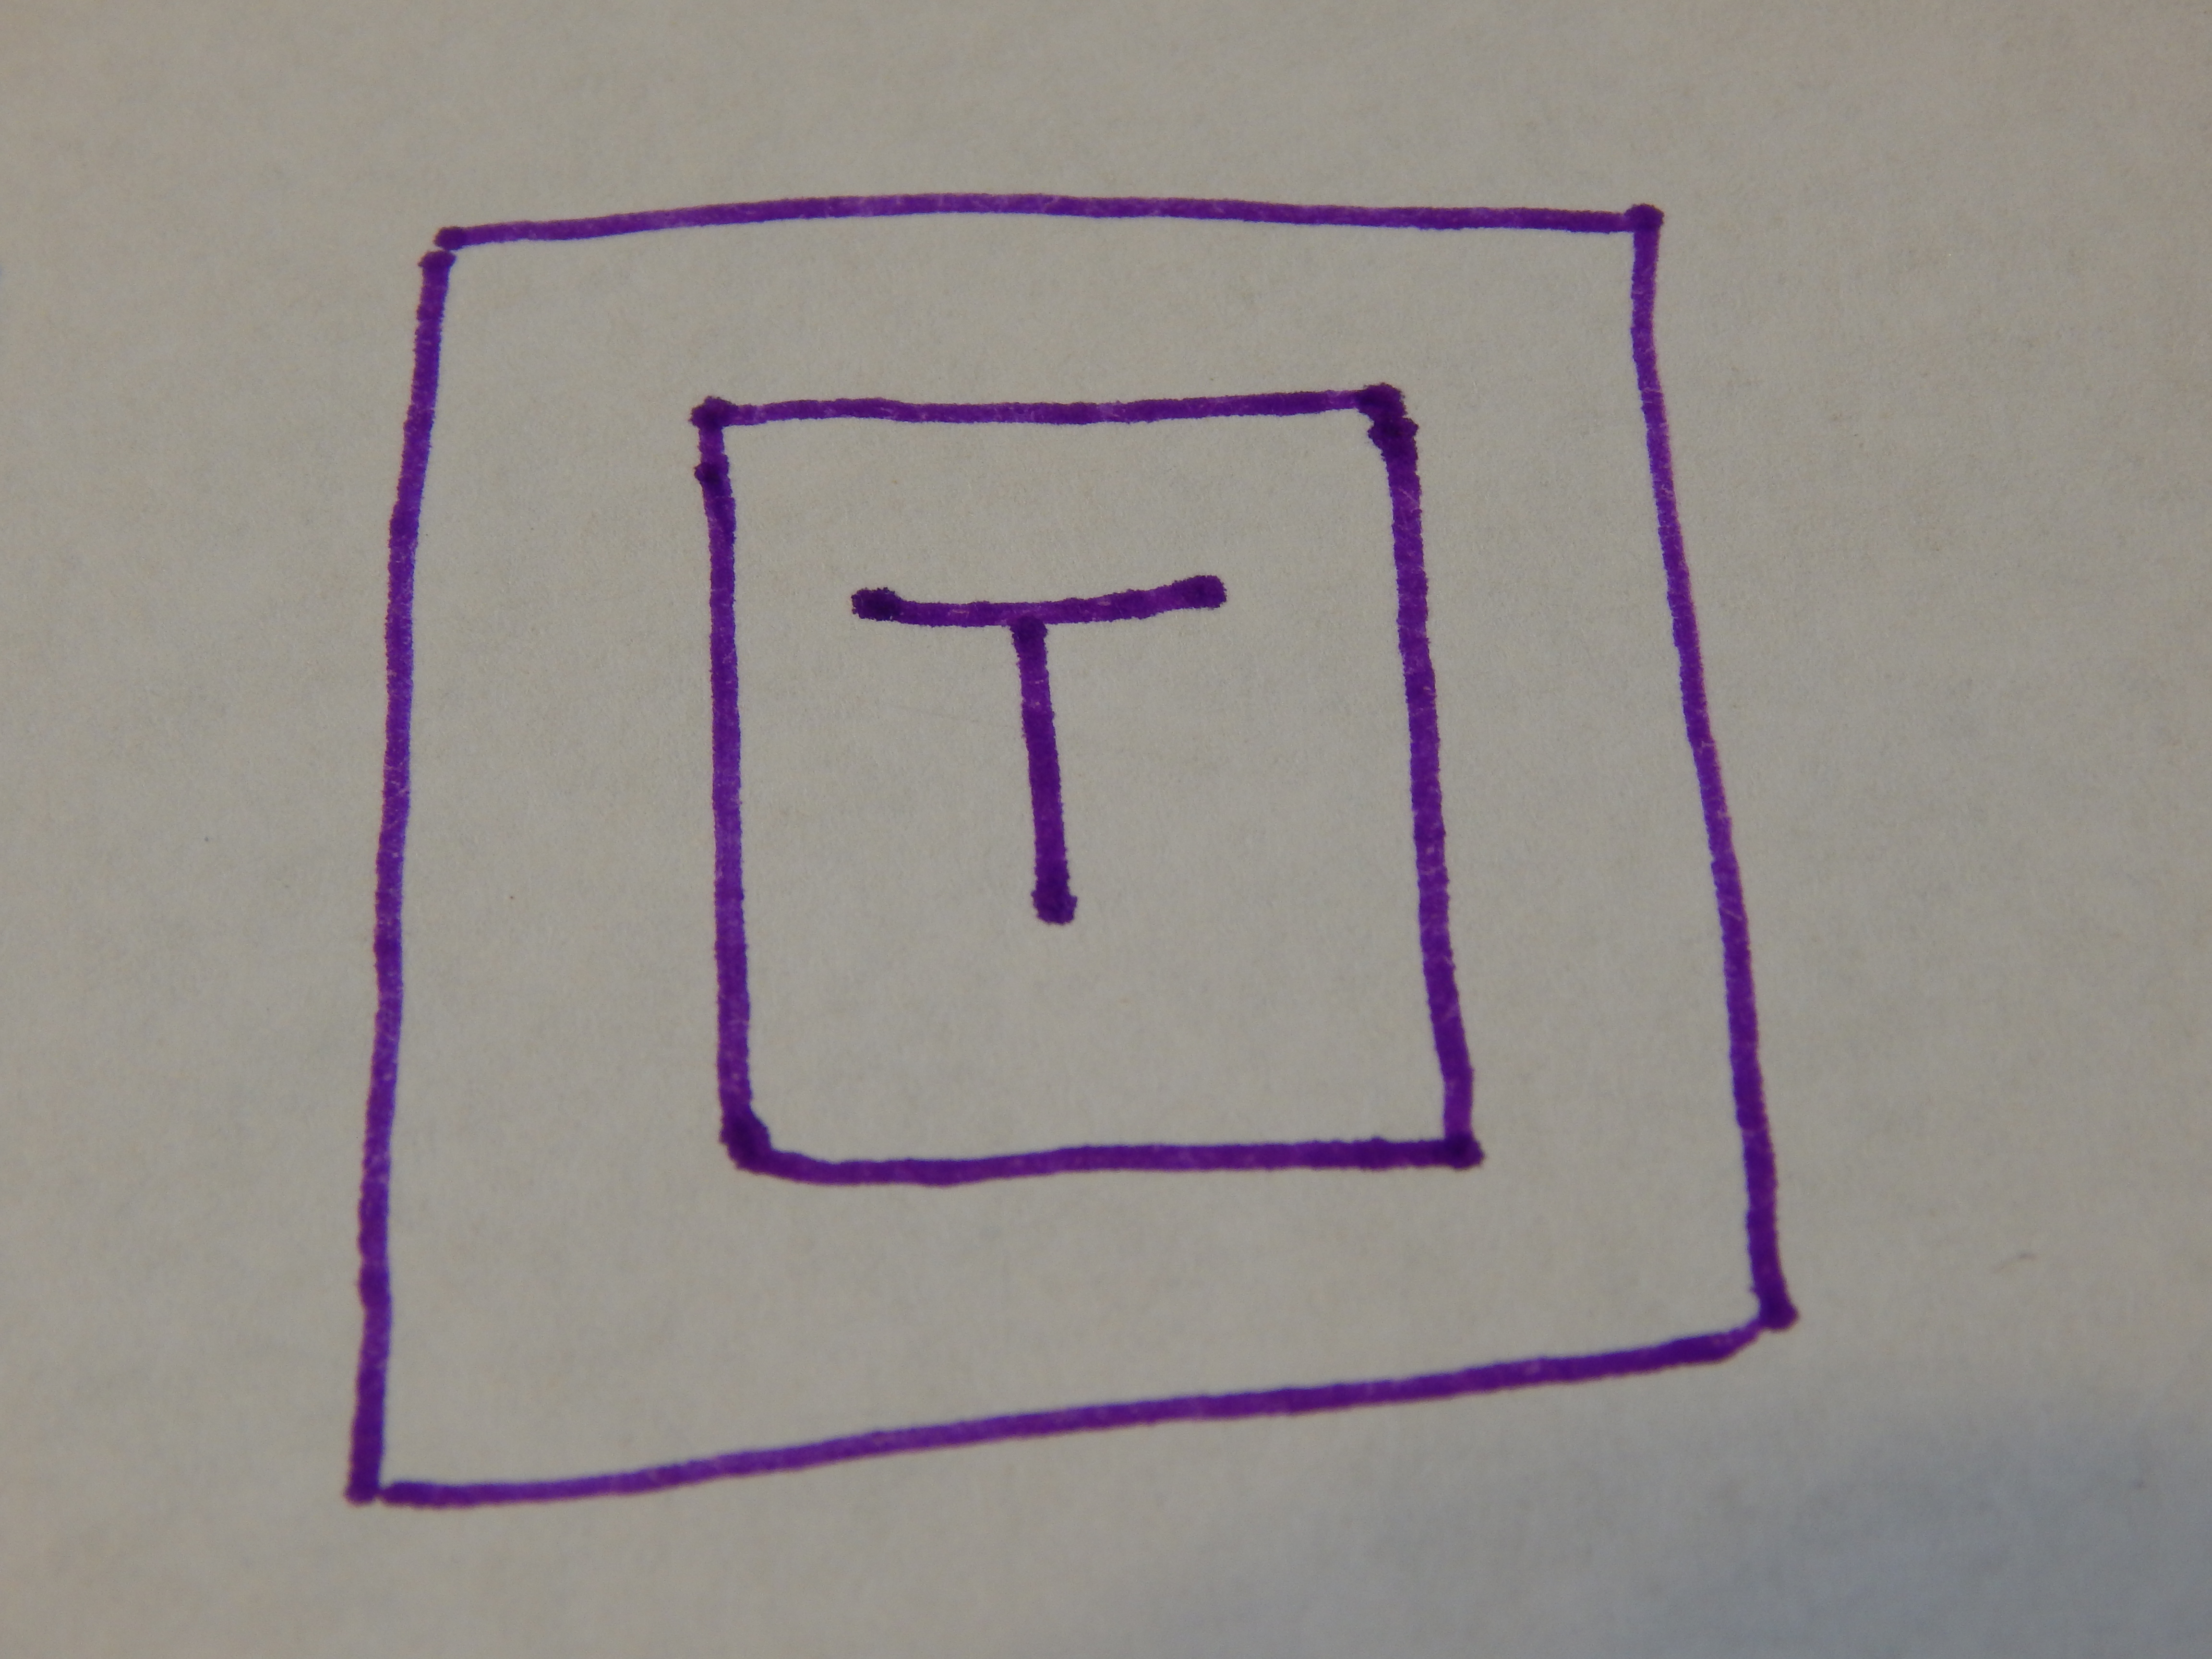
  1. First you need to make your template. Don’t get freaked out here but… it does involve a little bit of math. Just a tiny bit. And it’s really easy. This is what I did for my template: Mark a line 5 inches long. Make another mark in the middle of that line. (Here comes the math, guys: 2.5 is half of 5, so make a dot 2.5 inches from the end of the 5 inch line.) Now make a line 5 inches down from the middle-mark. Connect the dots from each end of the top horizontal line to the bottom of the vertical line. Like so:030
  2. Cut out the template.
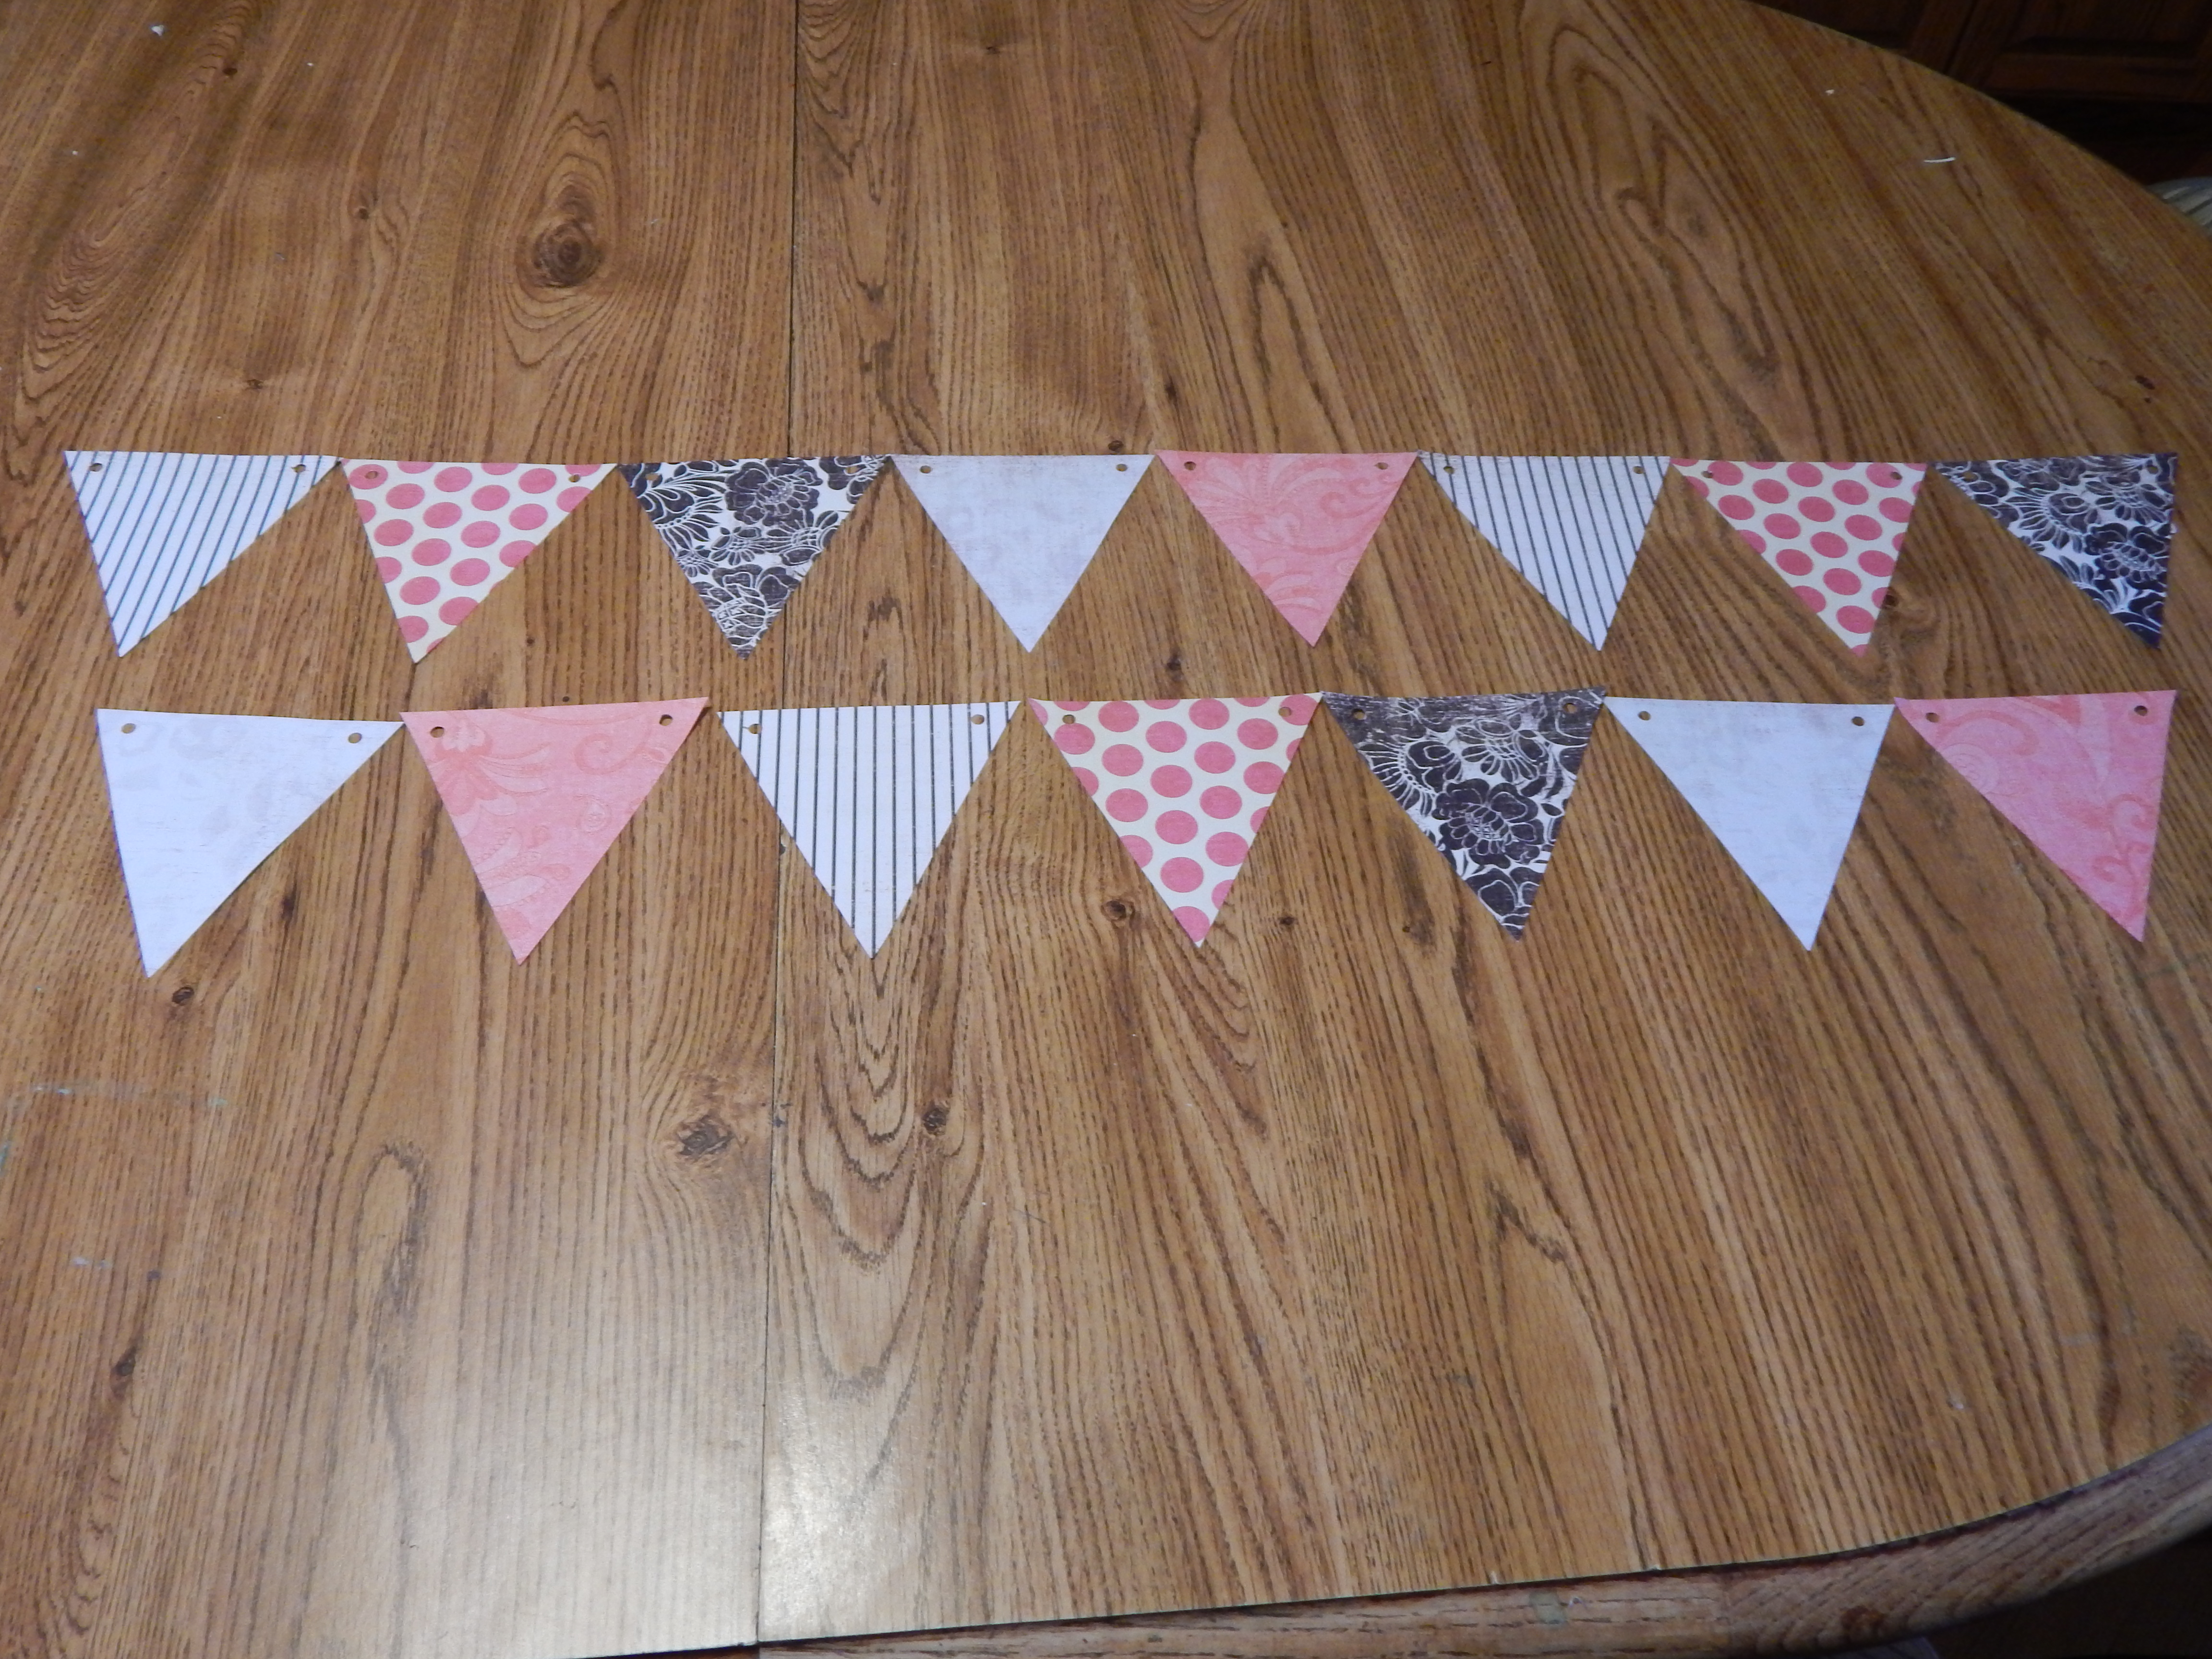
  3. Using the template, trace three triangles on the back of each of the five sheets of scrapbook paper. Cut out the triangles.
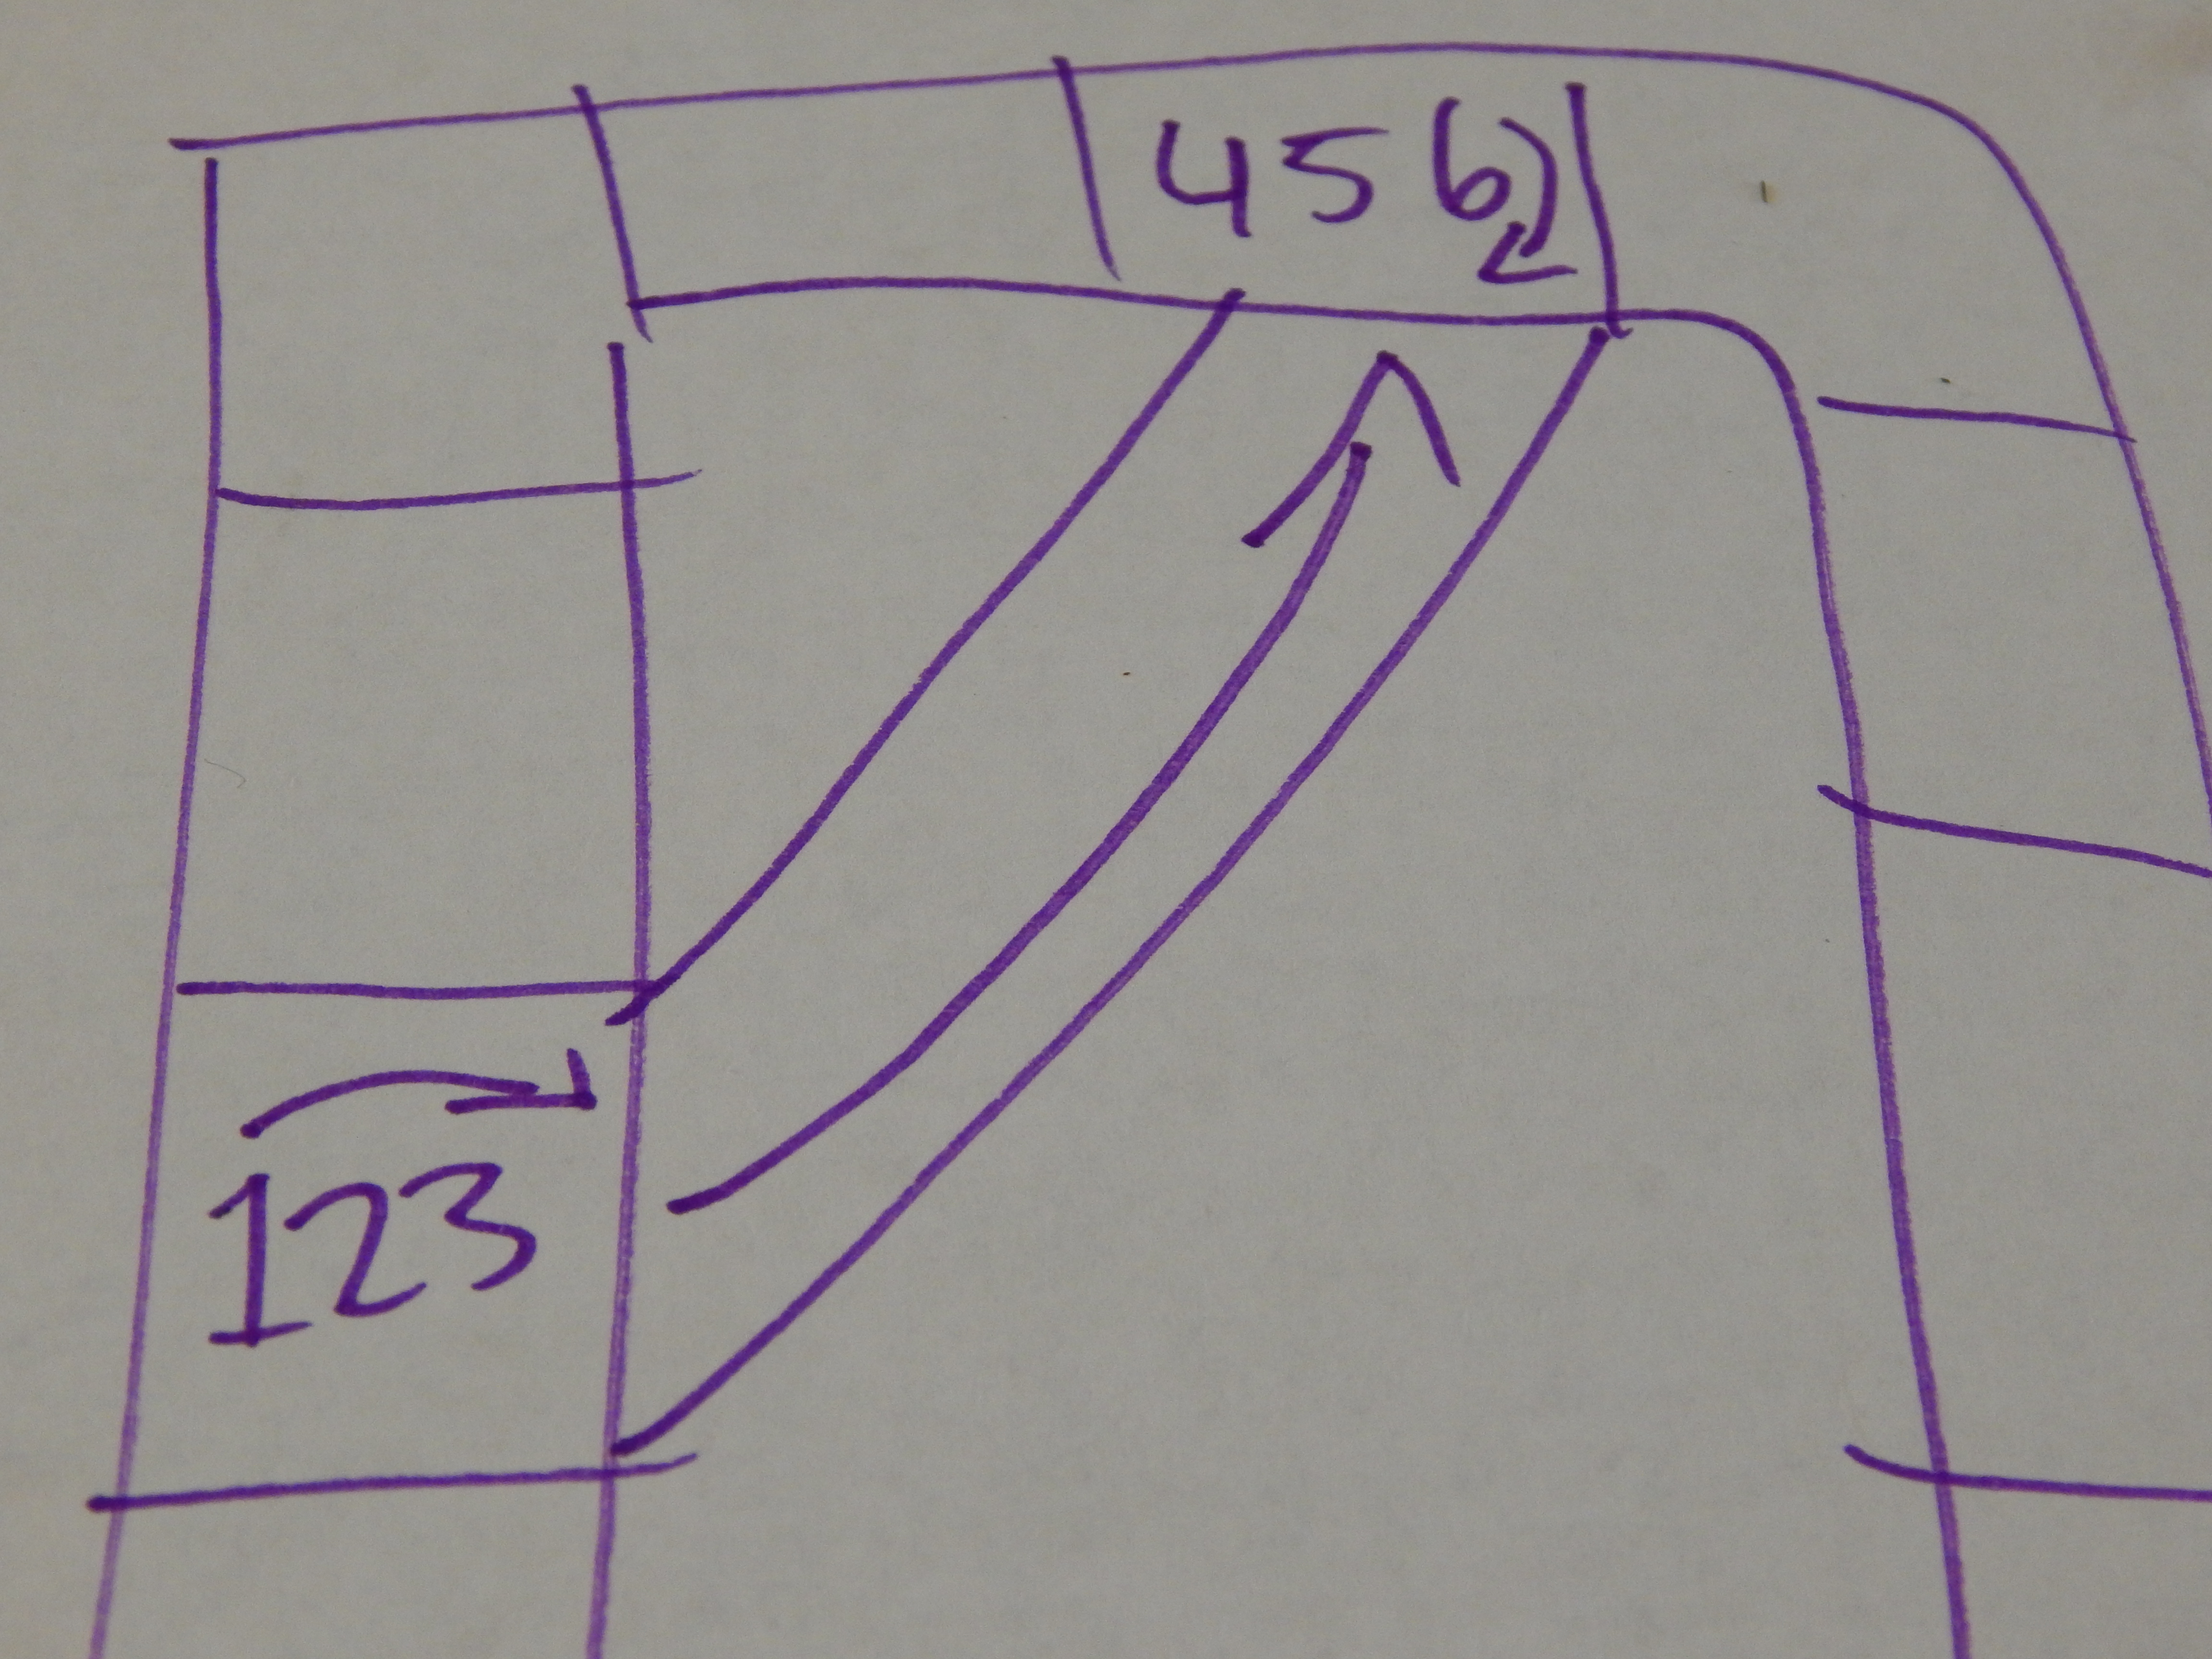
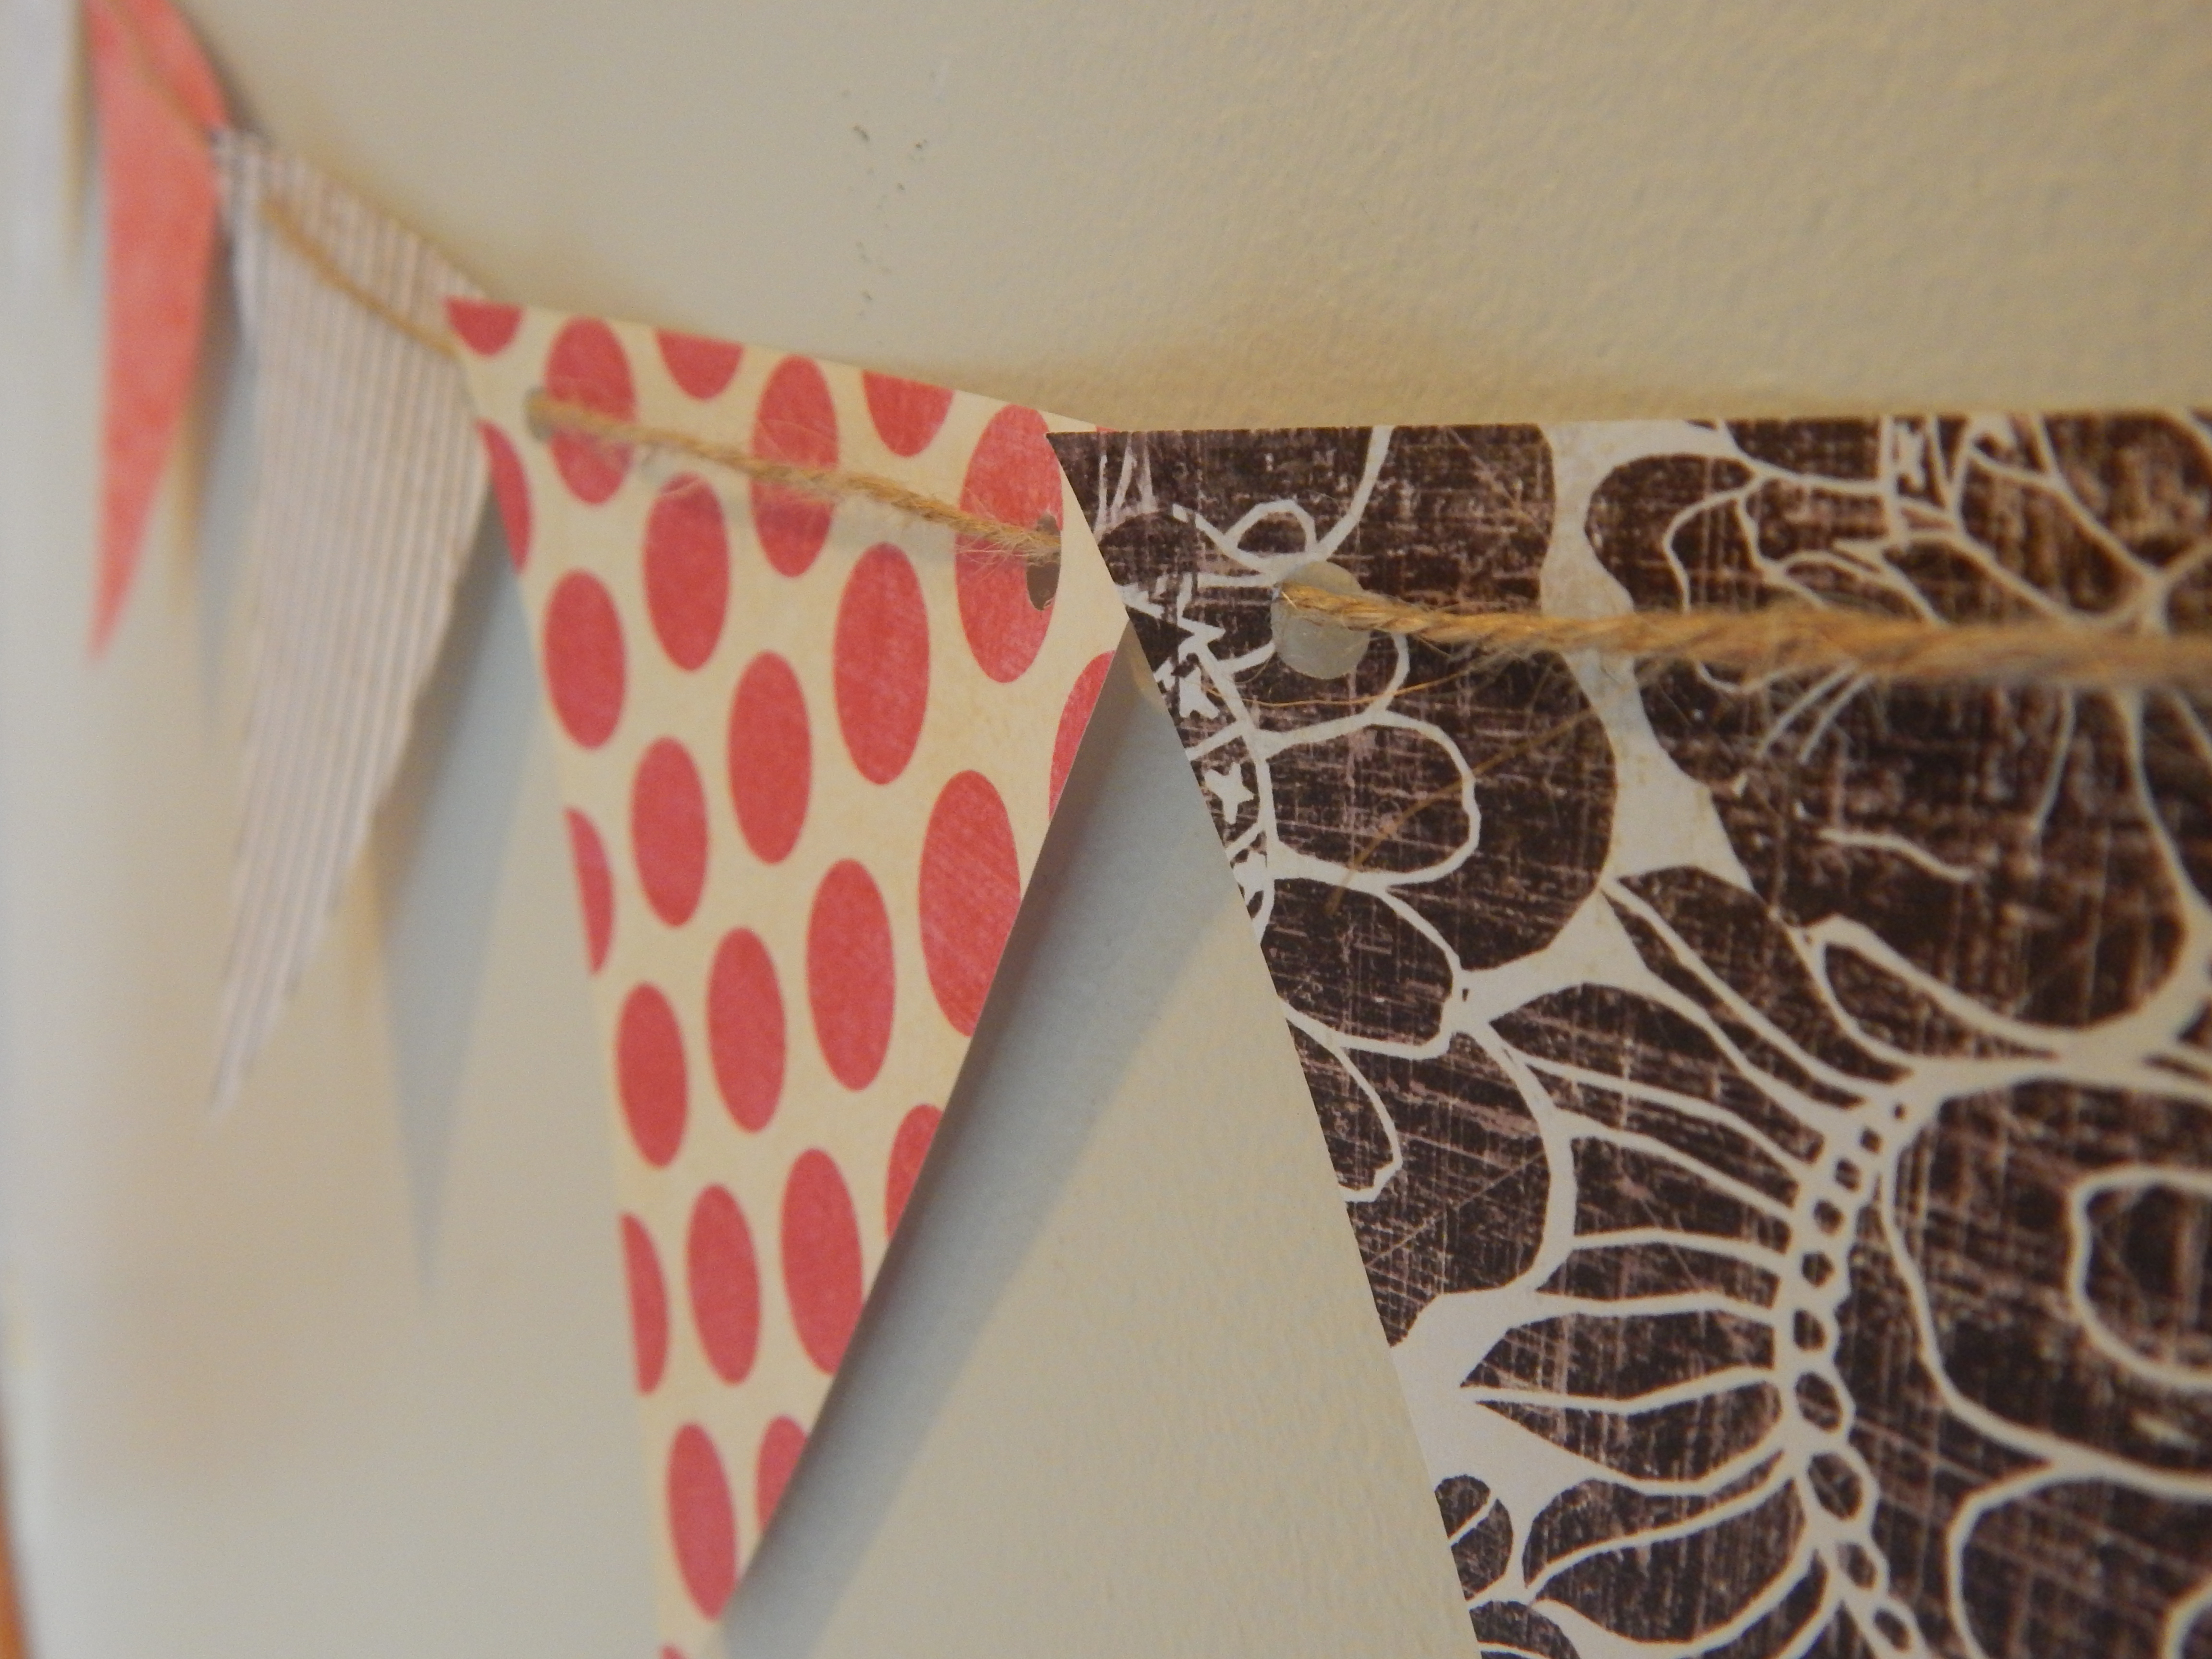
  4. Use a hole punch to punch to holes in the two top corners of each triangle.031 It works well to do the first triangle, then put another triangle behind it, line it up, and punch through the holes you just made so all the holes will line up. Now you can arrange them in whatever pattern you like. 032
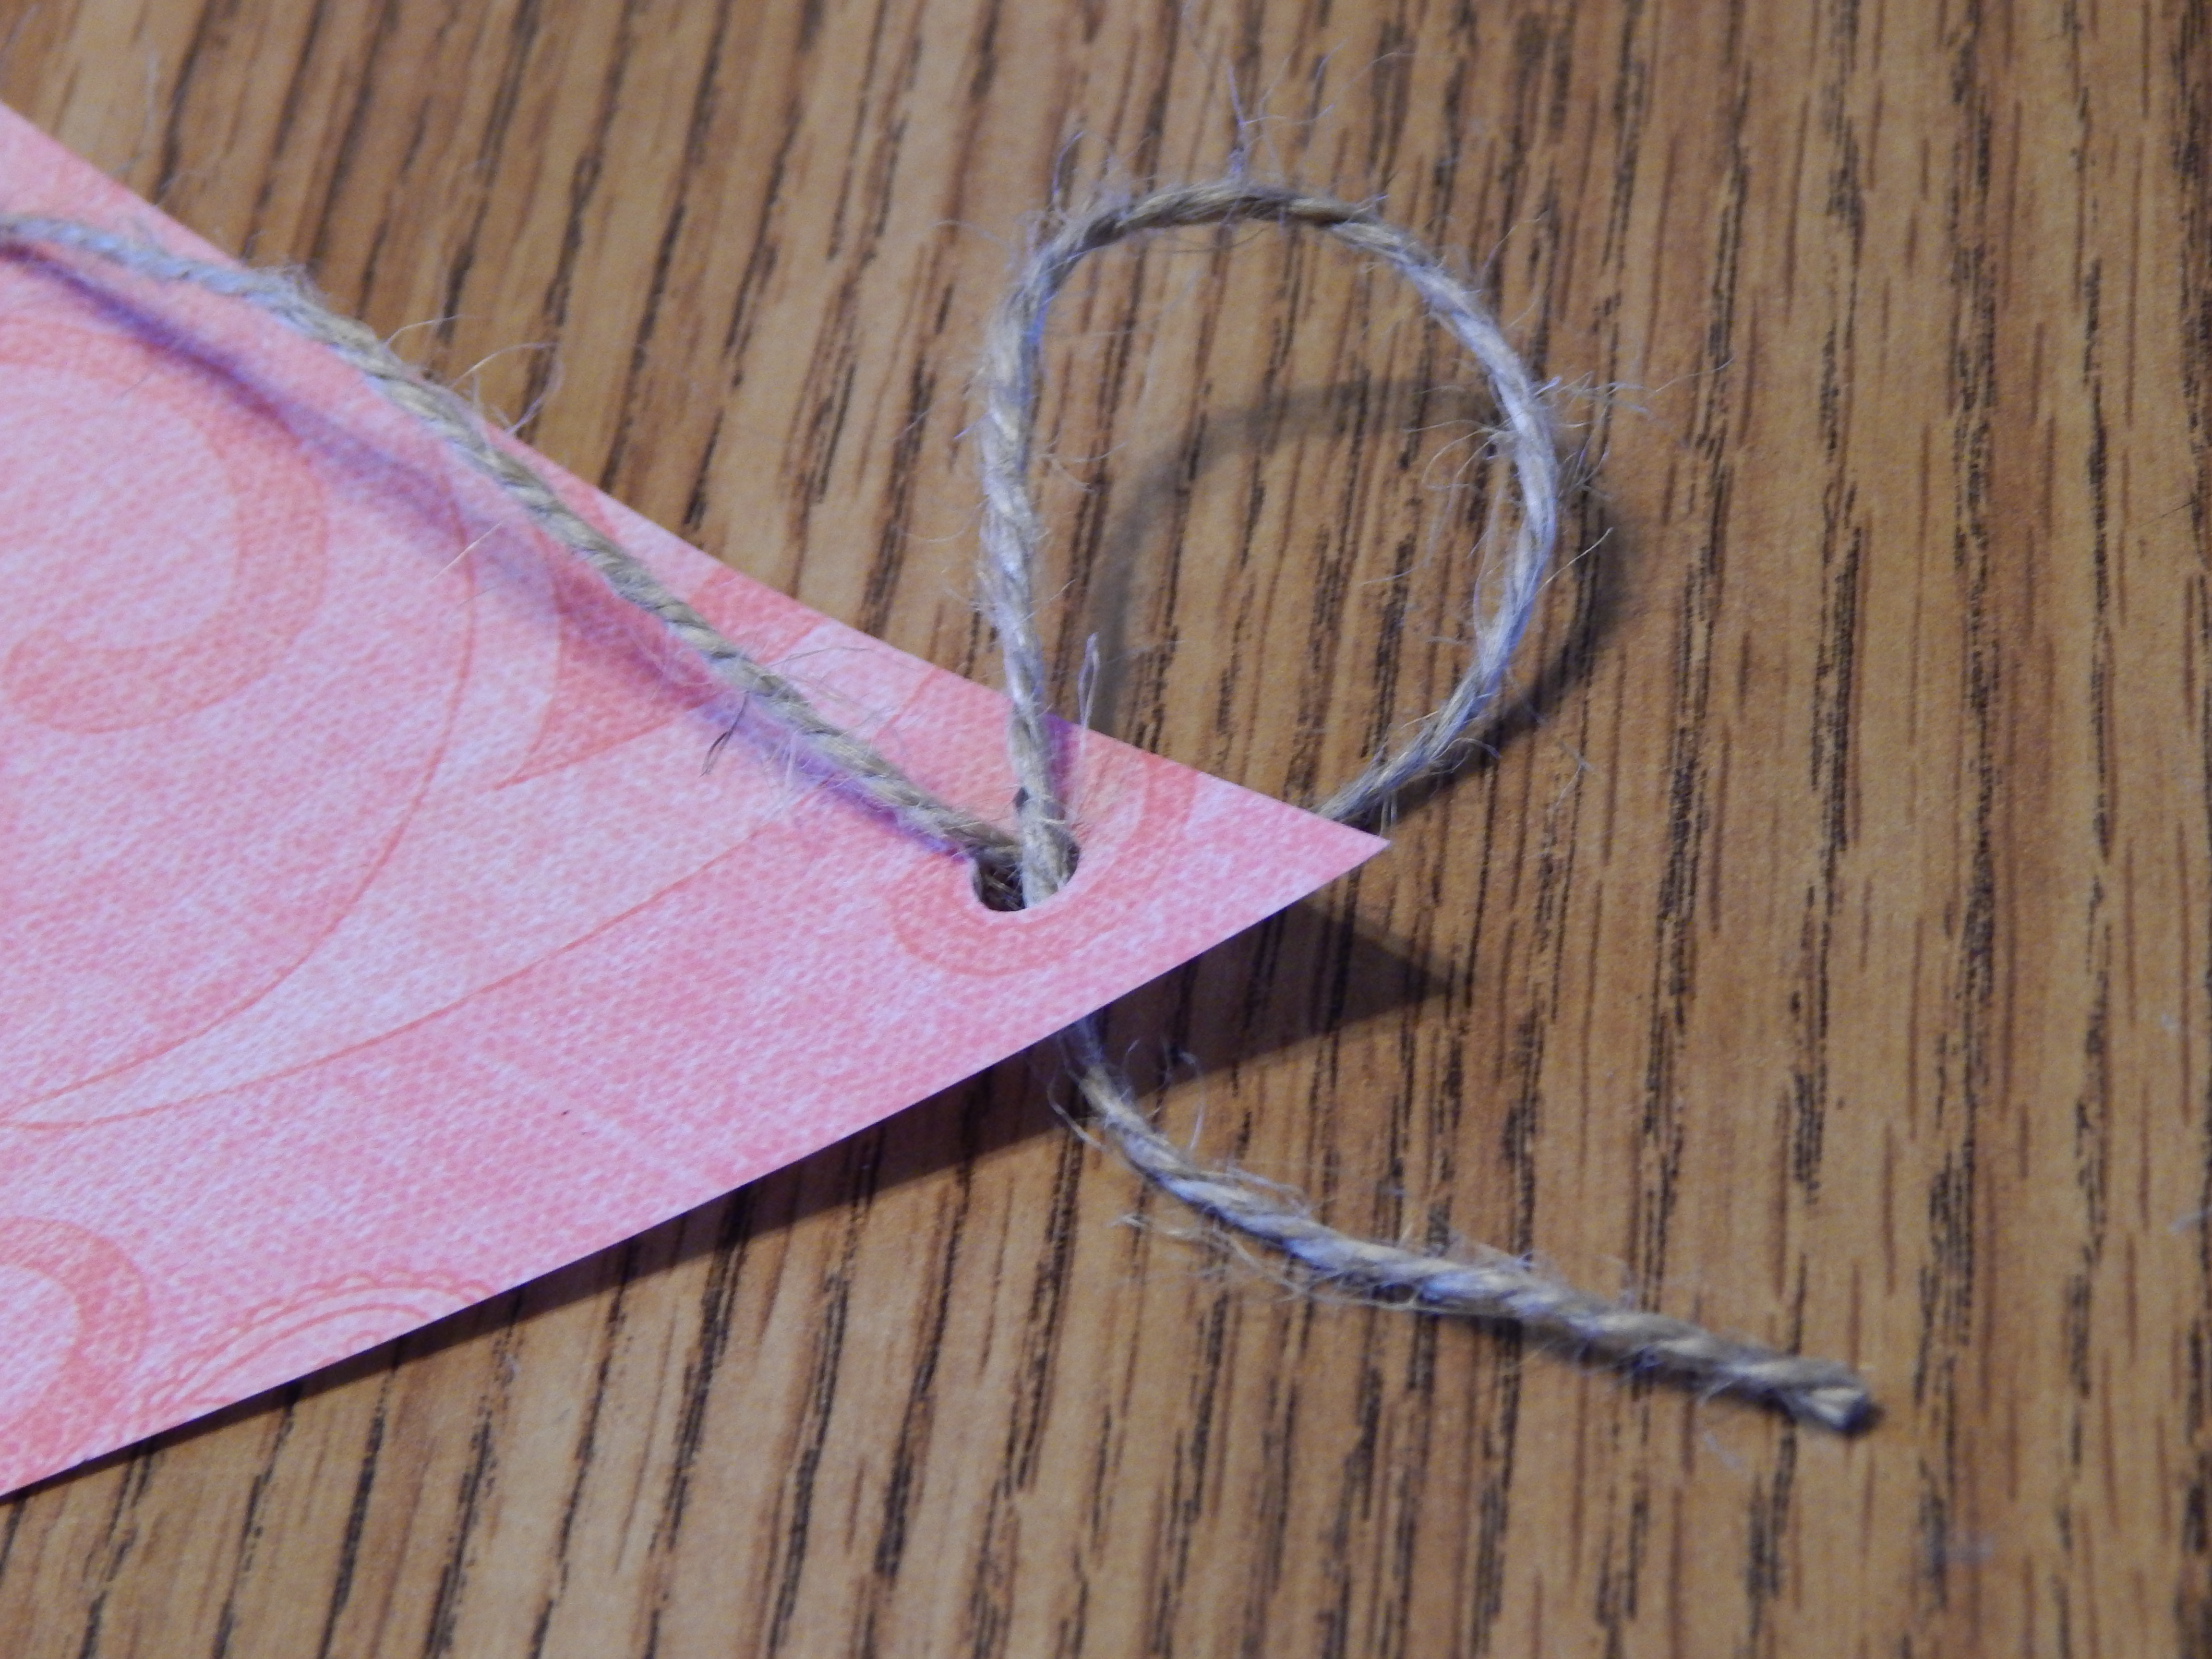
  5. Time to string them all up! You can string them two ways, so choose the one that looks best to you. Leave about 10 inches of string extra on the front and end of the banner for tying.034
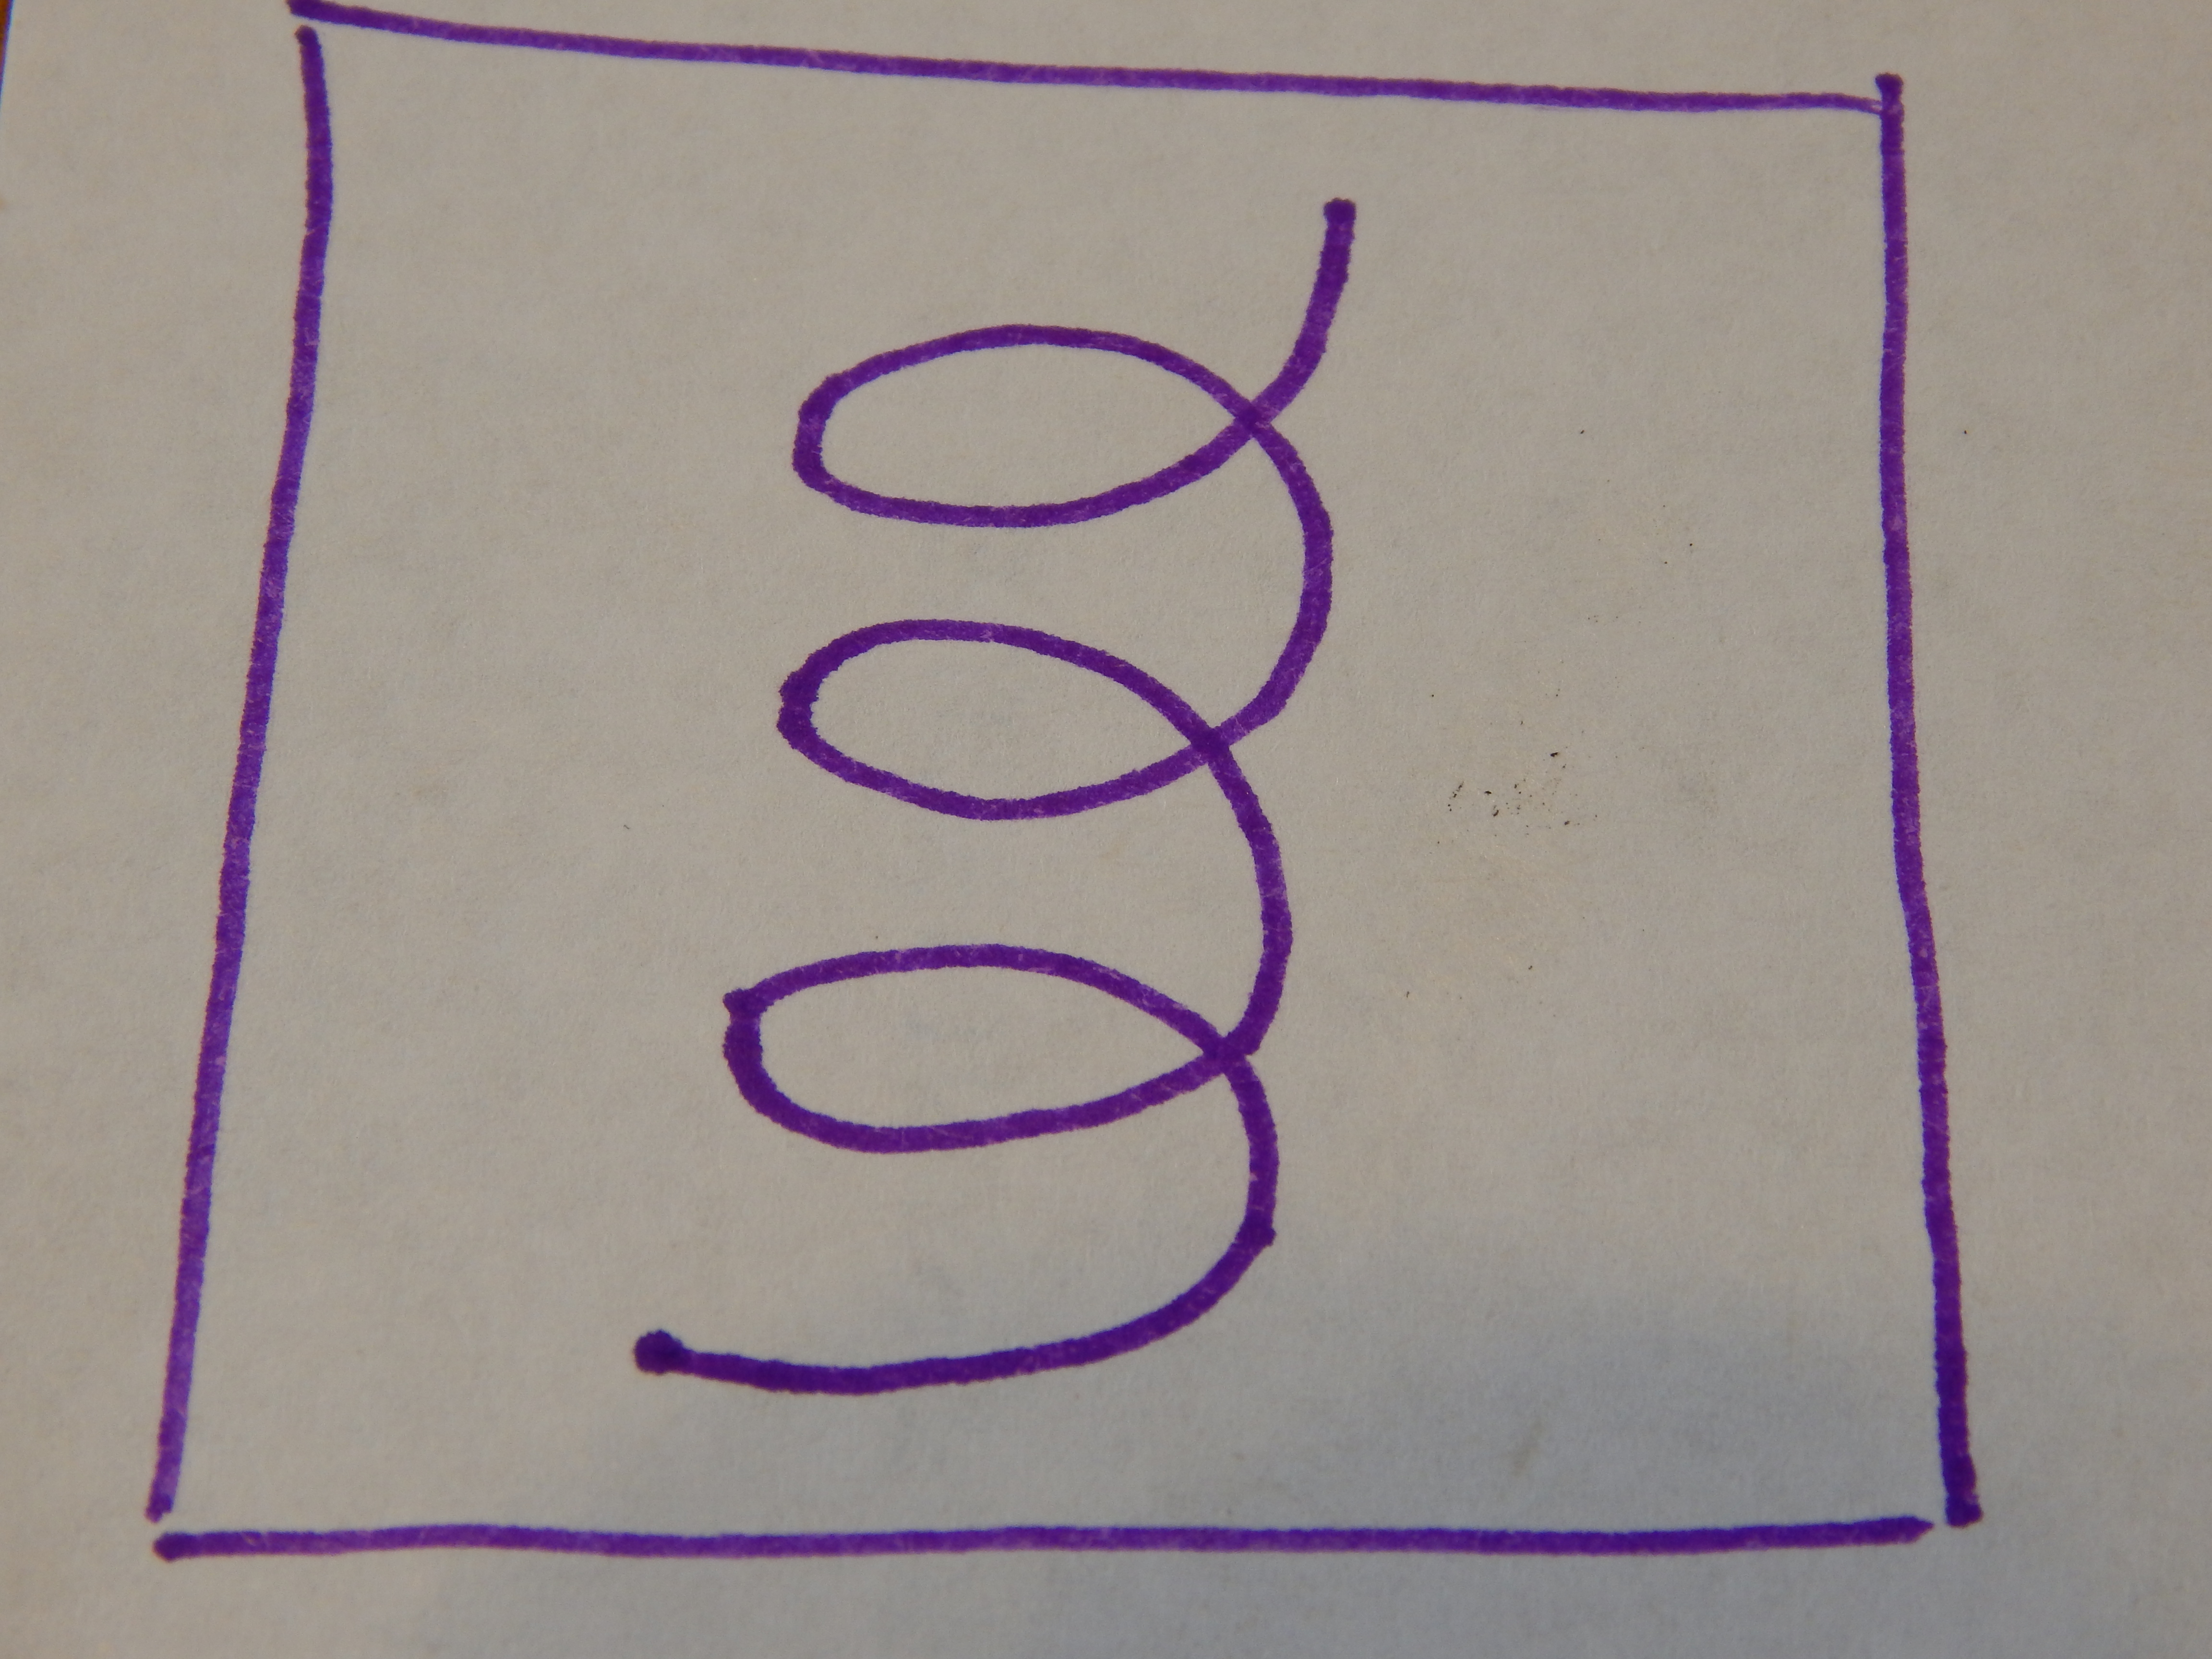
  6. To tie the knots, bring the end of the string back through the nearest hole, making a loop.035 
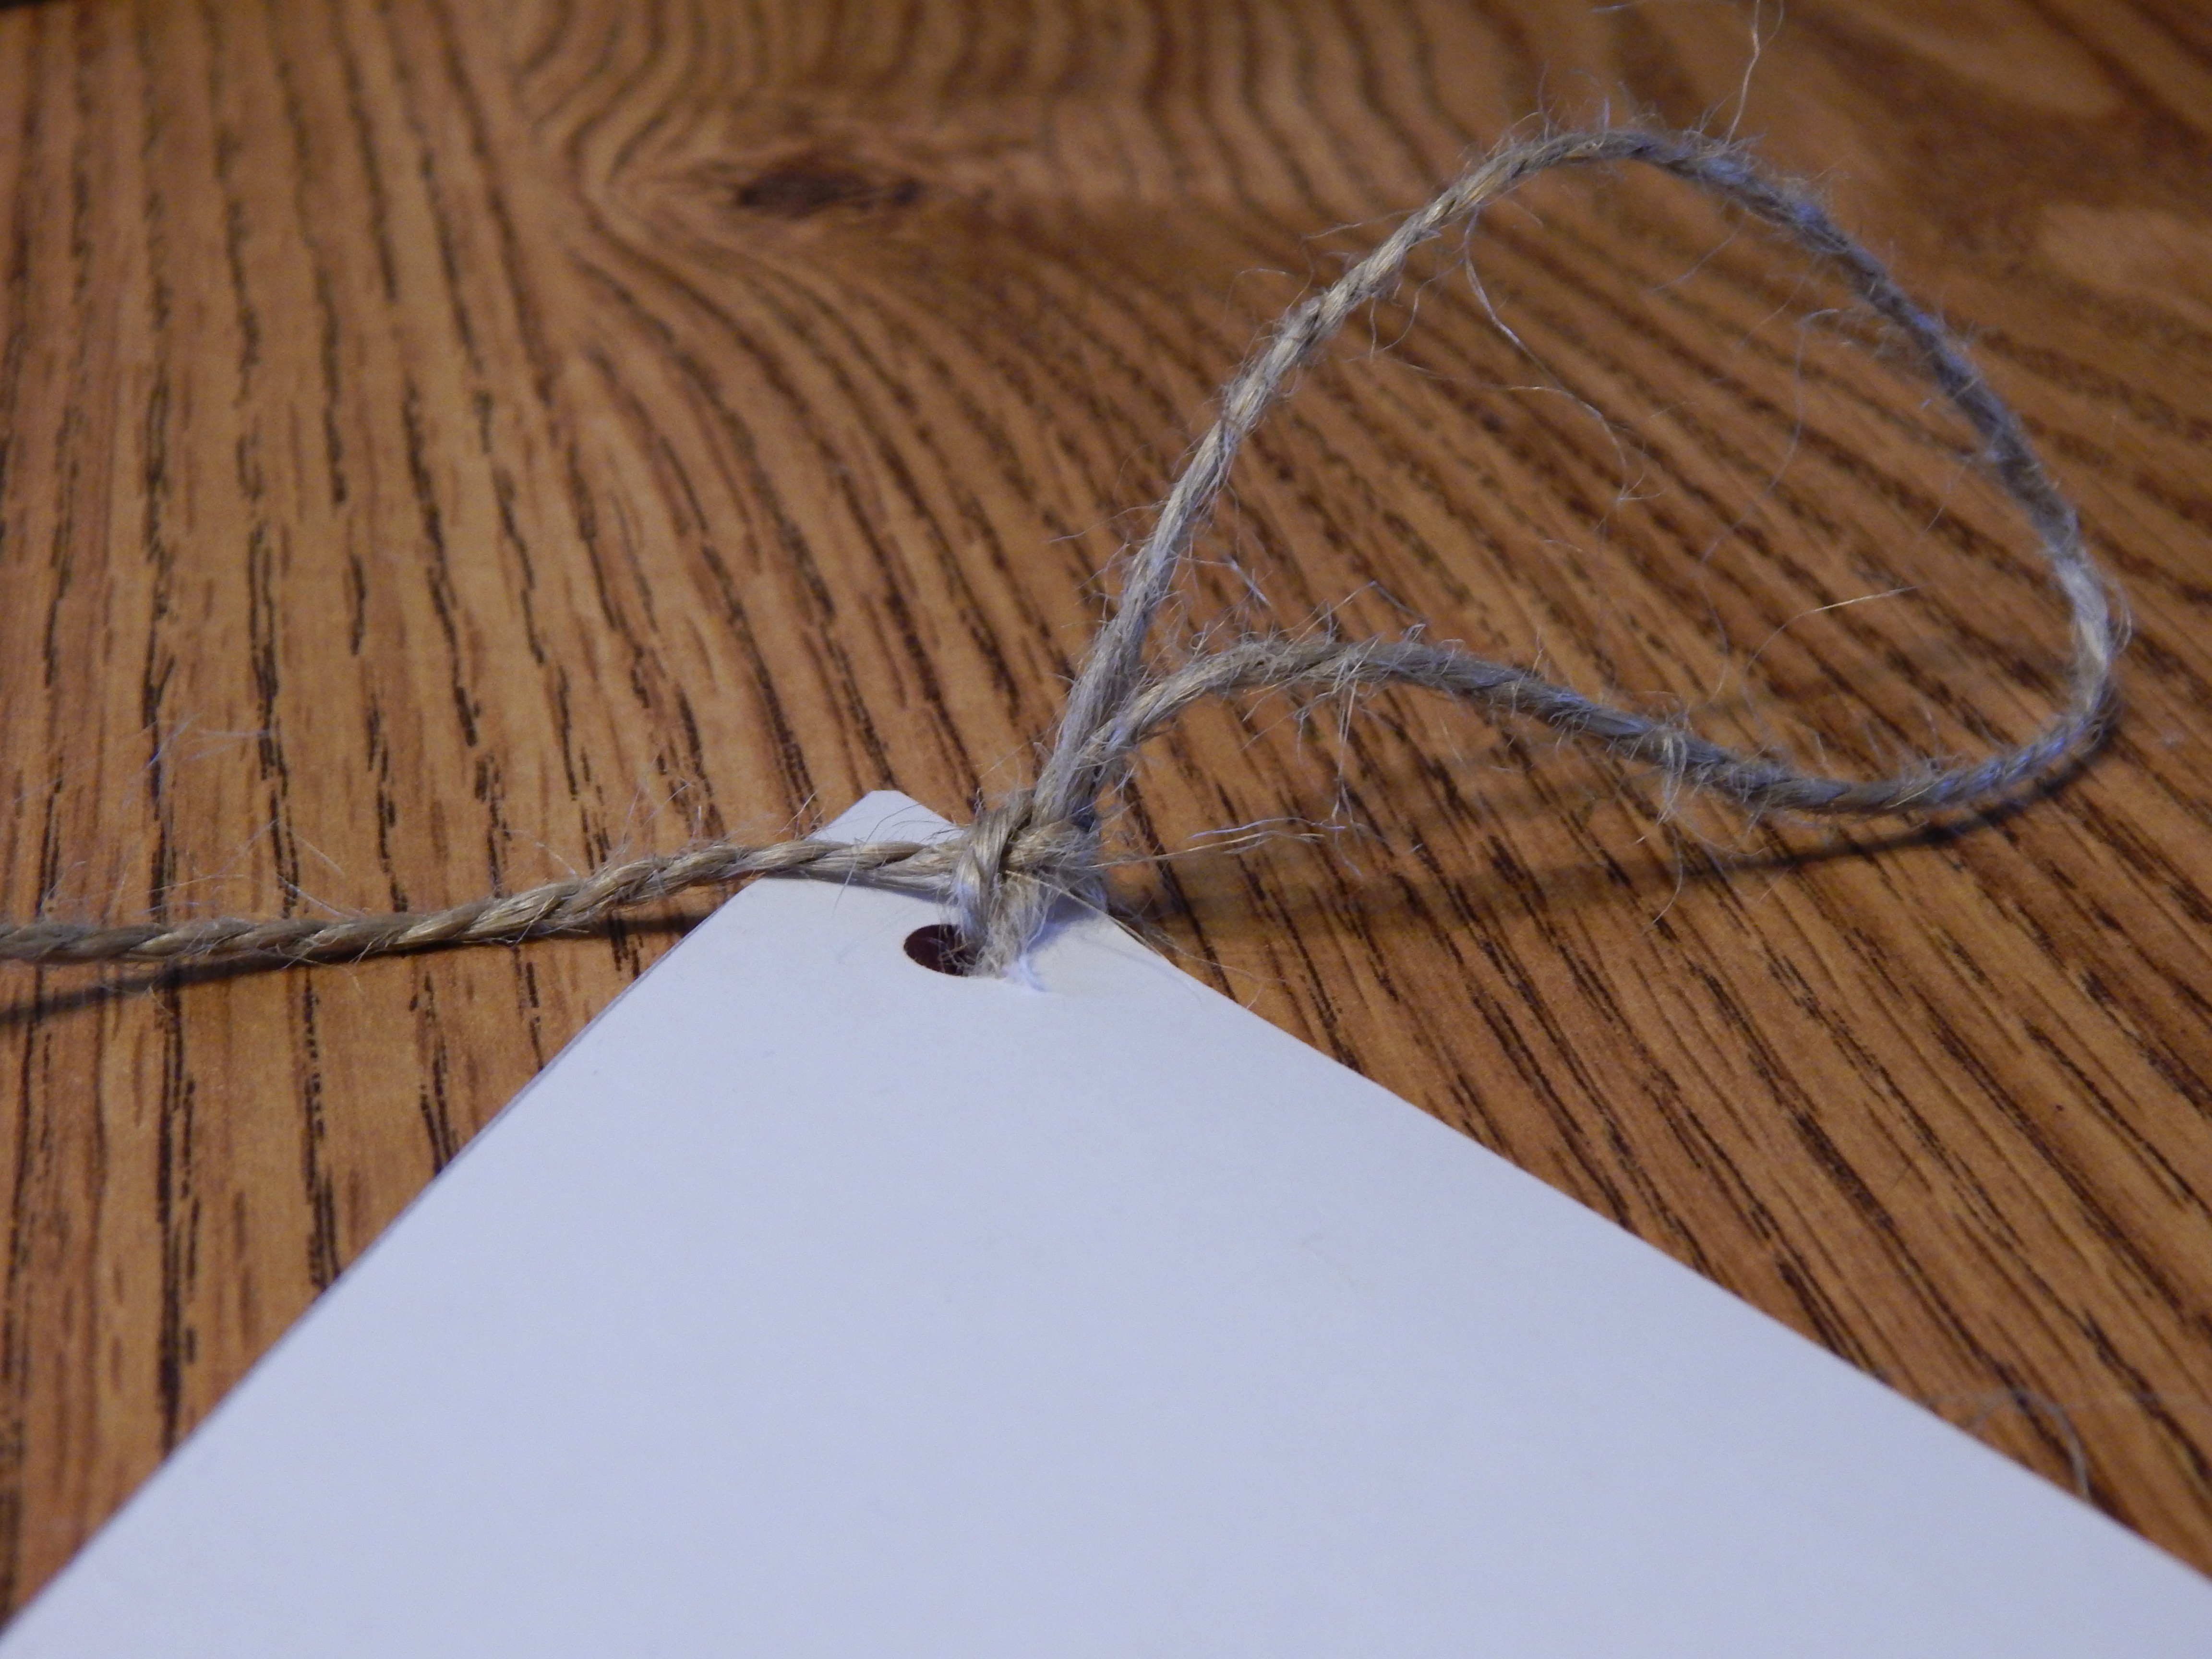
Turn the triangle over and just tie a knot around the loop to make this:036
  7. And you are done!

037 040 039 038Enjoy!

***Allison***

Spirograph Envelopes

I made these a long time ago but never posted about it, so here they are now! You know those Spirograph machines? You can’t do much with the finished spirographs except hang them on the refrigerator, right? Wrong. You can use them (or any other circular piece of paper, really) to make a beautiful envelope to hold, say, a gift card. They are very simple to make.

First, take a finished spirograph…-Allison (Nov. snow, hidden pictures) 007… and fold it in half.-Allison (Nov. snow, hidden pictures) 008Open it up and fold the two sides to meet the center crease. (I used scrap paper; that’s why there’s a random picture of a man on the inside of the envelope. I recommend using plain paper. ☻)

-Allison (Nov. snow, hidden pictures) 009

Now fold one end of the of the spirograph a little less than halfway up.

-Allison (Nov. snow, hidden pictures) 010

Fold the other end down so it overlaps the bottom of the envelope, tuck your card or gift card inside, and seal with a sticker.

-Allison (Nov. snow, hidden pictures) 013

-Allison (Nov. snow, hidden pictures) 014

Ta-daaa! Here are the backs of two finished envelopes.

-Allison (Nov. snow, hidden pictures) 016***Allison***

DIY Memo Board/Bulletin Board

One of the presents I made for my sister Megan’s birthday this year was a bulletin board set that included pretty clothespins and a little hedgehog drawing.  The board itself is made of foam board and scrapbook paper, and the clothespins have thumbtacks in the back so you can hang pictures without damaging them.

-Allison(Joy) 012

Today I will show you how to make the board, the clothespins, and I’ll include a link to show you the original drawing that I looked off of for the hedgehog picture. To start with…

You will need:

For the board:

  • a large piece of foam board
  • scrapbook paper
  • a glue stick
  • tape
  • scissors

For the clothespins:

  • wooden clothespins (Not the one-piece kind with a slit down the middle, but the kind you pinch to open.)
  • scrapbook paper
  • hot glue
  • glue stick
  • scissors
  • thumbtack (the kind with a flat top)

I used to have more step-by-step pictures, but unfortunately I accidentally clicked “delete all images” on my camera instead of deleting just a few images.  😦  Anyway, I took some pictures of the finished product that should help, even if they’re not step-by-step.

*********************************************************************************************************************************

  1. Cut your foam board into a square. It’s nice to arrange your scrapbook paper on the foam board before you cut it, so you will know how big to make the square.

2. Glue 4 squares of scrapbook paper in a checkered pattern on the board, leaving a little extra paper sticking out around the edge of the board.  Optional: cut a smaller square from a different patterned paper and rotate it to make a diamond for the middle.  Now the board should look something like this, except with paper sticking out around the edges.

DSCN7546

3. Turn the board over.  Fold down the extra paper from the sides and tape in place.

DSCN7548

4. Now for the clothespins.  They are really easy, but look amazing!  Place a clothespin upside-down on patterned paper, trace around it, and cut it out. Glue in place on top of the clothespin.

DSCN7550

5.  Hot glue a thumbtack to the back of the clothespin, about at its middle.  And you’re done!

DSCN7549

You can give this as a gift with something already pinned on, like a card or a picture.  Oh, and here is the link to that adorable hedgie art if you don’t want to draw your own: https://wanelo.com/p/5420153/fun-little-rainbow-hedgehog-art-print-drawing .

Until next time!

***Allison***


Make Your Own Game! Part 3: Game Pieces and Finishing Touches

Today I will finish up the Make Your Own Game Series with how to make game pieces and a box for your game to live in.  Let’s start with game pieces.

I think the most unique and customizable pieces can be made with polymer clay.  You can make them to go along with your theme, or just make an odd assortment of fun things, like I did.  I would recommend, though, that you make your game pieces more one size than I did, just so they look more uniform.

-Allison(game series 3) 001

There are lots of other options if you don’t want to use clay: use different colors of flat-bottomed clear pebbles, buttons with handles made from beads stacked together, small toys like toy cars or plastic animals, really you can use basically any small item that doesn’t roll off of the board.

It’s important to have a good box that keeps your game from getting bashed up when it’s on the game shelf, but also provides easy access to the game when you want to play it.  (In other words, don’t use a deep, barely big enough box or it will be hard to take your game in and out.)

I found the perfect box for one of my games: it is shallow, easy to open, and sturdy.  Unless the box has no writing or graphics on it, you will want to make a label to put on top.  You could just draw the logo on the label, or take a picture of the actual game and paste it on.  Make sure to draw the logo on all sides so you don’t see a blank side of the box from the shelf.

-Allison(game series 3) 004 -Allison(game series 3) 003

And there you go!  Have your friends and family test it out, and maybe someday you will even publish your game!

Until next time…

***Allison***

Woodland Birthday Party

My sister Megan’s birthday was yesterday!  She chose to have a woodland themed party with hedgehogs as the “life of the party.” (Hee-hee!)  I thought I’d go through the decorations for the party and how we made a few of them.  (Megan didn’t especially want to do all the decorations, so I got to make most of them – hooray!)

The colors of the theme were green and brown.  For the decorations, I hung up twirled green and brown streamers and green balloons.

-Allison(Megan's B-day Party) 052

I also drew and cut out some forest floor type things like toadstools, grasses, and pebbles.  It would have been better to make the toadstools out of red paper, but we didn’t have any. 🙂

097

Meet Mr. Hedgehog, the gift guy.  I designed him; Megan painted him.  Megan also had the great idea to use him to show the guests where to put gifts.

-Allison(Megan's B-day Party) 053

The table was really fun to decorate.  We got the tablecloth, plates, napkins, and cups at Party City (which was FUN, by the way!).  My mom made the cute cake, I made the hedgehogs, and Megan made the labels for the “Dew Drops” (water) and “Twigs” (pretzel sticks).  I found the ideas for twigs, dew drops (which was originally named “Morning Dew”), and hedgehogs from Pinterest.

-Allison(Megan's B-day Party) 054

-Allison(Megan's B-day Party) 055

-Allison(Megan's B-day Party) 056

Here’s a tutorial on how to make this cute little hedgehog for snacking on. (Poor guy!)

-Allison(Megan's B-day Party) 051

For one hedgehog you will need

**************************************

A pear

Whole, black olives

Grapes

Toothpicks

Whole cloves

**************************************

First, peel the top of the pear for the hedgehog’s head.

-Allison(Megan's B-day Party) 046

You can try sticking a whole olive on the tip of the pear, but it worked best for me to cut the olive in half.

-Allison(Megan's B-day Party) 047

Stick two whole cloves above the nose for eyes.

-Allison(Megan's B-day Party) 048

Now make him prickly!  Skewer a grape onto a toothpick, then stick the toothpick into the unpeeled part of the pear.  I put the skewered grapes on in rows.  I started with a row next to the head, then progressed all the way back to give him the proper rounded shape.

-Allison(Megan's B-day Party) 051

Such a prickly little guy!

Now for the party favors.  I like to make things out of polymer clay, so I made clay hedgehogs for favors, along with little bags to put them in.  At the end of the party, the guests each got to “adopt a hedgehog.”

-Allison(Megan's B-day Party) 001

-Allison(Megan's B-day Party) 003 -Allison(Megan's B-day Party) 004

So there are a few ideas for a woodland party.  I hope I’ve given you some inspiration!  (And thanks for letting me decorate for you Megan!)

***Allison***

The “Favorite Meals” Planner

Sounds exciting, right?  A meal planner!  Wahoo!  Ok, maybe not so much.  But this isn’t just your ordinary meal planner, it’s a way to keep track of your family’s favorite recipes, see how you modified the recipe, where it came from, and more, all at a glance.  Let’s take a looksee, shall we?

DSCN7580

Let’s use the chocolate pudding page for an example.  (The pudding is delicious, by the way!)  At the top we have the title of the recipe, then we have a dot with the category of the recipe (whether it is a main dish, side, dessert, etc.).  The little book symbol shows where to find the actual recipe, whether it’s from your stash of 50 cookbooks, or collected from the internet.  The little hearts show you how much your family likes the recipe – a little or a lot!  My family rated the chocolate pudding 5 stars, er hearts.  I told you it was good!  The little wavy line underneath the hearts is where you’re supposed to write the date you first made it, but, uh, I couldn’t remember, so I just wrote a little wavy line. 🙂  Next we come to the notes section.  This is where you write down any changes you made to the recipe, the best way to serve it, etc.  And we’re finished with the tour!  Here’s an example page just in case you didn’t catch everything.

DSCN7581

Happy planning!

***Allison***

Tutorial: Personalized Name Photo Card

Today I will show you how to make a name-letter-photography-accordion-card-thingy.  Umm, let’s try that again.  Today I will show you how to make a personalized name photo card.  Much better.  See, it’s this neat card that you accordion-fold, then paste pictures of letters onto it so… *sigh* this isn’t going too well.  I guess I’ll have to show you a picture.

-Allison(name picture card, game) 006

Ahh, there we go.  That is what we’ll be making today.  If you want to make another name or word besides “Grandaddy,” you may have to fold and assemble more or accordion folds, depending on the number of letters in the word.  As you can see, “grandaddy” has nine letters (I know right, I can count all the way up to nine!) so I needed nine blank rectangular sections of paper – one for each letter.

Let’s get started!

You will need:

Paper – if you have any long, stiff paper like brown craft paper or thick wrapping paper, you could use that, but I will show you how to make this out of just plain cardstock.

• A camera

• A printer (or some method of getting your photos on paper)

Scissors or a papercutter

Tape or a glue stick

Colored pencils, markers, etc. if you want to decorate or write on the front of the card

Now then, here’s how to make it.

  1. Take pictures of things that look like letters.  I found my “n” on an inside wall of a barn, the “a” from the lower half of a pair of vicegrips, and the “g” from a bungee cord.  For some of the letters I used a beach towel for the background.  (Please don’t use my actual pictures, but I certainly don’t mind if you use them for inspiration.  If you have any questions, feel free to ask me in the comments.)
  2. Turn the pictures black and white. Black and white or sepia tones just make the pictures more uniform, and lets you focus on the letter instead of the background.  I turned mine black and white on my camera, but you can use a photo editing program if you want.
  3. Print and cut out your pictures.  I pasted my pictures onto a Microsoft Word document.  Then for each picture I right clicked on the photo, clicked “size and position” on the pop-up, changed the height to 2 inches, and pressed enter.  And hopefully you already know how to cut out pictures.-Allison(name picture card, game) 001
  4. Prepare your card.  For this step I cut a sheet of cardstock into 3 equal pieces, and accordion folded each piece into 3 equal sections, with a little extra tab on the end.-Allison(name picture card, game) 002
  5. Assemble your card.  Put tape on the little tab at the end of two of the accordion folded sections, and cut the tab off of the last one.  Use the taped tabs to connect all of the folded sections into one long piece.  Now tape or glue the letter pictures onto each blank rectangle on one side of the paper strip.
  6. Decorate your card.  Using whatever materials you wish, decorate the other side of the card.  The front of the card, the part that you see when you fold it up, will be on the back of the first letter (in my case on the back of the “g”).-Allison(name picture card, game) 005
  7. Put on the finishing touches!  Fold the card so the message is the first thing you see (like in the picture above), with all the letters following in order when you open it up.  And you’re done!

-Allison(name picture card, game) 007 -Allison(name picture card, game) 006

This is a great gift for anyone, and you could even do the words of a bible verse, random words like “family,” “I love my cat Snuffles,” whatever!  It would also be neat to take pictures for all the letters in the alphabet (which would be super hard) and leave the letter that begins your name colored instead of black and white.  Have fun with this!

***Allison***

Make Your Own Game! Part 2: Spinners, Spaces and Cards

(See the first installment in this series here.)  Today we’ll look at some ideas for the spaces on the board, as well as cards and spinners for your game.  Definitely change the symbols and graphics if you want to, and uh… be sure to make your spaces and board neater than I did here! ☺

*******************************************************************

This is a fun little space I call a “spring space.”  When you land on it, you get to move your playing piece ahead to the next spring space.

-Allison(name picture card, game) 008If your board game has cards, you can make spaces where you pick up a card when you land there.  Just draw a square with the graphic on the back of your cards inside it.  (You’ll probably want to make a more interesting graphic than my boring ol’ “T.” ☻)

-Allison(name picture card, game) 010It’s fun to have money, coins, or tokens in a board game.  They can be the point of the game (whoever gets the most by the end of the game wins), you can buy something with them to help you, whatever!  You can have a specific way to earn coins, or have coin spaces on the board.

-Allison(name picture card, game) 013

A board game can’t have only good spaces – it needs some suspense!  One “bad” space is a go-backwards space.  Write how many spaces you’re supposed to go back on top of an arrow pointing backwards.

-Allison(name picture card, game) 009

A really exciting space is the shortcut.  The shortcut spaces (there are two) are where you find out if you can use the shortcut or not.  On the first space, write the numbers 1, 2, and 3, and on the other one, 4, 5, and 6.  When a player lands on a shortcut space, they must roll the dice.  If they roll any of the numbers shown on the space, they get to use the shortcut, but if they don’t, too bad for them.  Sometimes using a shortcut is bad, because if you land on the space at the far end of the shortcut and you have to use it, the shortcut takes you backward.

You can either have the player jump to the other end of the shortcut all at once, or divide it into spaces so that they still have to roll their way across.

-Allison(name picture card, game) 012 -Allison(name picture card, game) 011

A few more spaces I didn’t draw here:

Roll again

Pit (which makes you lose something like a coin or a turn.)

Now for cards.  I can’t really help you much here, because the kind of cards you make really depends on your game.  They could make you answer a question or do a certain thing in order to move ahead on the board, they could be superpowers to help you, they could be anything!  But as for making the actual cards, I think the best way is to either cut them out of cardstock with a paper cutter, or print them onto cardstock from your computer.  The nice thing about printing them is that you can design a nice graphic that will look the same on all of your cards.

You can make a spinner by printing out a pie graph divided evenly into the number of spaces you need, and pasting it cardboard.  An alternative to printing a spinner is drawing one.  Cut a square piece of cardboard and divide it evenly into the number of spaces you need.  Trace a circle onto the square, and cut it out.  For the spinner, cut a rectangle that comes to a point like an arrow at the end from cardboard.  Punch hole in the middle of the arrow and the spinner-board.  Put a brass-brad through the hole, but be sure to leave some room between the head of the brad and the arrow.

****************************************************************

Whew, that was a long post!  Hopefully it helps if you ever want to make your own game.

***Allison***


A New Take on the Paper Chain Countdown

Here is an updated version of the classic paper chain.

Cut out a long strip from a piece of colored paper.

Fold it in half.

On the outside, top of the halved paper, write how many days there is left until ____ (whatever you using the chain for.)

DSCN9907

On the inside, write a fun fact about _____, draw something, or write a joke.

Make the folded strips into the classic chain shape, and start the countdown!

DSCN9921

We are going on vacation tomorrow (!!!), so that’s what I used the chain for.  I’ll see you in about 2 weeks!

***Allison***