Christmas Gifts by Yours Truly

I hope you had a Merry Christmas – I did! I always make my Christmas gifts because I love to make and give things. This year I made this candy bark for my dad and my aunt and uncle’s family, lots of mix-and-match paper flags for a pennant banner like this one for my mom, a cross-stitch picture of their grandkids (including me) for my grandmother and grandaddy, and a clay model of each of my brothers’ and sisters’ bunnies for their presents (along with some sugared pecans.) Whew! That was a long list, huh? I really enjoyed making those presents, but I only took pictures of the cross-stitch piece and the bunnies to show you.

First, the cross-stitch thingy. My grandparents really liked it, which I am glad about, because it took me a really long time to make! I first planned my design out on graph paper, and then embroidered it. From left to right: my brother Jeff, Me, my cousin Leisha, my sister Carmen, my brother Logan, my cousin Jianna, and my sister Megan. I worked really hard on this and I’m quite pleased at how well it turned out!

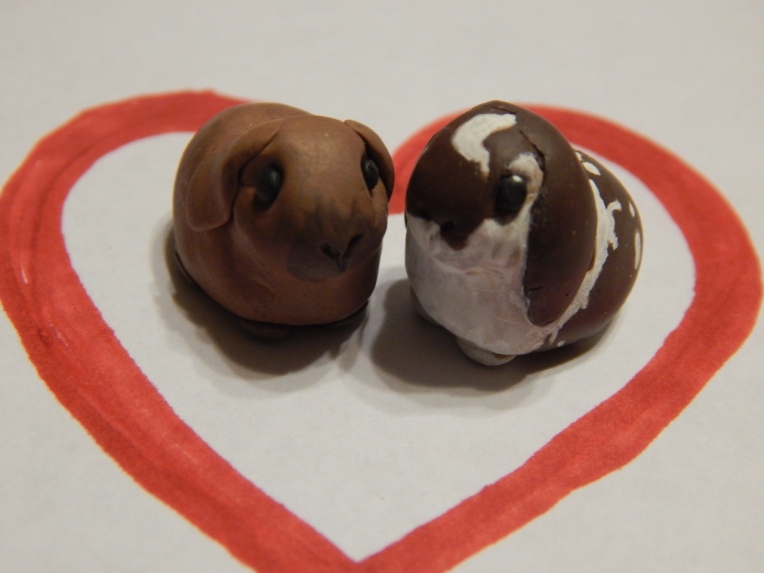
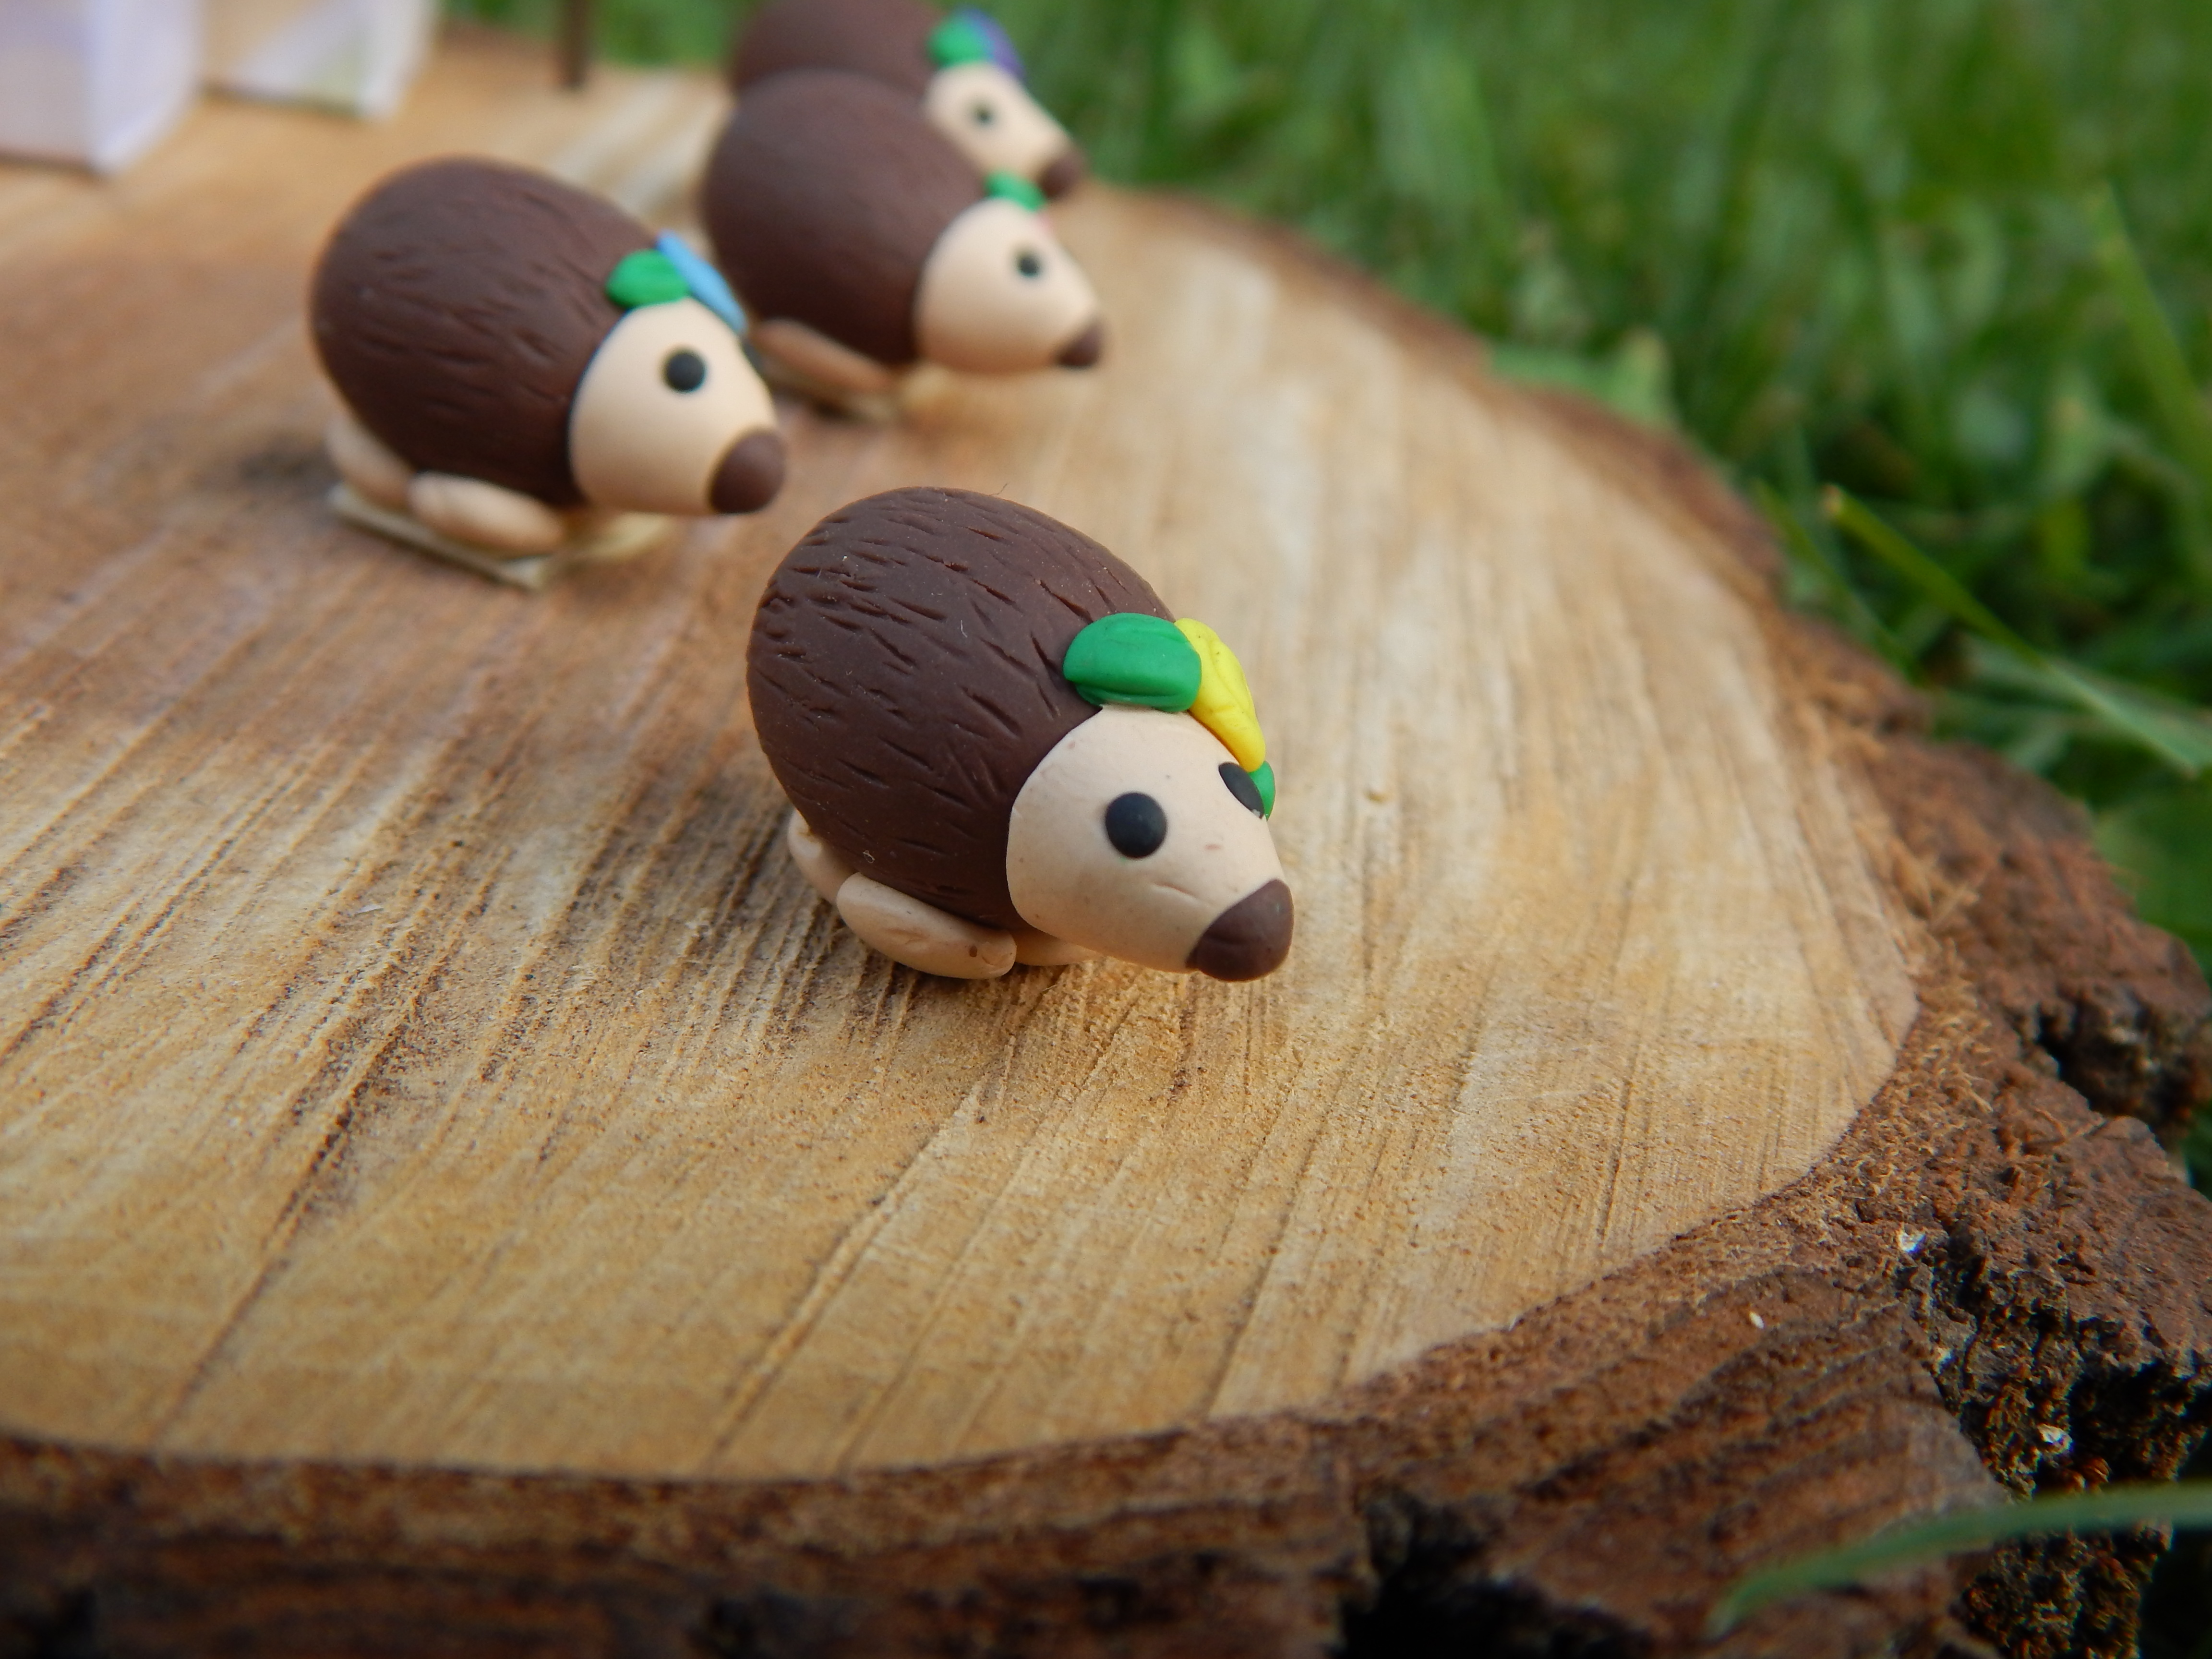
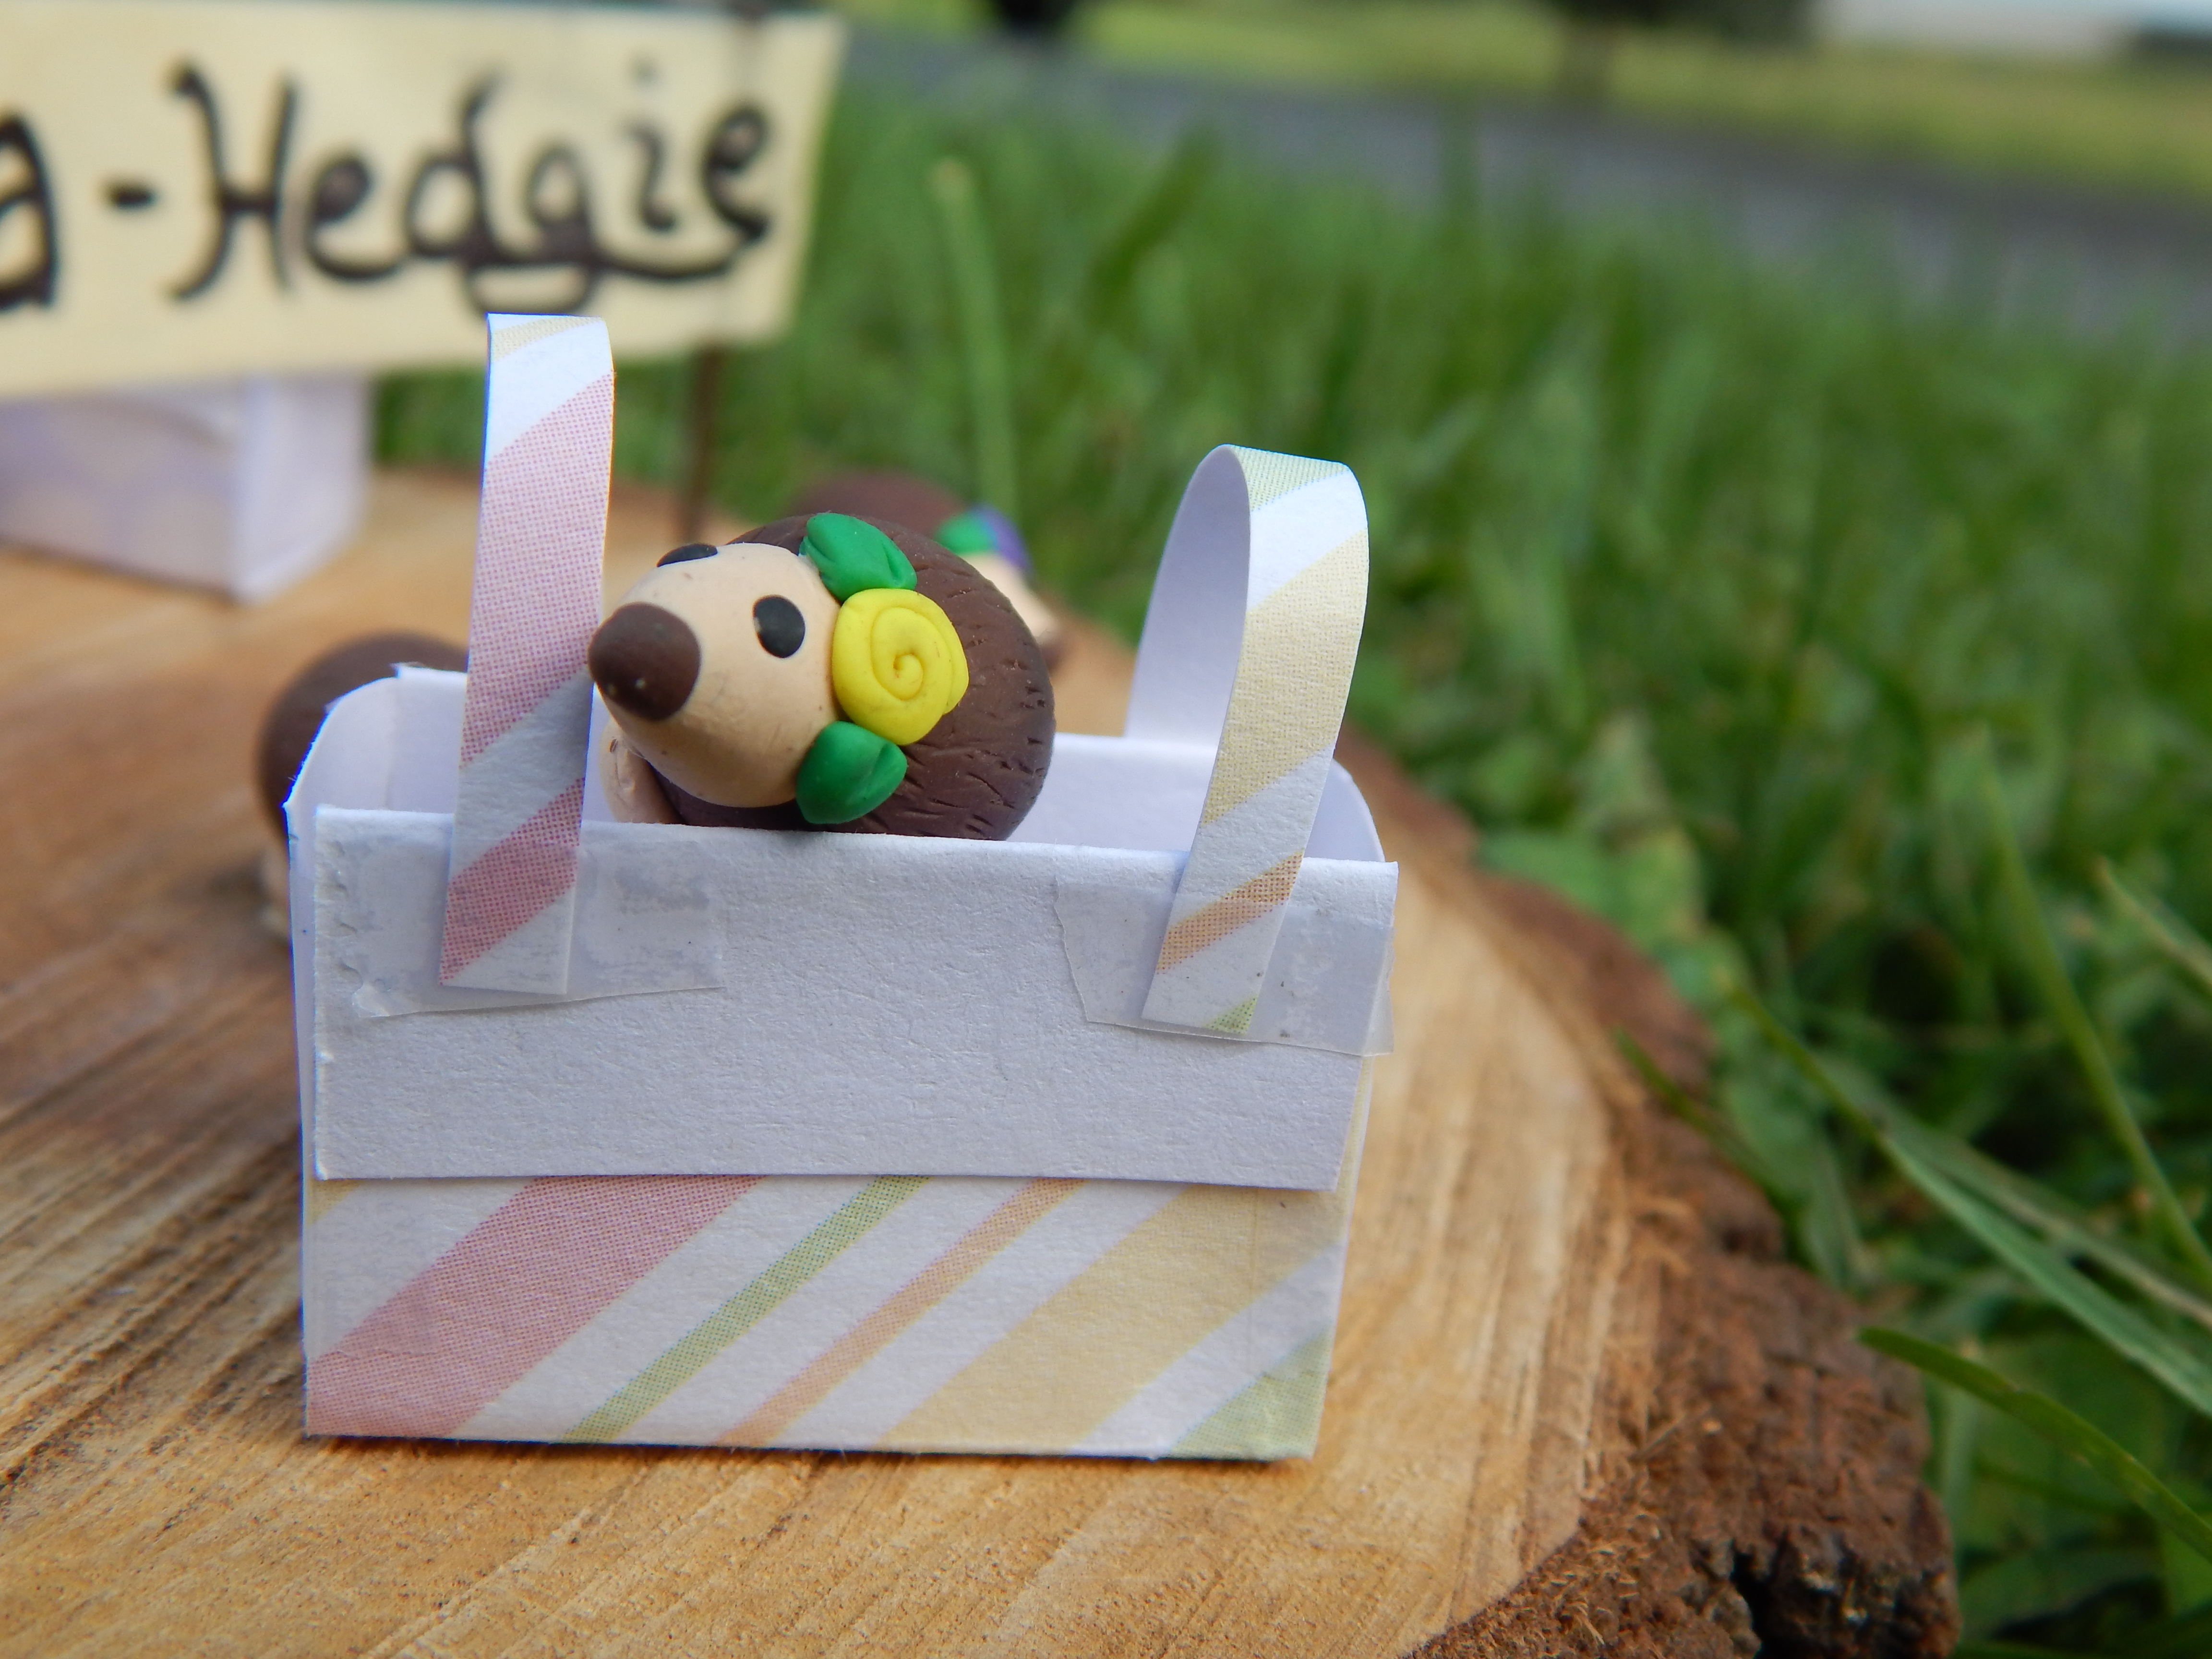
All my siblings really liked these little bunnies too. They are cute if I say so myself. 🙂 In the picture of all of the bunnies in my hand, they are from left to right: Clementine, Yoshi, Olaf, and Diamond. Which is your favorite clay rabbit?

This is Yoshi and Clementine together, because Clemmie is a soon-to-be mother (we hope!) and Yoshi is the dad. (!!!)

025 (1280x960)

I hope you enjoyed looking at my creations! Did you make any presents this year?

***Allison***

Make Your Own Game! Part 3: Game Pieces and Finishing Touches

Today I will finish up the Make Your Own Game Series with how to make game pieces and a box for your game to live in.  Let’s start with game pieces.

I think the most unique and customizable pieces can be made with polymer clay.  You can make them to go along with your theme, or just make an odd assortment of fun things, like I did.  I would recommend, though, that you make your game pieces more one size than I did, just so they look more uniform.

-Allison(game series 3) 001

There are lots of other options if you don’t want to use clay: use different colors of flat-bottomed clear pebbles, buttons with handles made from beads stacked together, small toys like toy cars or plastic animals, really you can use basically any small item that doesn’t roll off of the board.

It’s important to have a good box that keeps your game from getting bashed up when it’s on the game shelf, but also provides easy access to the game when you want to play it.  (In other words, don’t use a deep, barely big enough box or it will be hard to take your game in and out.)

I found the perfect box for one of my games: it is shallow, easy to open, and sturdy.  Unless the box has no writing or graphics on it, you will want to make a label to put on top.  You could just draw the logo on the label, or take a picture of the actual game and paste it on.  Make sure to draw the logo on all sides so you don’t see a blank side of the box from the shelf.

-Allison(game series 3) 004 -Allison(game series 3) 003

And there you go!  Have your friends and family test it out, and maybe someday you will even publish your game!

Until next time…

***Allison***

Woodland Birthday Party

My sister Megan’s birthday was yesterday!  She chose to have a woodland themed party with hedgehogs as the “life of the party.” (Hee-hee!)  I thought I’d go through the decorations for the party and how we made a few of them.  (Megan didn’t especially want to do all the decorations, so I got to make most of them – hooray!)

The colors of the theme were green and brown.  For the decorations, I hung up twirled green and brown streamers and green balloons.

-Allison(Megan's B-day Party) 052

I also drew and cut out some forest floor type things like toadstools, grasses, and pebbles.  It would have been better to make the toadstools out of red paper, but we didn’t have any. 🙂

097

Meet Mr. Hedgehog, the gift guy.  I designed him; Megan painted him.  Megan also had the great idea to use him to show the guests where to put gifts.

-Allison(Megan's B-day Party) 053

The table was really fun to decorate.  We got the tablecloth, plates, napkins, and cups at Party City (which was FUN, by the way!).  My mom made the cute cake, I made the hedgehogs, and Megan made the labels for the “Dew Drops” (water) and “Twigs” (pretzel sticks).  I found the ideas for twigs, dew drops (which was originally named “Morning Dew”), and hedgehogs from Pinterest.

-Allison(Megan's B-day Party) 054

-Allison(Megan's B-day Party) 055

-Allison(Megan's B-day Party) 056

Here’s a tutorial on how to make this cute little hedgehog for snacking on. (Poor guy!)

-Allison(Megan's B-day Party) 051

For one hedgehog you will need

**************************************

A pear

Whole, black olives

Grapes

Toothpicks

Whole cloves

**************************************

First, peel the top of the pear for the hedgehog’s head.

-Allison(Megan's B-day Party) 046

You can try sticking a whole olive on the tip of the pear, but it worked best for me to cut the olive in half.

-Allison(Megan's B-day Party) 047

Stick two whole cloves above the nose for eyes.

-Allison(Megan's B-day Party) 048

Now make him prickly!  Skewer a grape onto a toothpick, then stick the toothpick into the unpeeled part of the pear.  I put the skewered grapes on in rows.  I started with a row next to the head, then progressed all the way back to give him the proper rounded shape.

-Allison(Megan's B-day Party) 051

Such a prickly little guy!

Now for the party favors.  I like to make things out of polymer clay, so I made clay hedgehogs for favors, along with little bags to put them in.  At the end of the party, the guests each got to “adopt a hedgehog.”

-Allison(Megan's B-day Party) 001

-Allison(Megan's B-day Party) 003 -Allison(Megan's B-day Party) 004

So there are a few ideas for a woodland party.  I hope I’ve given you some inspiration!  (And thanks for letting me decorate for you Megan!)

***Allison***

Make A Terrarium

So, we have this salamander named Petunia as a pet,

2014-06-06-Allison 002

and she lives in a 10 gallon glass tank.  Since I love to make terrariums and miniature gardens, I decided to make something similar for her to live in.  She now lives in a terrarium.  Why make a terrarium?  Terrariums are fun, inexpensive(or free!), and make lovely decorations.

2014-06-06-Allison 012

Now for the do-it-yourself part. Terrariums are very customizable, but you’ll at least need: some sort of soil, a container, and some plants.  Some other nice things to add are:  some sort of water, (refer to the picture of Petunia in her pond)

2014-06-06-Allison 016

moss,

2014-06-06-Allison 015

and pretty stones.

2014-06-06-Allison 008

You could also add a little house or cabin,

2014-06-06-Allison 017

and what about a little clay bird to occupy the “trees”?

There are all kinds of possibilities.  A desert terrarium?  A rainforest one? Be creative!

A terrarium is pretty easy to take care of.  You basically just have to water the plants.  Moss can be harder to keep green (at least for me), but it really adds a lush atmosphere to the terrarium if you take care of it.

So there you go!  Now you know how to make your own terrarium, so get out there and have some fun!

Until next time…

***Allison***

Miniature Animal Sightings!

There have been several sightings of very small animals around, and here are pictures to prove it.

2014-05-20-allison-037[1] (1280x960)


This picture shows the size of the animals.  They’re quite small as you can see.

The following section includes each animal’s name, a picture of them up close, and a description of where they were found or what they were doing.

*************************************************************************************************


Luke Lion: In the savannah

2014-5-27-allison-049[1] (1280x960)


Hannah Hippopotamus: Near water

2014-5-27-allison-053[1] (1280x960)


Tommy Turtle: Also near to water

2014-5-27-allison-060[1] (1280x960) (1280x960)


Peter Penguin: On the ice

2014-5-27-allison-054[1] (1280x960) (1280x960)


Penny Pig: Taking a mud-bath

2014-5-27-allison-068[1] (1280x960) (1280x960)


Polly Panda: In a bamboo forest

2014-5-27-allison-051[1] (1280x960) (1280x960)


Ben Bear: Near his den

2014-5-27-allison-067[1] (1280x960)


Oliver Owl: Perched in a tree

2014-5-27-allison-064[1] (1280x960)


Moses Monkey: High in the trees of the jungle

2014-5-27-allison-063[1] (1280x960) (1280x960)


Sam Snail: In a shady spot under the trees

2014-5-27-allison-062[1] (1280x960)


Sally Skunk and her friend Hailey Hedgehog: In the meadow

2014-5-27-allison-059[1] (1280x960)


Willy Whale and his buddy Olivia Octopus: In the ocean

2014-5-27-allison-058[1] (1280x960)


Carl Crab: Sunning himself on the beach

2014-5-27-allison-052[1] (1280x960) (1280x960)


Shirley Sheep: In the pasture

2014-5-27-allison-057[1] (1280x960) (1280x960)


Chissy Chick: Searching for grain.

2014-5-27-allison-055[1] (1280x960) (1280x960)

**************************************************************************************************

The Secret Revealed: The mystery has been solved. These animals (made by yours truly) are actually made of polymer clay and brushed with Mod Podge for shine and strengthening. The details (the black ones such as the eyes, but not things like the beak on the chick) were added with sharpie and, for the eyes of the sheep, panda, skunk, crab and penguin, a paint pen and sharpie were used. I also made the backgrounds that were in the pictures. A shallow cardboard box was divided into sections and made into different “habitats”.

***Allison***