The Art Lab, Episode 62: Inktober 2018

Hello, dears!

Welcome back to another Art Lab post! Today I’m going to be showing you my drawings for Inktober 2018. Inktober is a challenge to draw one pen or ink drawing each day for the month of October. You’re supposed to follow the “official prompts” which I’ll show you in a bit, and then share your art with others.

I’ve never done this challenge before, although I’d heard of it, but one of my lovely readers asked if I was doing it, so I decided to try it! I’m glad I did. 😀 Even though I didn’t strictly follow the rules (it was close to the middle of October before I had time to start), I did use all the prompts and drew something every day when possible. 🙂 Continue reading

Various Artsy Things

featured image 8

Hello, dears!

Since I haven’t made a recent art post in a long time, I have quite a bit to show you today, including the remaining pages of an old sketchbook and the beginnings of a new one, decorated envelopes, and hand lettered quotes. Enjoy browsing through the drawings! 🙂

First we have the few remaining pages of my old sketchbook. I made these doodly mushrooms with the Micron pens I got for Christmas (see my mini review here), which are so fun to draw with!

art 2

This was a concept for Art Lab which I decided not to use after all. I watercolored the background, folded it down and smoothed it to make a mirror image, and then added the details.

art 3

This is NOT my usual style, but maybe I don’t have a style – I love all kinds. 🙂

art 4

I draw mandalas a lot because they’re just so pretty and I love circles. 😀 This was ALSO a plan/sketch/concept for the next piece of art..

art 5

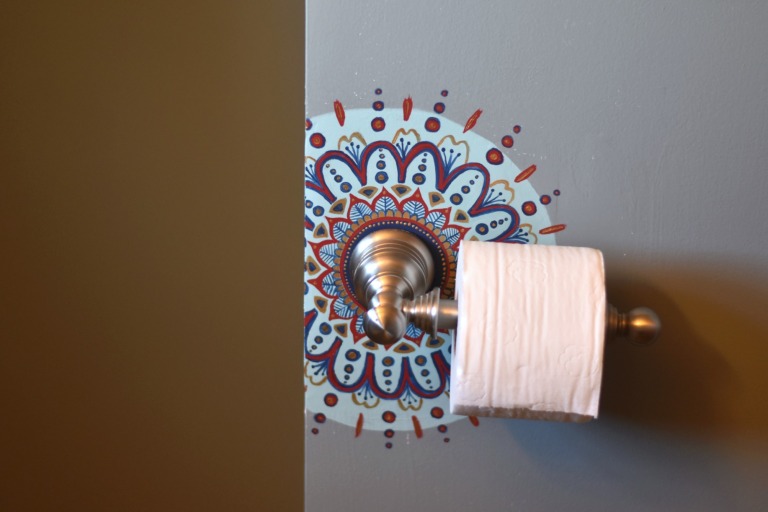
Hee hee, I’ve never done this before. The wall was rather rough and ugly behind the toilet paper holder, and since we didn’t have the wall paint color with which to cover the fresh plaster, Mom asked me to paint a design onto it. It took a while, but I’m pretty pleased with the result, even if it is a little weird. XD (Also it’s painted on a corner, which is why the picture looks cut in half.)
art 27

Goodness, most of these pieces are actually plans for something else! XD I might actually like this sketch better than the finished piece, unfortunately.

art 6

And now we’re ready for my new sketchbook which I also got for Christmas! I got to draw the logo for Dad’s business card/website, which was pretty neat. These were just practices (AGAIN); I ended up mostly tracing an edited picture to get the desired effect. Oh well, I kind of like the practices
art 8

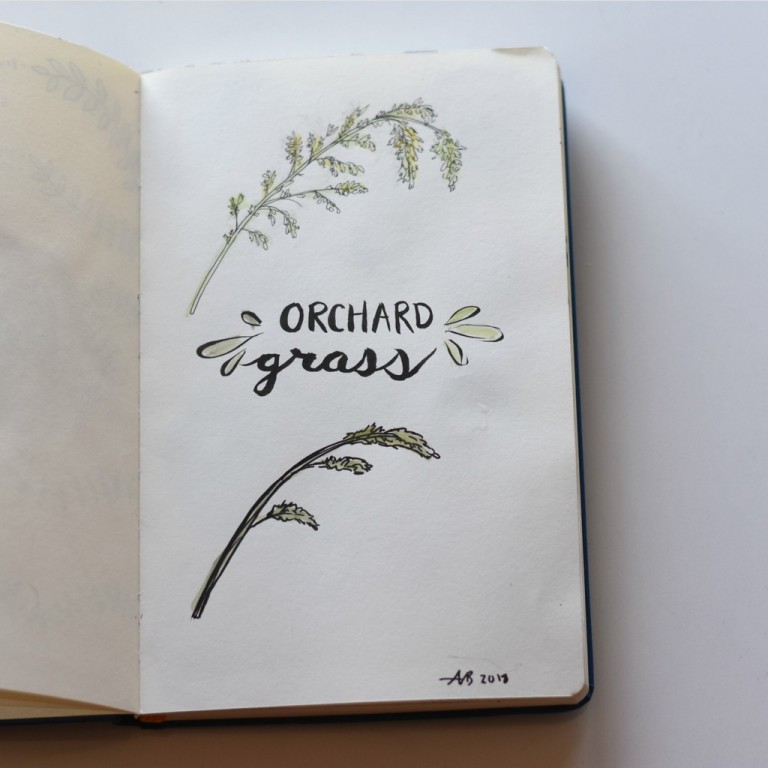
YAY, REAL ART. I was inspired by the first mushroom picture as well as the illustrations in a beautiful set of books (which I also got for Christmas). I think it turned out pretty cute, although I’m not normally a fan of earthy color schemes.

art 9

On the left we have the picture I drew for this Art Lab episode, and on the right we have a few lonely-looking watercolor bubbles.

art 10

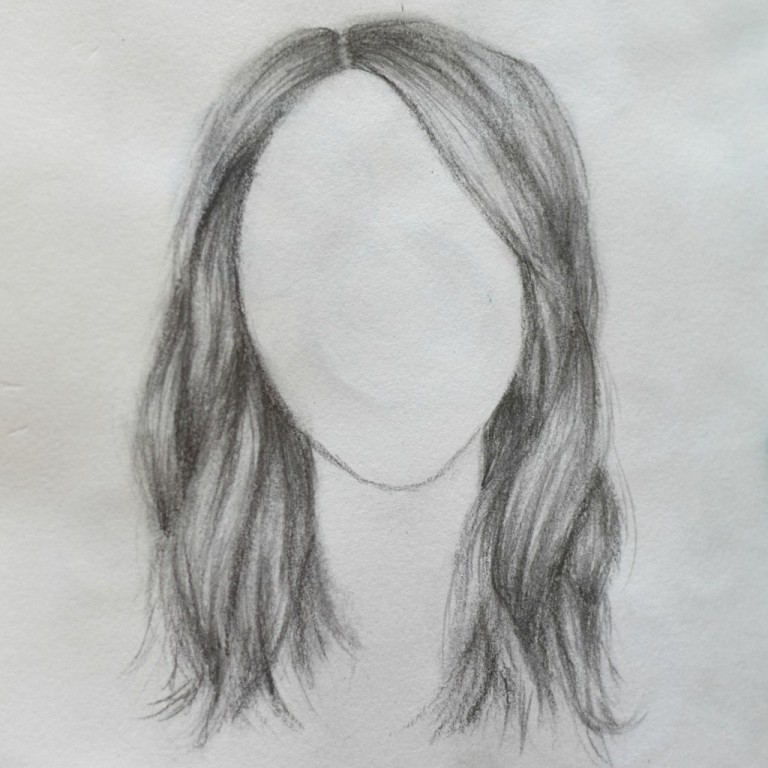
Guys, I am not good at drawing hair. I can draw eyes and most of the rest of the face okay, but the hair is always pretty boring and lackluster. Therefore I attempted to improve my skills with this great video, and I think I did… but they still need improvement. XD That’s okay, I’ll get there eventually. If I keep working on it, that is.
art 11

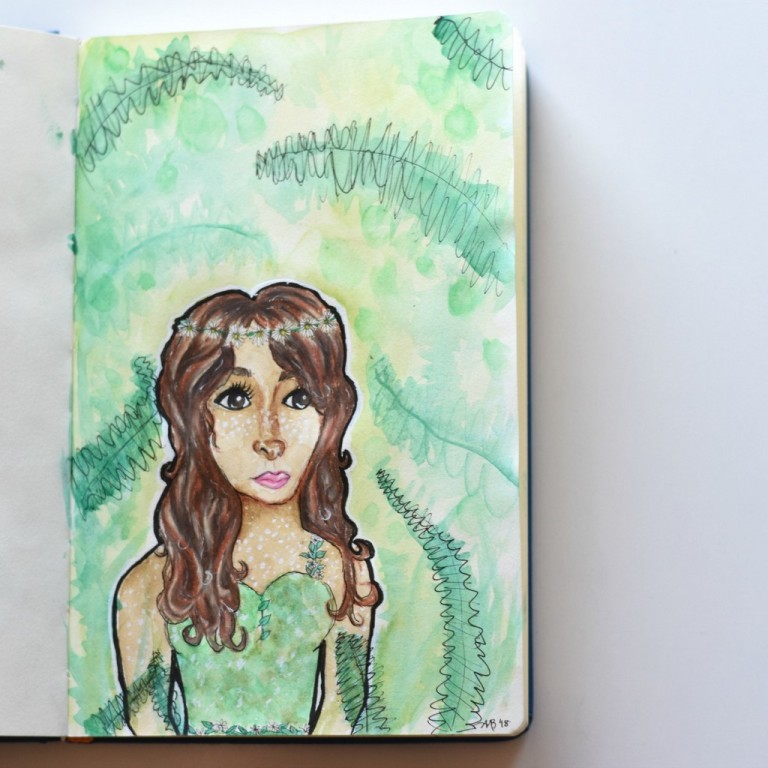
And here is the finished piece of the pencil-sketched girl I showed you a while ago. The idea was to make a girl who looks like a fawn without actually using any non-human features like deer-ears or antlers. It didn’t really work. XD The face got kind of skewed and I rushed the background which didn’t turn out well, but everything else is… tolerable. If you cover up her mouth she looks better. 😛

(By the way, that’s a great drawing tip: if you’re drawing something (particularly a face), covering up parts of the picture helps you see which feature is throwing everything off. I think it’s the mouth and chin here.)
art 1

Megan requested this camera for a blog project (picture by Megan). I rather like it because it’s PURPLE and it’s A CAMERA. 😀

art 14

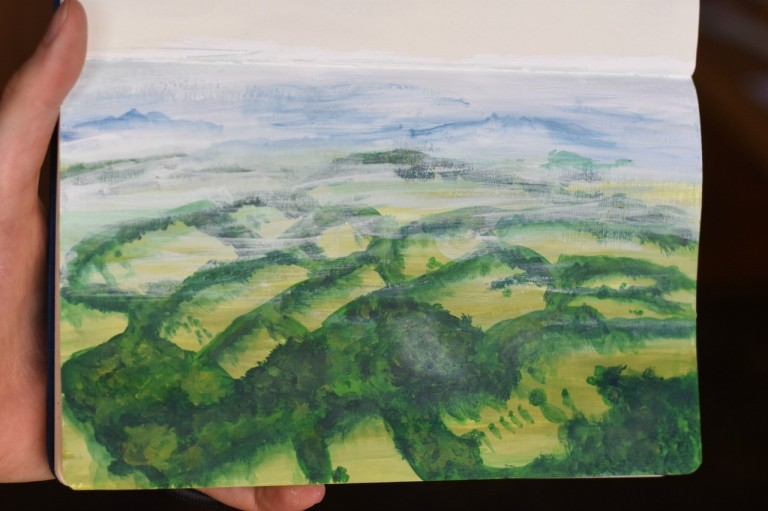
I drew this from a gorgeous aerial view of Ashdown Forest, the inspiration for The Hundred Acre Woods. The photo was prettier. XD
art 12

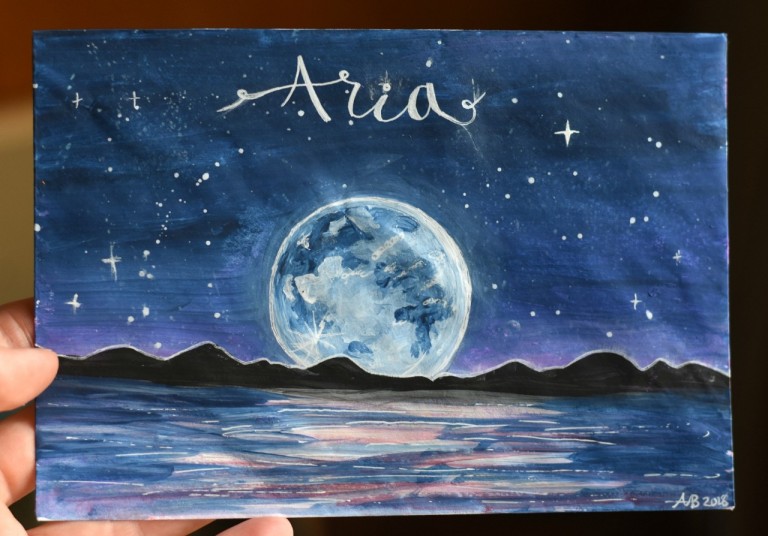
We have now come to the end of the sketchbooks so far, and will turn to various other artworks. First, envelopes. I absolutely LOVE decorating envelopes for my pen pals, and I think I prefer the recent envelope art I made to the stuff in the sketchbook.

Ooh, this is one of my favorites! Adding touches with the white gel pen really helped bring the scene together.
art 13

I was trying to decide how to decorate this envelope when I saw the pretty pattern on my Chemistry notebook and decided to use it as inspiration. What do you know, something nice can come of even Chemistry. XD

art 28

I made this envelope after reading The Laws Guide to Nature Drawing and Journaling, which has some great art tips and tutorials in it! (For instance: did you know that the three primary colors are not red, blue, and yellow, but magenta, cyan, and yellow?! I was astonished! But he showed and explained how it makes perfect sense.) I think it’s neat how a few pen lines can transform some abstract watercolor blobs into a landscape.

art 17

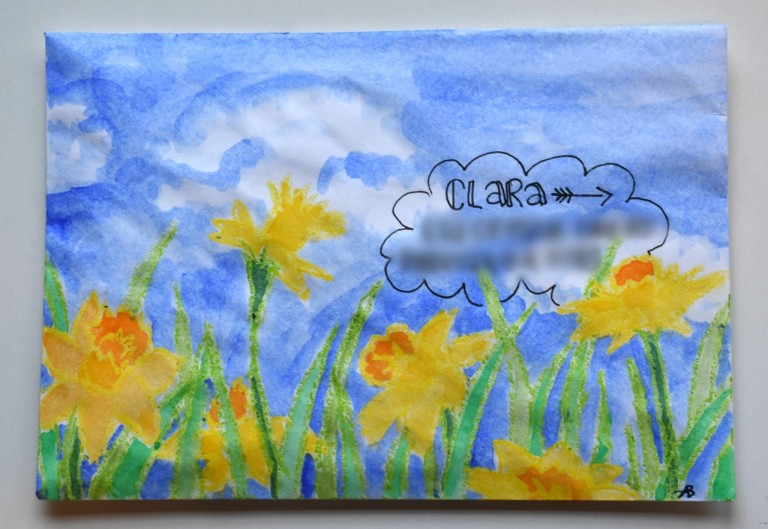
I outlined the daffodils with some lovely oil pastels my dear friend sent me, and then used the watercolor resist technique to fill them in. The colors are so bright and cheery, aren’t they? That’s why I love daffodils. 🙂
art 22

Ooh yes, another one of my favorites! ❤ I like the bright, summery colors and almost vintage-poster-like quality the sun rays give it.

art 18

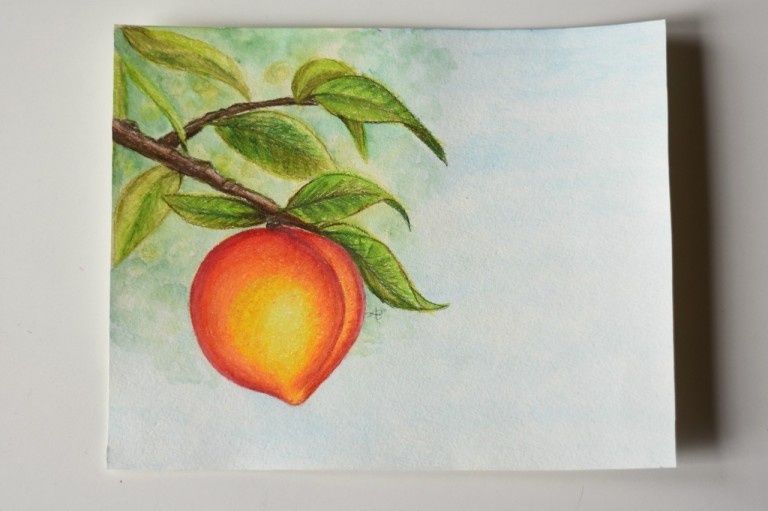
My mom liked the envelope so much that she wanted me to make a real picture to frame, so I did!
art 15

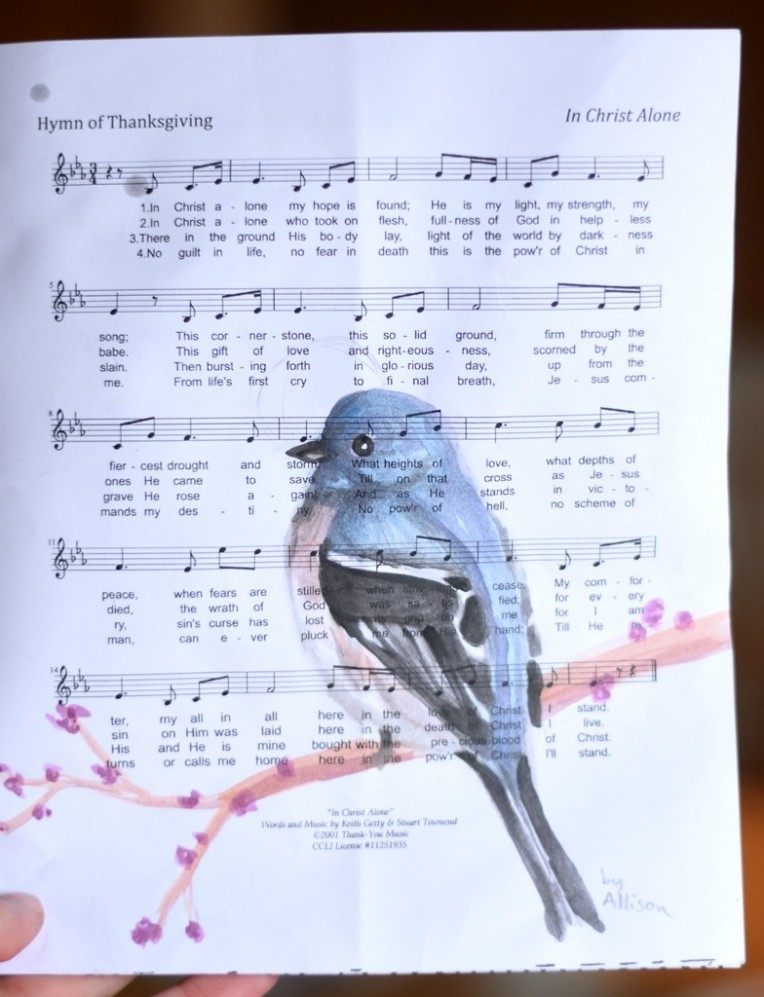
Okay, this is kind of strange, but Megan wanted me to draw on a church bulletin for one of her friends (don’t ask XD). I believe Megan took these three pictures. I like how the music notes show through the watercolor in this one. 🙂
art 23

This, um, didn’t work TOO well because I didn’t have enough time to finish the faces (particularly Megan’s on the right :[] )… but it was a good challenge to try, anyway.

art 24

I like this one better. 😉 Our friend loves snakes, so I drew this one, also loosely from the Nature Journaling book.

art 25

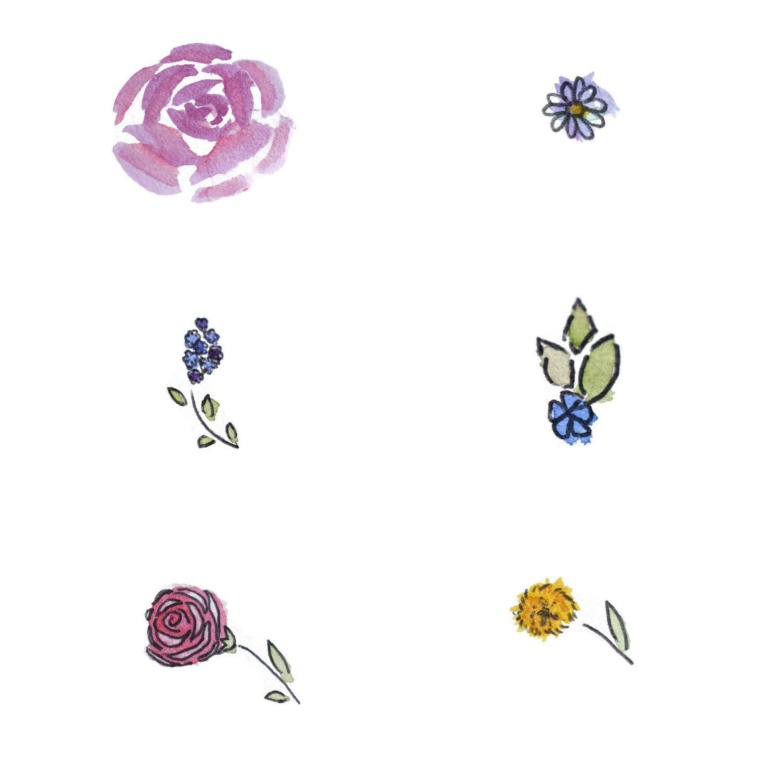
I made the following art for the most recent edition of Christ’s Light Magazine. 🙂
art 26

DSC_3702 (2)

DSC_3704

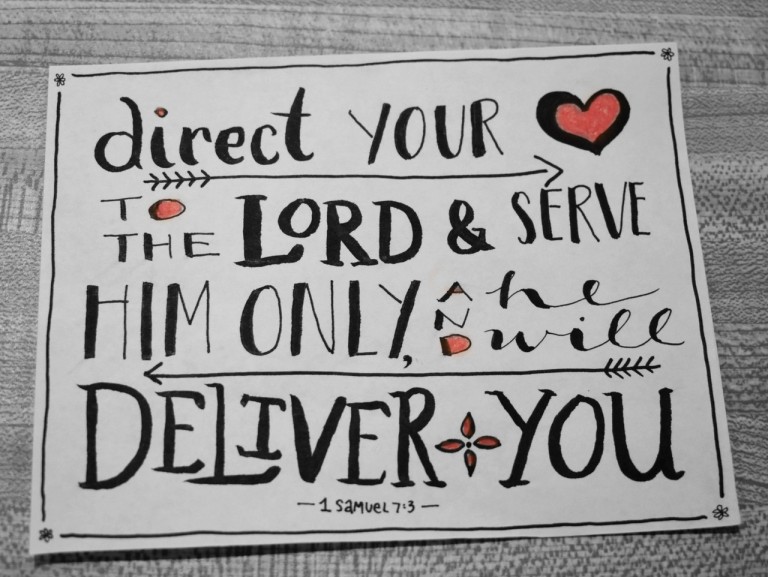
Here are a few more quotes I copied, for my pen pals. (The next few pictures are black and white because I took them in a rush and the lighting was HORRIBLE. XD)

art 19art 20art 21

And last but not least…

art 16

And that’s all for now! Which piece of art was your favorite? Which do you prefer making: sketchbook art, envelope art, or hand lettering?

Thanks for reading, dears, and have a lovely day!

***Allison***

P. S. Also in case you’re wondering, I’m planning the post about the old letter next! I would have done it this time, but it’s taking a loooong time to translate. XD Stay tuned!
CPC #4: ~ t h e c l o u d j o u r n a l ~

Heyyy, guys! I’m back with another CPC entry for Carol‘s writing challenge! I actually spent a rather long time on this (especially on the art and such) because I was determined to earn a lot of points for my team this time. XD SO YOU GUYS BETTER LIKE IT. Juuuust kidding. I do hope you enjoy, though! 🙂

Prompts used: 2

Photos submitted: 12

Art submitted: 6

Total points: 39

Callie’s Cloud Journal

CPC 5 (1280x869)

Purpose: To record my cloud dreaming, for further analyzation in case I’m a famous scientist some day.

Materials: Pen and paper.

Hypothesis: You can do things two ways: the art way or the science way. I am a science child. Most of the time.

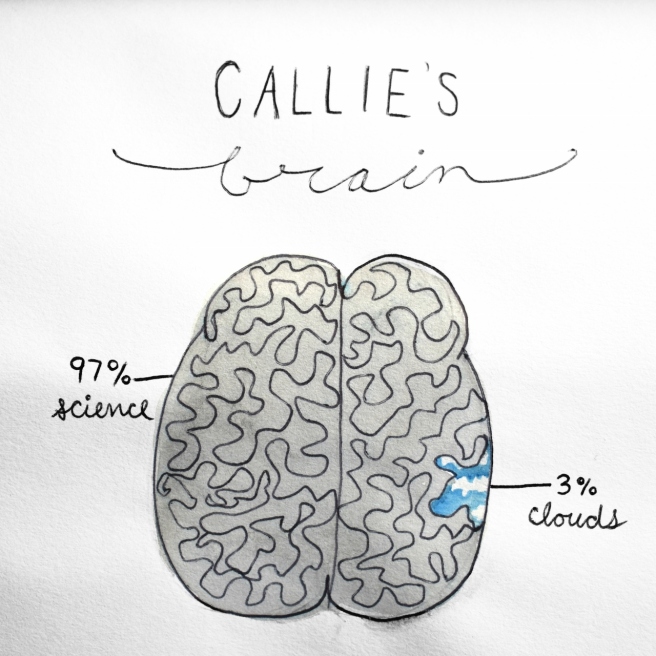
Data/Observations: I guess I should do a little introduction since this is an autobiography. You have probably already concluded two things from the data given: my name is Callie and I am a very scientifically-minded child. I have concluded that if I have a choice of doing something with the left side of my brain or the right side, approximately 97% of the time I will choose the left side.

CPC 7 (1280x1280)

Take baking for an example. Some people think of baking as a work of art: they can take a pinch of this and a dash of that and make a masterpiece. Art is not my strength. I excel in precision. I always weigh my ingredients to the tenth decimal place and make sure the cup of flour is perfectly level and the brownies are cut in exactly 2 inch by 2 inch squares. I follow instructions to the letter, and to the numbers and punctuation marks too.

CPC (4) (1280x853)

Perhaps you’re wondering where the other 3% of right-minded-ness comes from. Well, that’s the subject of this entry – this entire journal, in fact. This data is super secret – it may or may not make it into my actual autobiography when and if I publish it in the distant future. But I guess this paper won’t spill any secrets because it cannot speak. (I meant that as a joke, in case you were wondering. Sometimes people aren’t sure whether I’m joking or not because in addition to being a very scientifically-minded child, I am also very serious.)

CPC (6) (1280x853)

But back to the subject. Basically the only times I use my right brain for thinking involve clouds. I enjoy studying clouds – always have – but this is not studying. It is… well, daydreaming, as much as I hate to admit it.

CPC (1) (853x1280)

I close my eyes and focus on sending false messages to my mechanoreceptors. All I do is imagine what I wish clouds would feel like so hard and so long that my nerves are tricked, and when I stretch out my hand, I feel it. (Now, I know clouds are actually made of water droplets and that I have in reality felt them many times when I walk in fog, but I told you – this is the 3%. The other 97% of the time I send my brain such accurate information that it’s easily fooled for cloud dreaming.)

CPC 6 (1280x1066)

I have a list of ten different clouds I choose from. If I’m really angry I’ll go with stratus or nimbostratus, and occasionally I’ll choose cirrus, but my favorite is cumulus.

CPC (7) (1280x919)

Today I chose my favorite, Cloud Nine – a cumulus cloud tinged with lavender and coral pink. Cumulus clouds feel warm and silky soft and puffy, like sitting in a pile of memory foam covered with the fuzziest blanket ever, or on a giant, lightly toasted marshmallow without the stickiness.

CPC 13

What do I do on my cloud?

Related image
Prompt picture. (Not mine.)


I look out the window and observe. I take notes.

 Miles. 16. Wearing a completely black suit. Independent, entrepreneurial.

CPC 4 (853x1280)

Jayne. 15. Wearing a hot pink and cyan jumpsuit. Fashion-obsessed, talkative.

CPC 3 (853x1280)I have no facts, no data about the people I see, only observations and the hypotheses I come up with myself. It’s a good exercise, and sitting on clouds helps with it somehow. My theory is that after my brain gets started by imagining clouds, it’s easier to imagine how old a person is, what their name might be, etcetera. I’m not certain of this, though, and that’s another reason I want to start this journal.

CPC (9) (1280x853)

Today after I observed those two aforementioned people, I heard a sound so loud it nearly vibrated the fluid in my cochlea right out of my ear.

I looked out the window again and nearly fell off Cloud Nine. Miles had met Jayne and I watched as he pulled his own cloud out of his briefcase and was offering it to her.

CPC 1 (1280x853)

I’m serious. And the loud sound? It was Jayne shrieking. This was going to be interesting.

_____________________________________________

ISN’T THAT CLOUD SO CUTE? I’ll talk more about it in a minute, but hold on.

Anyway, heh heh, that was more of a character sketch than a short story – the plot never really got off the ground (pun intended). But it was quite interesting to write because Callie is basically the opposite of me in every way. I am definitely an art child, as you have probably picked up through my blog. 😉

Okay. Before you go, here are a few bonus pictures that I didn’t get to work into the story.

CPC (10) (1280x853)

Ugh this cloud painting didn’t exactly turn out how I imagined. I’ve never seen such strange, wobbly sun rays. Oh well… let’s call it artistic license. *Sigh* Except for that one pink “Cloud Nine” picture, I am terrible at drawing realistic clouds, so this was great practice!

CPC 12CPC (8) (1280x853)CPC (1280x853)

I got the gorgeous warm cumulus cloud pictures coming back from a vacation.

CPC (5) (1280x853)

And now for the fluzzy cloud. THIS LITTLE GUY IS WAY TOO CUTE. I simply bunched up a piece of felting wool in my hand, took these pictures, and then added the face on PicMonkey.

For some reason I LOVE IT. Also help, I need name suggestions. Yes I am going to name a blob of felting wool. I mean, I’m a teenage girl, what do you expect? 😛 XD

CPC 2 (986x986)

♥♥♥ SO. SQUISHY.

Well, I hope you enjoyed the story and the pictures and art, dears. 🙂 Oh, and if you’re interested in reading more of my CPC entries, you can see my first entry here and my 2nd and 3rd entries here, on my CWWC page. I didn’t make a separate post for the two on the page, but I’d love to hear what you think!

Do you have a favorite photo/piece of art? Are you a science child or an art child? Any name suggestions for Mr. Fluzzy? (Hey, there’s an idea…)

***Allison***

P. S. Tomorrow I will announce the winner of my giveaway! I’M SO EXCITED. Also I apologize for all the outbursts in this post. O.o Heh.

Happy Easter!

It’s Easter! For some people that means it’s time for egg hunts and chocolate candy, for some it means it’s time to devour a huge feast with family and friends, and for some, it is a time to remember the day we were set free. For some, it is a time to remember when Christ was crucified for our sake, how for us he bore the tremendous burden of all sin past, present, and future on himself. And that is no little thing!

If you’ve been a Christian for a while or all your life, truths like this can be far too easy to forget or push to the back of your mind. I know it’s that way for me. But every time I stop and think, really think, about what Easter means, it nearly makes my heart explode.

art 6 (1113x1280)

First of all, I can tend to brush it off and say, “Oh, Jesus was God, so how bad could it have been? And he knew he wouldn’t stay dead in the end, right? I mean, if I knew all that, I could probably do it.” But… nope. I couldn’t. Because even though Jesus was fully God, he was also fully man, something that our puny human selves just can’t get our minds around. That means that he felt every single thorn in his crown and every single nail in his body, and it hurt him just as much as it would hurt you or me. Death by crucifixion was the most terrible way to die there was. Jesus was beaten, stripped, scorned, mockingly “crowned” with a painful ring of thorns, and nailed to the cross. That’s the part that always gets me. I can’t even imagine how much it would hurt to have nails driven through your palms and feet, and then to have to hang there against the rough wood, hour after hour, barely able to breathe, while your blood and life just drain away… it’s terrible to think about anyone undergoing such treatment.

art 5 (1079x1280)

And even though Jesus did know that death couldn’t hold him, he still wasn’t looking forward to the ordeal of proving it. He prayed to God his Father and said, ““Father, if you are willing, remove this cup from me. Nevertheless, not my will, but yours, be done.” (Luke 22:43) Later it says, “And being in agony he prayed more earnestly; and his sweat became like great drops of blood falling down to the ground.” (Luke 22: 44) Isn’t that a terrible picture? It’s terrible to know what’s coming, and to know it isn’t good. You know when you have to take a test for school or something and you’re just so nervous? Jesus was about to take the hardest, most painful, most terrible test ever, and he wasn’t just nervous. The Bible says he was in agony.

art 3 (1280x853)

What makes it even worse is that Jesus didn’t have to do this at all. It would have been perfectly just and good to leave us to our sin and let us die a well-deserved death. But he didn’t! Think about it really hard: Jesus loved his creatures, his people so much that he was willing to go through all of that agony for them – even though they hated him!

At least it would have made a little more sense if the people who crucified Jesus had a reason to call him a criminal, but Jesus was no criminal. Since He was fully God, Jesus was perfect. He never made a mistake. Not even once! That’s another thing that’s almost impossible for us to completely understand. Well certainly he must have made one teeny tiny little mistake, right? Wrong. Jesus was perfect, and that means he didn’t mess up – ever.

Then why was he crucified? Because we are fallen creatures that can’t see our Savior when he stands before our eyes. We look at his face and we are afraid. Afraid and guilty and ashamed of our sin. We don’t want someone to tell us how sinful we are and to rule over us. We want to take care of ourselves and live our own lives how we please. So we kill him.

art 1 (1280x853)

Isn’t that terrible? I mean, think about it! It makes no sense at all – we as broken, sinful humans crucified the very one who came to save us from that brokenness and sin. But it’s true.

That just makes it all the more wonderful. If you met people who hated you with every ounce of their strength, who flogged you and beat you and wanted nothing more than to get rid of you in the most torturous way possible, would you want to voluntarily die for them so they wouldn’t have to pay the price of their sin and die a terrible death themselves? I, for one, would never do that. But Jesus did! He died for the worst of sinners, he died for the people who were killing him!

art 4 (1280x853)

But, of course, that isn’t the end of the story. Jesus didn’t just die for us, he rose for us too. Jesus is the only one who can conquer death itself. I love the part about the resurrection. When Jesus’ disciples see the stone rolled away and the linen wrappings left by themselves inside the tomb, what a shock that must have been! Had someone stolen their beloved Teacher’s body? But the stone sealing up the tomb was so heavy, and there were two guards in front of it. What were the other options?

And then, when they saw Jesus, how amazing would that have been? If you think about it from their perspective, you can understand why they could hardly believe their eyes at first. I mean, here’s this wonderful man that you love so much, dead. Gone. Sealed inside a tomb. Then one day he appears in front of you, inside a locked room! No wonder the apostles thought they saw a ghost at first. Can you imagine how deliriously happy they must have been when he showed them the nail marks in his hands and feet, and they realize that it wasn’t a ghost but their beloved Teacher, risen from the dead?

art 2 (1280x853)

And that is the Easter story. Jesus died for the criminals that hung beside him on their two crosses, and he died for us, his people, and not only that, but he rose again. I know many of you have heard that phrase “He died for us” over and over and over again until all the life has worn out of it. But don’t let that happen! That truth, that fundamental truth of the Christian faith, that is what sets us free. It is what gives us hope. It is the most amazing thing you will ever hear, and I pray that you and I will remember it this Easter. ♥

***Allison***

More Art :)

Halloo, my friends! I’ve been drawing a lot lately, so I decided to show you what I’ve been working on…

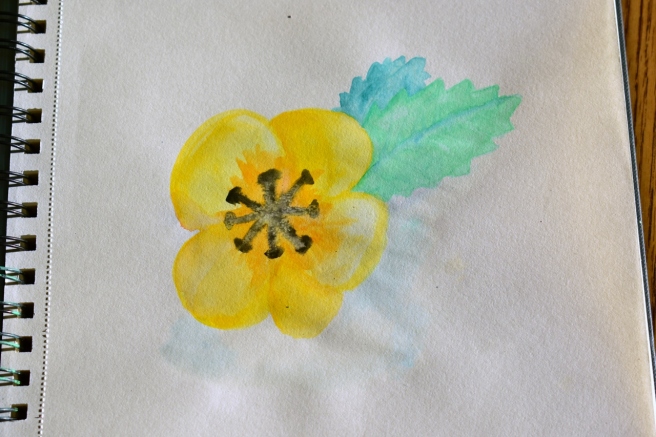
Like a random watercolor flower. XD

DSC_1417 (1280x853)

I’m kinda proud of this quote because it took me like ten tries to get the lettering right. XD Well actually it isn’t really a quote because I made it up, but you know… 😛

DSC_1421 (1280x853)

Hee hee! Isn’t this one funny? I made it for an Art Class assignment – art inspired by your favorite smell.

DSC_1424 (1280x853)

A not too interesting but pretty landscape…

DSC_1426 (1280x853)

Ugh, the sun was a bit harsh so there are way too many shadows on this picture, but oh well. This is a mixed media piece with tissues for the curtains and rug ( XD ), piano book pages for the sun rays, scrapbook paper for the bedcovers, and duct tape for the window. The rest is just drawing or watercolor.

DSC_1433 (1280x853)

Another art assignment. 🙂 (Actually a lot of these are art assignments.) We were supposed to do Pop Art, so I did a gummy bear because we were eating them in class anyway. XD

DSC_1435 (1280x853)

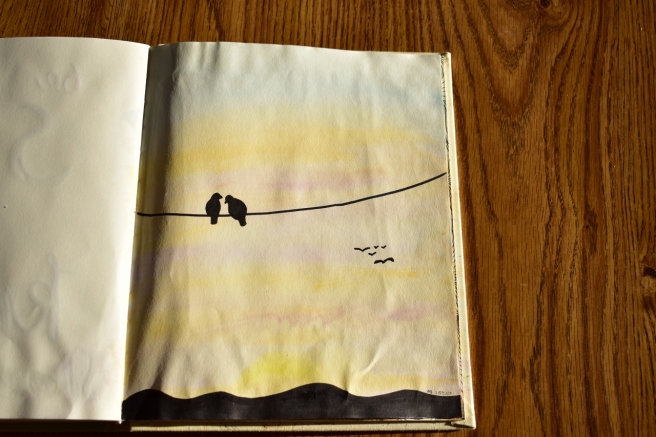
Random birds on a wire. 🙂

DSC_1439 (1280x853)

Ooh, this is one of my favorites! I really like how the pattern turned out 3-D-ish.

DSC_1442 (1280x853)

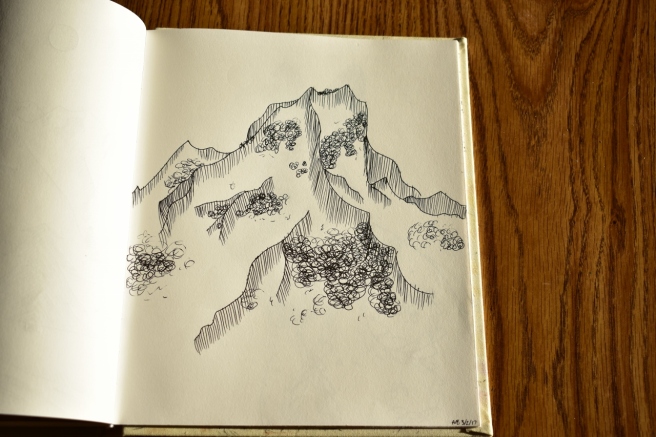
For some reason I felt like drawing mountains…

DSC_1443 (1280x853)

And more mountains…

DSC_1445 (1280x853)

I don’t really know why I drew this… XD

DSC_1450 (1280x853)

This was a “Forced Perspective” piece for art class.

DSC_1455 (1280x853)
Excuse my fingers. 😛

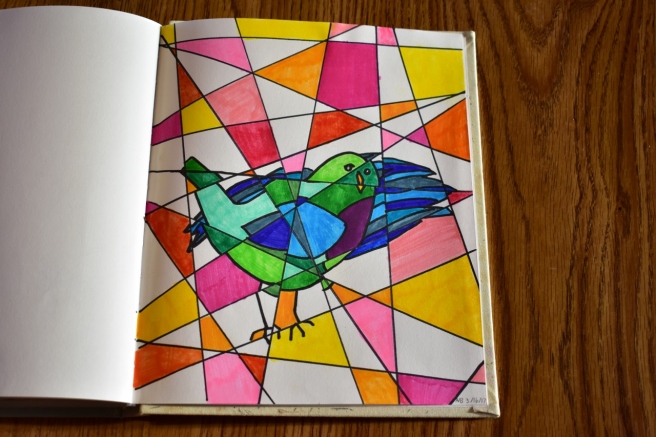
Weird cubism bird…

DSC_1456 (1280x853)


I decided to include this even though I already posted about here for Art Lab. 😉 I think this is one of my favorite pieces of art I’ve ever done!

DSC_1459 (1280x853)

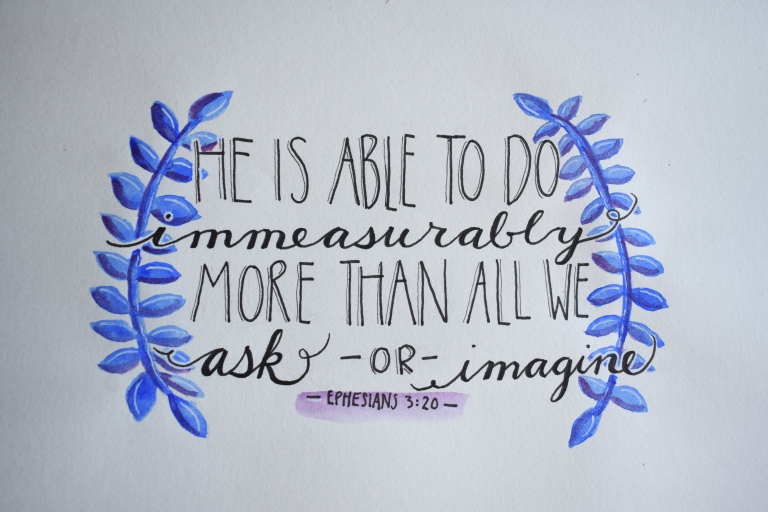
Yikes, this is a terrible picture! Oh well, you get the point. I did a mixed media quote/hymn thingy. 🙂 I used tissue paper, book pages, buttons, paint, and even paper clips and corn kernels to make the flowers and leaves! XD

DSC_1474 (1280x1259)

I felt like drawing a girl. Not much other explanation. XD

DSC_1460 (1280x960)

This is another of my very favorites! I really like the Zentangle/doodle type of art.

DSC_1461 (853x1280)

It’s kind of hard to take a picture of the whole thing, so here’s just the head so you can see it a bit better. 🙂

DSC_1463 (1280x853)
One reason why I like this so much is because it took FOREVER to make. XD Especially the mane – I made a herringbone pattern with a super fine-tip pen. It was fun, but quite time consuming. XD

Which do you see first, a face or two trees and a moon?

DSC_1472 (1280x853)

I got inspiration from Pinterest for this one (and for some of these other art pieces too). I like how it turned out!

DSC_1449 (1280x853)

That was fun. 🙂 As you can see, I rather like art! Do you? Which of those pictures was your favorite? What is your favorite art medium to use?

***Allison***

The Art Lab, Episode 23: How to Draw a Realistic Eye

I am so excited to show you guys this episode of Art Lab! As you may know, I absolutely love drawing and photographing eyes, so I thought this would be a fun post to do. 🙂

Art Inspiration:

The inspiration for today is this amazing tutorial (also shown below). The end result seriously looks like a photo, doesn’t it?

The reflection is what I have trouble with...:

AHHHH, I love it! Mine looks more like a drawing and less like a photo, but I’m still quite pleased with how it turned out. 😀

DSC_0627 (800x533).jpg

It was sooo much fun to draw! Today I’m going to show you a few tips and tricks I’ve learned from this and other tutorials and help you avoid some common mistakes. Now I am NOT saying I don’t make mistakes, because I do, and plenty of ’em! When you make a mistake you can’t fix, sometimes you just have to figure out what went wrong and start over. I know you’ve heard this about 2 billion times in your life, but seriously: if you want to get good at something, art included, just keep practicing! Sometimes you have to fail once or several times before you succeed.

Mistake #1: Eyelashes

Eyelashes can be incredibly hard to draw, am I right? They give me a lot of trouble sometimes. But here are some things to keep in mind that might help.

  • Most people’s eyelashes are not perfectly straight and thick like American Girl Doll eyelashes. It’s a sad fact of life, my friends. (Actually, maybe not so sad – that would be kind of creepy. XD ) Look in the mirror: eyelashes cross over each other and are often bunched together in little clusters.eye 11 (1280x853)
  • Lashes aren’t as thick and dark at the top as at the bottom. Press your pencil down hard when you start at the base of the eyelash and not as much as you curve the line upwards.
  • Peoples’ bottom set of eyelashes can actually be pretty long (or not, depending on the person). Draw them lighter and more sparsely than the top set. And again, they aren’t perfectly straight and thick. I think eyelashes in the bottom set cross over each other especially much. (Look at the “Art Inspiration” at the beginning of this post for an example.)

Mistake #2: The White of the Eye

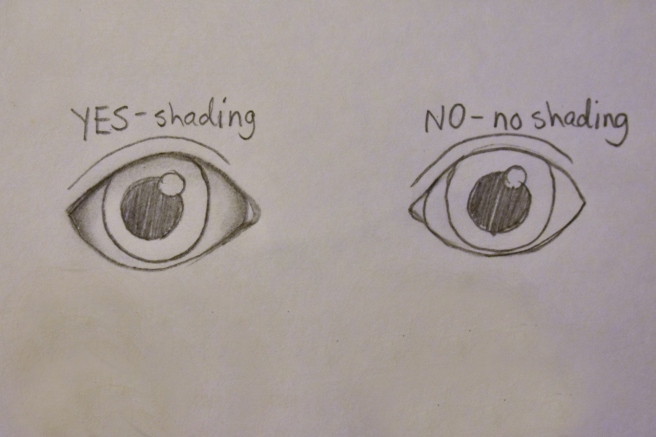
Often people leave the white of the eye just that – blank white. But the truth is, your eyelid and eyelashes cast shadows on it, so it’s not perfectly white. Shade and smudge around the inner edges of your eye to make it really pop.

eye 12 (1280x853)

Now that you know what to avoid, I wanted to do a little tutorial for you guys. I already showed you the super amazing, super realistic tutorial for the art inspiration, but it was a bit hard to follow, wasn’t it? This tutorial should be easier to follow, even if it’s not as amazing. 😉

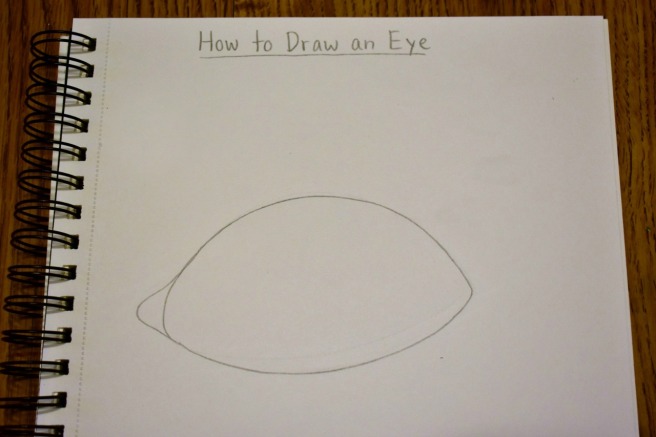
Step 1: Draw the shape of the eye. It’s a rounded almond shape, wider or thinner depending on the person. Don’t forget to add a rounded triangle thingy for the tear duct.

1

Step 2: Draw the iris, pupil, and highlight. (I just did a simple circle highlight for this tutorial.) Don’t draw the iris as a complete circle because you can’t see the whole iris in real life unless you’re opening your eye really wide. Sketch out the pupil until you find a satisfactory size – a too-small pupil can end up looking kind of weird.

Now add a curved line for the eyelid on top and another curved line at the bottom.

3

Step 3: Every person’s iris is different, but for this tutorial I went with sort of a starburst pattern. It’s okay if it isn’t perfect because it’s not always perfect in real life! Add a bunch of irregular dark lines coming out from the pupil.

5

Step 4: Color in the pupil the darkest you can and try to pull out the dark pigment into those lines surrounding it.

6

Step 5: Ooh, this is an exciting step! Finish the iris by adding more dark, inward pointing lines around the outside of the iris. Shade the top of the iris darker – remember those shadows! I smudged the pencil a bit in the middle of the iris where the starburst was to blend everything together.

7

Step 6: Woohoo, looking good! See what a difference those shadows make? Shade the top of the eye, the corners of the eye, and the tear duct. Smudge the pencil with your fingers to smooth out the shading.

eye 8 (1280x853)

Step 7: Add the eyelashes, and ta-daa! For extra credit and realism, you can shade the skin around the eye too, which I didn’t show here. (Note: Oops, the eyelashes didn’t turn out as well as I had hoped. I think I should have made them darker, longer, but not as close together. Remember what I was saying about making mistakes? Heh heh. XD Oh well, better luck next time!)

9

And there you have it! I hope this post was helpful to all you wonderful artists out there. 🙂 Do you have any tips for drawing eyes to share with me and the other readers?

Happy drawing! 😀

***Allison***

P. S. If you want to see another fun tutorial for drawing eyes, be sure to check out Anika’s post here! Her tutorial is super easy to follow (unlike mine maybe, heh heh) and shows you how to draw pretty, colorful eyes with pen and watercolors. I especially love all the expressions she did with the eyes at the end. XD 😀


Art Lab, Episode 19: Galaxy Art

galaxy-art-800x800

Hi, guys! Welcome back to Art Lab.

I’m so excited for today’s “art lesson” on how to draw galaxies! I learned this from the lovely video down below which was made by a teenage artist named Sydney Nielsen. She is super good at drawing!

Art Inspiration:

Ahh, so pretty. 🙂 I decided to use a slightly different technique but with the same idea for today’s art.

I started with a black paper, so it would blend in with the rest of the drawing better, but you could definitely use white if you want. I also wanted to try using oil pastels instead of colored pencils, and it turned out very well! So just a note: whenever I say “oil pastels” in this tutorial, you can also use colored pencils like she showed in the video.

Let’s get started!

You will need the following:

  • paper, blank envelope, or ATC
  • oil pastels (or colored pencils – the higher quality ones like Prismacolor work best for blending)
  • white acrylic paint
  • paintbrush
  • white gel pen (optional)

1. Like the video showed, I started with light colors and gradually blended in the darker shades. I used the pink and blue combination because 1.) it looked so pretty when Sydney used them and 2.) there were several shades of each in my oil pastel box. XD

galaxy-1-1280x854
Blech, what terrible picture quality. XD

galaxy-2-1280x854

2. Next I drew in the white sparkle stars. I think this is what makes the piece really special and space-y. 🙂

galaxy-3-1280x854

3. Almost done! Just need to finish the stars yet. Get out your white acrylic paint and start splattering. It works best to get your brush a little wet before splattering the paint, but you don’t have to. Do NOT do this step on your mom’s favorite fuzzy rug or in your best Sunday clothes. Trust me, that will not end well. XD
If you want, add a few more sparkle stars with a white gel pen. I like to do this because they stand out more than the pastel or colored pencil stars do. And you’re done!

galaxy-4-1280x854

Isn’t it pretty?
I hope you enjoyed this episode of Art Lab, dear readers. 😀 Have fun! And like always, if you make some art inspired by this post and would like to share it with us, we’d be delighted to see it! Get the details on how to send to us here, over at The Art Lab blog.

***Allison***