The “Favorite Meals” Planner

Sounds exciting, right?  A meal planner!  Wahoo!  Ok, maybe not so much.  But this isn’t just your ordinary meal planner, it’s a way to keep track of your family’s favorite recipes, see how you modified the recipe, where it came from, and more, all at a glance.  Let’s take a looksee, shall we?

DSCN7580

Let’s use the chocolate pudding page for an example.  (The pudding is delicious, by the way!)  At the top we have the title of the recipe, then we have a dot with the category of the recipe (whether it is a main dish, side, dessert, etc.).  The little book symbol shows where to find the actual recipe, whether it’s from your stash of 50 cookbooks, or collected from the internet.  The little hearts show you how much your family likes the recipe – a little or a lot!  My family rated the chocolate pudding 5 stars, er hearts.  I told you it was good!  The little wavy line underneath the hearts is where you’re supposed to write the date you first made it, but, uh, I couldn’t remember, so I just wrote a little wavy line. 🙂  Next we come to the notes section.  This is where you write down any changes you made to the recipe, the best way to serve it, etc.  And we’re finished with the tour!  Here’s an example page just in case you didn’t catch everything.

DSCN7581

Happy planning!

***Allison***

A Few Tidbits

This is a random post of pictures of lots of little things that aren’t hardly big enough for their own post, but are not small enough to be left out.  They are gathered here today for your viewing pleasure.

*************************************************************************************************************

This is a picture I took awhile ago of the beautifully straight rows of soybeans in one of our fields.  I’m sure it looks quite different now!

-Allison(fourth of July) 004

Here is a fun little rock that looks like it has a “b” on it.

-Allison(fourth of July) 003

A cute tiny froggie:

-Allison(fourth of July) 020

A little village made from rambutan shells – rambutans are a fruit that our friends introduced us too, with soft but spiky-looking shells and a soft sweet fruit in the middle.

-Allison(fourth of July) 036

The chief’s house:

-Allison(fourth of July) 037

We picked a bunch of apples today to make applesauce with (YUM!) and they all looked so pretty laid out on the ground.  I like this smaller photo because it shows the interesting texture better.

DSCN0132

And here is a flip-flop makeover – I drew a pretty design on the straps with Sharpie.  Simple, effective, but it took a long time!

DSCN0104

********************************************************************************

Have a nice one!  (And by the way, the next post will reveal the mystery, so you better guess quick if you want to guess at all!)

***Allison***

Mystery Revealed!

Here we go!  The top pictures are the close-ups, and the bottom ones are the, um, far-aways?  And below that is who commented with a correct guess.

#1

-Allison (close-ups) 008

Solution: cooked green peas

-Allison (close-ups) 007

#2

-Allison (close-ups) 004 - Copy

Solution: black raspberry

-Allison (close-ups) 004

clarascraftcorner.wordpress.com guessed #1 correctly as “a green pea,” and #2 correctly as “a raspberry.”

happyhouseofag.wordpress.com also guessed both #1 and #2 correctly as “a pea” and “a raspberry.”

asnapaday2015.wordpress.com guessed just #2 correctly as “raspberry.”

Click on the link to go to their respective blogs.  Thanks for guessing!

***Allison***

Fried Bananas & Chocolate Pudding – Yum!

I know it may sound a little weird, but you can actually fry bananas!  (And yes, they are delicious.)  You can find the recipe here, but here are a few things I did differently:

1.  I used a griddle instead of a skillet which makes the bananas easier to flip.  (That was actually my mom’s idea!)

2.  I used coconut oil instead of pan spray.

3.  I served them with homemade chocolate pudding! (recipe here)  This pudding recipe is also delicious. It says to make it in the microwave, but I have also made it on the stove and it worked just fine.

-Allison (crochet lesson 2) 029

-Allison (crochet lesson 2) 032

-Allison (crochet lesson 2) 037

-Allison (crochet lesson 2) 038

Happy cooking!

***Allison***

Making Maple Syrup

Yes, we made maple syrup – almost three gallons of it, in fact!  That’s one good thing about winter – it’s the time to make maple syrup!  You have to have below freezing nights and above freezing days to get the sap running.  Another reason you can’t make it in spring is because the tree buds make the syrup taste weird — believe me, we’ve tried it.

This year we made two batches in February and one in March, and I am proud to say we didn’t burn any of it! (We weren’t that lucky last year.)

If you’re wondering what it’s like to make maple syrup, read on!

***************************************************

Maple syrup starts as sap inside maple trees.  The sap tastes like water, only faintly sweet.  It’s hard to imagine how thick and sweet the sap will get when you taste it in the beginning!  Even though it basically tastes like water, it’s still really good and it is quite refreshing.  My sister Megan agrees:

-Allison (maple syrup 006 (1280x960)

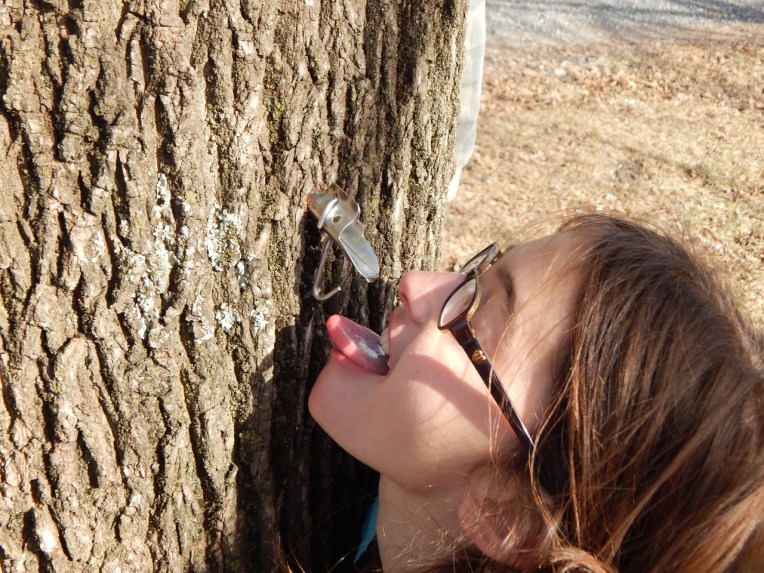
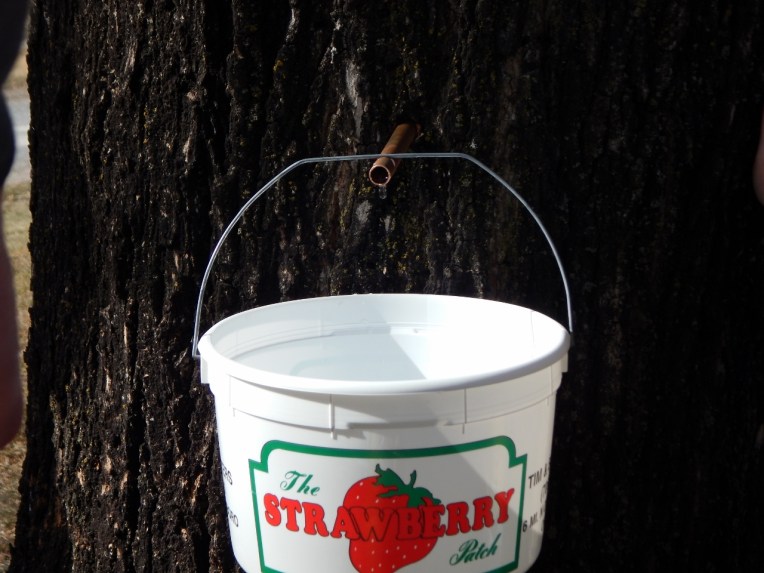
To get the sap out of the tree, you drill a hole into the wood so the sap can run out.

-Allison (maple syrup 001 (1280x960)

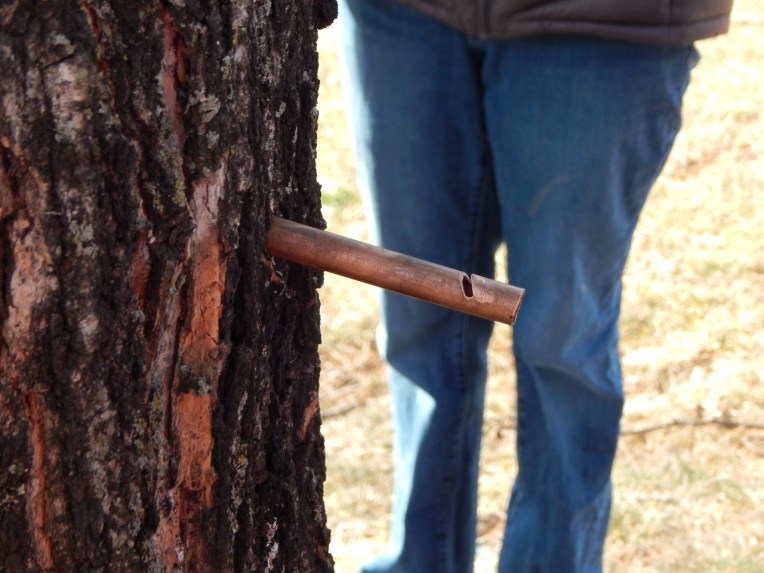
Since you can’t attach buckets to a hole, you use either a really-truly-genuine maple syrup spout or make your own.  We did both.  The spout that Megan is drinking out of in the first picture is store bought, and the one in the picture below is a copper tube spout my dad made.

Hammer the spout into the hole you just drilled.

-Allison (maple syrup 004 (1280x960)

-Allison (maple syrup 005 (1280x960)

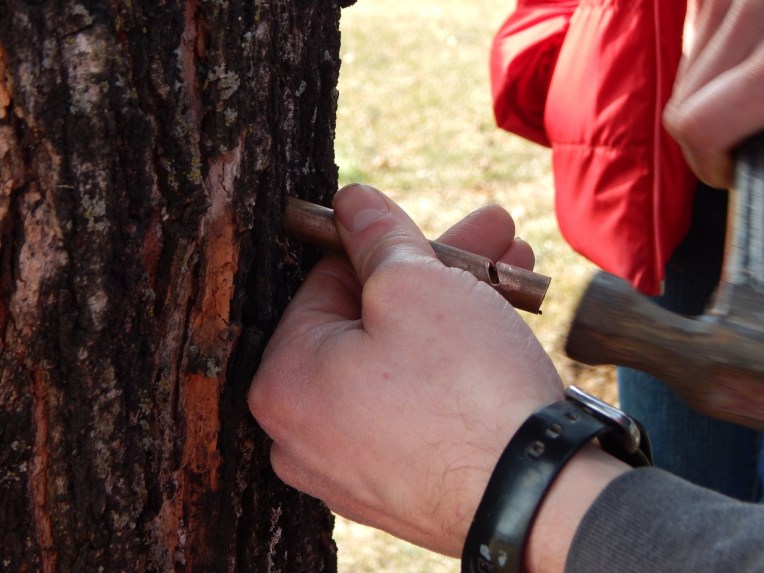
Attach the bucket quickly, before the sap runs out the spout!

-Allison (maple syrup 002 (1280x960)

-Allison (maple syrup 003 (1280x960)

Now just repeat the process about fifteen more times!  We used seventeen buckets and tapped seven trees (you can put more than one bucket per tree depending on the size of the tree).  After you have tapped all the trees, you wait.  And wait… until…  Yes!  Finally the buckets are full!  You drag out a couple five-gallon buckets for the sap.  Put a cloth over a bucket to strain the dirt out, and pour in the sap.  Even though the sap doesn’t taste very sweet, it sure makes the buckets sticky!  Now is the time to pull out that old, 40-gallon copper kettle and clean it up.  Hang it between two barrels and build a fire under it.  Be sure to put a fire ring or a ring of metal around the kettle to hold the heat in and help the fire reach the sides of the kettle.

-Allison (maple syrup 008 (1280x960)

-Allison (maple syrup 017 (1280x960)

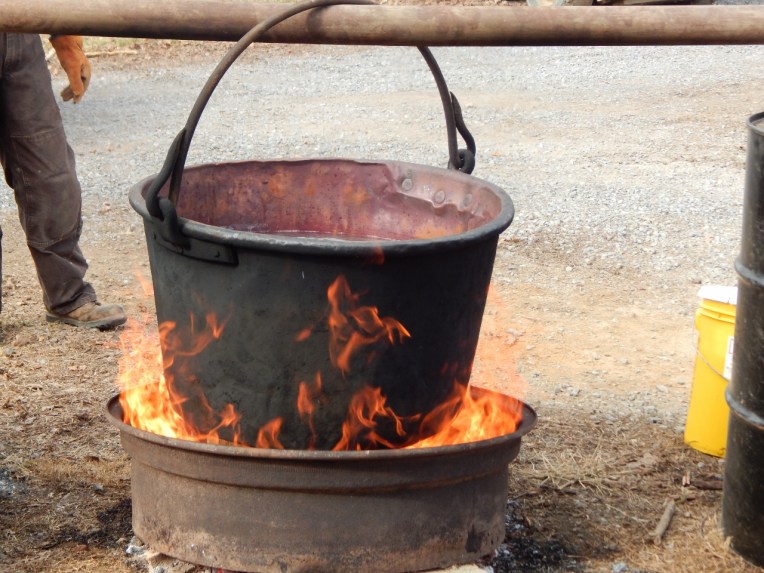
Pour in the sap and let her cook!

-Allison (maple syrup 019 (1280x960)

By cooking the sap you are making the plain ‘ol water evaporate and leaving the sweet stuff behind. It will take several hours for the stuff to cook down (*yawn*), so bring a book or two. You can’t just go off and mind your own business though, no sirree, you have to stay by that fire and feed it, oh, maybe every 5 minutes. The fire is awfully hungry, so you have to cut up a bunch of old pallets to help the fire grow and become strong and healthy – and capable of boiling down that sap as fast as possible.

-Allison (maple syrup 020 (1280x960)

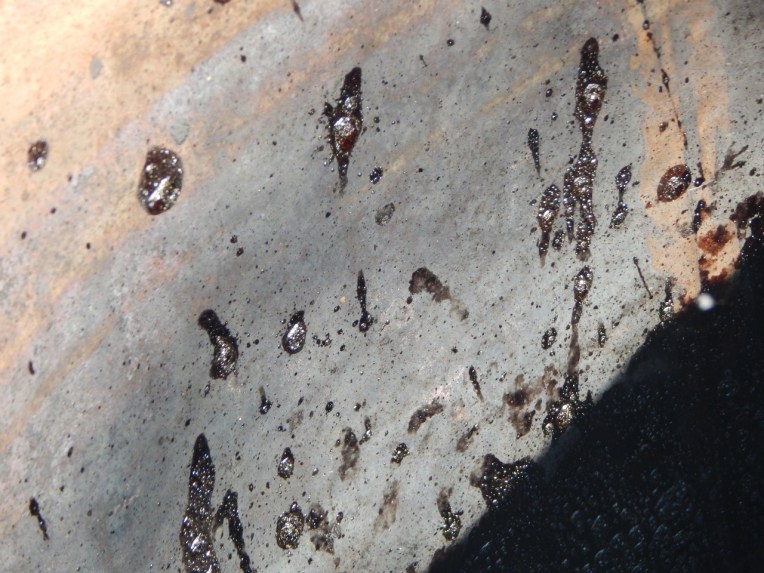
On one of the wood trips, you notice that the sap is getting lower and that some of it has splattered on the side of the kettle and made sparkly, shiny spots.

- 014 (1280x960)

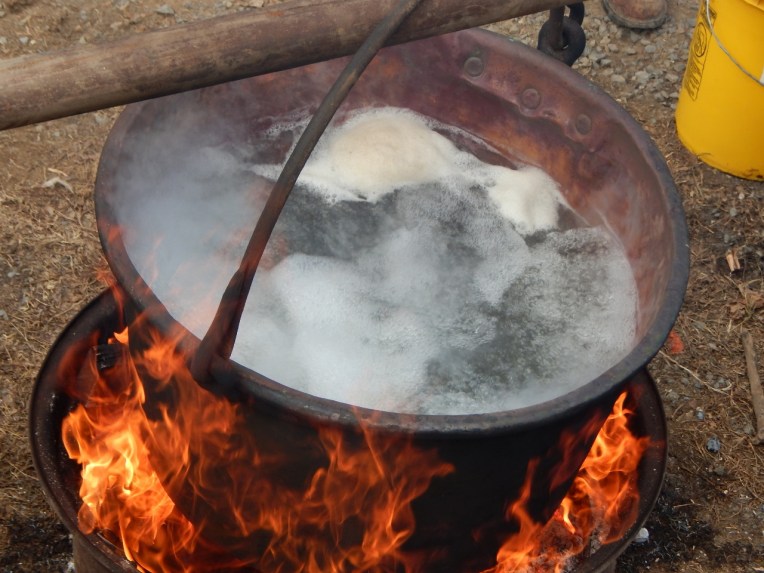
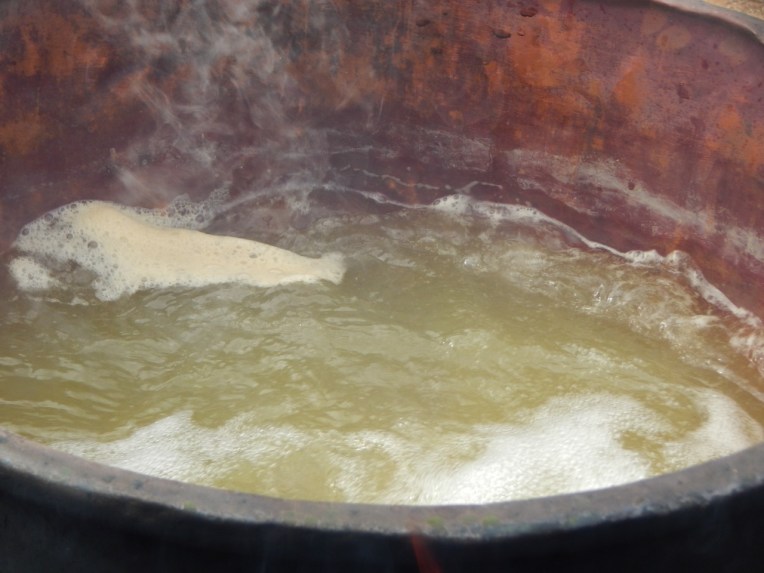
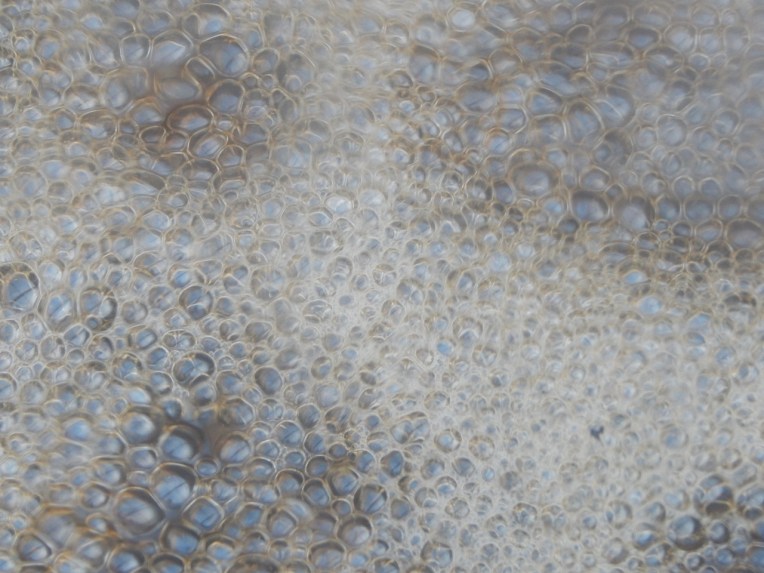
The sap is almost gone from the kettle.  There is just a little bit left in the bottom, and it starts foaming.

- 017 (1280x960)

This is the scary part: if you leave the kettle on too long, the maple syrup will burn, and all your hard work will be completely wasted; but if you take it off too soon, you will have to boil it down for an extra long, long, time inside on the stove.  Decisions, decisions!  When you decide to take it off, there is barely anything left.  (40 gallons of sap boil down to just one gallon of syrup!  *collective gasp*  So we actually harvested about 120 gallons of sap from just seven trees!)

- 019 (1280x960)

Carefully pour the sap (it’s practically syrup now!) into a big kitchen pan.  Even though it looks like there is barely any sap left, it turns out there is about two gallons – more than it looks!  You’re almost done!  Put a candy thermometer on the pan and watch for the temperature to get to five degrees above the boiling point where you live – in our case, 218-220 degrees Fahrenheit.

-Allison (maple syrup 027 (1280x960)

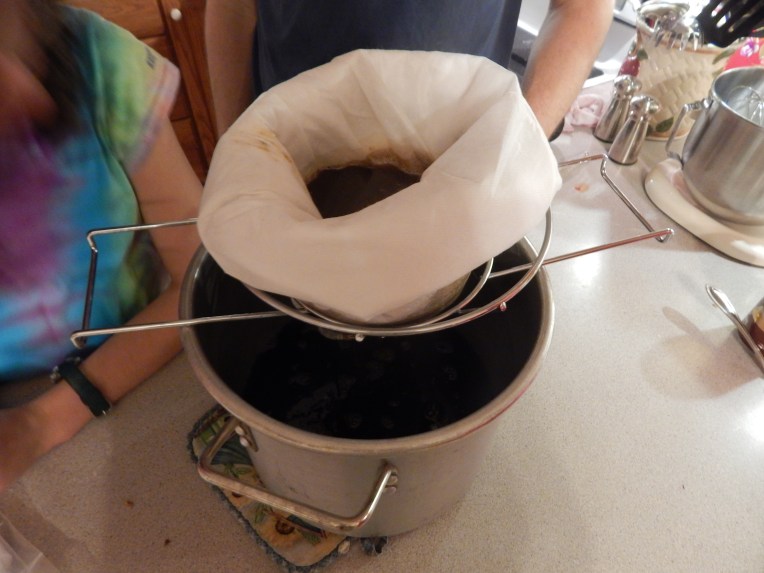
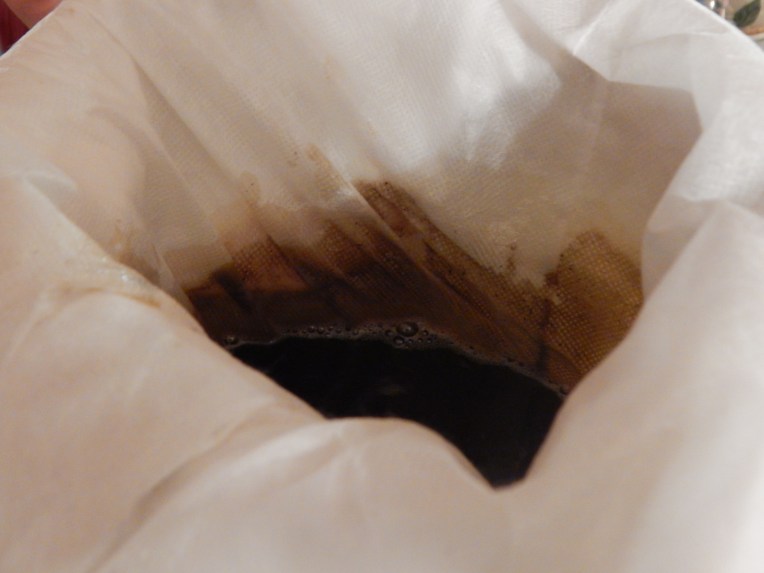
The syrup will be boiling and foaming when it’s done.  You can’t eat it just yet, unless you don’t mind eating ash flakes, dirt, and sediment with your syrup.  You have to strain the syrup to get out all that yucky stuff.  At first we tried using paper towels, coffee filters, and other such things to strain it, but it didn’t go too well, so we got real filters, especially made for filtering maple syrup.  First you put the filter holder on the pan you’re going to strain the syrup into, then you put a thick filter in it, then a thinner one inside of that, and then you pour the maple syrup in.

- 006- 009

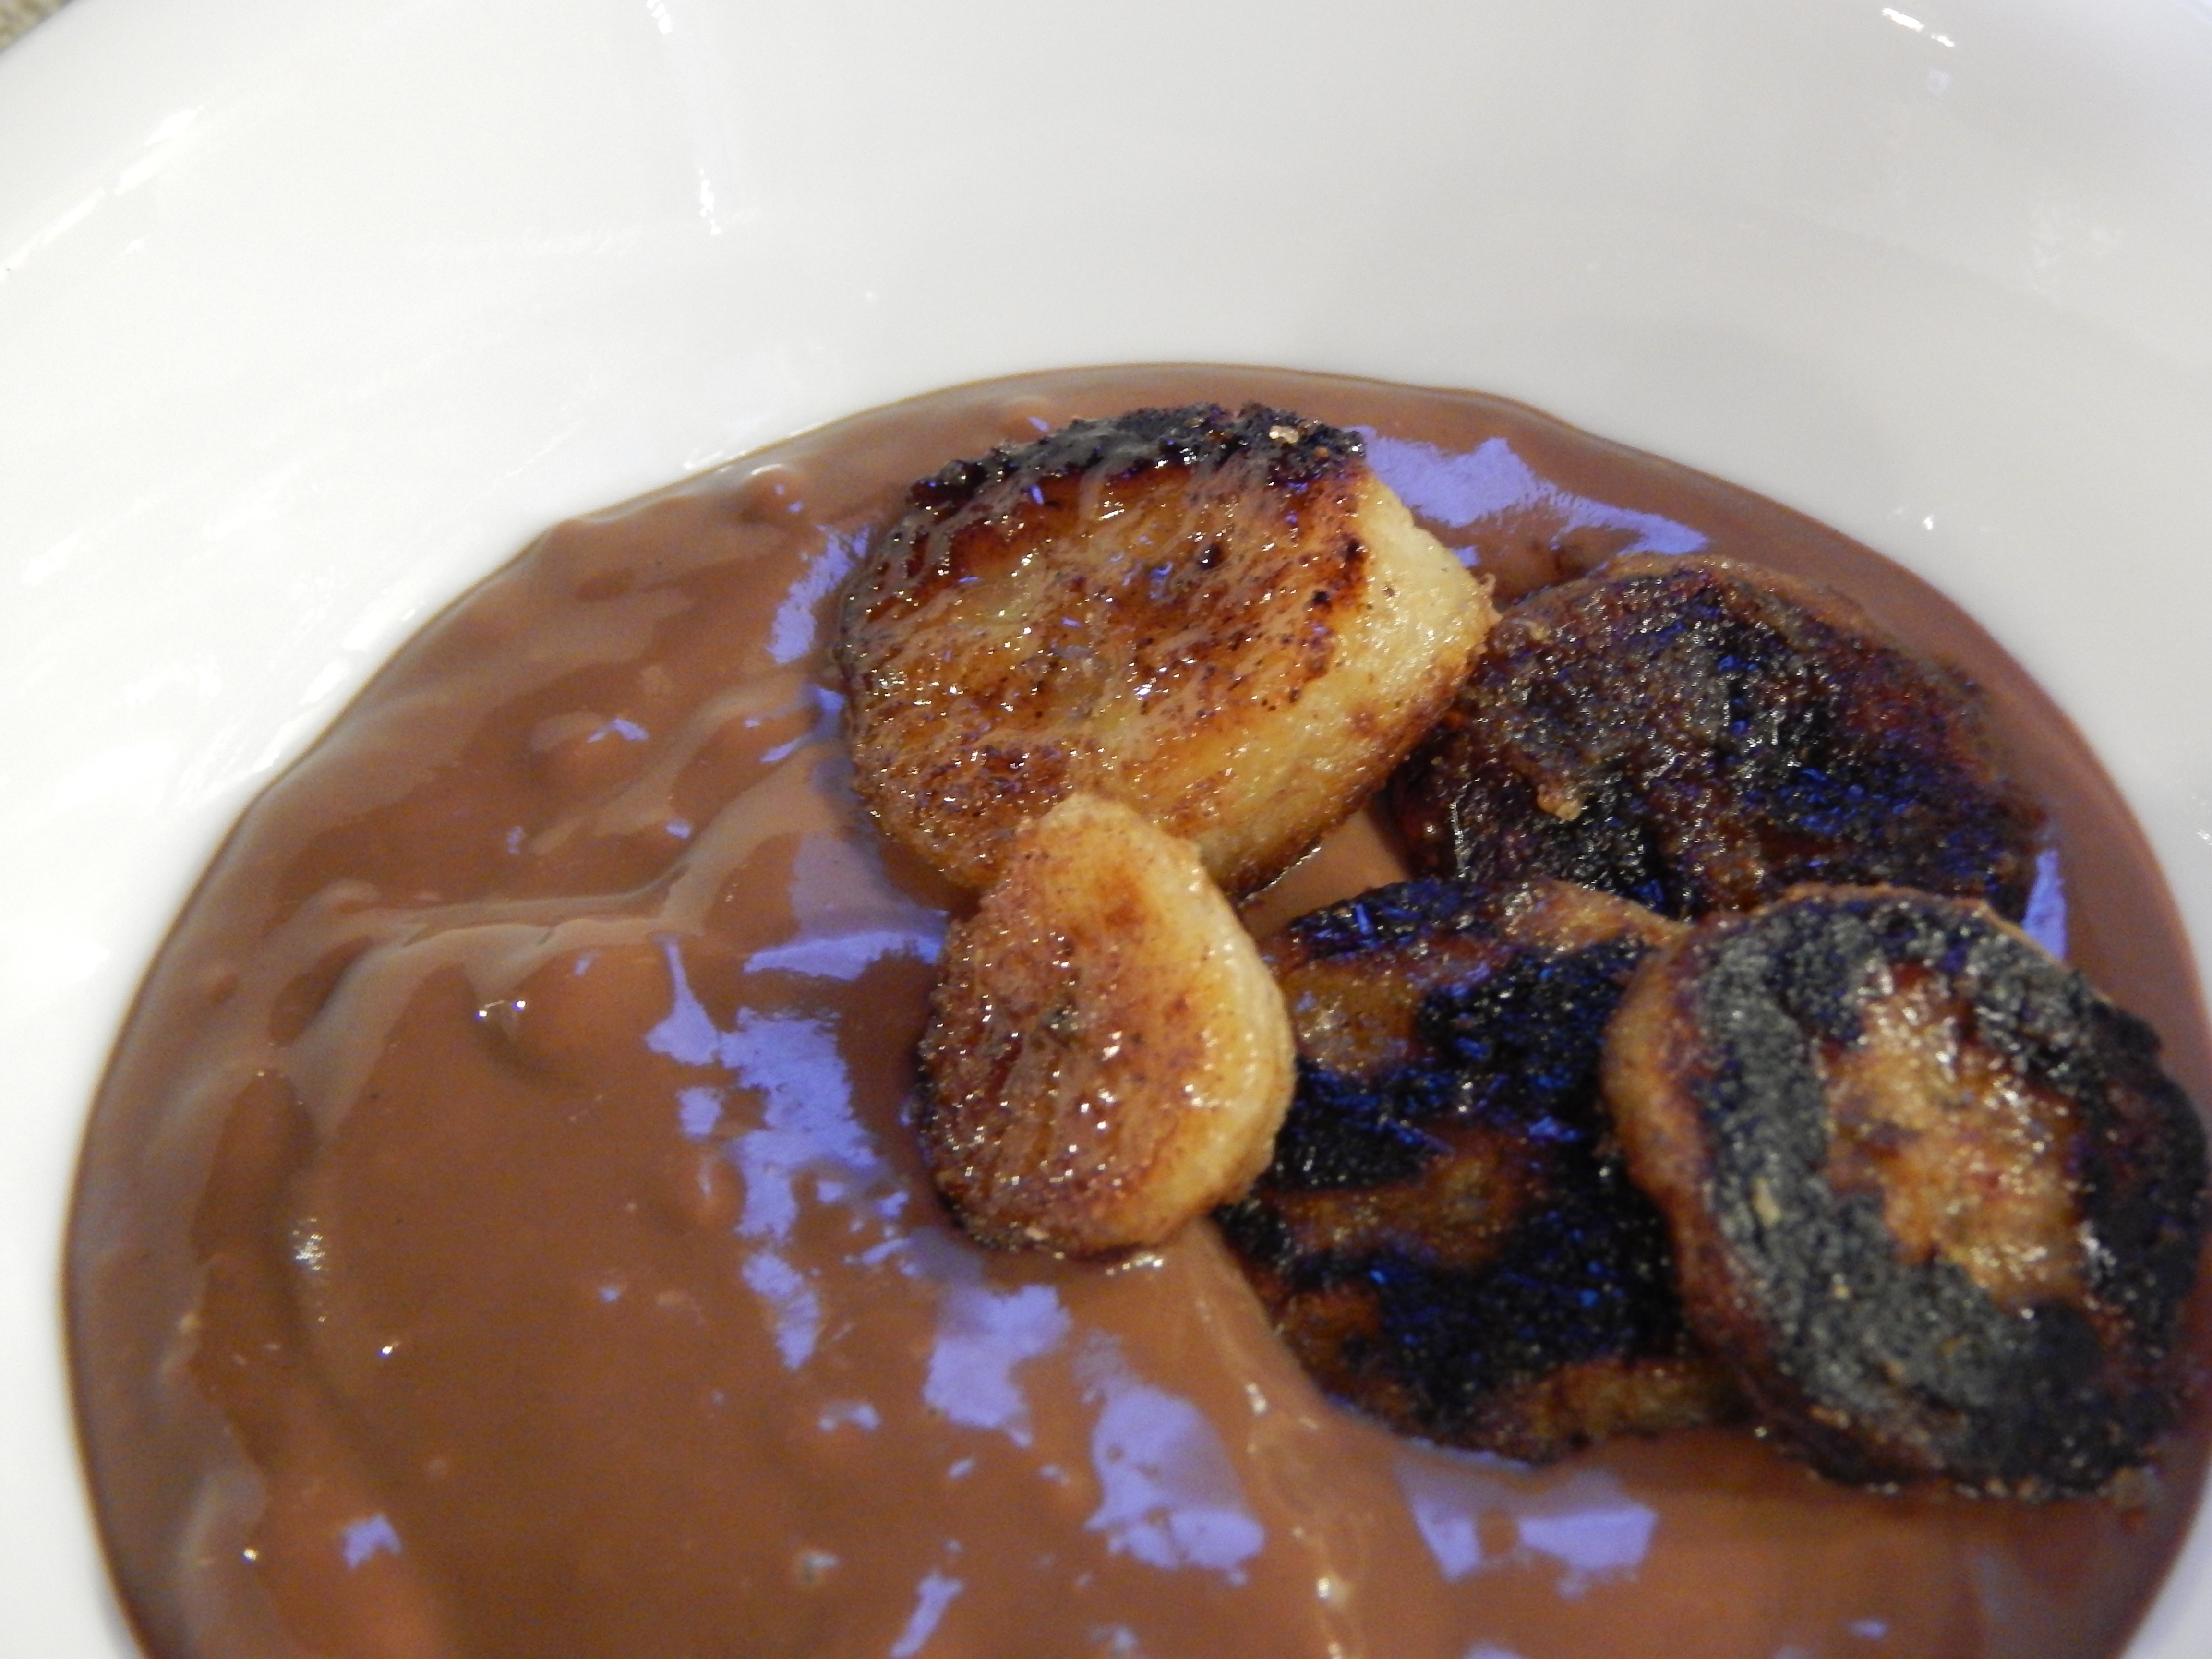
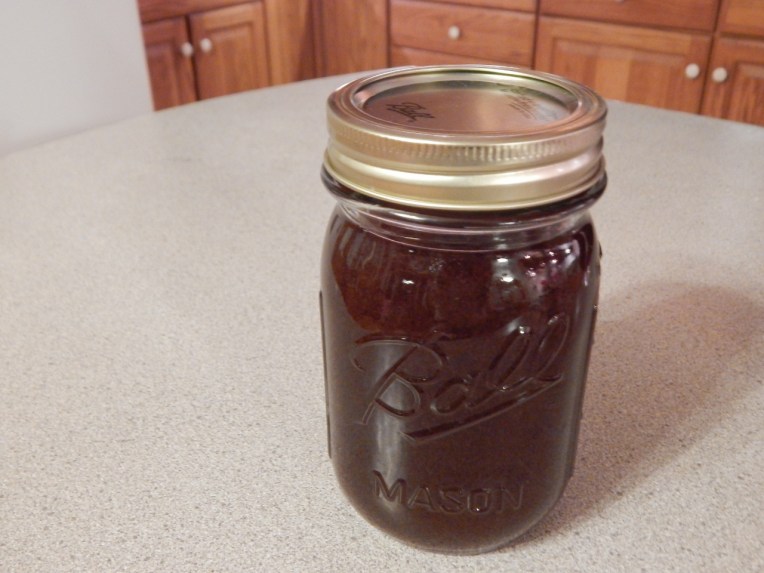
Once the maple syrup is strained, you put it in jars and can it, but first – have a taste!  Ah! Sweet and syrupy delight!  Pancakes, anyone?

-Allison (maple syrup 034 (1280x960)-Allison (maple syrup 033 (1280x960)

*******************************************************************************************************************************************

I hope you enjoyed “making maple syrup”  Too bad I can’t send you a sample through words… Maybe you’ll have to try making maple syrup yourself next year!

***Allison***

Chopped!

-Allison (maple syrup 076-Allison (maple syrup 077

I made up a contest based on a TV show we saw maybe 2 times called “Chopped”.  “Chopped” is a cooking contest where the four contestants get mystery ingredients that they have to make into a dish in 30 minutes.  Our version of “Chopped” isn’t quite the same, but us kids and our cousins had lots of fun playing it!  Here are the rules:

1.  Anyone who doesn’t want to cook, or who isn’t able to can be a judge.  It works best if there are 3 or 4 other people who cook.

2.  Depending on how many people are playing, there are a certain number of rounds.  There must be one less round than the number of cooks (like musical chairs).  Here are some ideas for the different rounds: Drink, Dessert, Side, Snack. (You can’t really have a main dish because one of the rules is that you can’t use meat or eggs or anything that might be harmful if it’s undercooked.)

3.  The judge chooses two ingredients that the cooks must use.  Make the ingredients relevant to the round (Don’t use tomatoes and corn for the dessert round ☺).

4. The cooks have 7 minutes to make a dish containing the ingredients the judge chose, plus up to four more ingredients of their choice.  You may make the time shorter or longer as you wish.  The minimum of ingredients is 4 and the maximum is 6.

5.  When the time is up, the cooks have stop what they’re doing and bring their dish to the judge.  They have to have used at least 4 ingredients, not more than 6 ingredients, and the ingredients the judge chose; if they haven’t, they’re out.

6.  The cooks explain their food to the judges, then leave the room.

7.  The judge(s) decides which dish they think is the worst, and put the dish under a big bowl so that it’s hidden.  The judge calls in the cooks.

8.  The judge takes off the bowl hiding the dish, and announces who is “Chopped” (out of the game).  The player that got chopped gets to help judge the next round(s), and the other cooks get to keep cooking!

9. When it’s the last round and there are only two cooks left, whoever wins the round wins the game!

I hope you have as much fun playing this as we did!

***Allison***

Clementine Butterflies

-Allison(doodles) 018

If you need to bring a little bit of spring into these cold winter days, these little cuties should help you do it.  All you need to make them are clementines and celery sticks.

Sorry, I don’t have any pictures on how to make them :(, I’ll just have to try and tell you.

************************************************************************

1.  Peel a clementine and pry it apart into two halves.

2.  Take two clementine sections from one of the halves, and partially pull them open starting from the side that faces towards the middle of the clementine.  This is very important, if open the sections the wrong way it won’t look like a butterfly.  Make sure not to pull the sections apart all the way.

3.  Cut up a celery stick into smaller pieces and put one piece each in the middle of the partially opened sections for the butterfly’s body.

5.  Repeat to make as many butterflies as you want.

4.  Serve on a pretty platter.  You could have them hovering around fruit cut to look like flowers, do what I did and perch a few on orange slices, or think up your own arrangement.  Have fun making it pretty!

5.  Enjoy!

******************************************************


I hope you have fun making and eating these delicious butterflies!

***Allison***

Potato or ULV (Unidentified Lumpy Vegetable)?

2014-9-8-Allison(Frog,Potatoes) 001Are these potatoes or are they some weird, alien vegetable?  Yes, they are potatoes, though certainly not the normal, nice, smooth kind you usually buy in stores.

 Do my eyes deceive me, or is that a rabbit I see?

2014-9-8-Allison(Frog,Potatoes) 004

This looks like a faraway relative of the manatee or something.

2014-9-8-Allison(Frog,Potatoes) 007

What do these spuds remind you of?