

There is this game called “Tumble” or “Kerplunk”, and one day I decided to make my own version, with a few tweaks to the original game. It’s fairly easy to make and it’s very customizable. This game could also make a cute gift for a child of any age.
To start with you will need the following: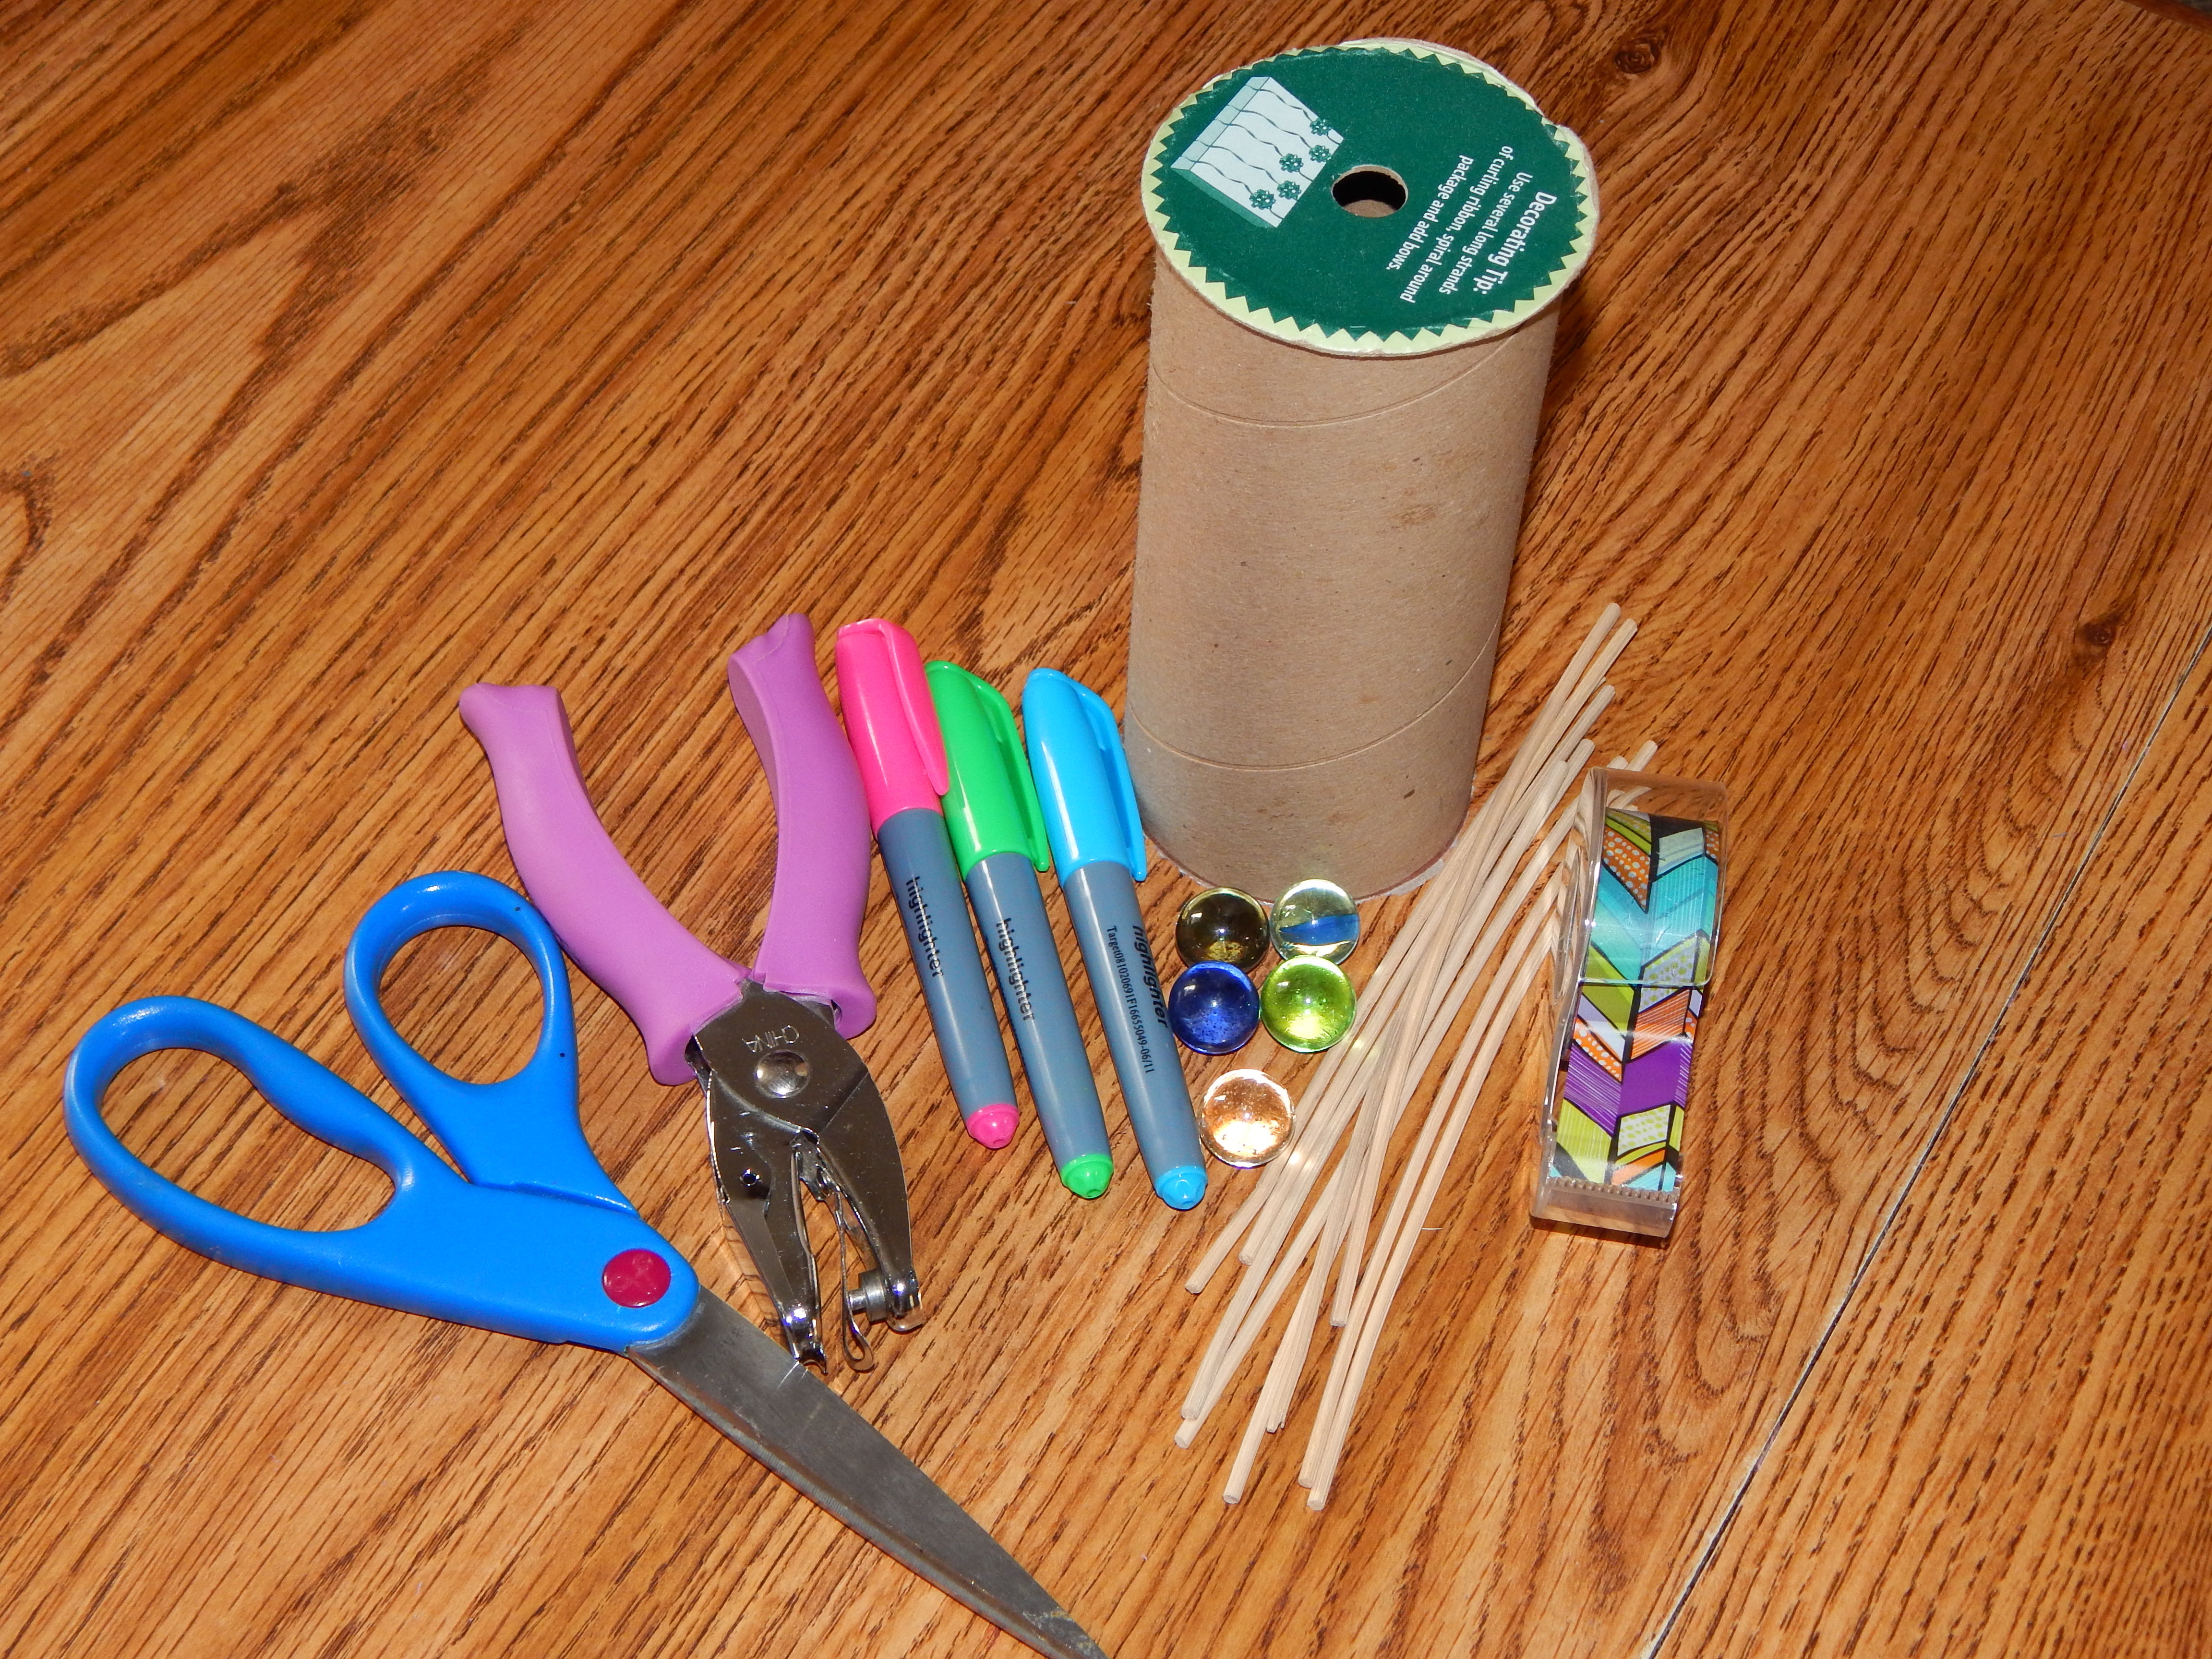 •••••••••••••••••••••••••••••••••••••••••••••••••••••••••••••••••••••••••••••••••••••••••••••••••••••••••••••••••••••••••••••••••••••••••••••••••••••••••••••••••
♥ Some sort of cardboard roll (I used the roll from a roll of curling ribbon this time, but I’ve also used a toilet paper roll)
♥ Some sort of wooden stick that is longer than your cardboard roll (such as bamboo skewers or toothpicks)
♥ A hole-punch (a small punch works best)
♥ Marbles (or any small, round ball)
♥ Something to decorate your tube with (I used pretty tape)
♥ Markers (you can also use paint)
♥ Scissors (no parentheses needed, except I just used them…)
•••••••••••••••••••••••••••••••••••••••••••••••••••••••••••••••••••••••••••••••••••••••••••••••••••••••••••••••••••••••••••••••••••••••••••••••••••••••••••••••••
1. Make sure both ends of the cardboard tube are open.
2. Decorate it however your heart desires!  3. This is the hardest part. Punch holes in the top of the tube, making sure to stagger their placement. (See the picture below.) If you make all the holes the same distance away from the top of the tube, the sticks will bump into each other and will block each other from fitting into the holes. Also make sure there are enough holes for the sticks.
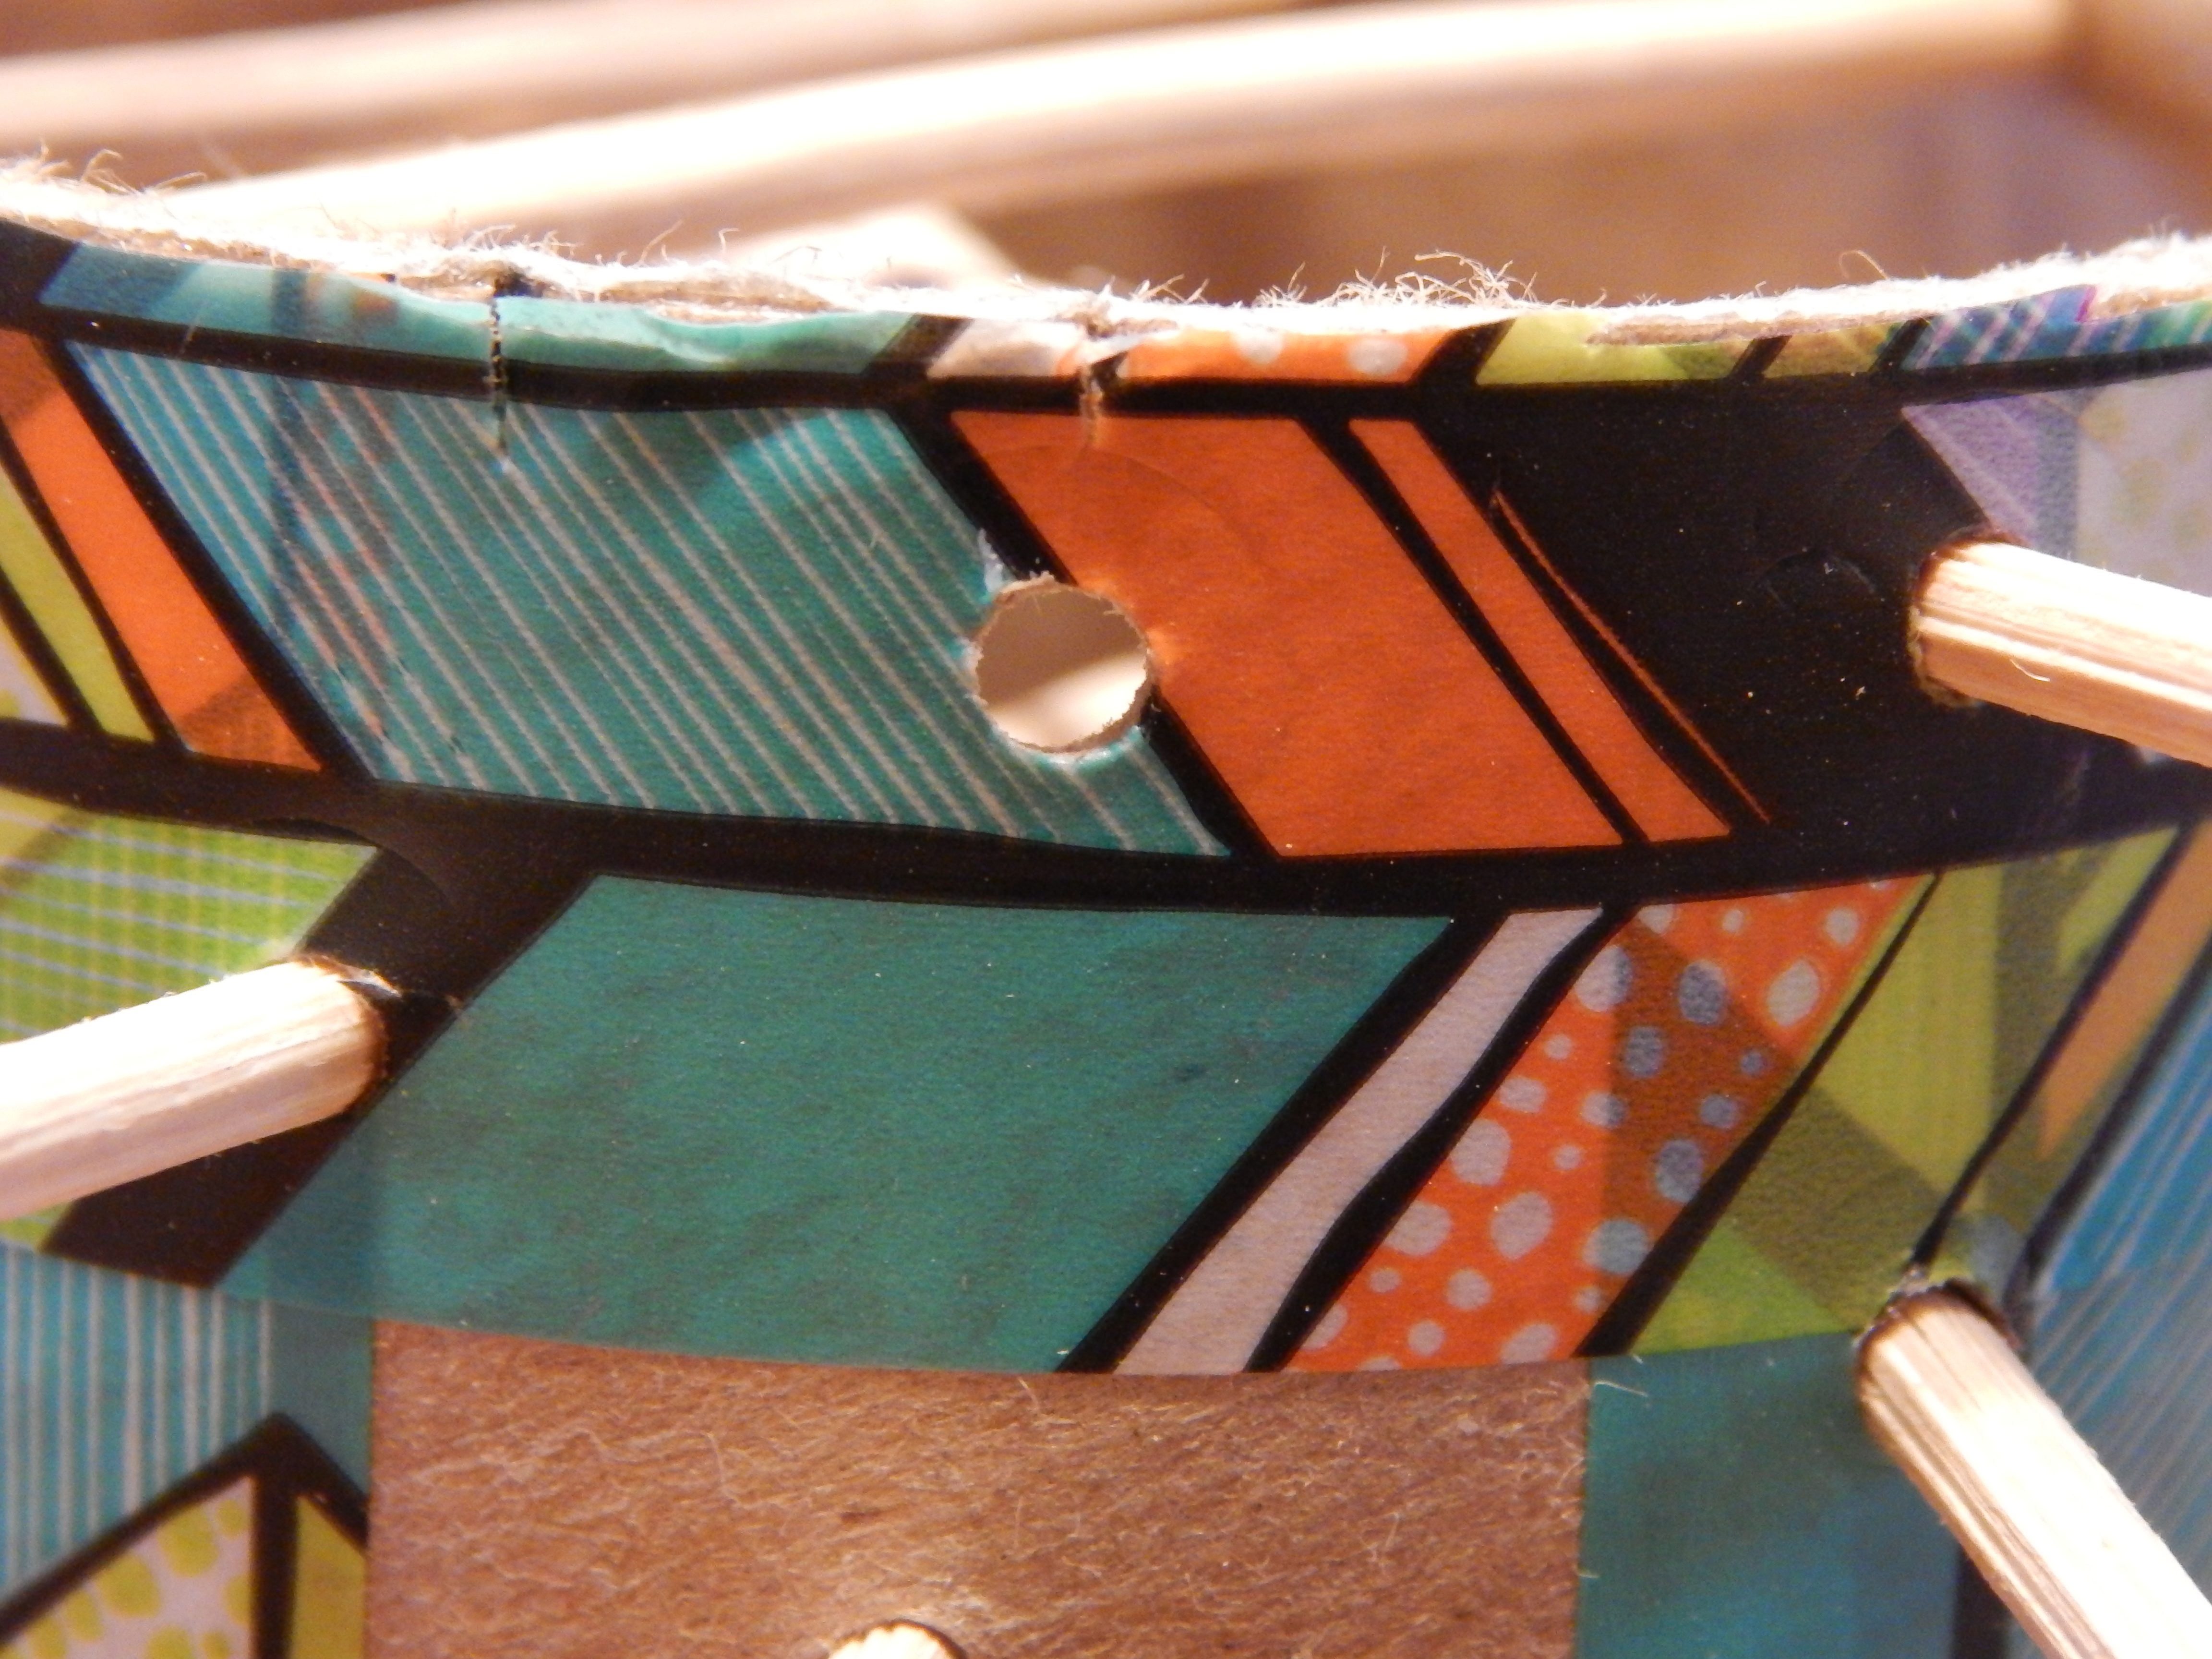 4. To make the sticks, color or paint the ends of all but one of them. It works best to have a lot of sticks divided into three or four colors. Make one stick stand out by coloring it all one color, making it a different color, whatever you like.
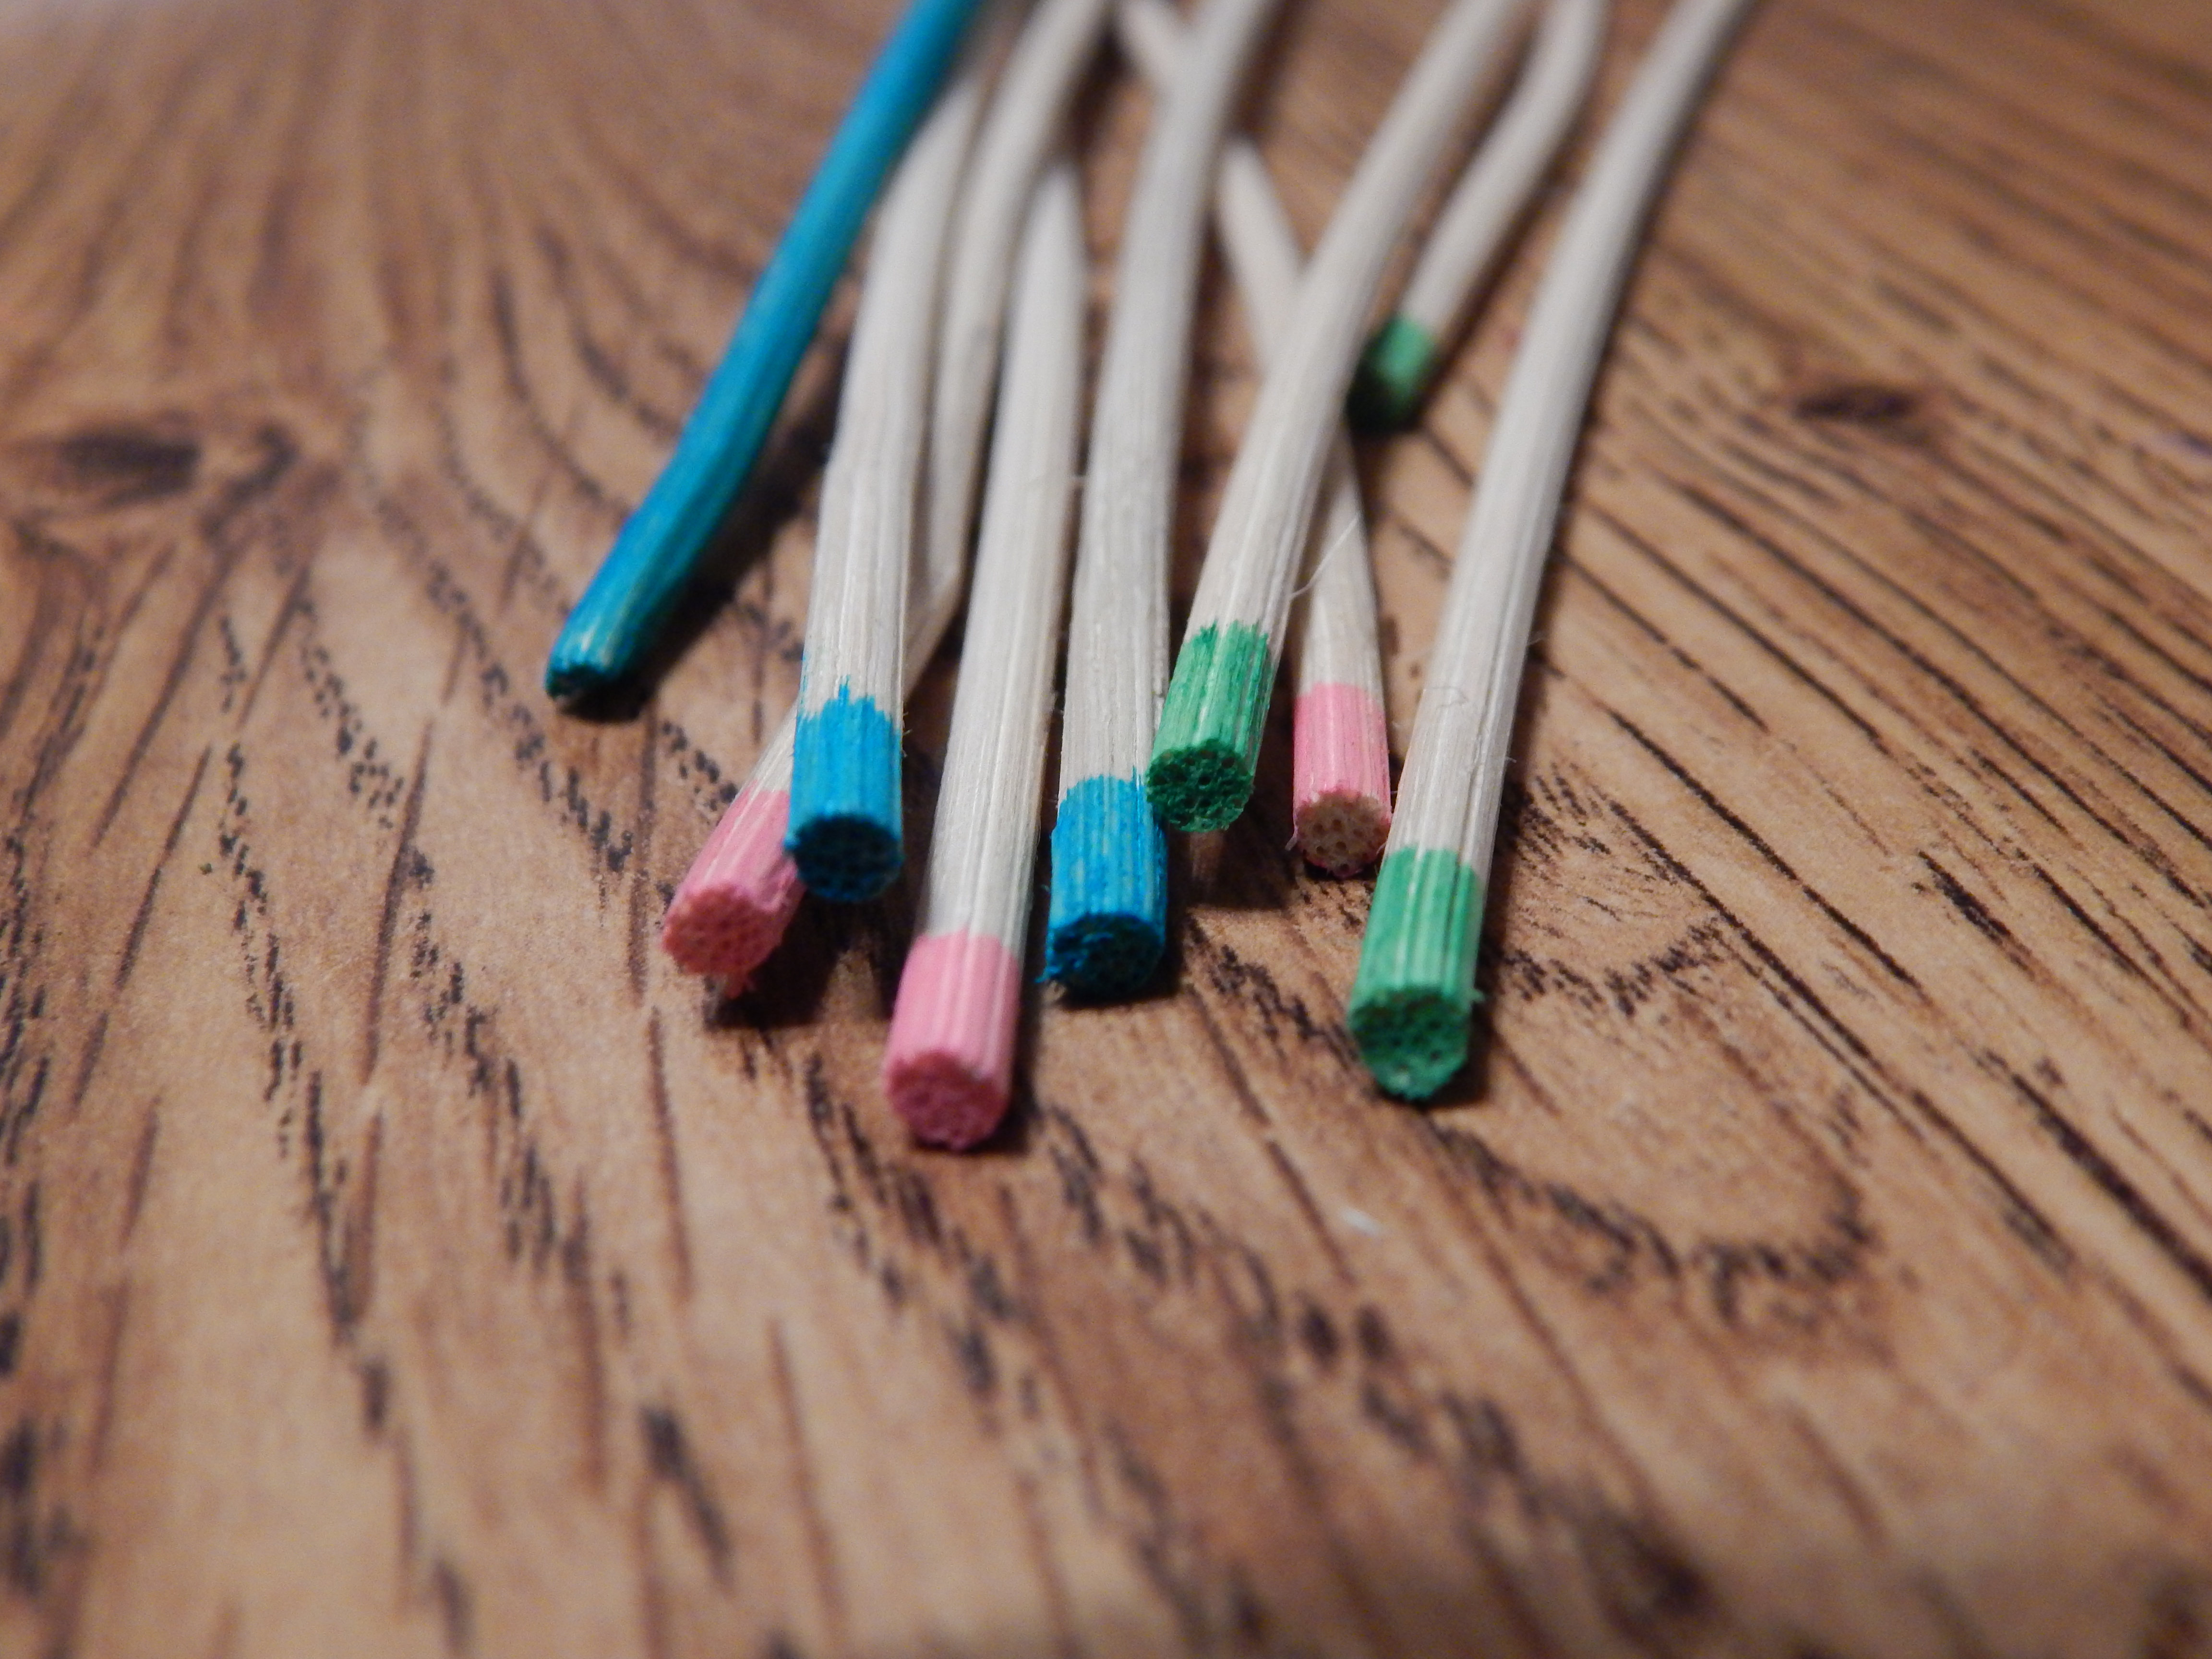 5. Optional step: Cut semi-circles from the bottom of the tube to use as doors for the marbles.
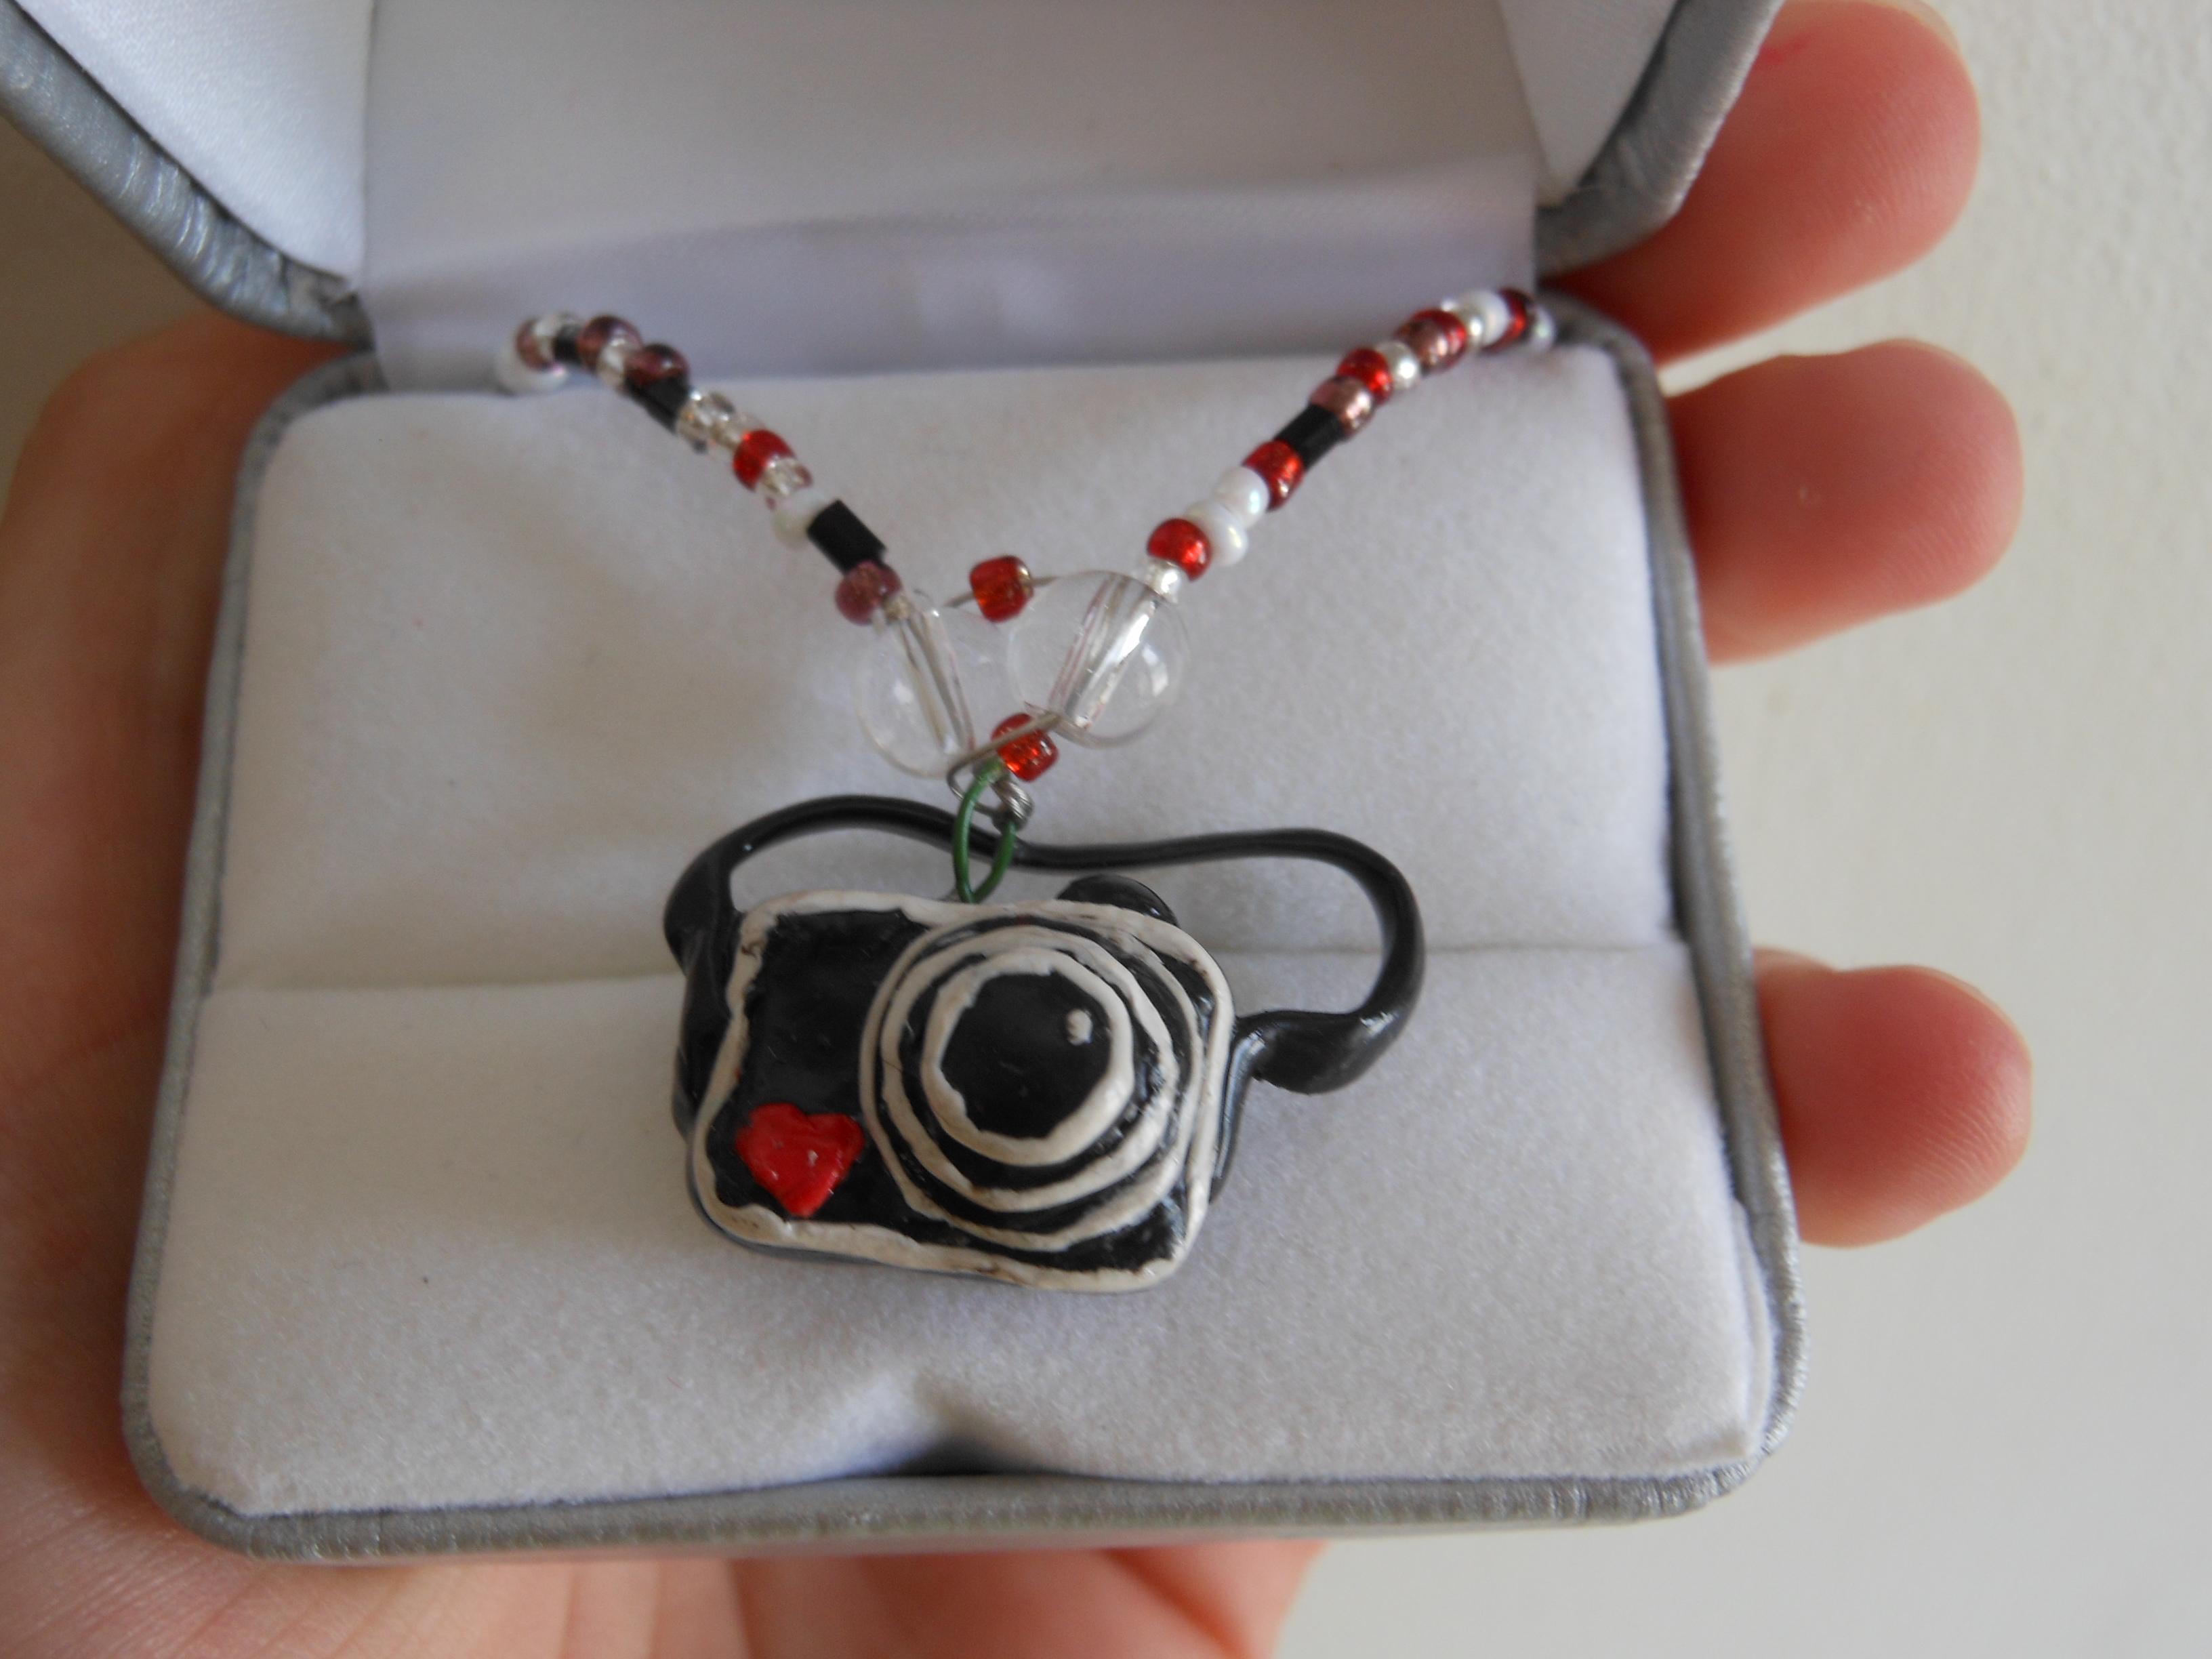
6. Another optional step: You can make balls out of polymer clay to use instead of marbles if you like.
6. Play the game!
To set up, put all the sticks randomly into the holes, then sprinkle the marbles on top. If the marbles fall through, it means you need to add more sticks to fill up the gaps where the marbles fell. Punch some more holes for the sticks if necessary.
Here are the rules: Each color of stick is worth a different amount of points. The one that is different from all the rest can be the special stick. Make it give you, say, 10 points plus another turn, or something like that. Here’s a scoring chart that you can change to fit your game:
************************************
Green-tip: 40 points
Blue tip: 30 points
Pink-tip: 20 points
Blue stick: 15 points + another turn
**************************************************
Each player takes turns pulling out a stick, one at a time (unless it’s the stick that gives you another turn). If, while pulling out a stick, you make a marble fall, you lose 20 points, and you don’t get the points from the stick you just pulled out. Whoever has the most points after all the sticks are pulled out, wins the game!
Have fun!
***Allison***


![2014-05-20-allison-037[1] (1280x960)](https://allisonmariealexander.com/wp-content/uploads/2014/05/2014-05-20-allison-0371-1280x960.jpg?w=300&h=225)
![2014-5-27-allison-049[1] (1280x960)](https://allisonmariealexander.com/wp-content/uploads/2014/05/2014-5-27-allison-0491-1280x960.jpg?w=764)
![2014-5-27-allison-053[1] (1280x960)](https://allisonmariealexander.com/wp-content/uploads/2014/05/2014-5-27-allison-0531-1280x960.jpg?w=764)
![2014-5-27-allison-060[1] (1280x960) (1280x960)](https://allisonmariealexander.com/wp-content/uploads/2014/05/2014-5-27-allison-0601-1280x960-1280x960.jpg?w=764)
![2014-5-27-allison-054[1] (1280x960) (1280x960)](https://allisonmariealexander.com/wp-content/uploads/2014/05/2014-5-27-allison-0541-1280x960-1280x960.jpg?w=764)
![2014-5-27-allison-068[1] (1280x960) (1280x960)](https://allisonmariealexander.com/wp-content/uploads/2014/05/2014-5-27-allison-0681-1280x960-1280x960.jpg?w=764)
![2014-5-27-allison-051[1] (1280x960) (1280x960)](https://allisonmariealexander.com/wp-content/uploads/2014/05/2014-5-27-allison-0511-1280x960-1280x960.jpg?w=764)
![2014-5-27-allison-067[1] (1280x960)](https://allisonmariealexander.com/wp-content/uploads/2014/05/2014-5-27-allison-0671-1280x960.jpg?w=764)
![2014-5-27-allison-064[1] (1280x960)](https://allisonmariealexander.com/wp-content/uploads/2014/05/2014-5-27-allison-0641-1280x960.jpg?w=764)
![2014-5-27-allison-063[1] (1280x960) (1280x960)](https://allisonmariealexander.com/wp-content/uploads/2014/05/2014-5-27-allison-0631-1280x960-1280x960.jpg?w=764)
![2014-5-27-allison-062[1] (1280x960)](https://allisonmariealexander.com/wp-content/uploads/2014/05/2014-5-27-allison-0621-1280x960.jpg?w=764)
![2014-5-27-allison-059[1] (1280x960)](https://allisonmariealexander.com/wp-content/uploads/2014/05/2014-5-27-allison-0591-1280x960.jpg?w=764)
![2014-5-27-allison-058[1] (1280x960)](https://allisonmariealexander.com/wp-content/uploads/2014/05/2014-5-27-allison-0581-1280x960.jpg?w=764)
![2014-5-27-allison-052[1] (1280x960) (1280x960)](https://allisonmariealexander.com/wp-content/uploads/2014/05/2014-5-27-allison-0521-1280x960-1280x960.jpg?w=764)
![2014-5-27-allison-057[1] (1280x960) (1280x960)](https://allisonmariealexander.com/wp-content/uploads/2014/05/2014-5-27-allison-0571-1280x960-1280x960.jpg?w=764)
![2014-5-27-allison-055[1] (1280x960) (1280x960)](https://allisonmariealexander.com/wp-content/uploads/2014/05/2014-5-27-allison-0551-1280x960-1280x960.jpg?w=764)

