Host an ATC Party (And Some of My ATC’s)

My friends and I got together and came up with the idea of an ATC party where you make and trade ATC’s, eat snacks, and have fun! (If you don’t know what ATC’s are, you can read more about them here, here, and here.)We put our plan into action and it was a great success! Here are some tips in case you would like to plan your own.

  1. First, know how many people are coming. About 15 people came to our party, and mostly they were friends from church who make them.
  2. Cut out blank ATC’s ahead of time, or have your guests each bring a few. We used on average from 5-10 cards per person. It kind of varied.
  3. Set out a bunch of supplies. We also had a painting table and a drawing/gluing/etc. table. Here is a list of some supplies you can set out:
  • Sequins
  • Colored scrap paper
  • Glitter
  • Buttons
  • Magazine pages
  • Pretty tape
  • Stamps and stamp pads
  • Fabric scraps

And of course the basics:

  • Markers
  • Crayons
  • Colored pencils
  • Scissors
  • Glue/ fabric glue/ tape/ glue stick

So yeah, it was a lot of fun. (But it did take quite some cleaning afterwards! 🙂 ) It’s a good idea to put a scrap piece of paper down at each person’s place, and maybe a tablecloth on the table.

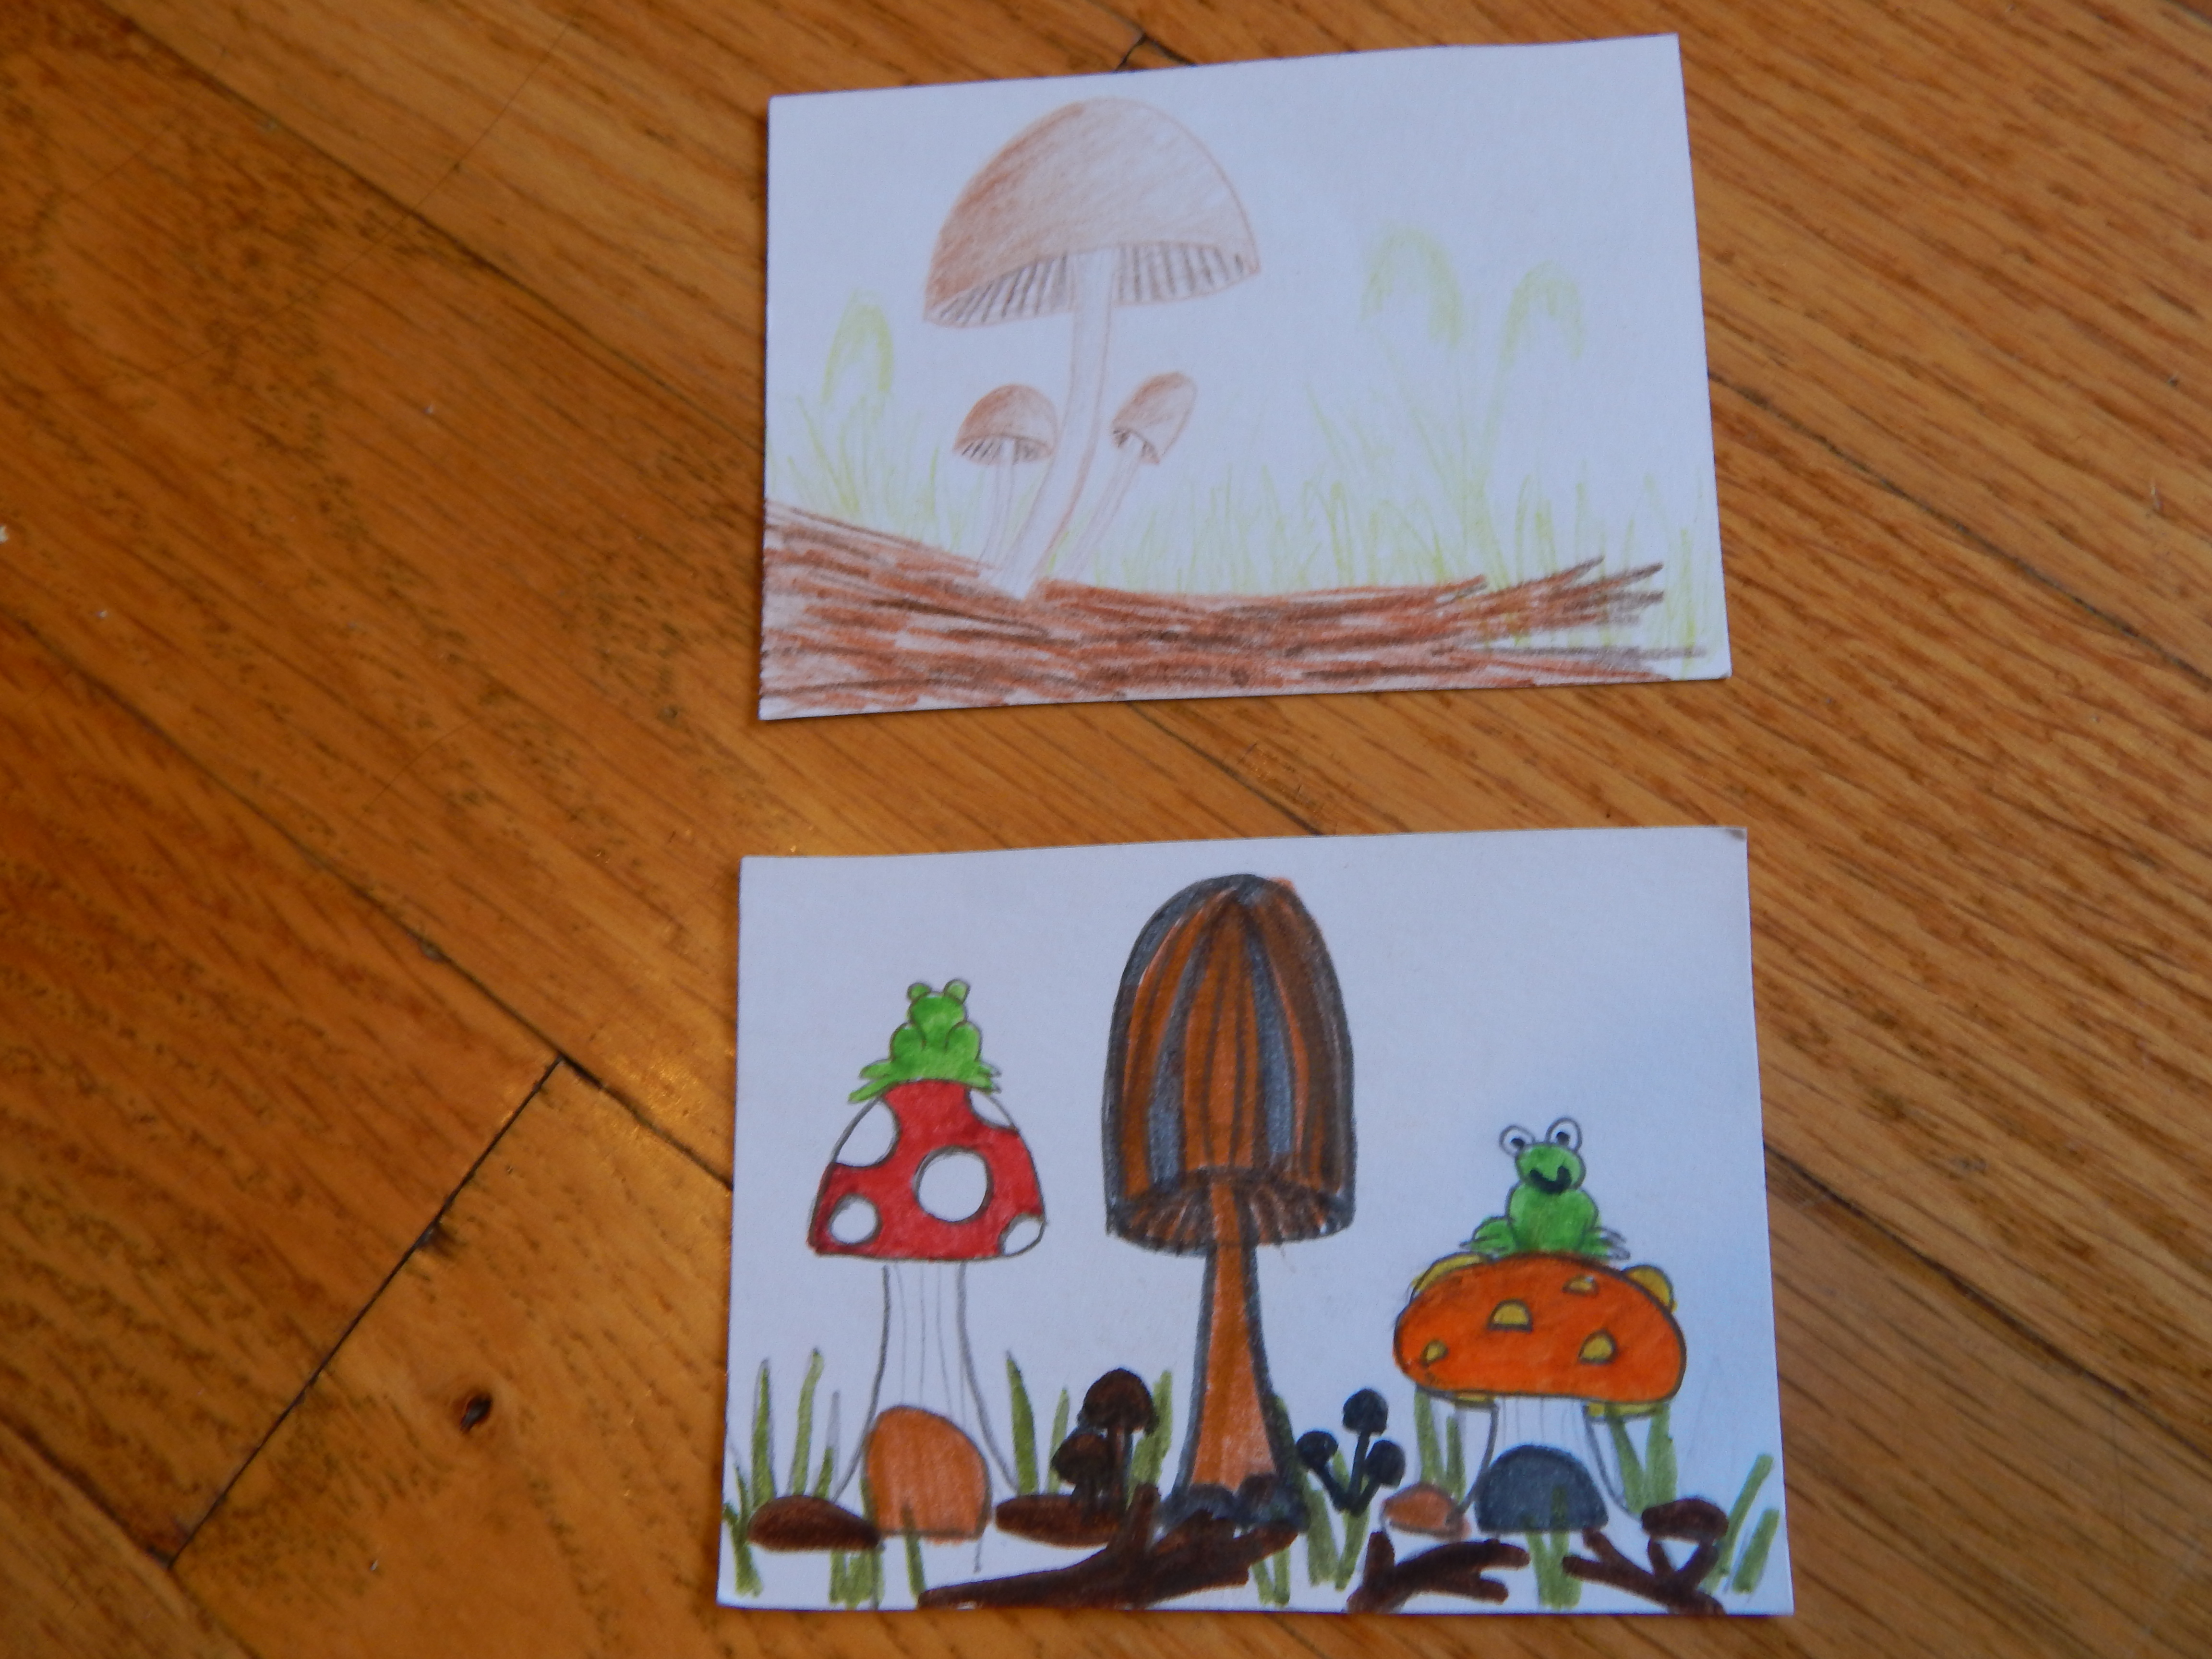
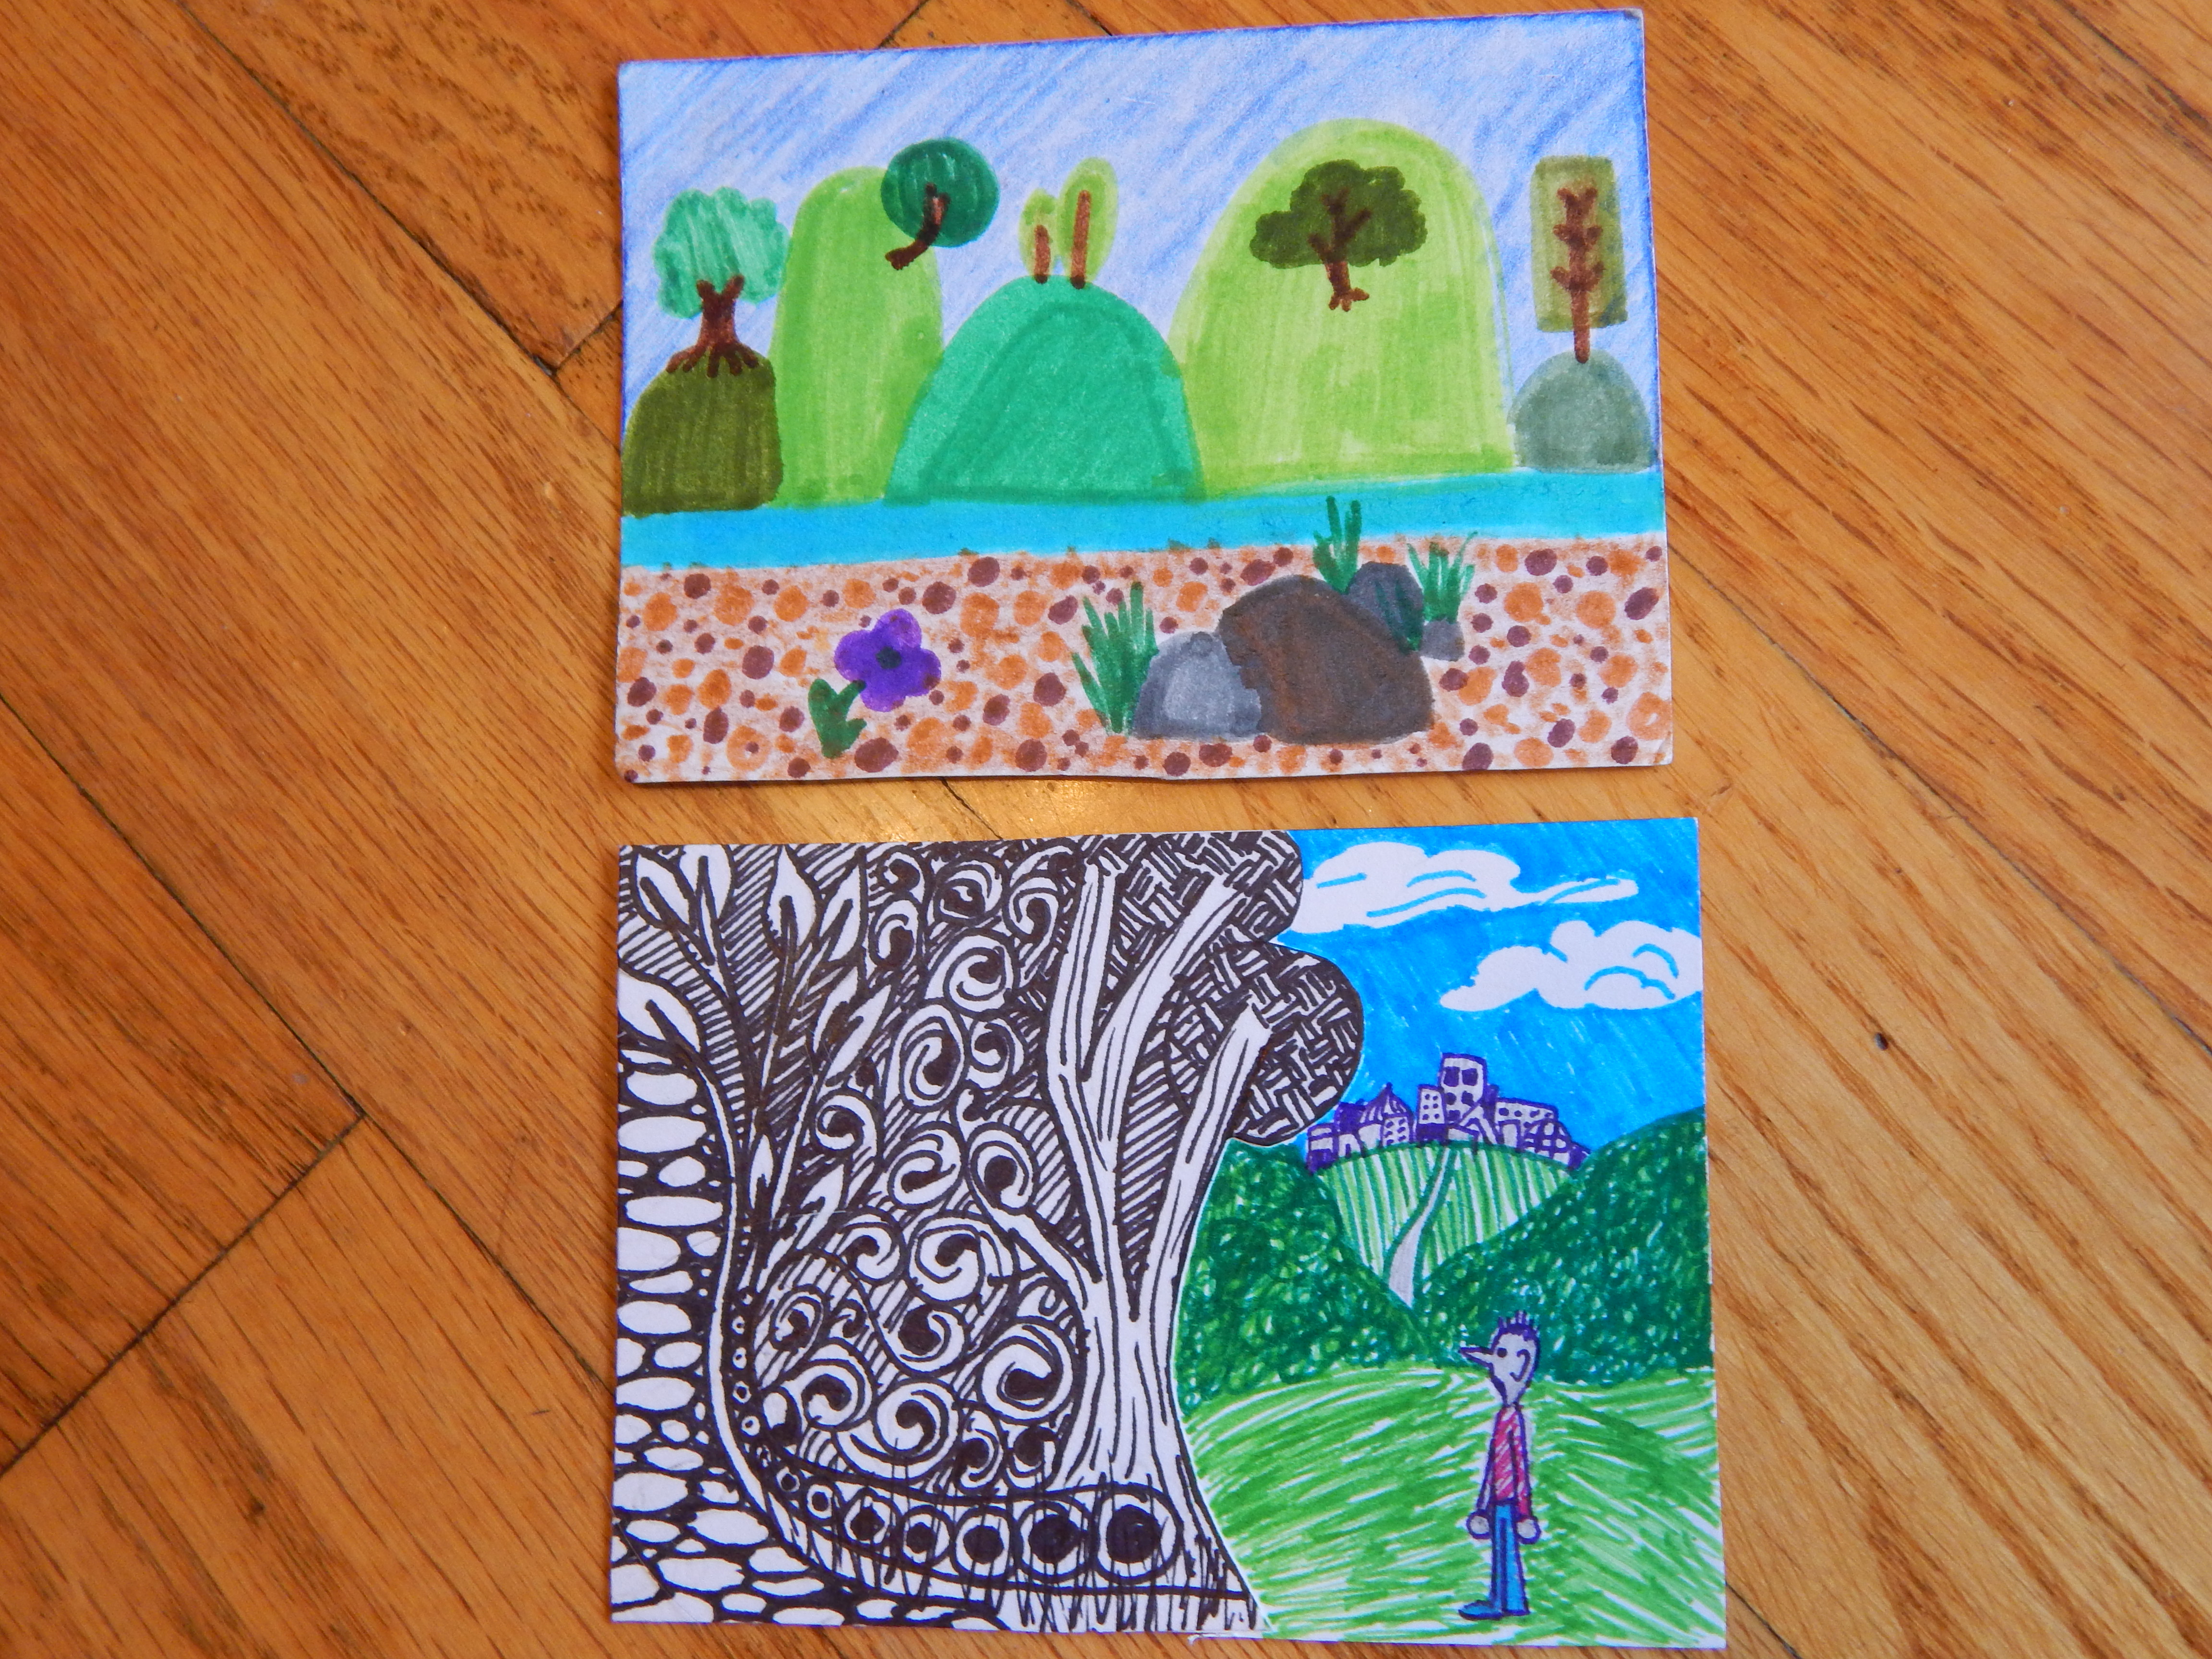
And now for my ATC’s. These are some of my favorites:
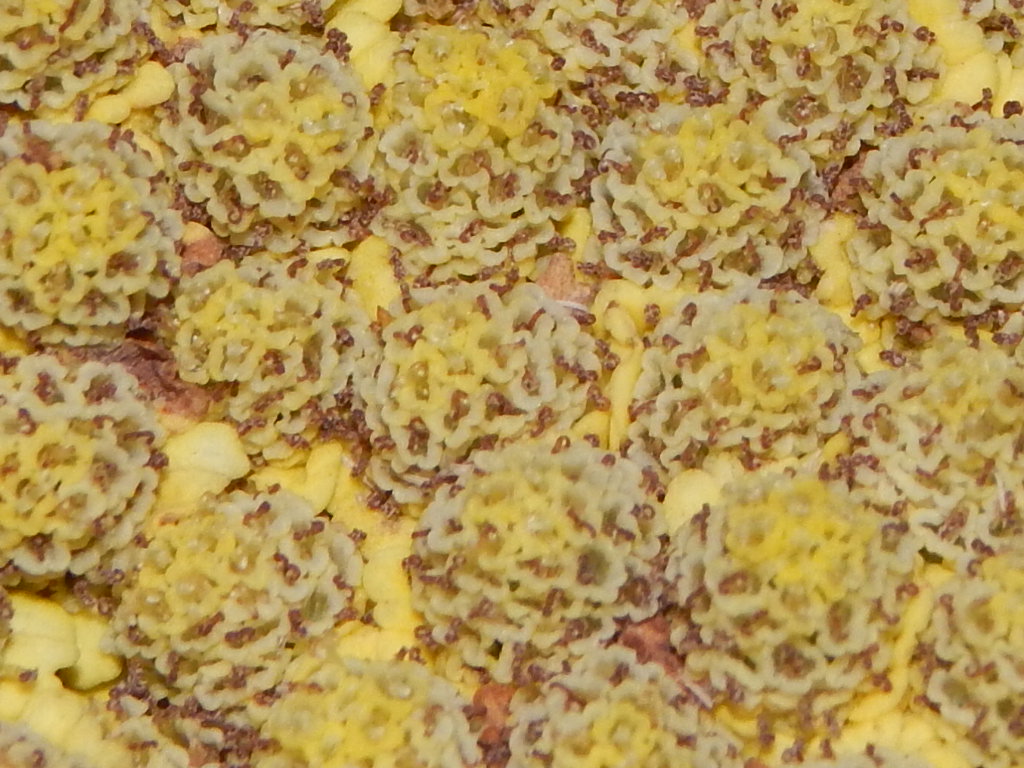
Top: Mushroomscape

Bottom: Toadstools. Get it? The toads are sitting on the mushrooms?

001

Top: Whimsical Landscape

Bottom: And…

002

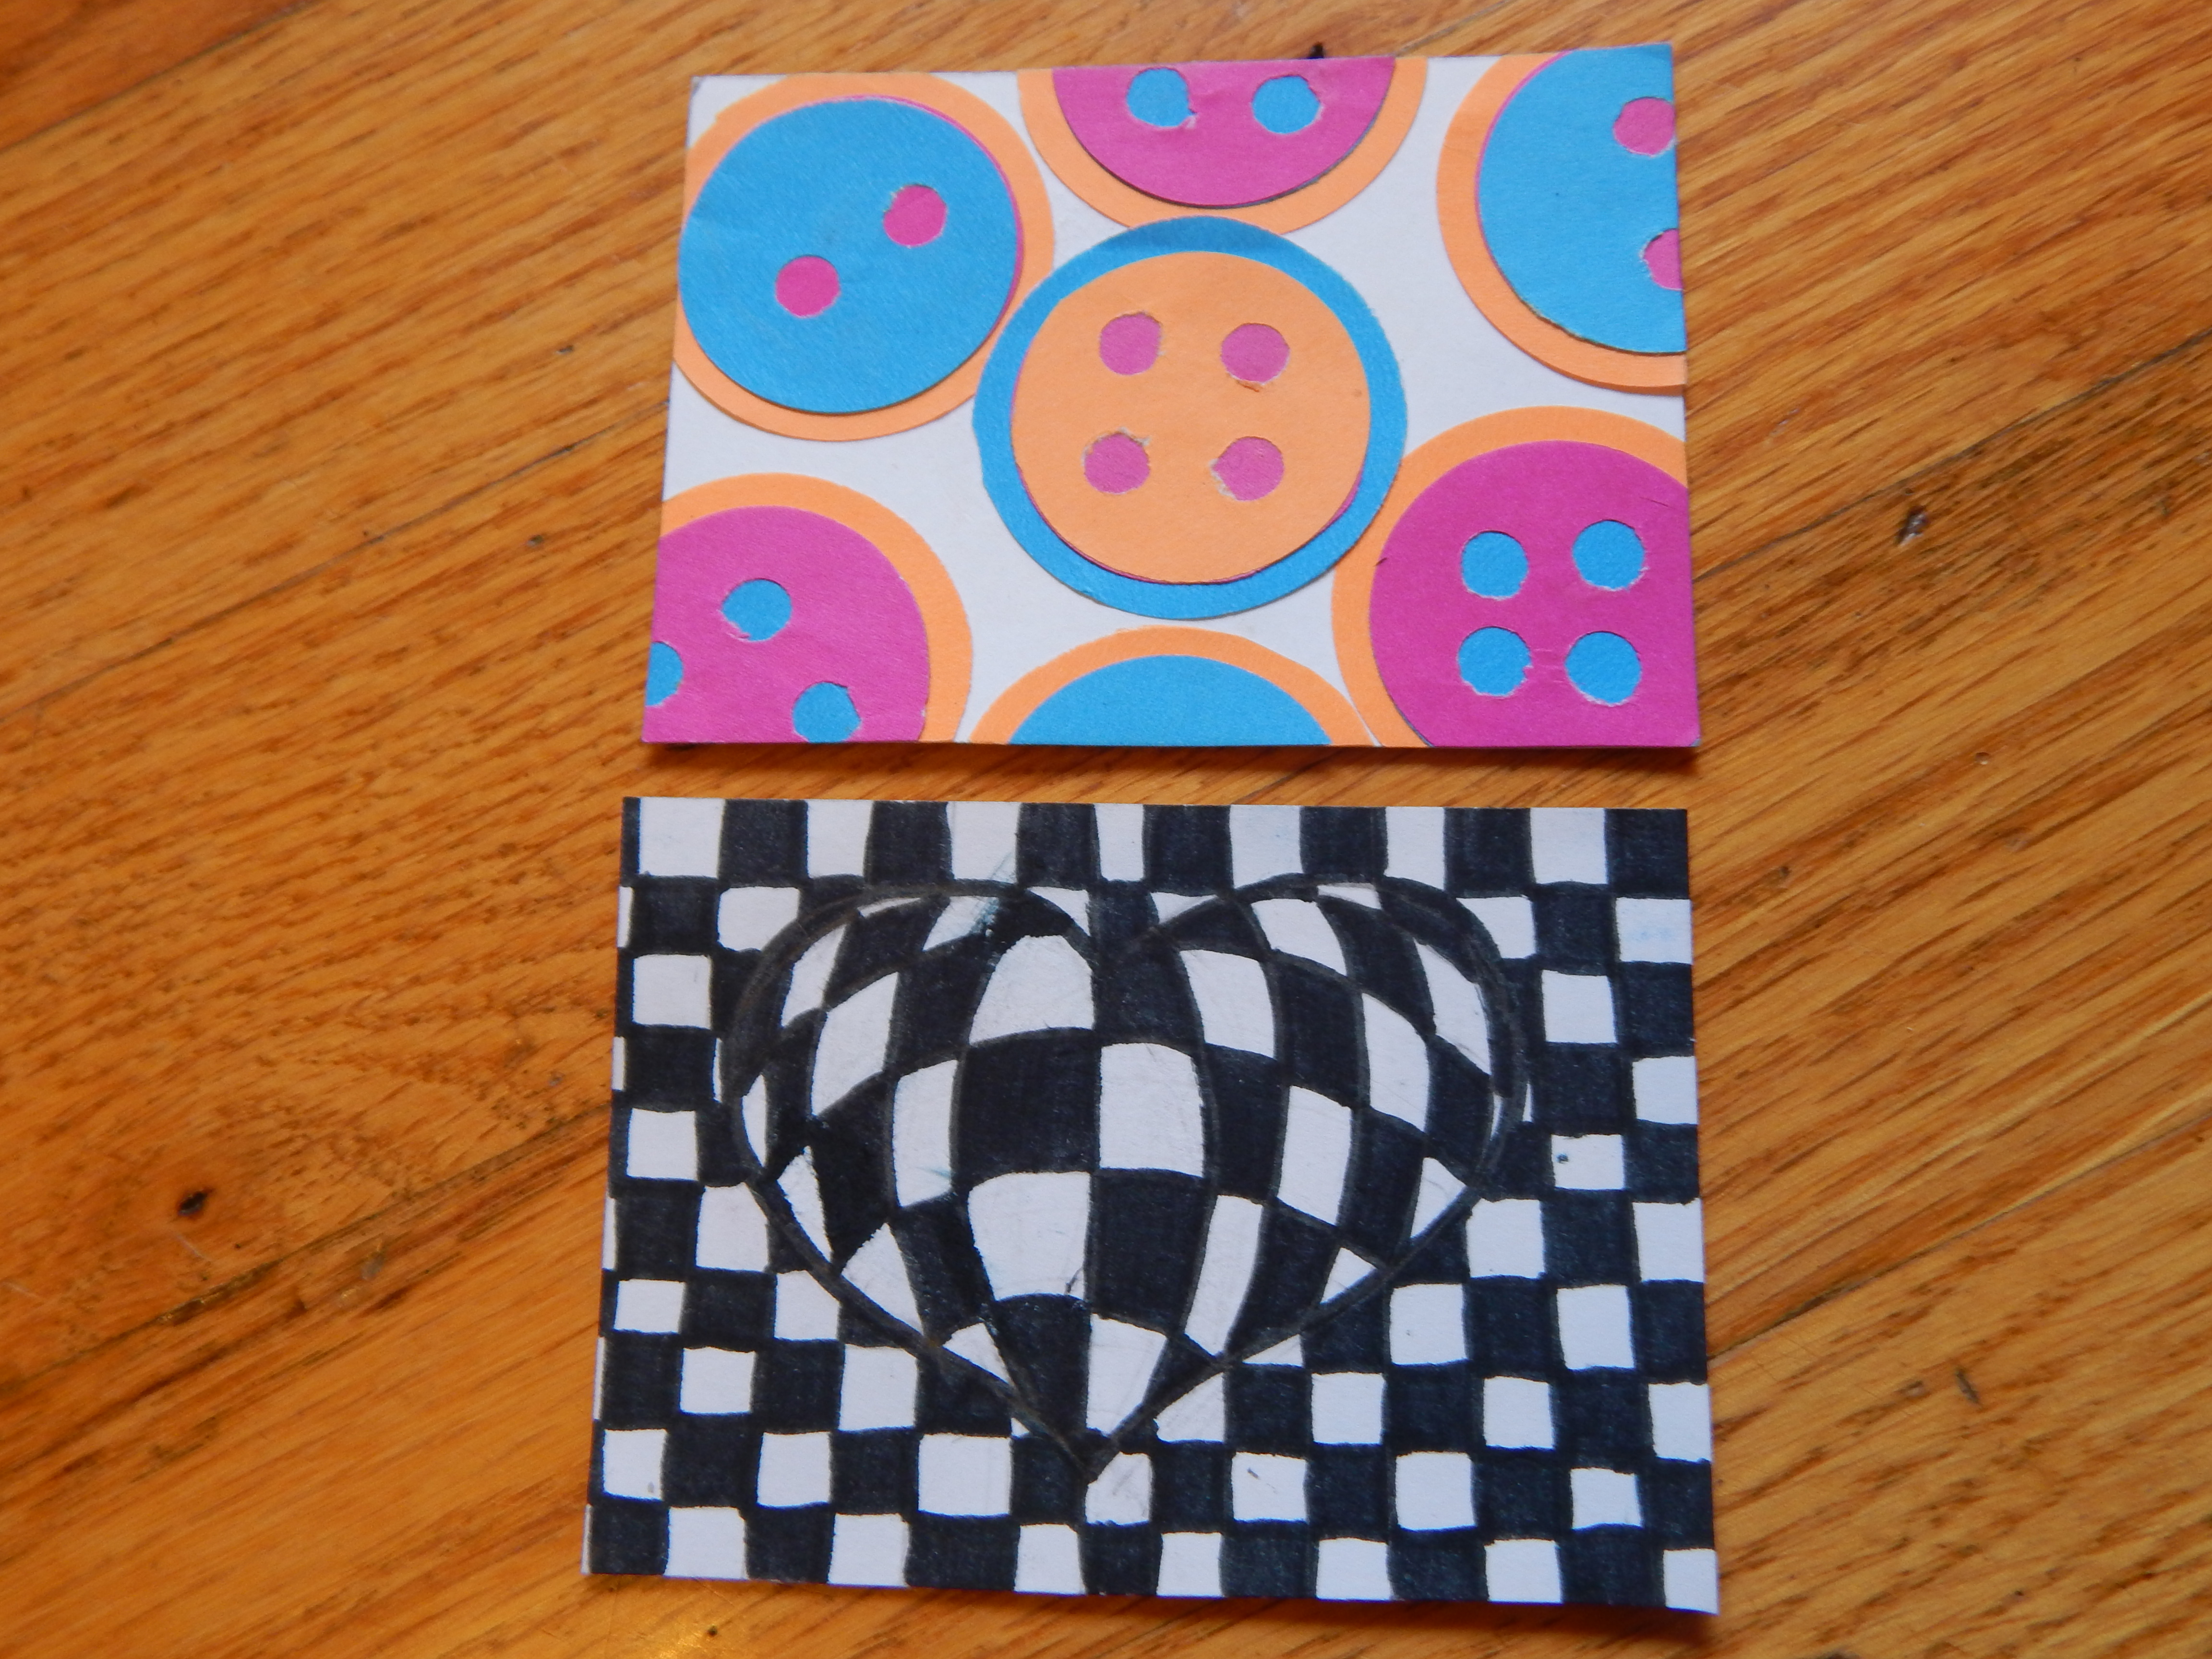
Top: Cute as a Button

Bottom: A Full Heart

003

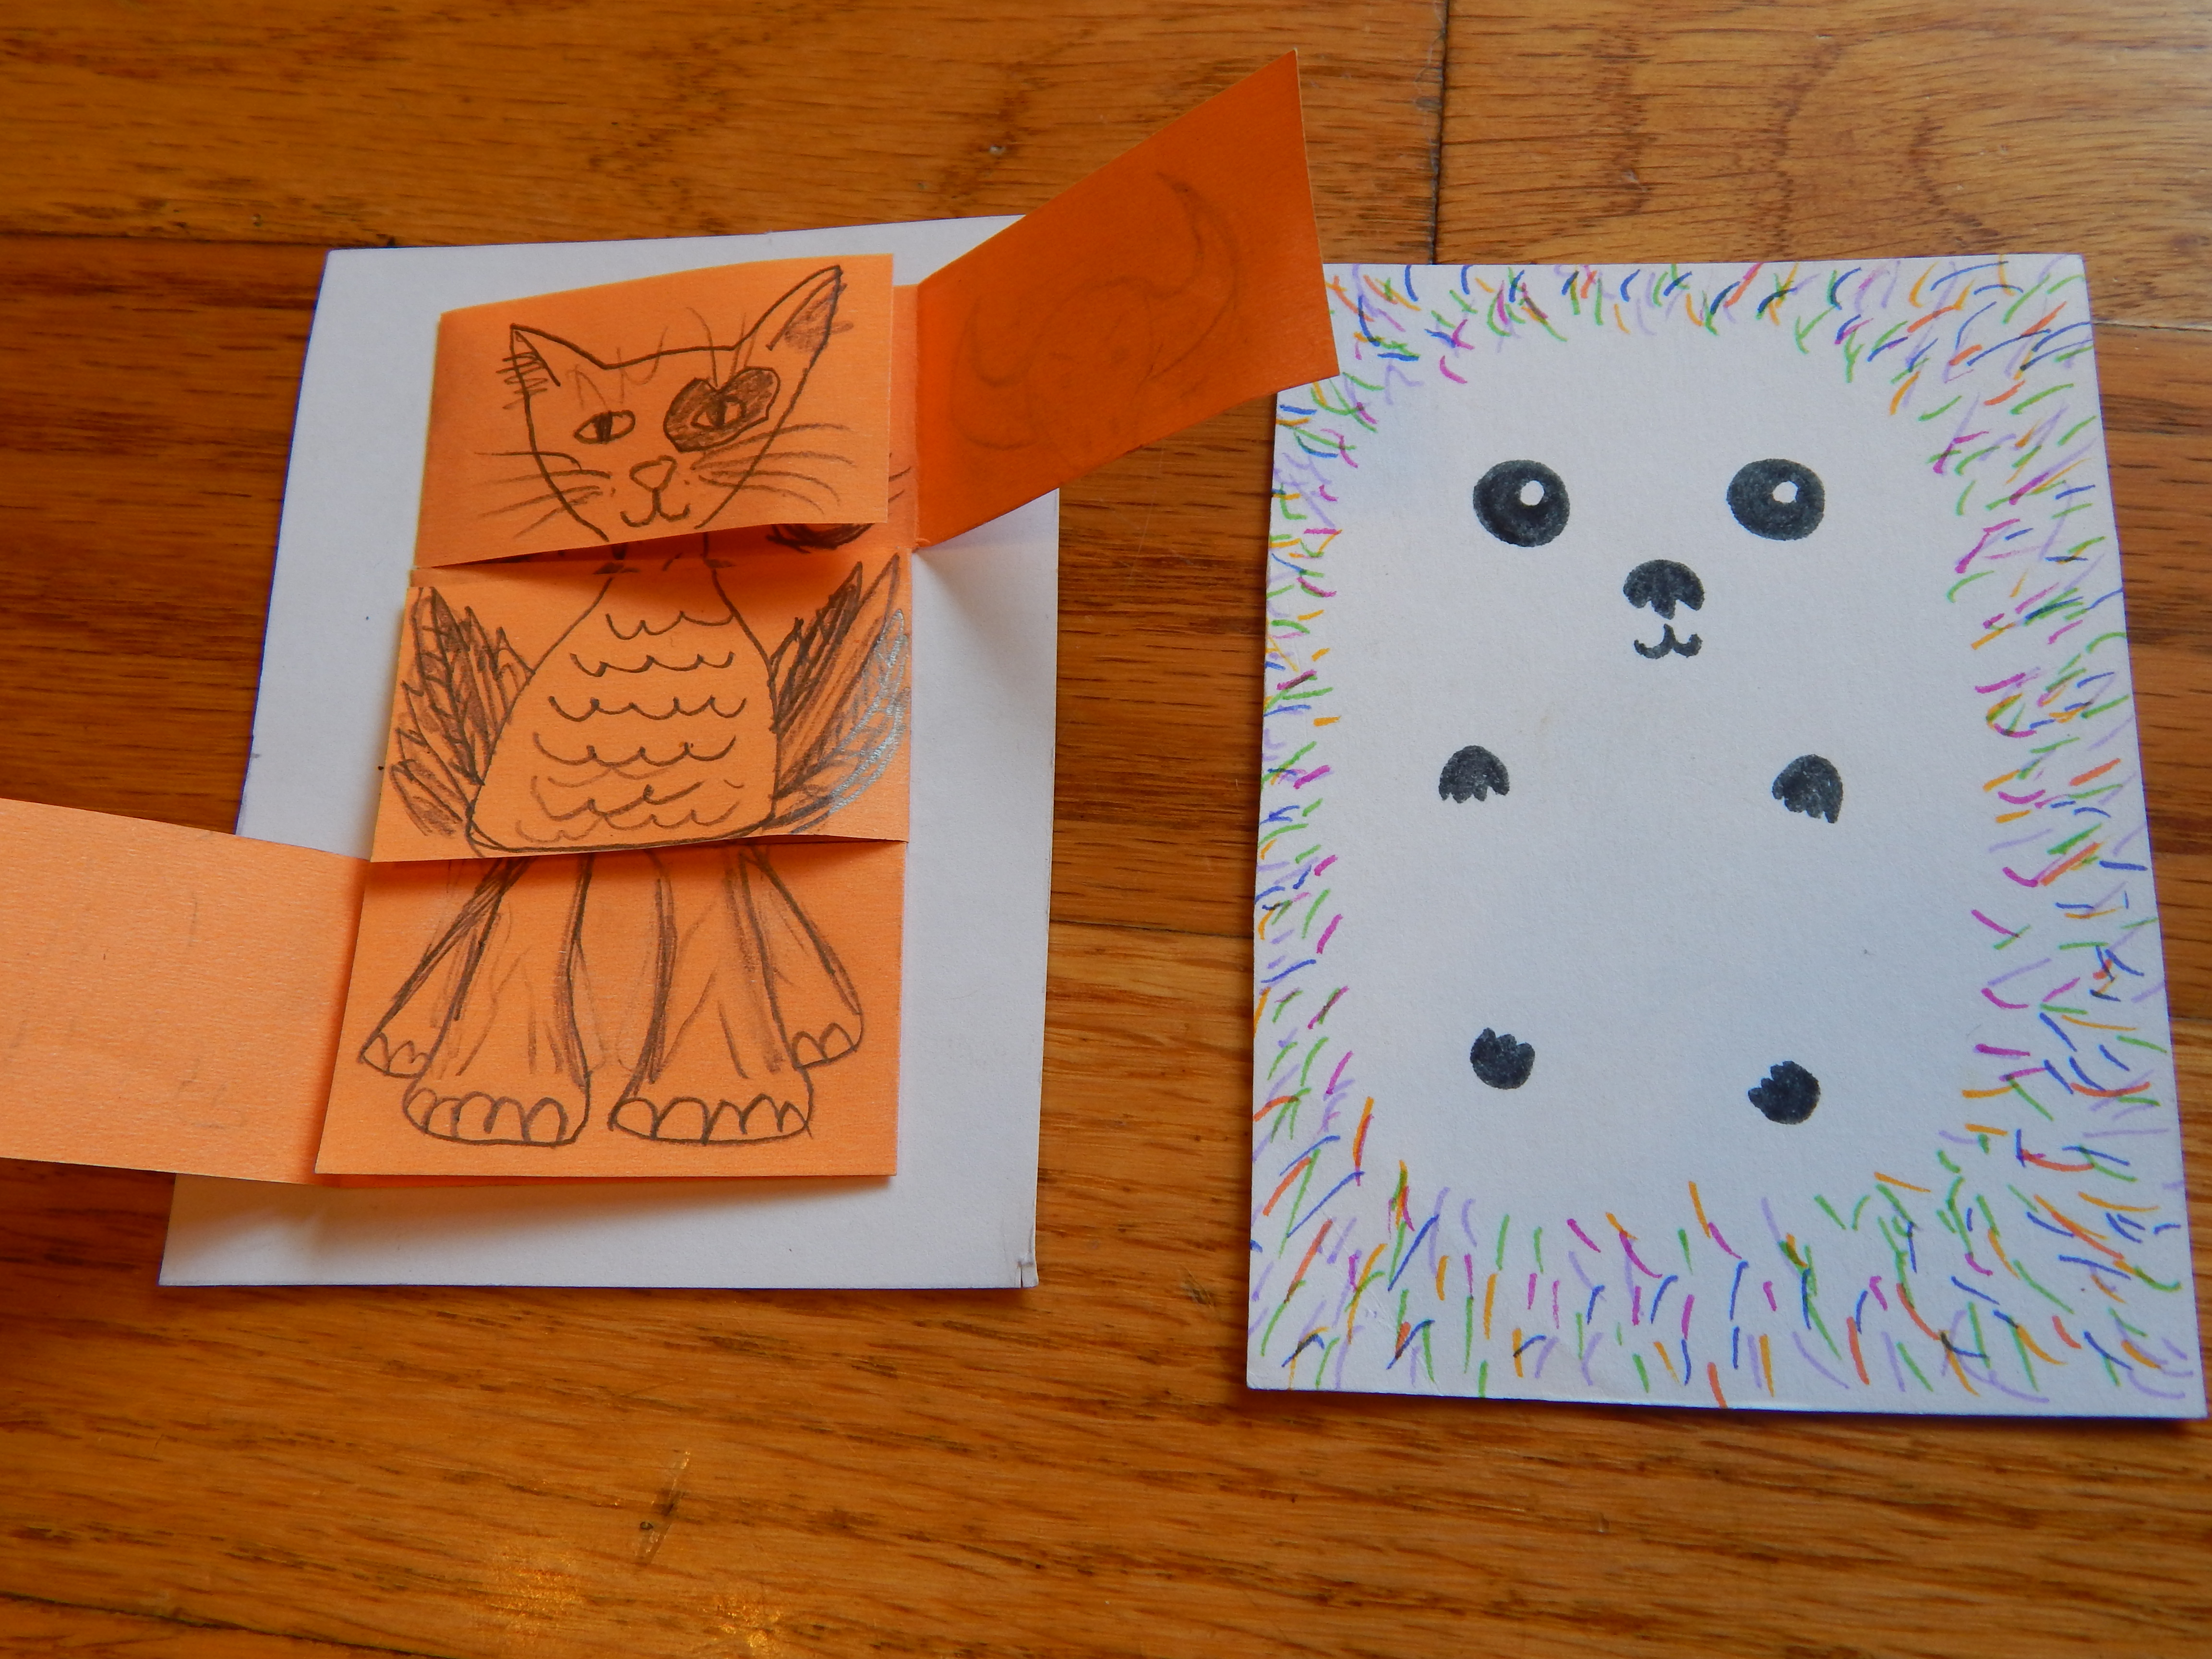
Top: Transformation (I kind of forget the title, actually. 🙂 ) I made this one by folding a paper in thirds, gluing the middle fold to the ATC, and cutting the two edge folds into three sections.

Bottom: Rainbow Hedgie I got the idea for this from Pinterest
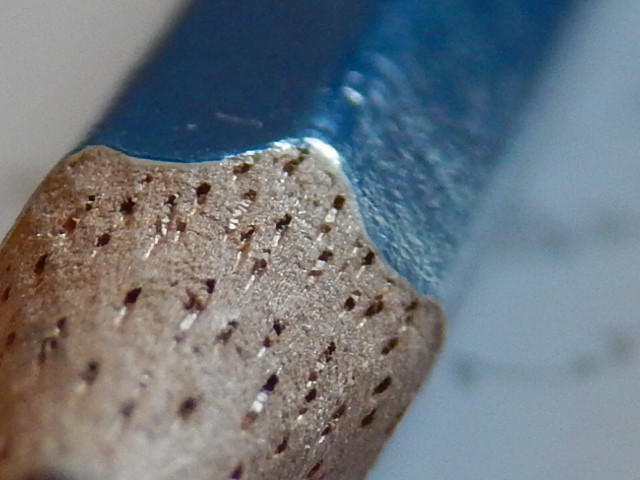
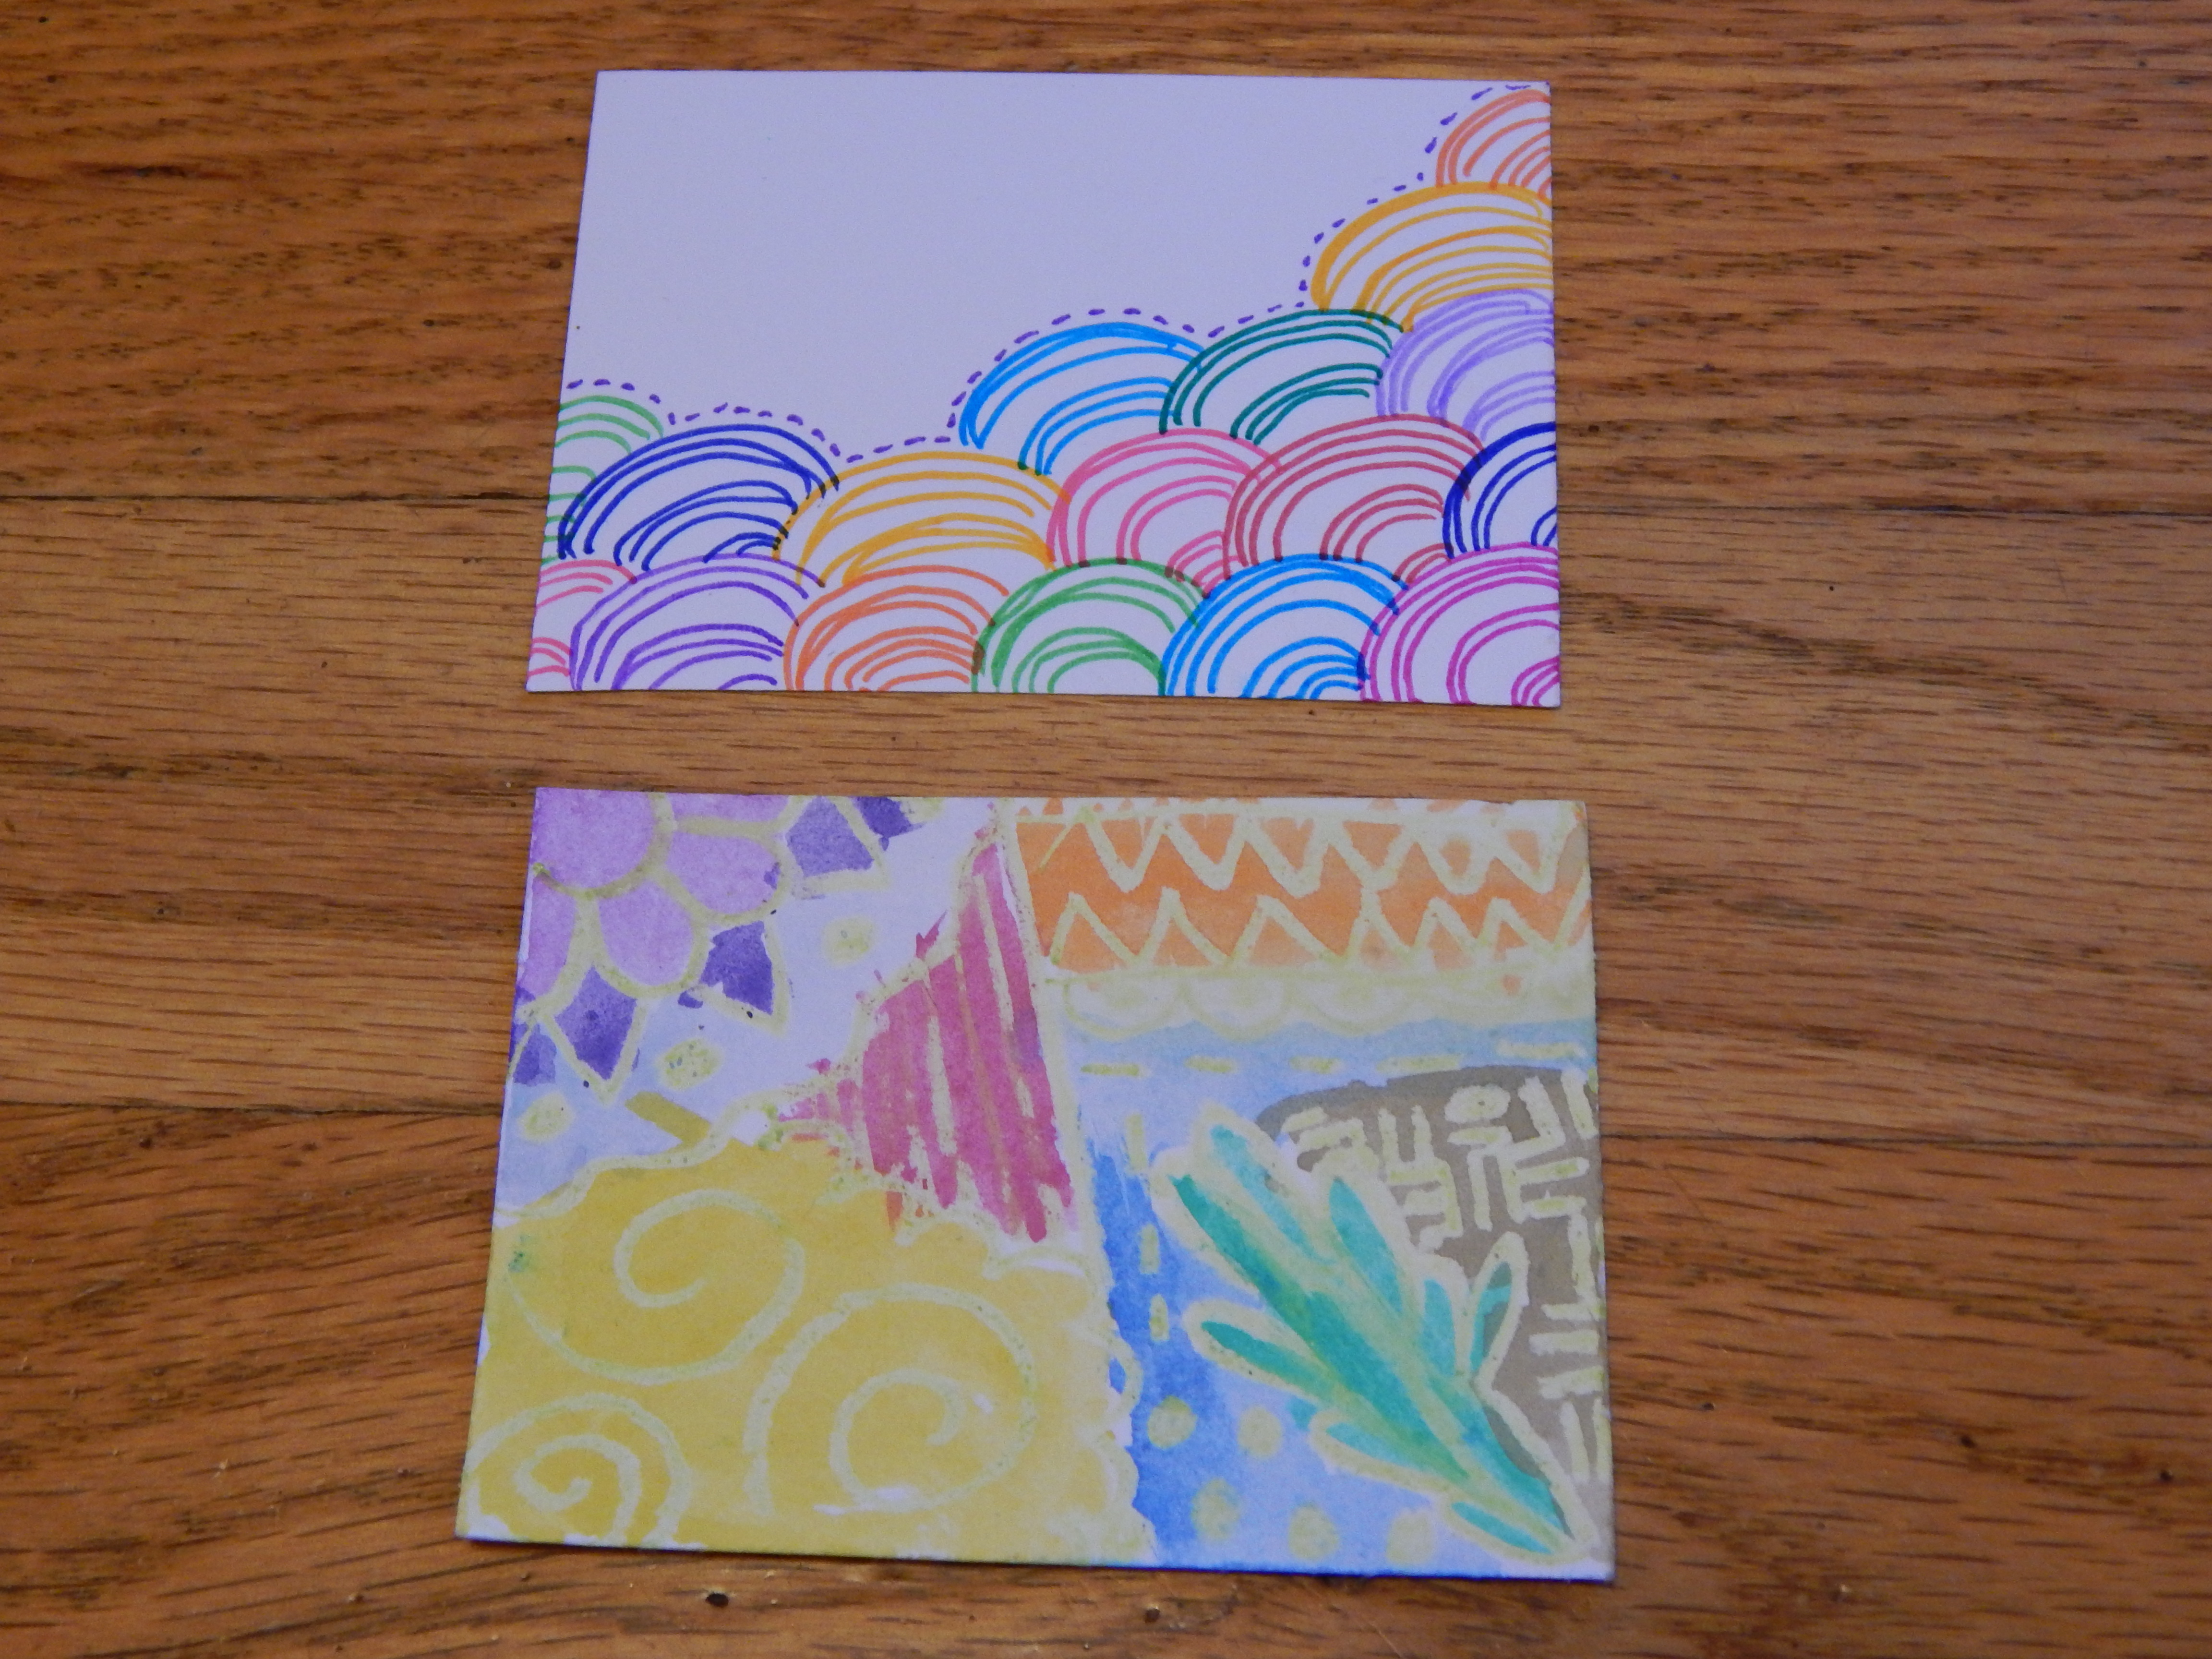
004

Top: Scallops

Bottom: Crayon Resist This one I made by drawing with crayon first, then painting with watercolor over top. The paint doesn’t stick to the crayon lines, but it does stick to the paper.

020

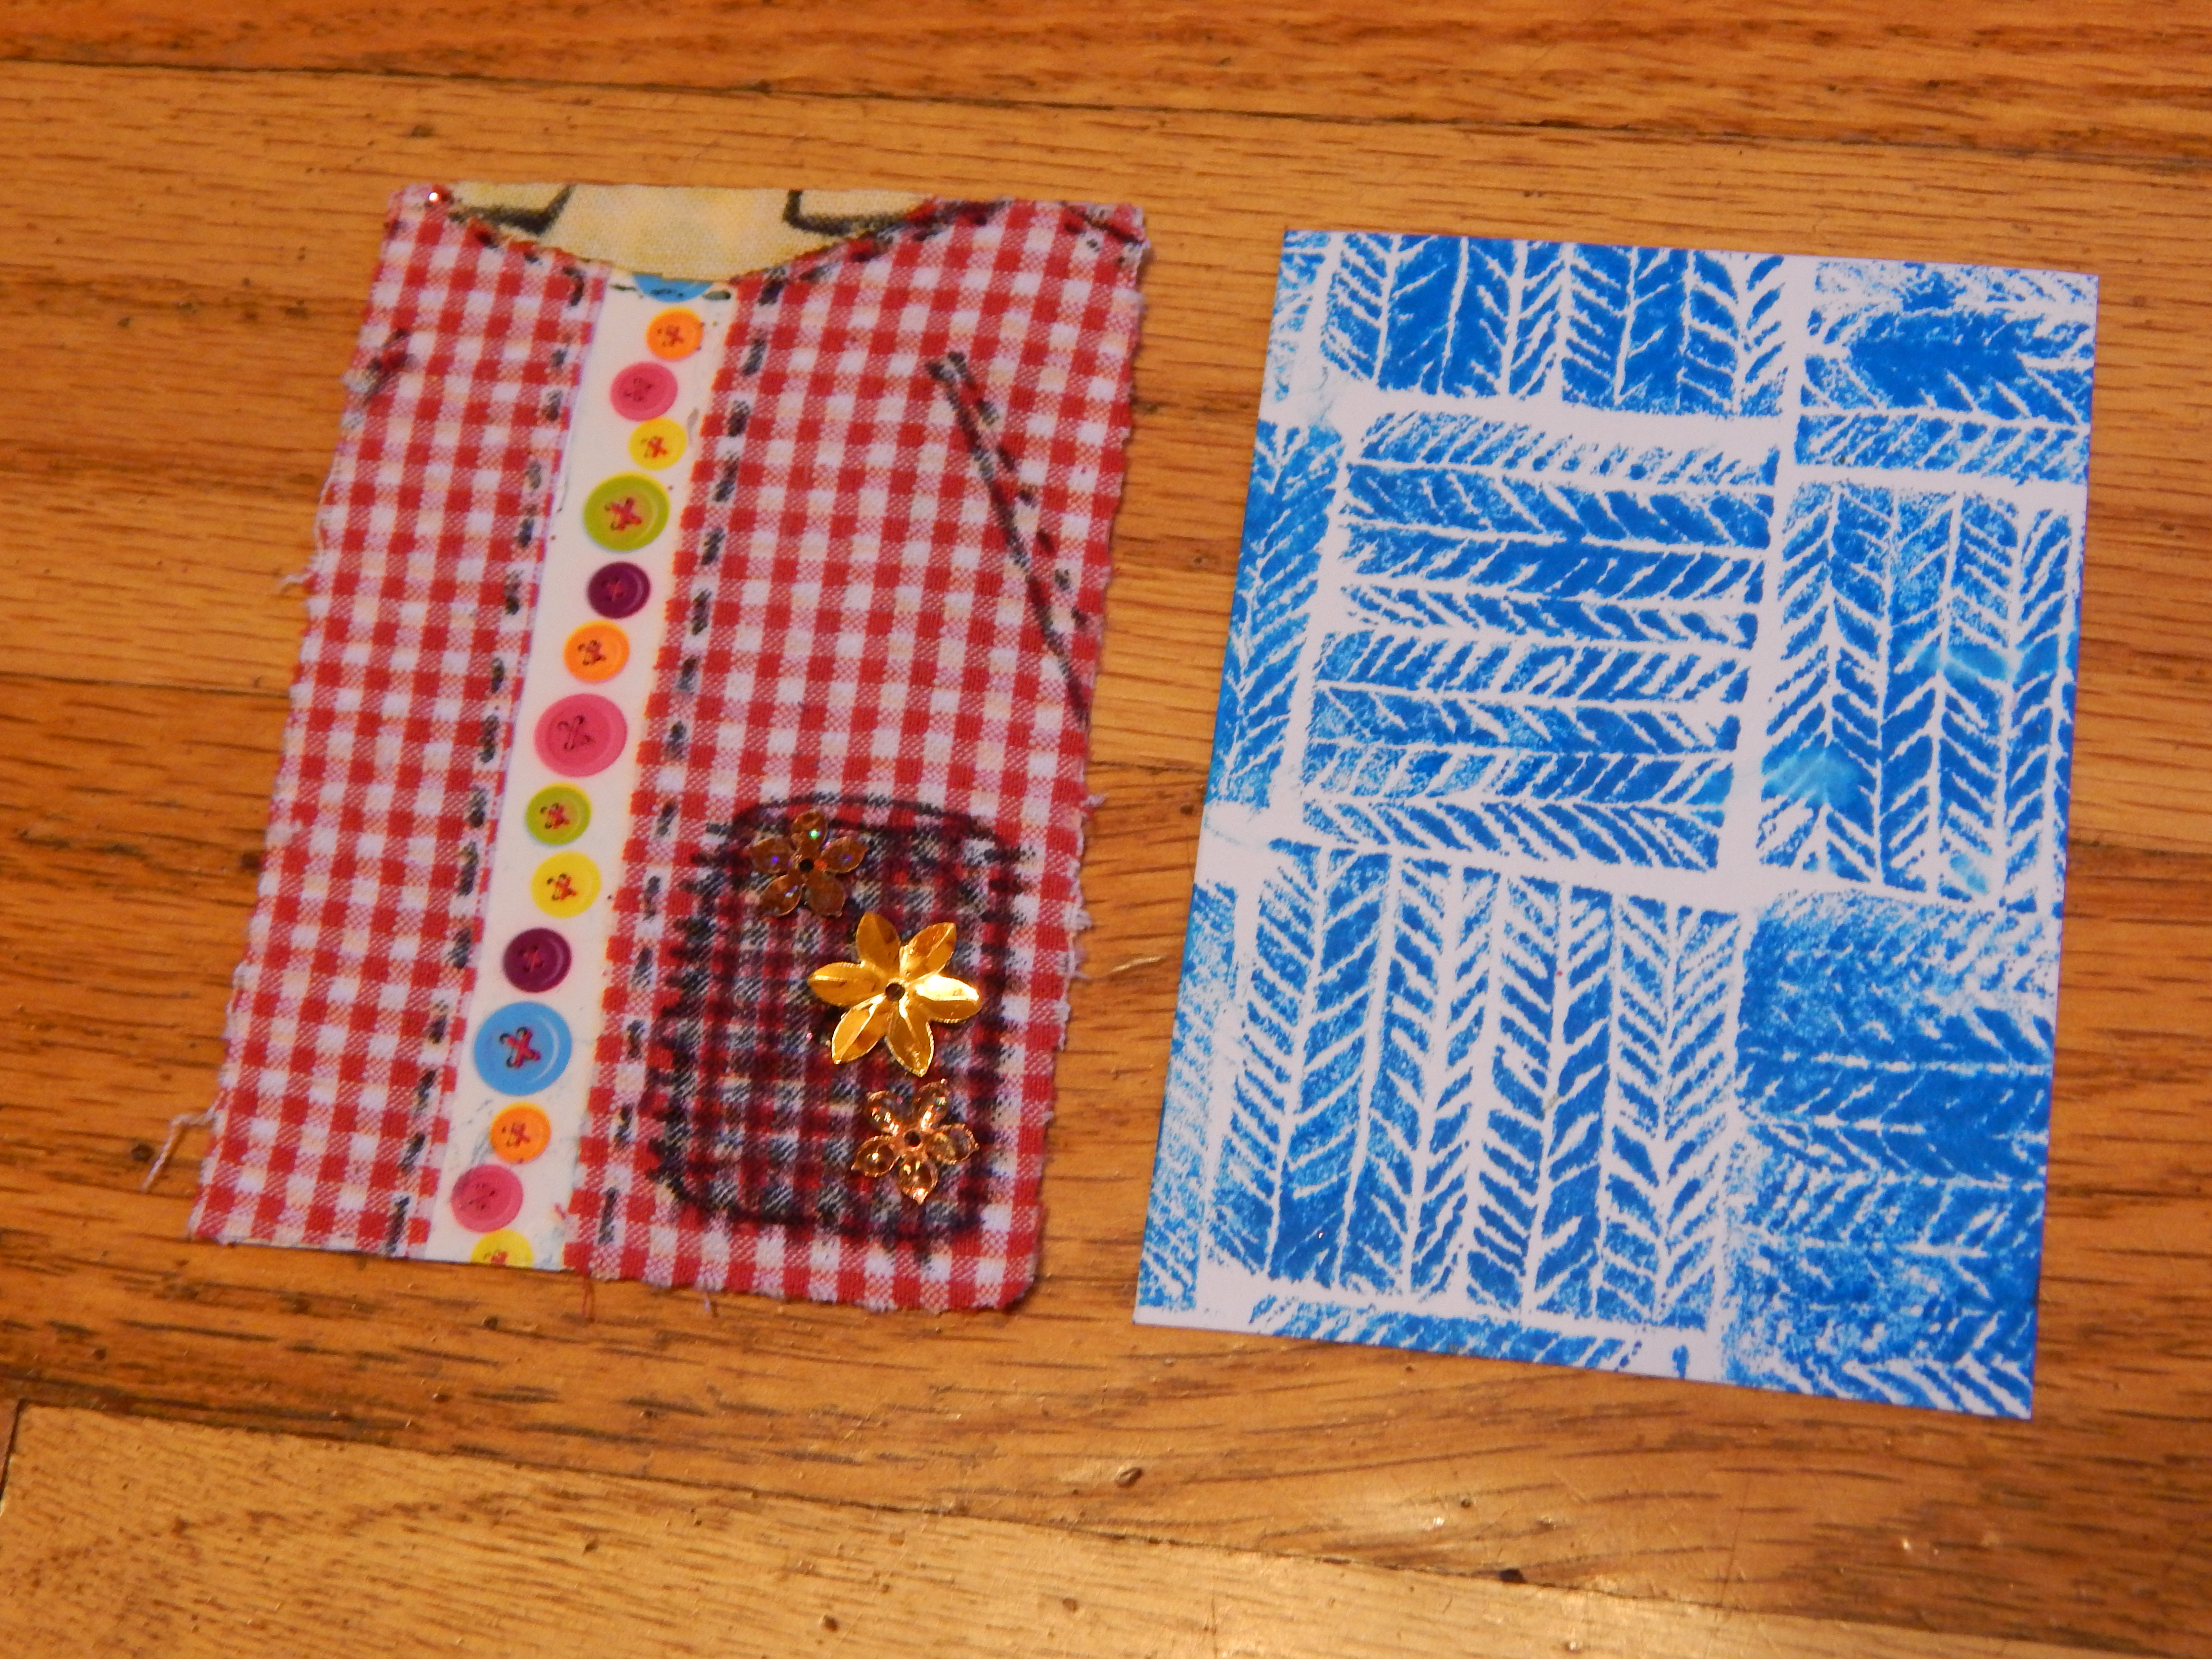
Top: Coat Pocket Made out of fabric, marker, button tape, and sequins

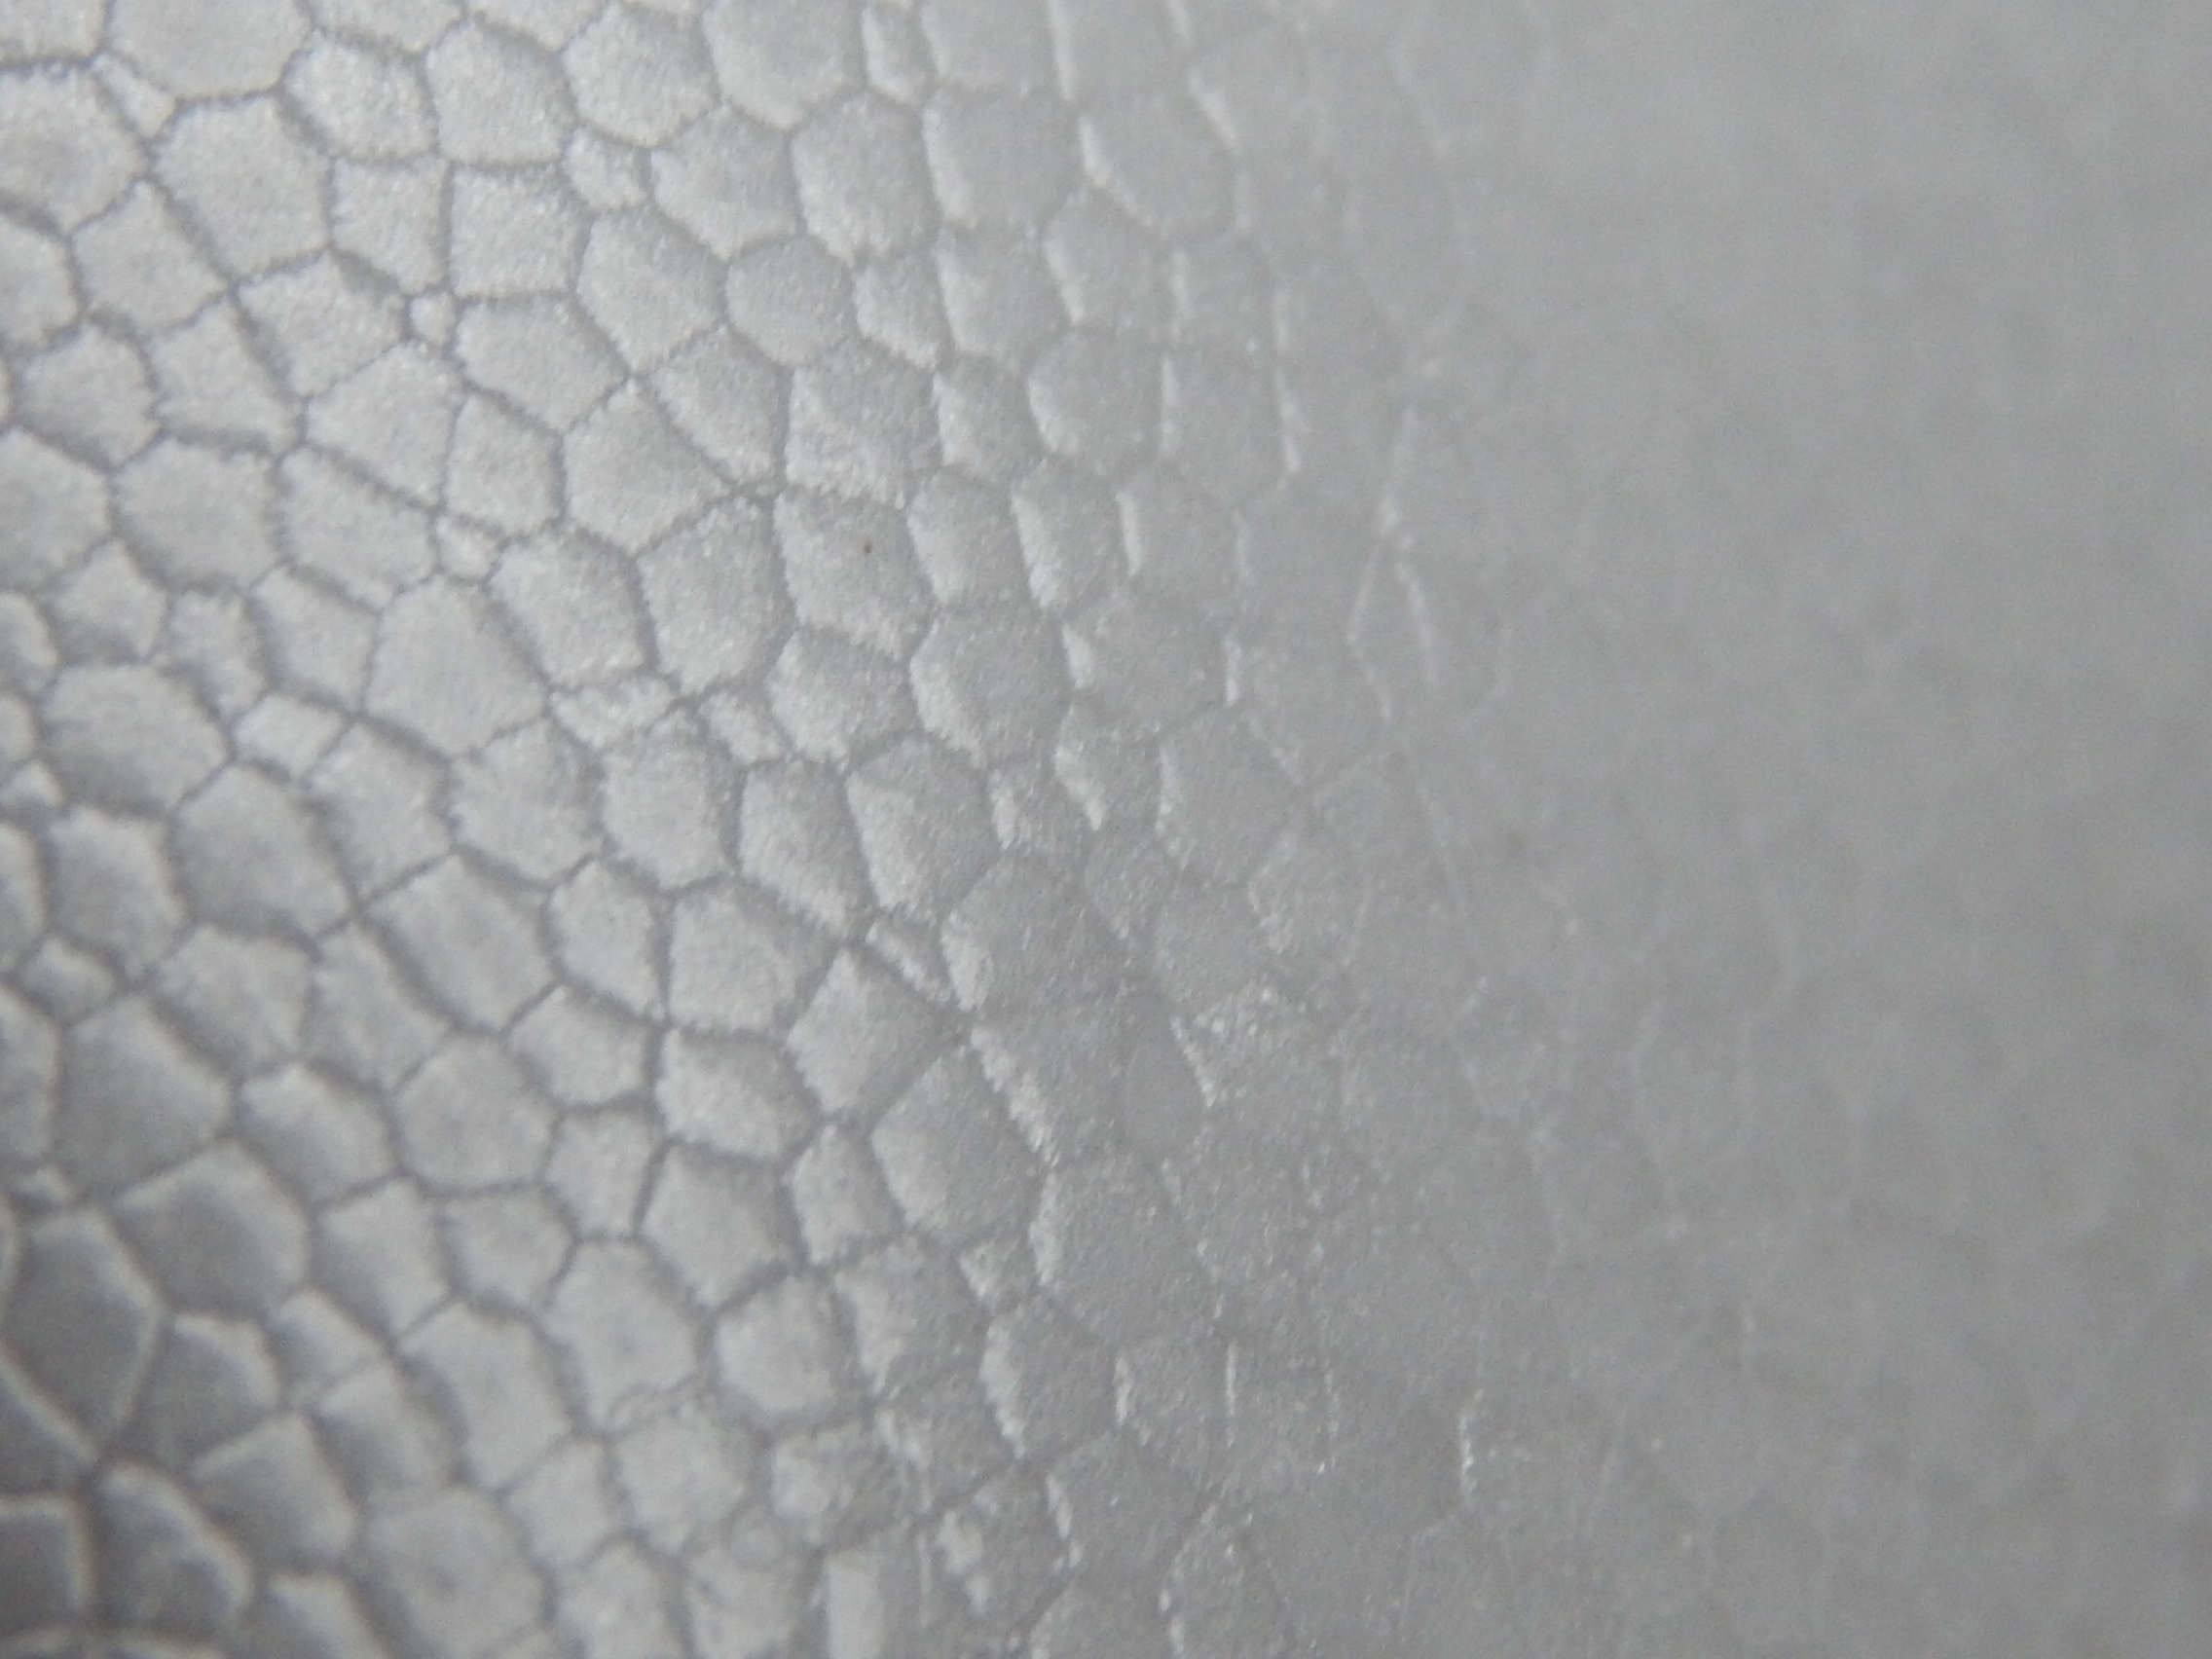
Bottom: Herringbone I made the prints from scratching the pattern in Styrofoam, and using it like a stamp with a stamp pad.

021

Top: Oodles of Doodles

Bottom: Connect-the-Dots This one was a lot of fun to do. I just drew lines through the white dots on the paper to make a picture.
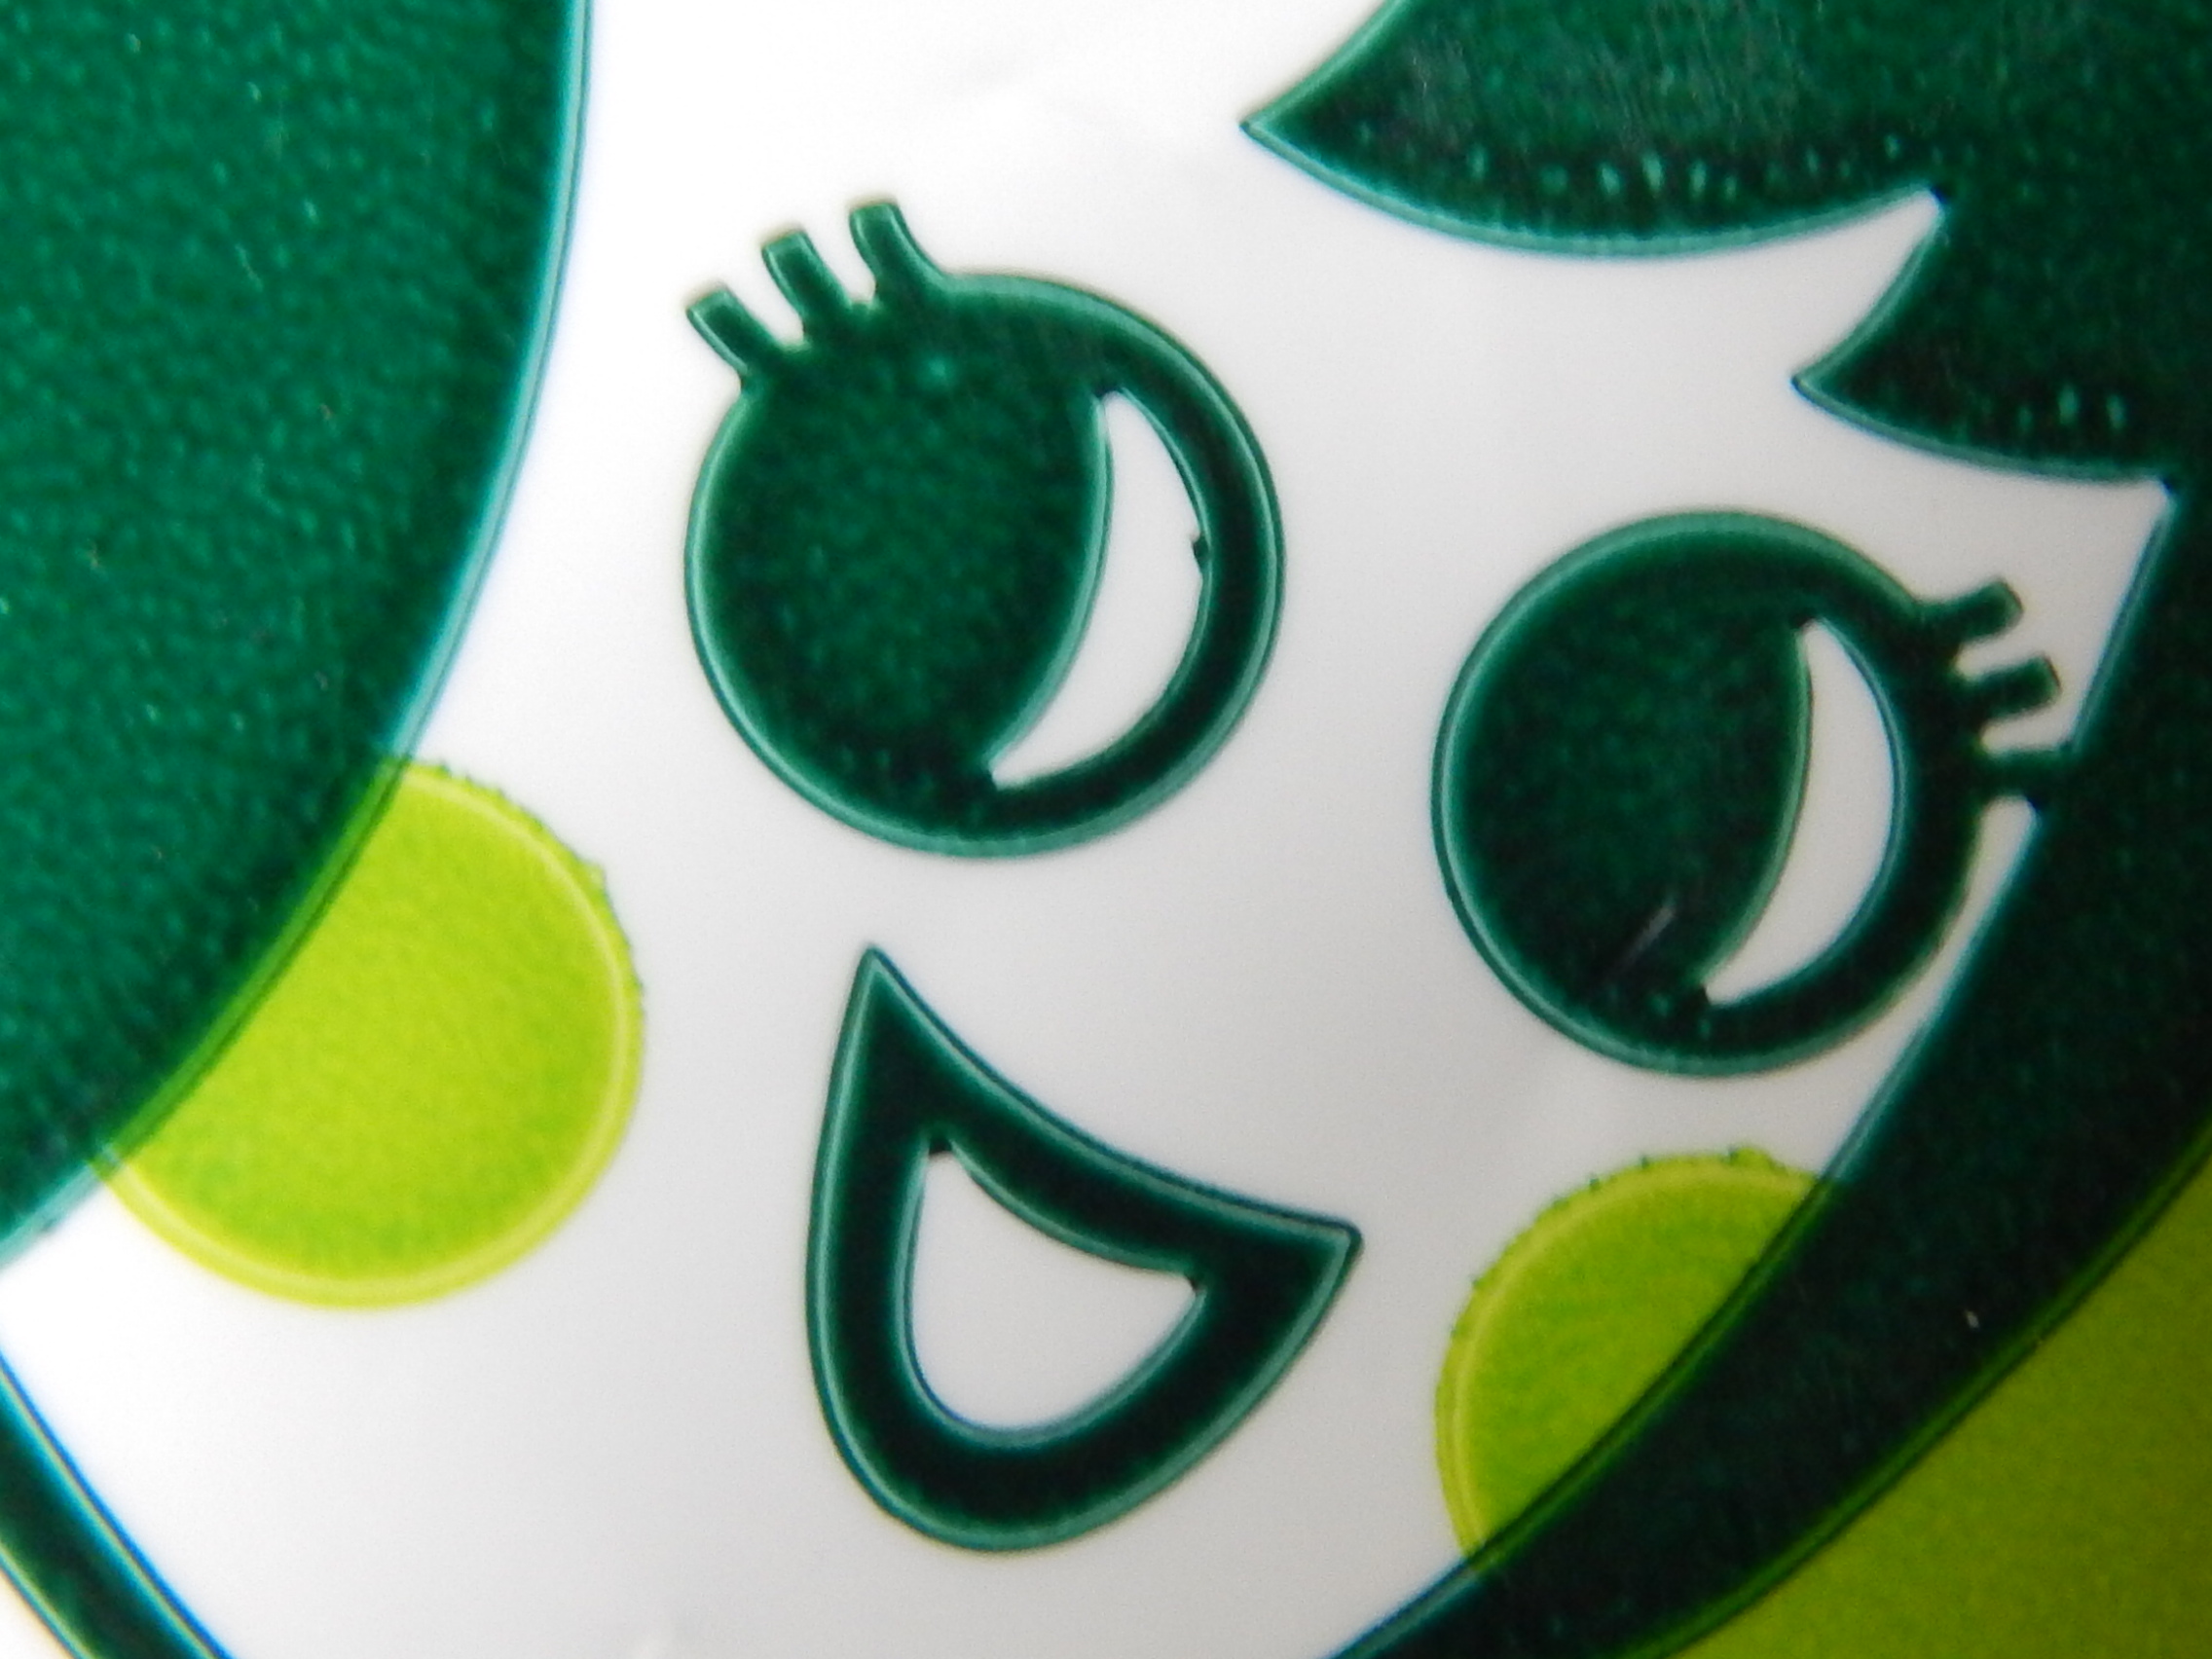
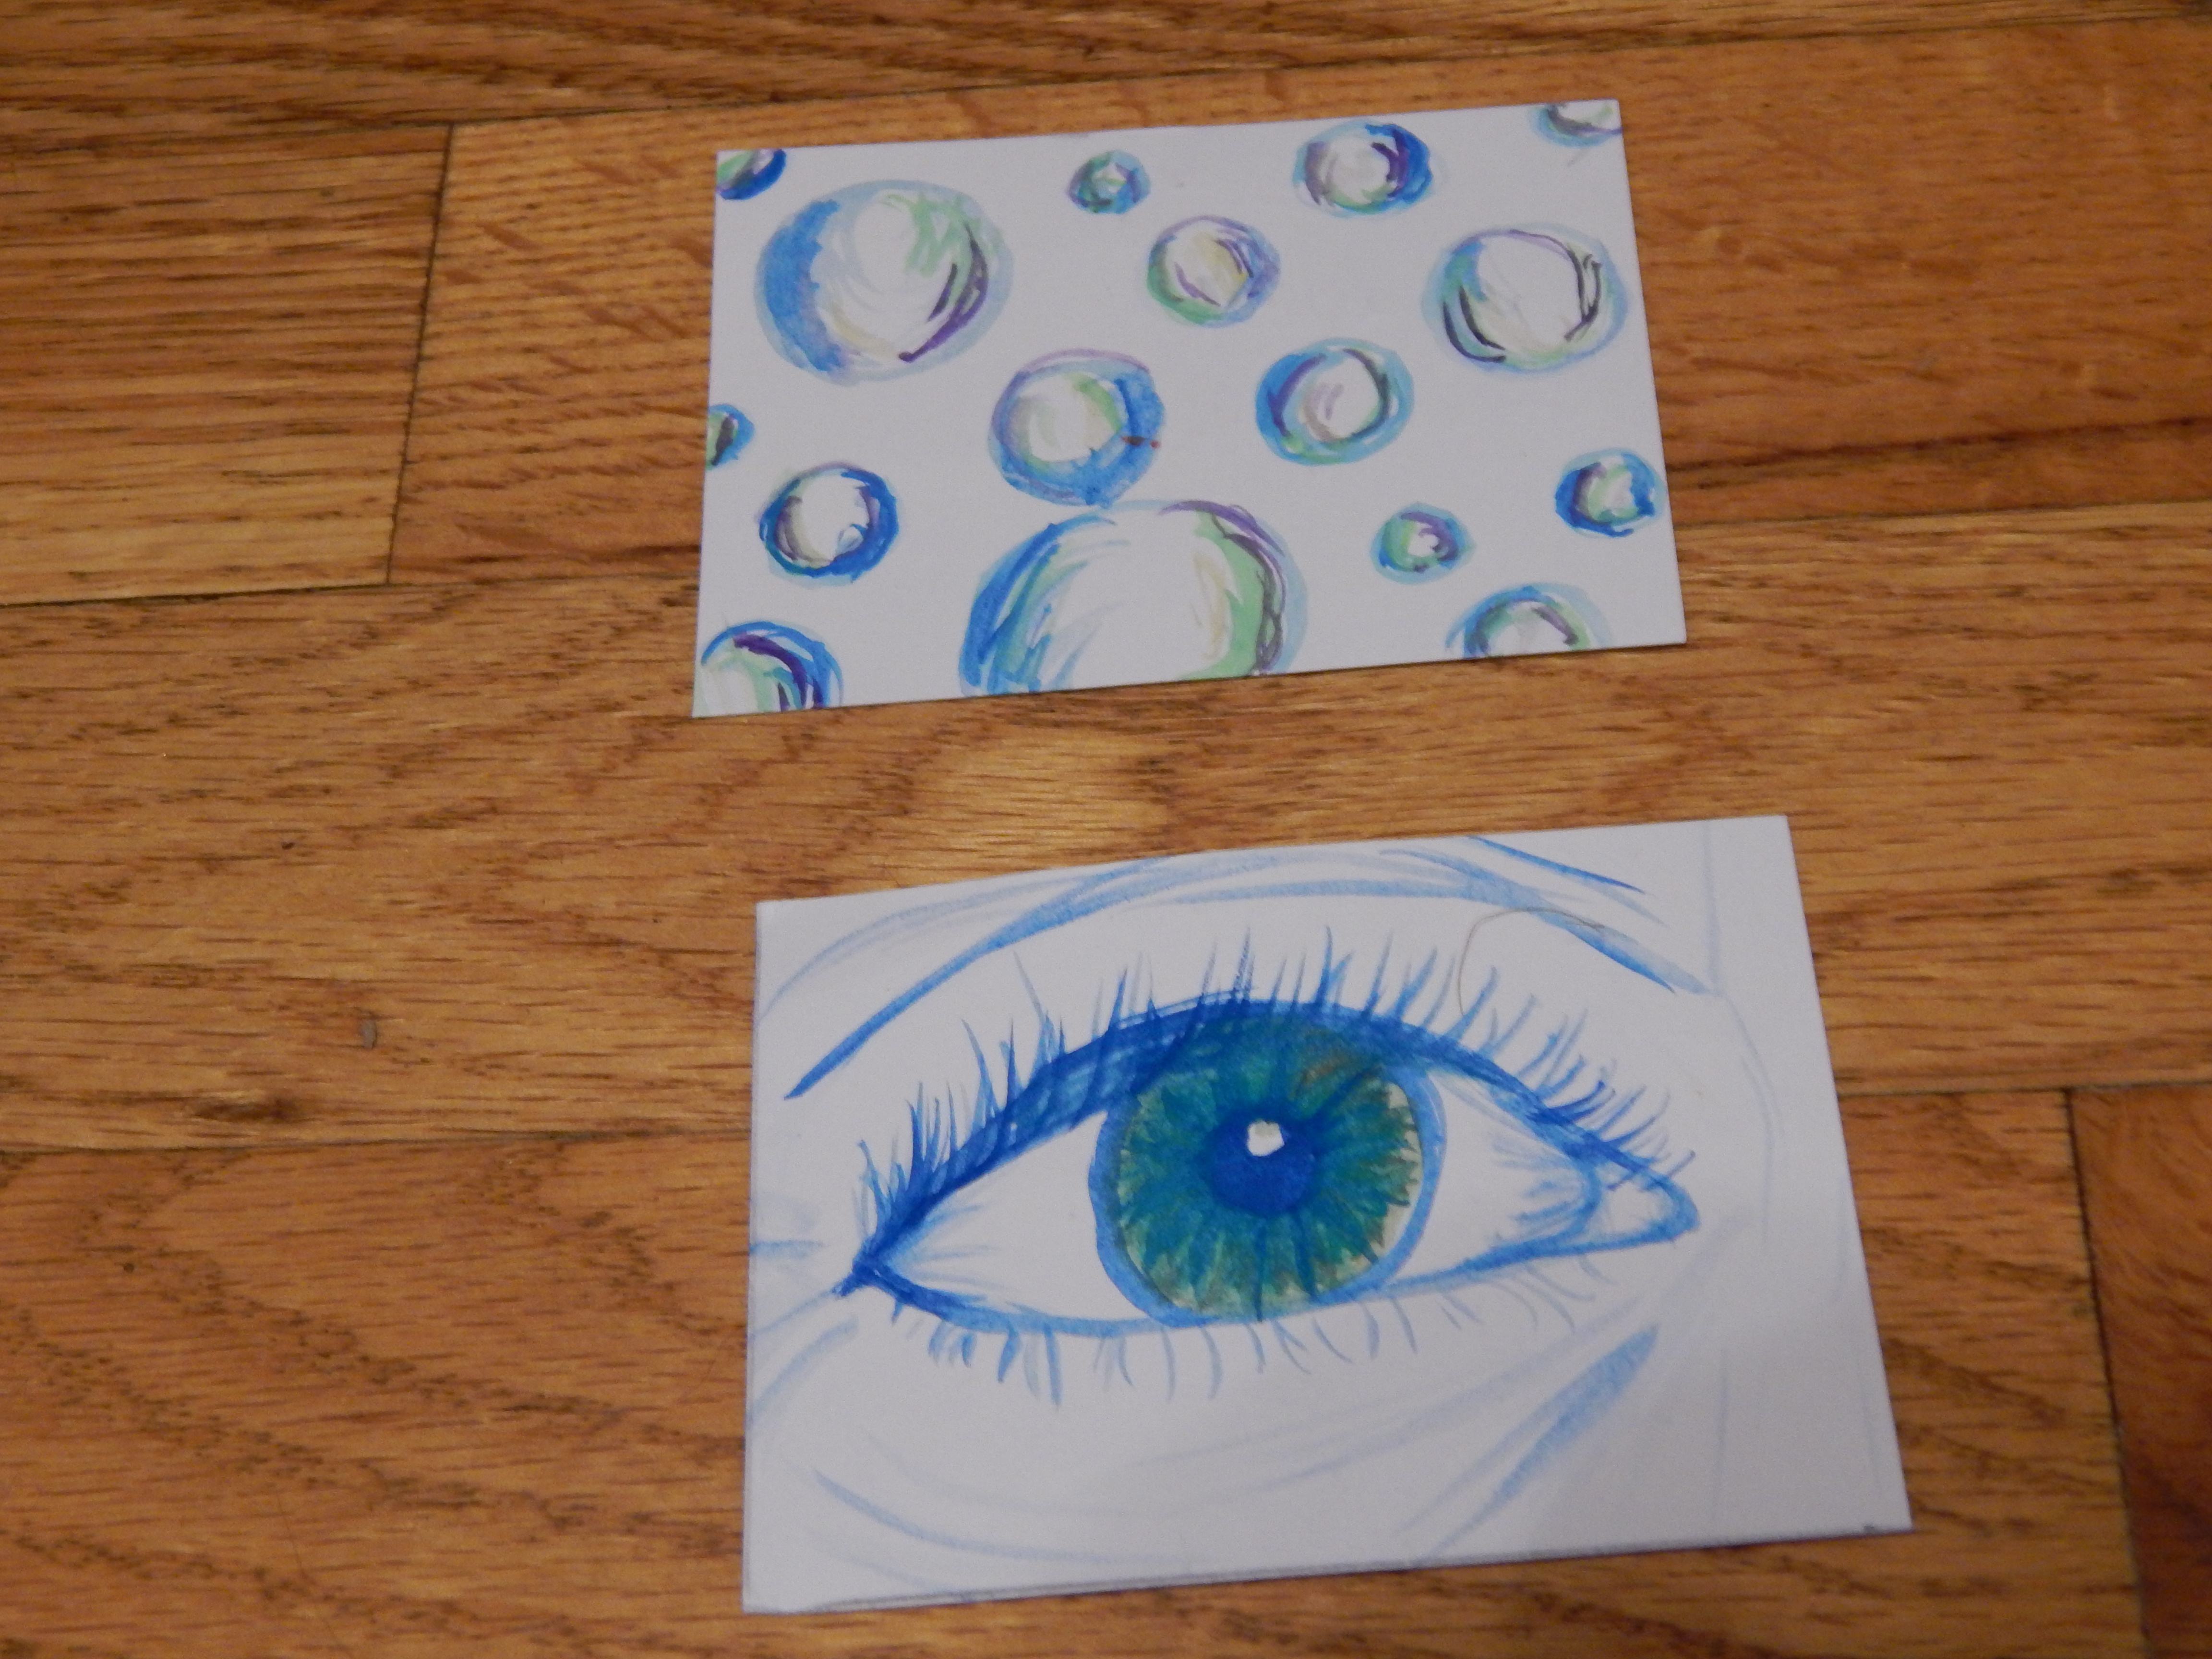
022

Top: Bubbles

Bottom: I’ve Got My Eye on You

023

Uh… Top and Bottom: Fall Collage

024

Whew, that was a lot of “favorites!” Do you like making ATC’s? It would be fun to see your ATC’s too!

***Allison***

Willow: The Fuzzball Returns (Caption It)

Dun-duh-duh-dun! The return of the fuzz-ball! Her fuzz is looking particularly fluffy today, isn’t it? I have a few photos for you to caption today. If you want to play, just comment with what you think Willow could be saying or thinking in the photos below. You can caption one, two, or all three if you want!

#1

(Willow and Snickers, grease bubbles) 015#2

(Willow and Snickers, grease bubbles) 012#3

(Willow and Snickers, grease bubbles) 011

***Allison***

Make Your Own Game! Part 3: Game Pieces and Finishing Touches

Today I will finish up the Make Your Own Game Series with how to make game pieces and a box for your game to live in.  Let’s start with game pieces.

I think the most unique and customizable pieces can be made with polymer clay.  You can make them to go along with your theme, or just make an odd assortment of fun things, like I did.  I would recommend, though, that you make your game pieces more one size than I did, just so they look more uniform.

-Allison(game series 3) 001

There are lots of other options if you don’t want to use clay: use different colors of flat-bottomed clear pebbles, buttons with handles made from beads stacked together, small toys like toy cars or plastic animals, really you can use basically any small item that doesn’t roll off of the board.

It’s important to have a good box that keeps your game from getting bashed up when it’s on the game shelf, but also provides easy access to the game when you want to play it.  (In other words, don’t use a deep, barely big enough box or it will be hard to take your game in and out.)

I found the perfect box for one of my games: it is shallow, easy to open, and sturdy.  Unless the box has no writing or graphics on it, you will want to make a label to put on top.  You could just draw the logo on the label, or take a picture of the actual game and paste it on.  Make sure to draw the logo on all sides so you don’t see a blank side of the box from the shelf.

-Allison(game series 3) 004 -Allison(game series 3) 003

And there you go!  Have your friends and family test it out, and maybe someday you will even publish your game!

Until next time…

***Allison***

Make Your Own Game! Part 2: Spinners, Spaces and Cards

(See the first installment in this series here.)  Today we’ll look at some ideas for the spaces on the board, as well as cards and spinners for your game.  Definitely change the symbols and graphics if you want to, and uh… be sure to make your spaces and board neater than I did here! ☺

*******************************************************************

This is a fun little space I call a “spring space.”  When you land on it, you get to move your playing piece ahead to the next spring space.

-Allison(name picture card, game) 008If your board game has cards, you can make spaces where you pick up a card when you land there.  Just draw a square with the graphic on the back of your cards inside it.  (You’ll probably want to make a more interesting graphic than my boring ol’ “T.” ☻)

-Allison(name picture card, game) 010It’s fun to have money, coins, or tokens in a board game.  They can be the point of the game (whoever gets the most by the end of the game wins), you can buy something with them to help you, whatever!  You can have a specific way to earn coins, or have coin spaces on the board.

-Allison(name picture card, game) 013

A board game can’t have only good spaces – it needs some suspense!  One “bad” space is a go-backwards space.  Write how many spaces you’re supposed to go back on top of an arrow pointing backwards.

-Allison(name picture card, game) 009

A really exciting space is the shortcut.  The shortcut spaces (there are two) are where you find out if you can use the shortcut or not.  On the first space, write the numbers 1, 2, and 3, and on the other one, 4, 5, and 6.  When a player lands on a shortcut space, they must roll the dice.  If they roll any of the numbers shown on the space, they get to use the shortcut, but if they don’t, too bad for them.  Sometimes using a shortcut is bad, because if you land on the space at the far end of the shortcut and you have to use it, the shortcut takes you backward.

You can either have the player jump to the other end of the shortcut all at once, or divide it into spaces so that they still have to roll their way across.

-Allison(name picture card, game) 012 -Allison(name picture card, game) 011

A few more spaces I didn’t draw here:

Roll again

Pit (which makes you lose something like a coin or a turn.)

Now for cards.  I can’t really help you much here, because the kind of cards you make really depends on your game.  They could make you answer a question or do a certain thing in order to move ahead on the board, they could be superpowers to help you, they could be anything!  But as for making the actual cards, I think the best way is to either cut them out of cardstock with a paper cutter, or print them onto cardstock from your computer.  The nice thing about printing them is that you can design a nice graphic that will look the same on all of your cards.

You can make a spinner by printing out a pie graph divided evenly into the number of spaces you need, and pasting it cardboard.  An alternative to printing a spinner is drawing one.  Cut a square piece of cardboard and divide it evenly into the number of spaces you need.  Trace a circle onto the square, and cut it out.  For the spinner, cut a rectangle that comes to a point like an arrow at the end from cardboard.  Punch hole in the middle of the arrow and the spinner-board.  Put a brass-brad through the hole, but be sure to leave some room between the head of the brad and the arrow.

****************************************************************

Whew, that was a long post!  Hopefully it helps if you ever want to make your own game.

***Allison***


Make Your Own Game! Part 1: The Board

I love making up games.  Some turn out to be really fun, and others… not so much.  But for any kind of board game, there are at least a few things you’ve got to have.  This series will cover how to make some of the things you need to create your very own board game.

First I will list a few things that your game can be about.  Choose a kind of game that you like to play, but also keep in mind that, say Chance games are easier to make than Strategy.  (At least for me!)

Words/Spelling

Chance

Strategy

Drawing/Art (like Pictionary)

Get up and do something! (like Charades)

Memory

Skill

Puzzles

~~~~~~~~~~~~~~~~~~~~~~~~~~~~~~~~~~~~~~~~~~~~~~~~~~~~~~~~~~~~~~~~~~~~~~~~~~~~~~~~~~~~~~~~~~~~~

The Board:  Every board game has to have a board – that’s the whole reason it’s called a board game!  You can make a board out of stiff paper, thin cardboard, or you can cover an old game-board with paper and start over! (Make sure that you or your family don’t want the game before you cover it!)  Another great way is to draw the board on cardstock, and laminate it.  You can even tape together four pieces of paper after they are laminated for a bigger board.  Here are a few suggestions for making the board to get you started, but there are many more ideas you can use.

Square:  Think Monopoly – a square or rectangle, divided into spaces, going around the outside of the board.  The nice thing about a square is it’s easy to make.  Also, it allows room for you to put the name of your game or the logo in the center, as well as any stacks of cards.

DSCN6951

To make a square board, use a ruler to make straight lines a ruler-width away from the edge of the board.  Also use the ruler to divide the square you just created into spaces.  Make sure the spaces are big enough to hold several playing-pieces at once.  (Note: If a ruler-width isn’t wide enough, trace something else to make bigger spaces, or measure at intervals along the edge.)

Circle:  A circle board is more interesting than a square board, but it is hard to make one big enough to hold an adequate number of spaces, and the edges of the spaces will be slightly curved instead of the nice straight edges of a square space.  A circle board still has room for the logo and stacks of cards, if you make it big enough.

DSCN6949

To make a circle board, find two circle shaped objects, one smaller than the other, and trace around them, making sure the smaller one is centered in the big one.  Divide the circle into spaces.

Squiggle: This shape allows you to fit many spaces into a board, but there isn’t much room for anything else.  A squiggle also lends itself nicely to shortcuts (more on that in a later post.)

DSCN6950

To make a squiggle board, take your pencil back and forth across the board in a zigzag, but with curved corners.  There isn’t a good way that I know of to make the squiggles nice and symmetrical, but just try to parallel the two sides evenly.  You can make tight squiggles for lots of spaces, or loose squiggles so you have room to draw pictures, the logo, or put cards in between them.

Stepping stone:  Stepping stone spaces are made of individual pieces instead of one connected loop.  The nice thing about this is you can use up pretty scraps of paper making it!  You can fill up the entire board with spaces, but be sure to draw arrows that show which way the playing-pieces are supposed to move, because it’s hard to tell when the spaces aren’t connected.

DSCN6948

To make a stepping stone board, use a circle or square hole punch to punch spaces out of pretty or plain colored paper.  Draw arrows showing which way the playing-pieces are supposed to go.

*******************************************************************

So there are a few suggestions for the board.  A few more things:

Be sure to make your Start and Finish spaces big enough to hold the maximum number of playing pieces for one game.  (In other words, don’t make the Start space only big enough to hold one playing piece when there are 5 players trying to fit their pieces on Start.)

Have fun decorating around the board.  You can draw things pertaining to the game (i.e a forest landscape if the game is about woodland animals), or decorate it with doodles and designs.

Make up your logo.  Decide on the name of your game, and write it in fancy lettering somewhere prominent on the board.

~~~~~~~~~~~~~~~~~~~~~~~~~~~~~~~~~~~~~~~~~~~~~~~~~~~~~~~~~~~~~~~~~~~~~~~~~~~~~~~~~~~~~~~~~~

I hope you are inspired to make up a game!  Next up will the spaces of the board.

Mystery Revealed #3!

Drum roll please!  We have the answers to the mysteries today, along with the great detectives who figured them out!  This time I decided to do something a little different: instead of saying which objects a person guessed correctly, I will just give them a point for each thing they got right, and you’ll see the total at the end of this post!

***************************************************************************************************************************************

#1 Solution: Styrofoam cup.

-Allison(fourth of July) 014

#2 Solution: Purple cabbage.

-Allison (swallowtail caterpillar) 001

#3 Solution: The Utz girl (like on chip bags)

(lighning, mystery pictures, ATCs) 004

#4 Solution: Yellow yarrow flower.

(lighning, mystery pictures, ATCs) 020

#5 Solution: Pencil.

DSCN9740

#6 Solution: Old candlestick-lantern thingy.

(lighning, mystery pictures, ATCs) 006

*************************************************************************************************************************

Ahem.  Now for the detectives:

Loren from Happy House of AG , and Blue Eyes, Gray Eyes guessed all 6 correctly!  (Well, for #6 she said the turn-y thingy on the lamp, and I guess that counts…maybe…perhaps…)

Clara from Clara’s Craft Corner, and Shelby from Country Christian Girls and Every Bit of Lovely tied with 2 correct guesses each, and there were some extra guesses that were very close!

Thank you so much to everyone who played along.  I hope you all enjoyed the mysteries!

***Allison***

Mystery Pictures Post #3

And I’m back again with a little game.  Remember Mystery Pictures?  If you don’t, here’s the rundown:  I will show you some mysterious, close-up pictures of… something, and you will try to guess what it is.  In a post in the near future, I will tell you the answers, who guessed what right, and links to their blogs.  (Oh, and you can see my two previous Mystery Picture posts here and there.  Got it?  Ok, let’s go!

#1 -Allison(fourth of July) 013 #2 -Allison (swallowtail caterpillar) 002 #3 (lighning, mystery pictures, ATCs) 003 #4 (lighning, mystery pictures, ATCs) 021 #5 RSCN9742 #6 (lighning, mystery pictures, ATCs) 005 Stay tuned for the unveiling! ***Allison***

5 Fun Road Trip Games

Summer is the season for road trips!  Here is a collection of some fun games you can play while driving.

1.  Pink Toads – One person is “it.”  The other players take turns asking the “it” person questions, to which he can only answer “pink toads.”  If he laughs, the person who asked the question that made him laugh gets to be “it.”  Example: Player 1: “What did you have for breakfast?” “It”: “Pink toads!”  (If the “it” person laughs here, it would be Player 1’s turn to be it.)

Variation: Instead of saying “pink toads,” you can make up your own silly phrase, like “fluffy bathtubs,” “rainbow gophers,” or “a hairball.”

2.  Ghost – This one is really fun, but a little hard to explain.  The instructions are kind of long, but it’s worth it!

Player 1 starts the round by saying a letter ( like “b”).  Player 2 adds another letter, but making sure that there is actually a word that starts with those letters. (For example, you wouldn’t want to say “x” here unless you were sure there was a word that started with b-x-…. but I don’t think there is.) So say Player 2 adds the letter “l,” because he is thinking of the word “black.”  Now Player 3 adds “o,” Player 4 adds “c” and Player 5 can’t think of any other word but “block,” that starts with those letters, so he says “k.”  Since Player 5 ended the word, he is now 1/3 of a ghost.  When someone ends a word three times, they are a whole ghost, and they are out.  But they can still sort of play: any player who talks to or answers someone who’s out is an extra 1/3 of a ghost.  So if you only ended the word once, but you talked to an “out” player twice, you are out.

You can only end a word if it’s more than 2 letters long.  Example: If the word was b-i so far, if you said “t,” you would end the word (“bit”) but if the word was “b” so far and you said “y,” it wouldn’t count as ending a word because it’s only two letters.

Proper nouns are not allowed.

If you don’t know what letter to do next, you can just say a random letter.  If the next player doesn’t think you have a word in mind, or thinks you spelled it wrong, they can challenge you.  They just say “I challenge you” on their turn.  Then you have to say the word you were thinking of, or that you didn’t have a word.  If your word was right, the challenger gets 1/3 of a ghost, but if it was wrong, you get 1/3 of a ghost.

The game ends when one player ends by being the last one who’s not a ghost.

3.  Alphabet Game – Most people already know this one, but it’s a goody!  And there are a few variations that you might not have heard of.

Variations:

Sink ’em!: If, while playing the game, you pass a body of water, a junkyard, or a graveyard, shout “Sink ’em!”, “Junk ’em!”, or “Bury ’em!” respectively.  The first person to shout this makes everyone else start back at “A,” while he can continue where he left off.

Single: Every man for himself!  Each player races the others to see who can find the all the letters of the alphabet in order by looking on signs, license plates, anything outside (not behind you and not on your car) with letters on it!  The first person to get to “z” first, wins.

Team: Like single, except everyone works as a team to find letters, instead of competing with one another.

Backwards: Instead of finding the letters in order from a-z, find them from z-a.

4.  Plate-Names: Make each letter of a license plate ahead of you stand for a word.  Example: HWER could stand for “Hairy Warthogs Eat Rocks.”

Variation: Do this with the first letters of each word on a sign.  Example: Greenville City could stand for “Grumpy Crocodiles.”

5.  Category Mania: Choose a category and try to get a certain number of things in that category for each letter of the alphabet.  Example: Category: Animal, Number: 2.  Try to get 2 animals that start with “a,” 2 with “b,” etc.  Try different categories like food, plants, and cars.

What is your favorite road trip game?  Are any of these games new to you?

***Allison***

Nature Mandalas

Let me introduce you to some little mandalas I made.  They are very similar to the mandalas Michele made right here, but without the game part.  It’s a fun challenge to make a mandala with only one material.  You can just sit down somewhere and make one using whatever you have around you – grass, bark, leaves, stones, whatever!

The one below is made only with pieces of wood and mulch.

-Allison(fourth of July) 040

-Allison(fourth of July) 041

And for this one I just sat down on the sidewalk and used whatever I could reach.  You could also collect things from a nature walk and make these.

002 001

So how about giving it a go?  If you make any, I’d love to see pictures of them!

-Allison(fourth of July) 042