Make Your Own Game! Part 1: The Board

I love making up games.  Some turn out to be really fun, and others… not so much.  But for any kind of board game, there are at least a few things you’ve got to have.  This series will cover how to make some of the things you need to create your very own board game.

First I will list a few things that your game can be about.  Choose a kind of game that you like to play, but also keep in mind that, say Chance games are easier to make than Strategy.  (At least for me!)

Words/Spelling

Chance

Strategy

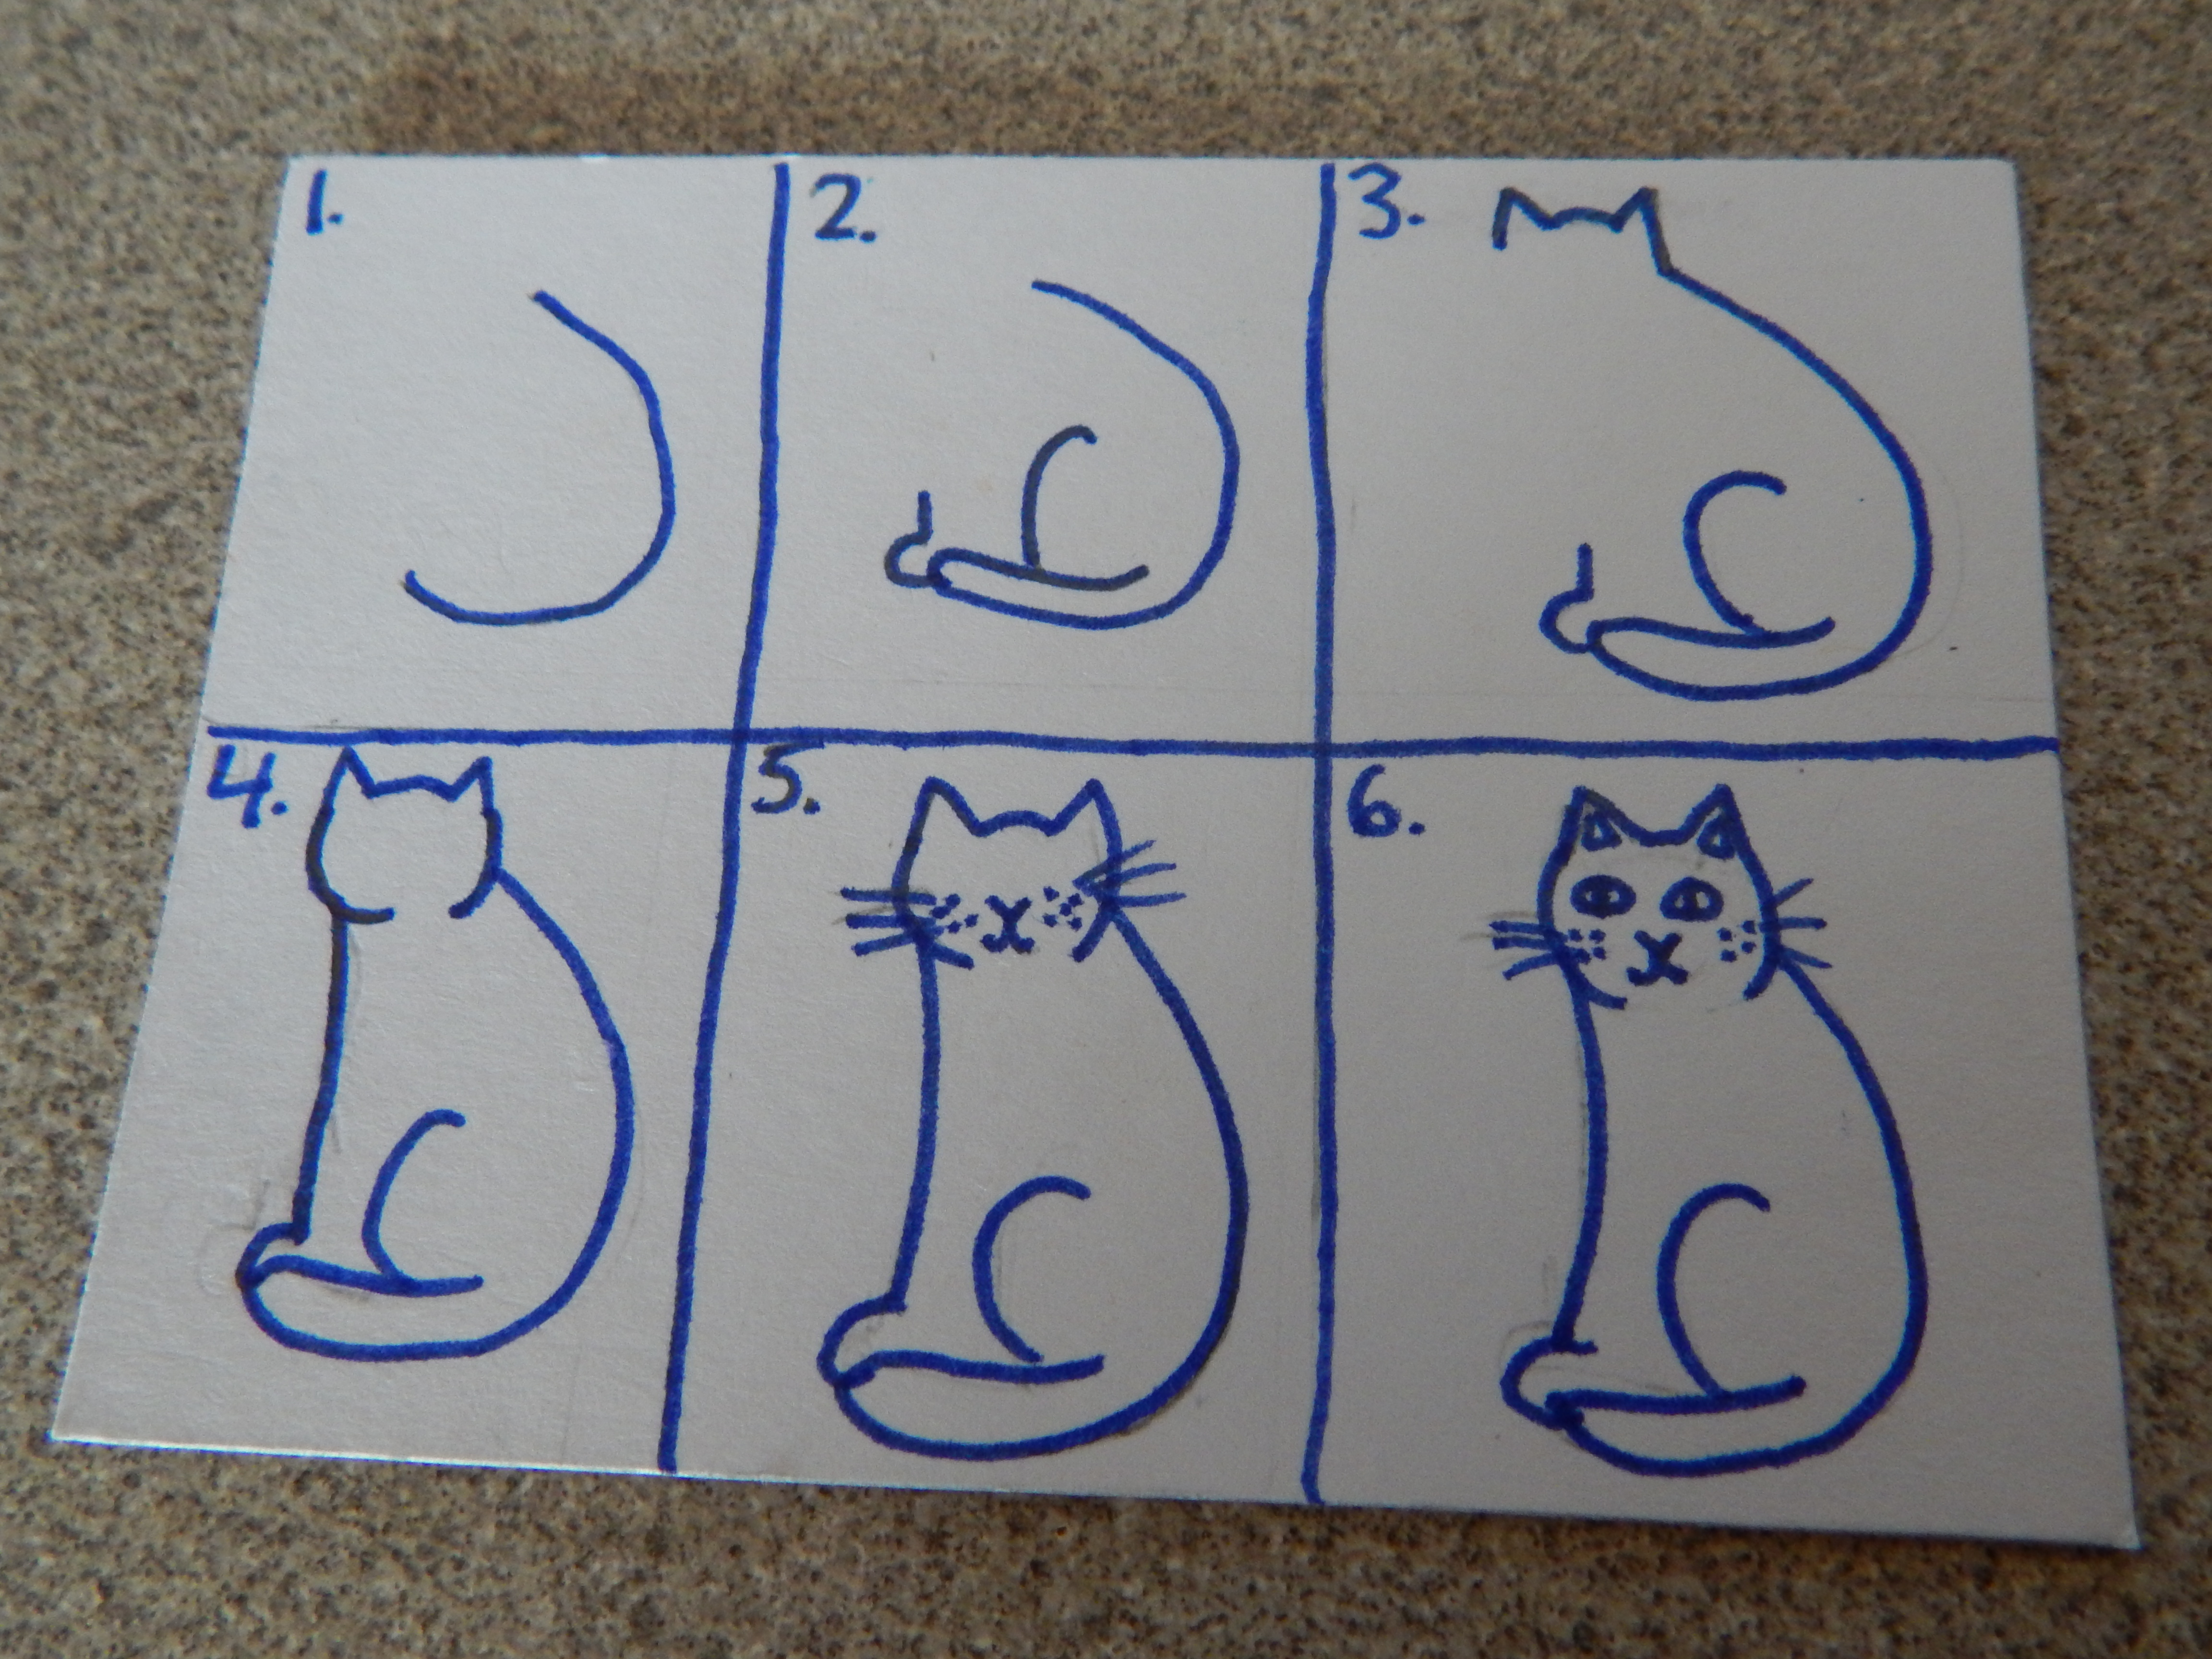
Drawing/Art (like Pictionary)

Get up and do something! (like Charades)

Memory

Skill

Puzzles

~~~~~~~~~~~~~~~~~~~~~~~~~~~~~~~~~~~~~~~~~~~~~~~~~~~~~~~~~~~~~~~~~~~~~~~~~~~~~~~~~~~~~~~~~~~~~

The Board:  Every board game has to have a board – that’s the whole reason it’s called a board game!  You can make a board out of stiff paper, thin cardboard, or you can cover an old game-board with paper and start over! (Make sure that you or your family don’t want the game before you cover it!)  Another great way is to draw the board on cardstock, and laminate it.  You can even tape together four pieces of paper after they are laminated for a bigger board.  Here are a few suggestions for making the board to get you started, but there are many more ideas you can use.

Square:  Think Monopoly – a square or rectangle, divided into spaces, going around the outside of the board.  The nice thing about a square is it’s easy to make.  Also, it allows room for you to put the name of your game or the logo in the center, as well as any stacks of cards.

DSCN6951

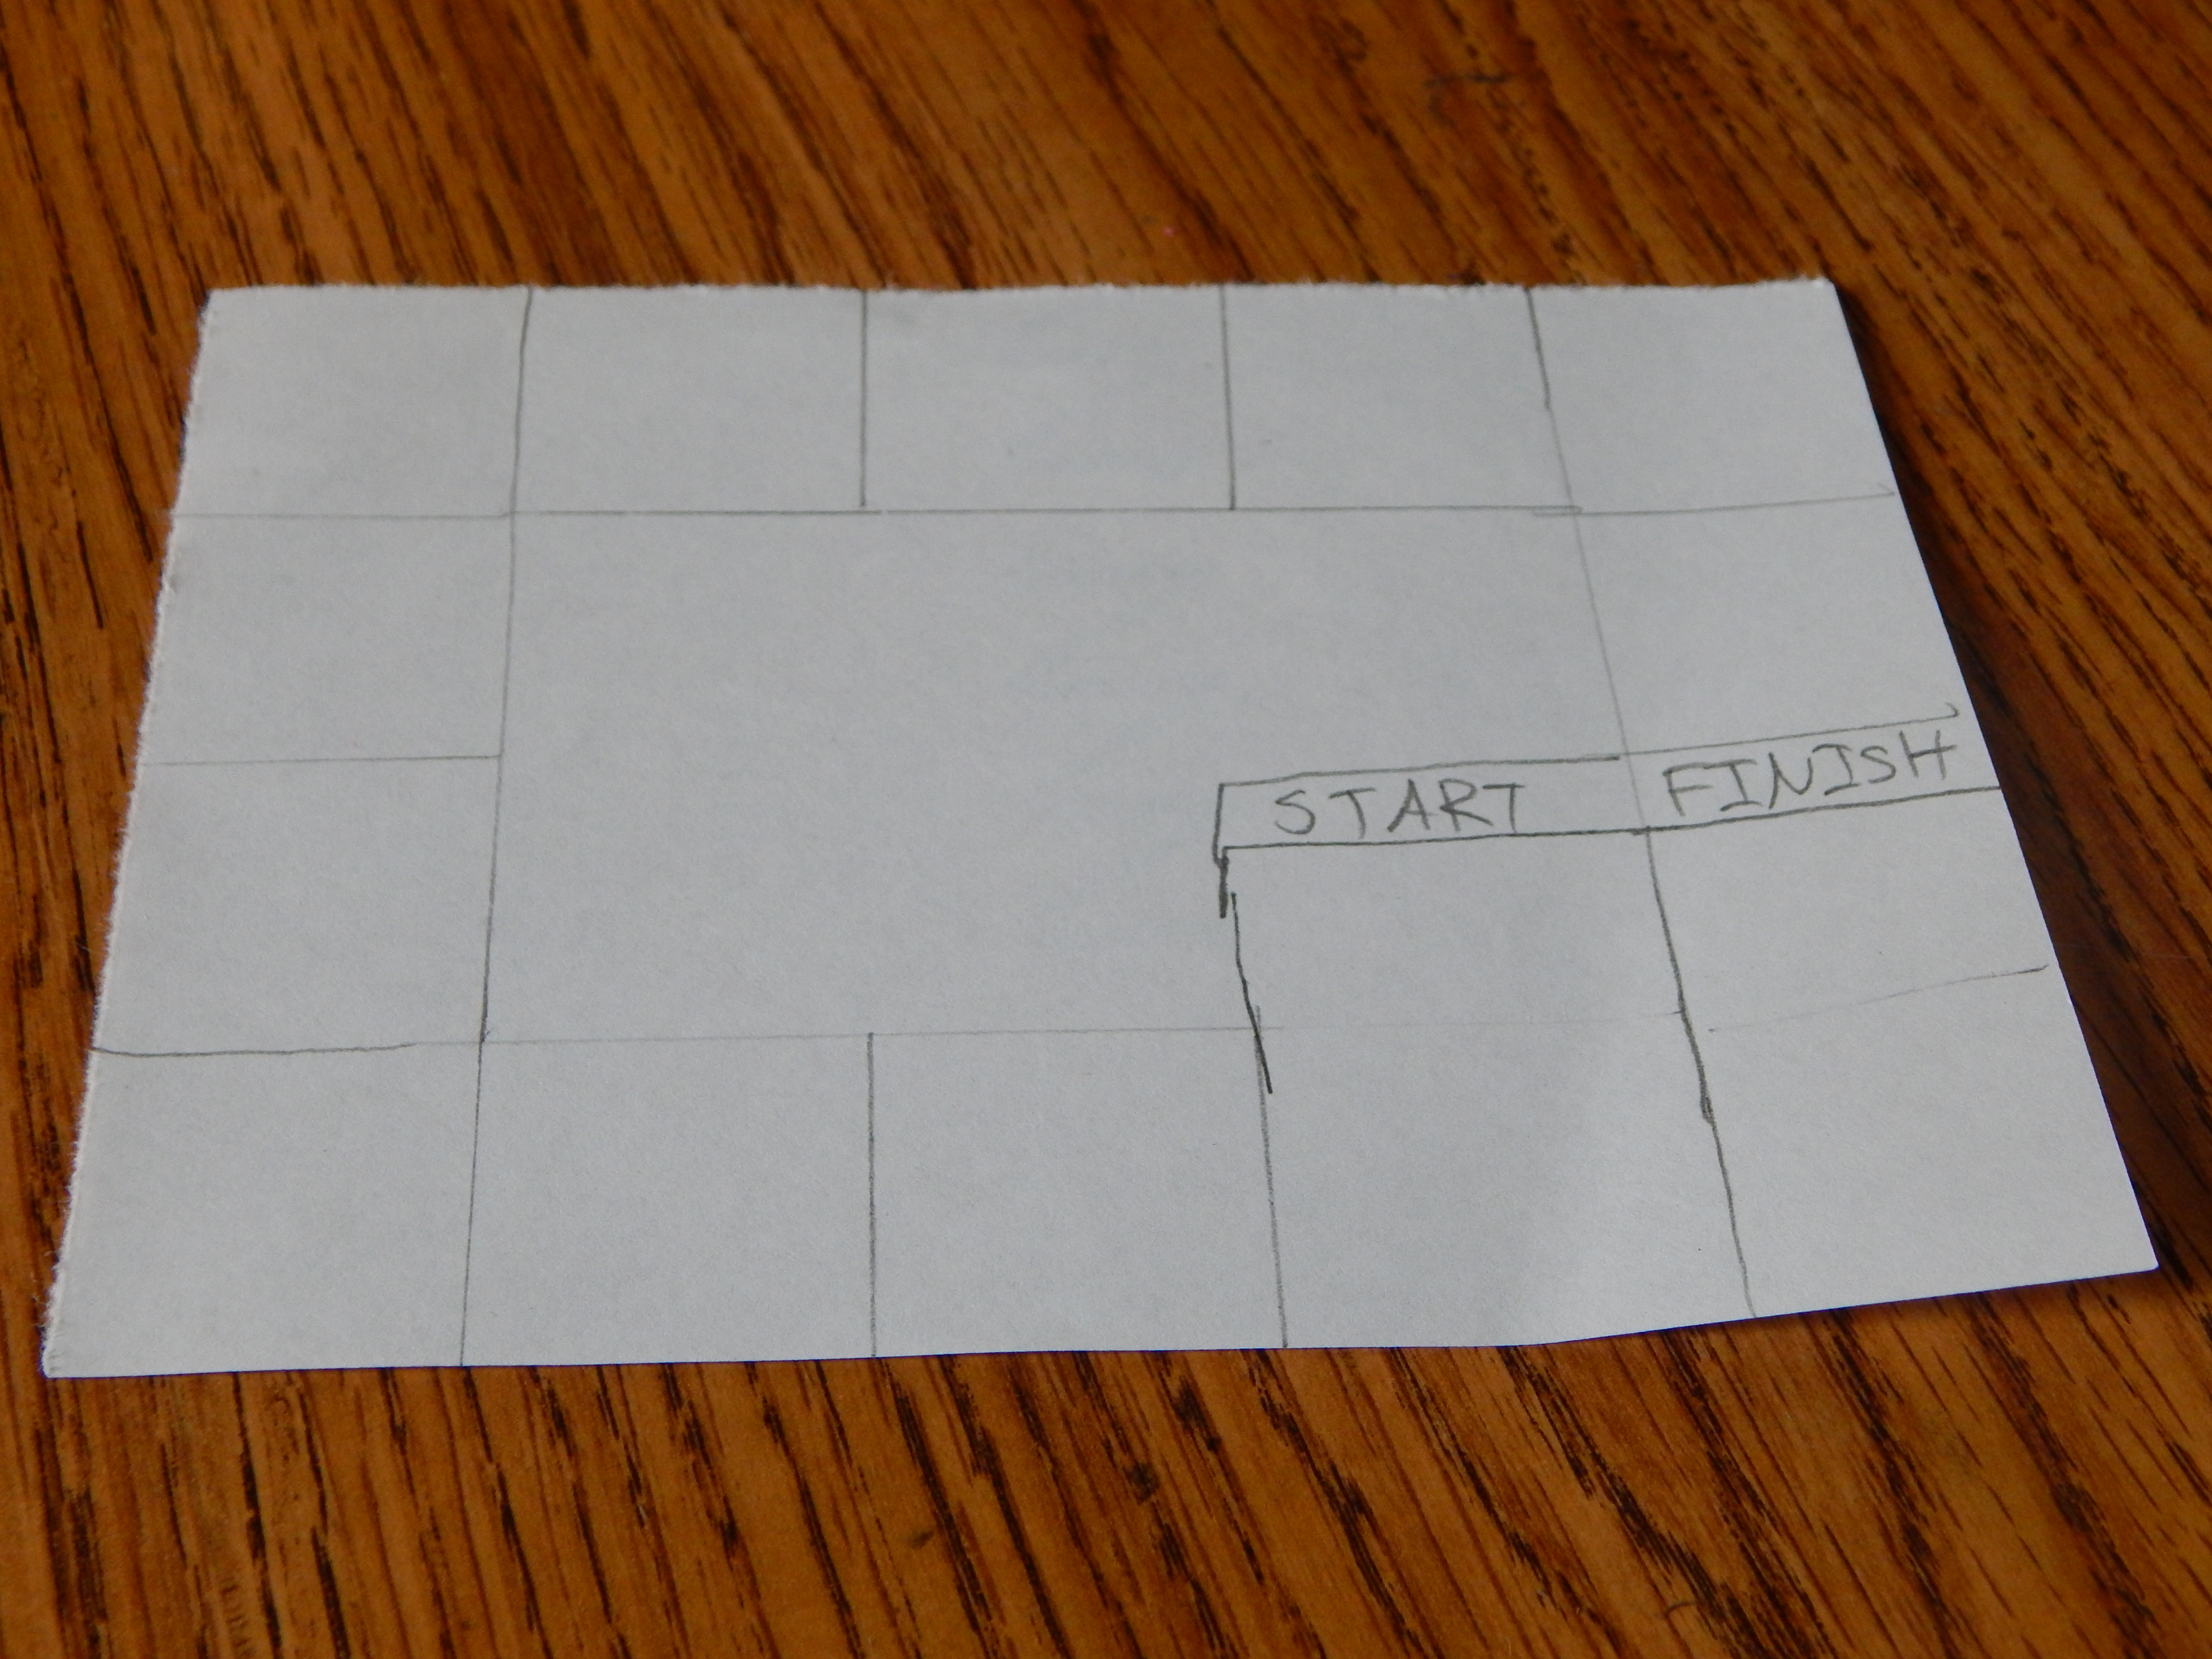
To make a square board, use a ruler to make straight lines a ruler-width away from the edge of the board.  Also use the ruler to divide the square you just created into spaces.  Make sure the spaces are big enough to hold several playing-pieces at once.  (Note: If a ruler-width isn’t wide enough, trace something else to make bigger spaces, or measure at intervals along the edge.)

Circle:  A circle board is more interesting than a square board, but it is hard to make one big enough to hold an adequate number of spaces, and the edges of the spaces will be slightly curved instead of the nice straight edges of a square space.  A circle board still has room for the logo and stacks of cards, if you make it big enough.

DSCN6949

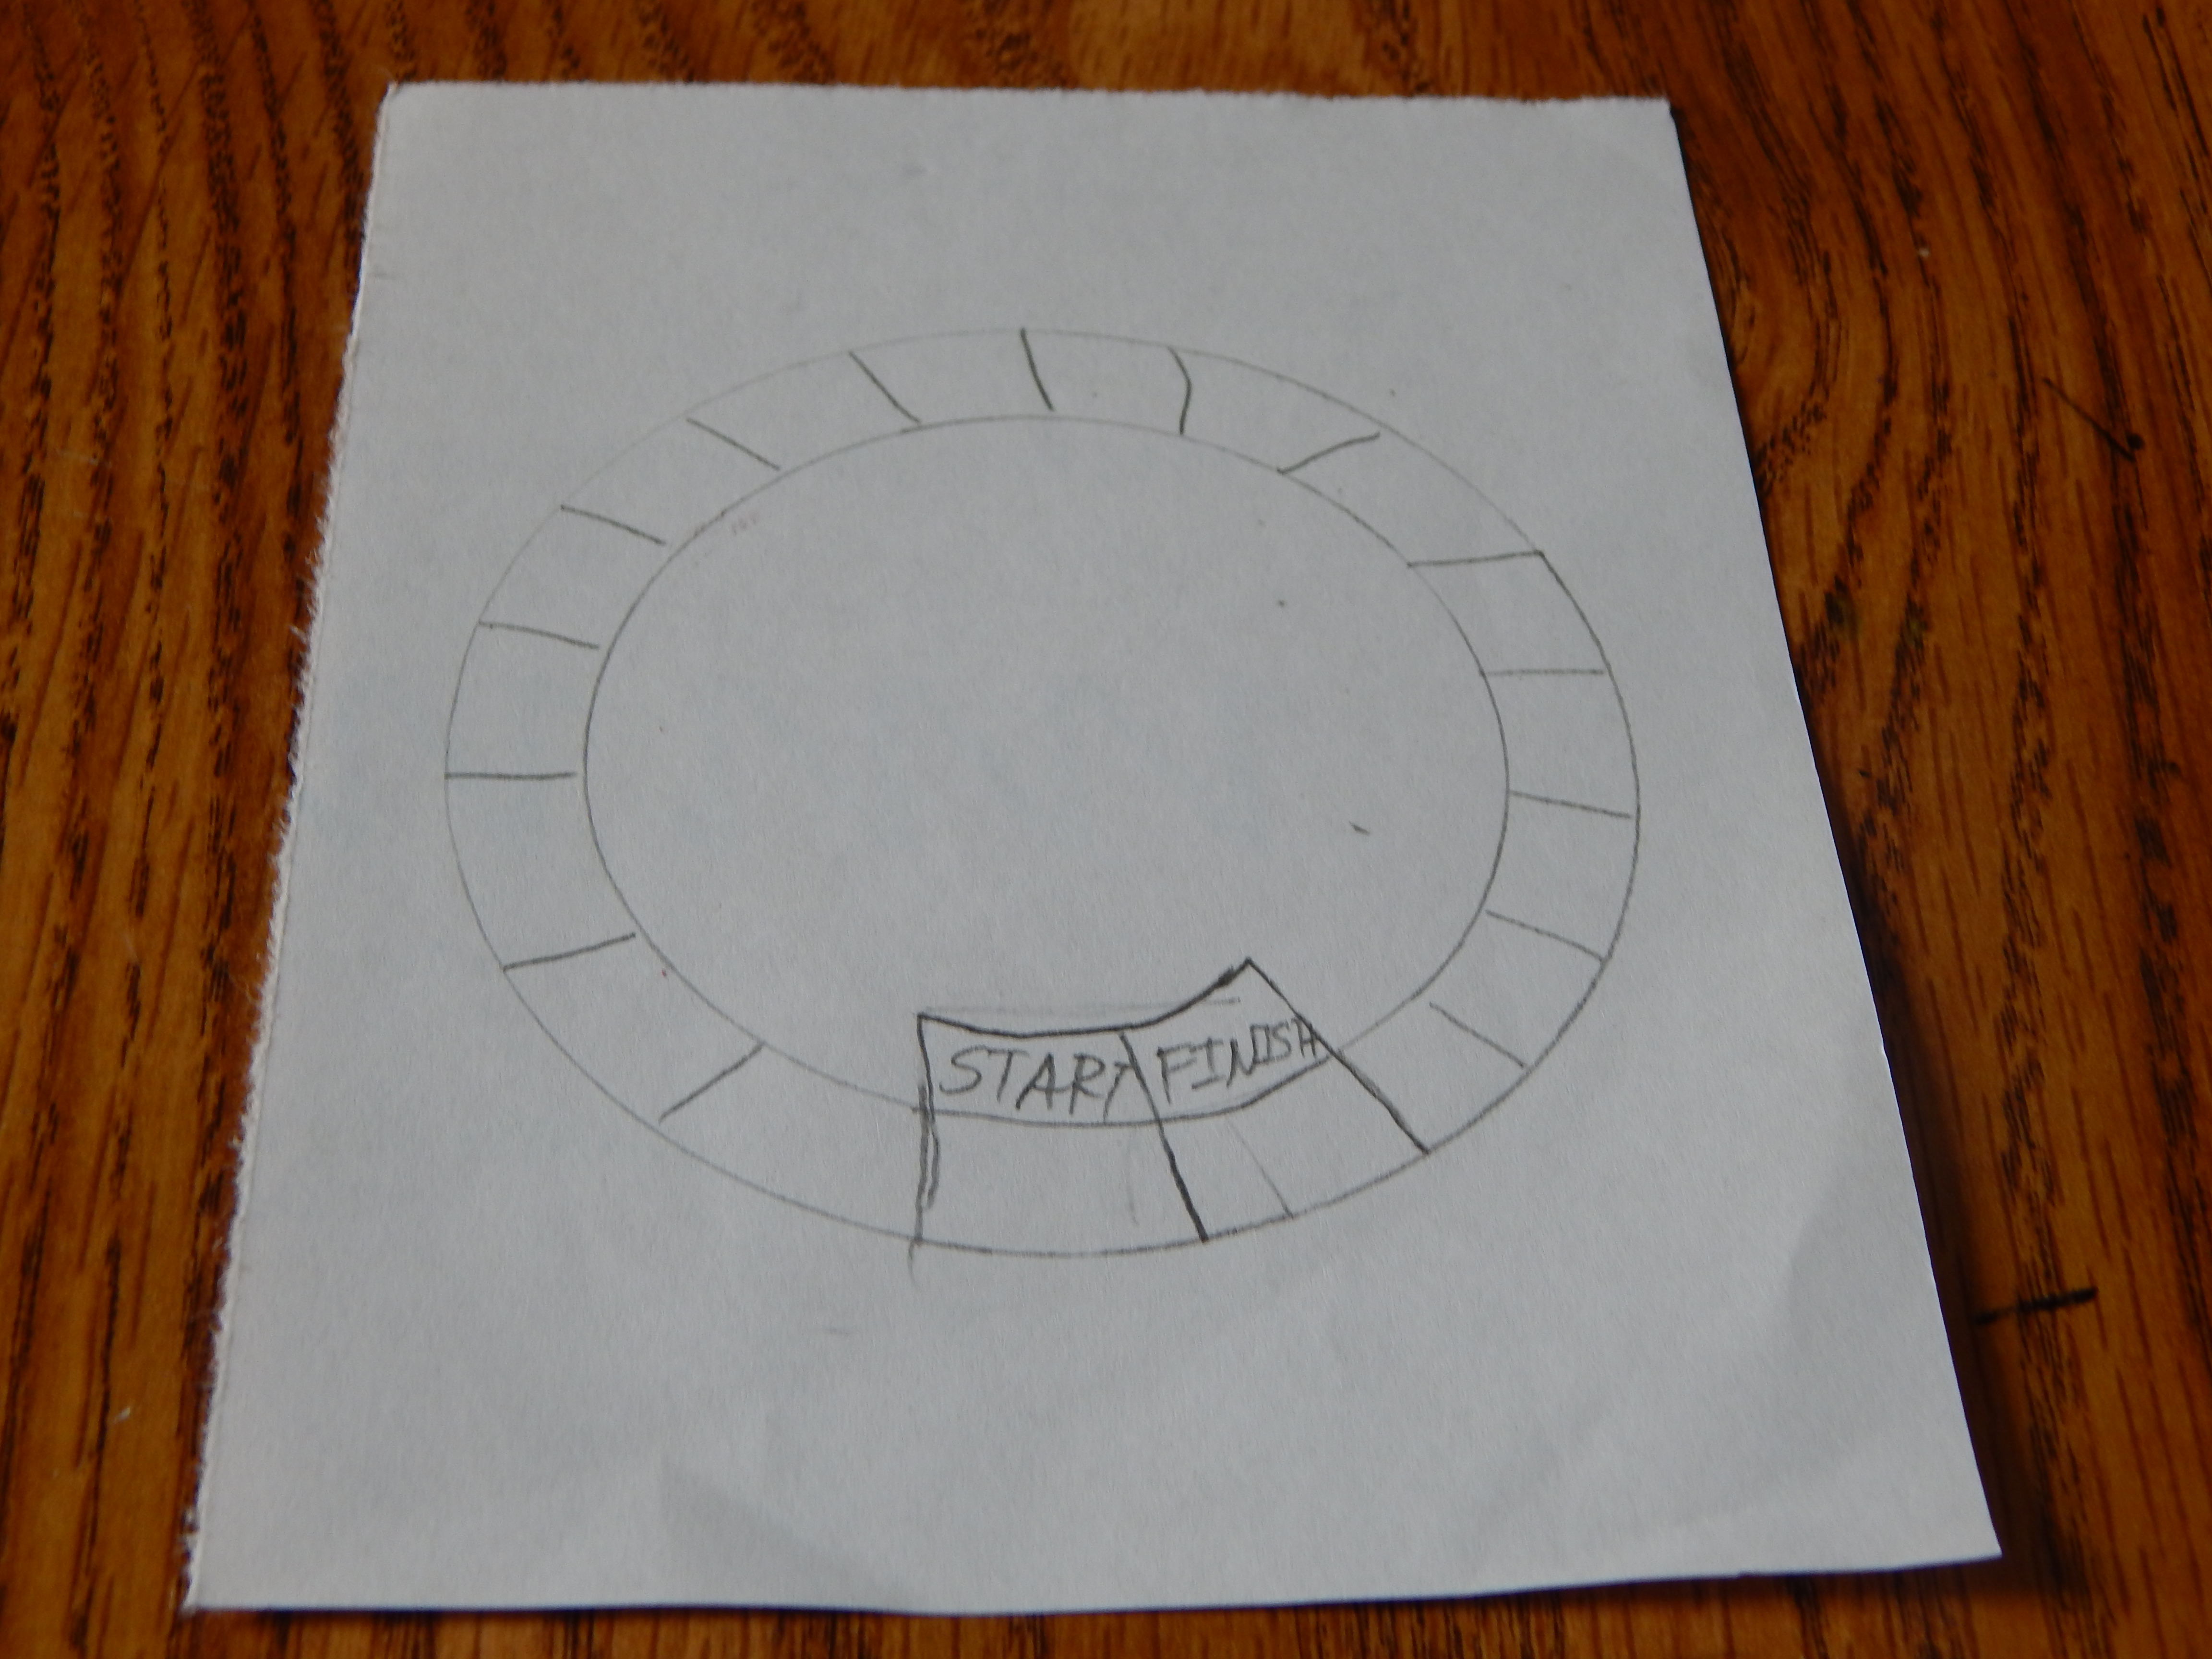
To make a circle board, find two circle shaped objects, one smaller than the other, and trace around them, making sure the smaller one is centered in the big one.  Divide the circle into spaces.

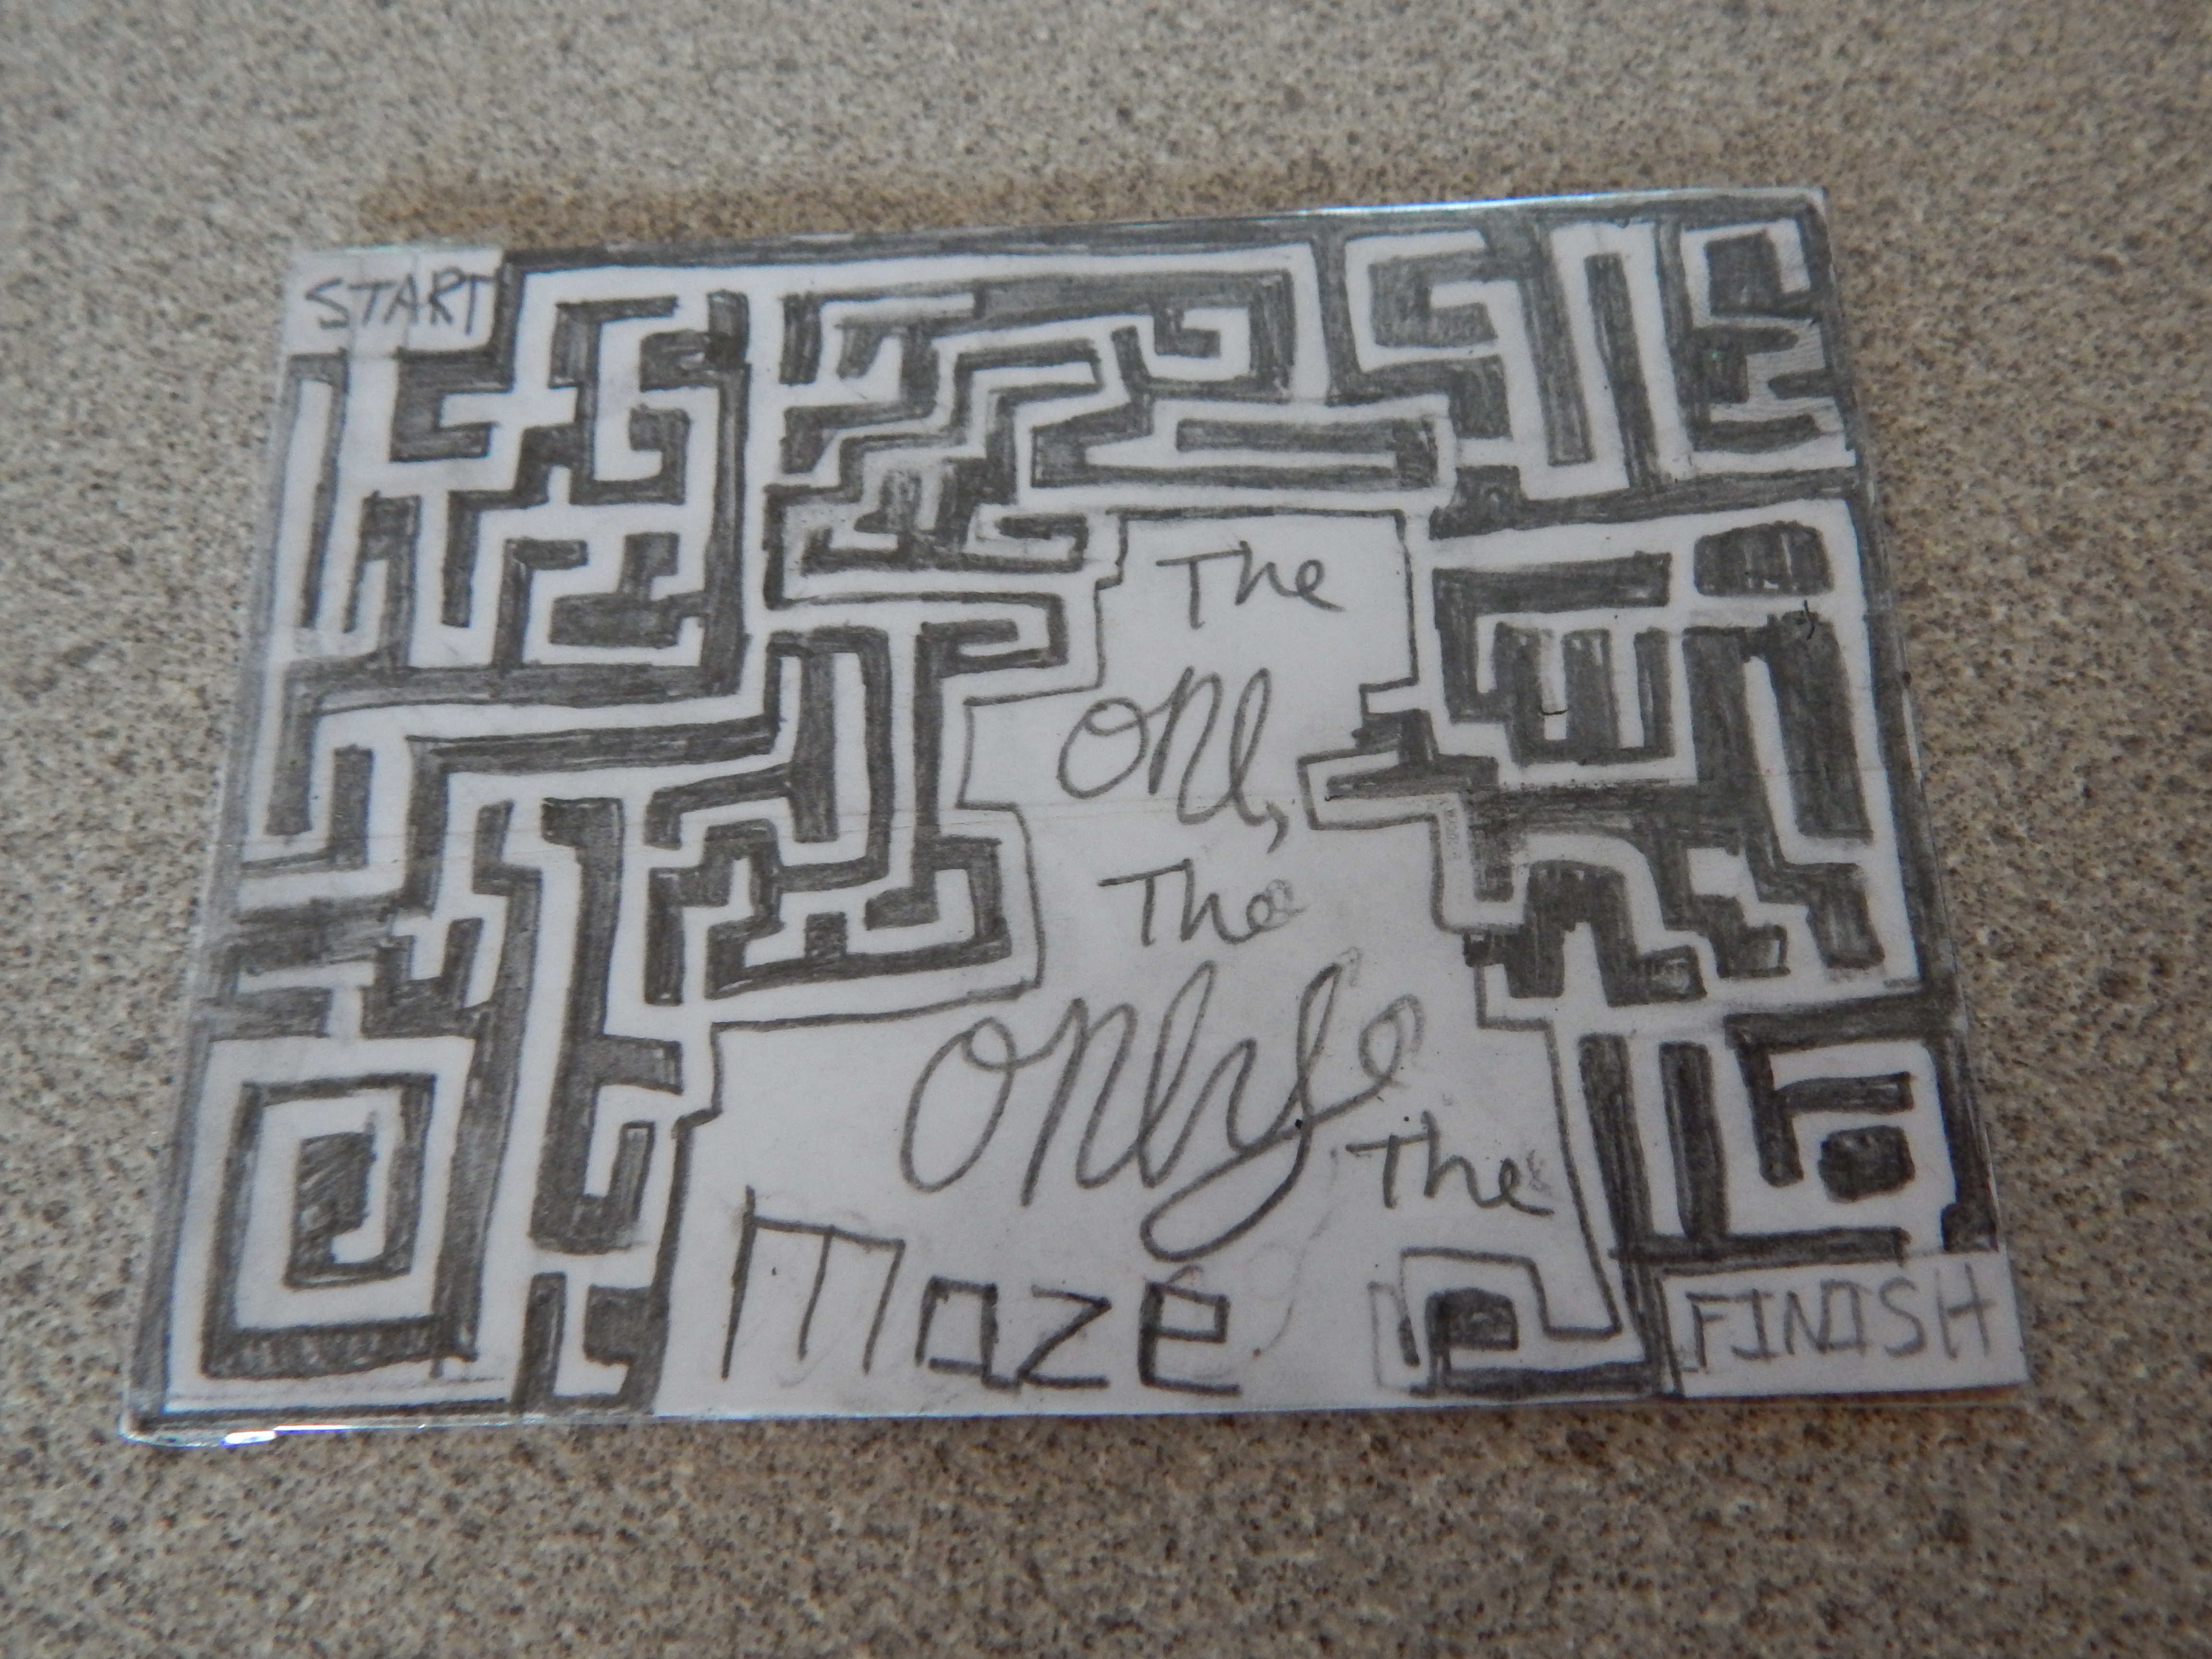
Squiggle: This shape allows you to fit many spaces into a board, but there isn’t much room for anything else.  A squiggle also lends itself nicely to shortcuts (more on that in a later post.)

DSCN6950

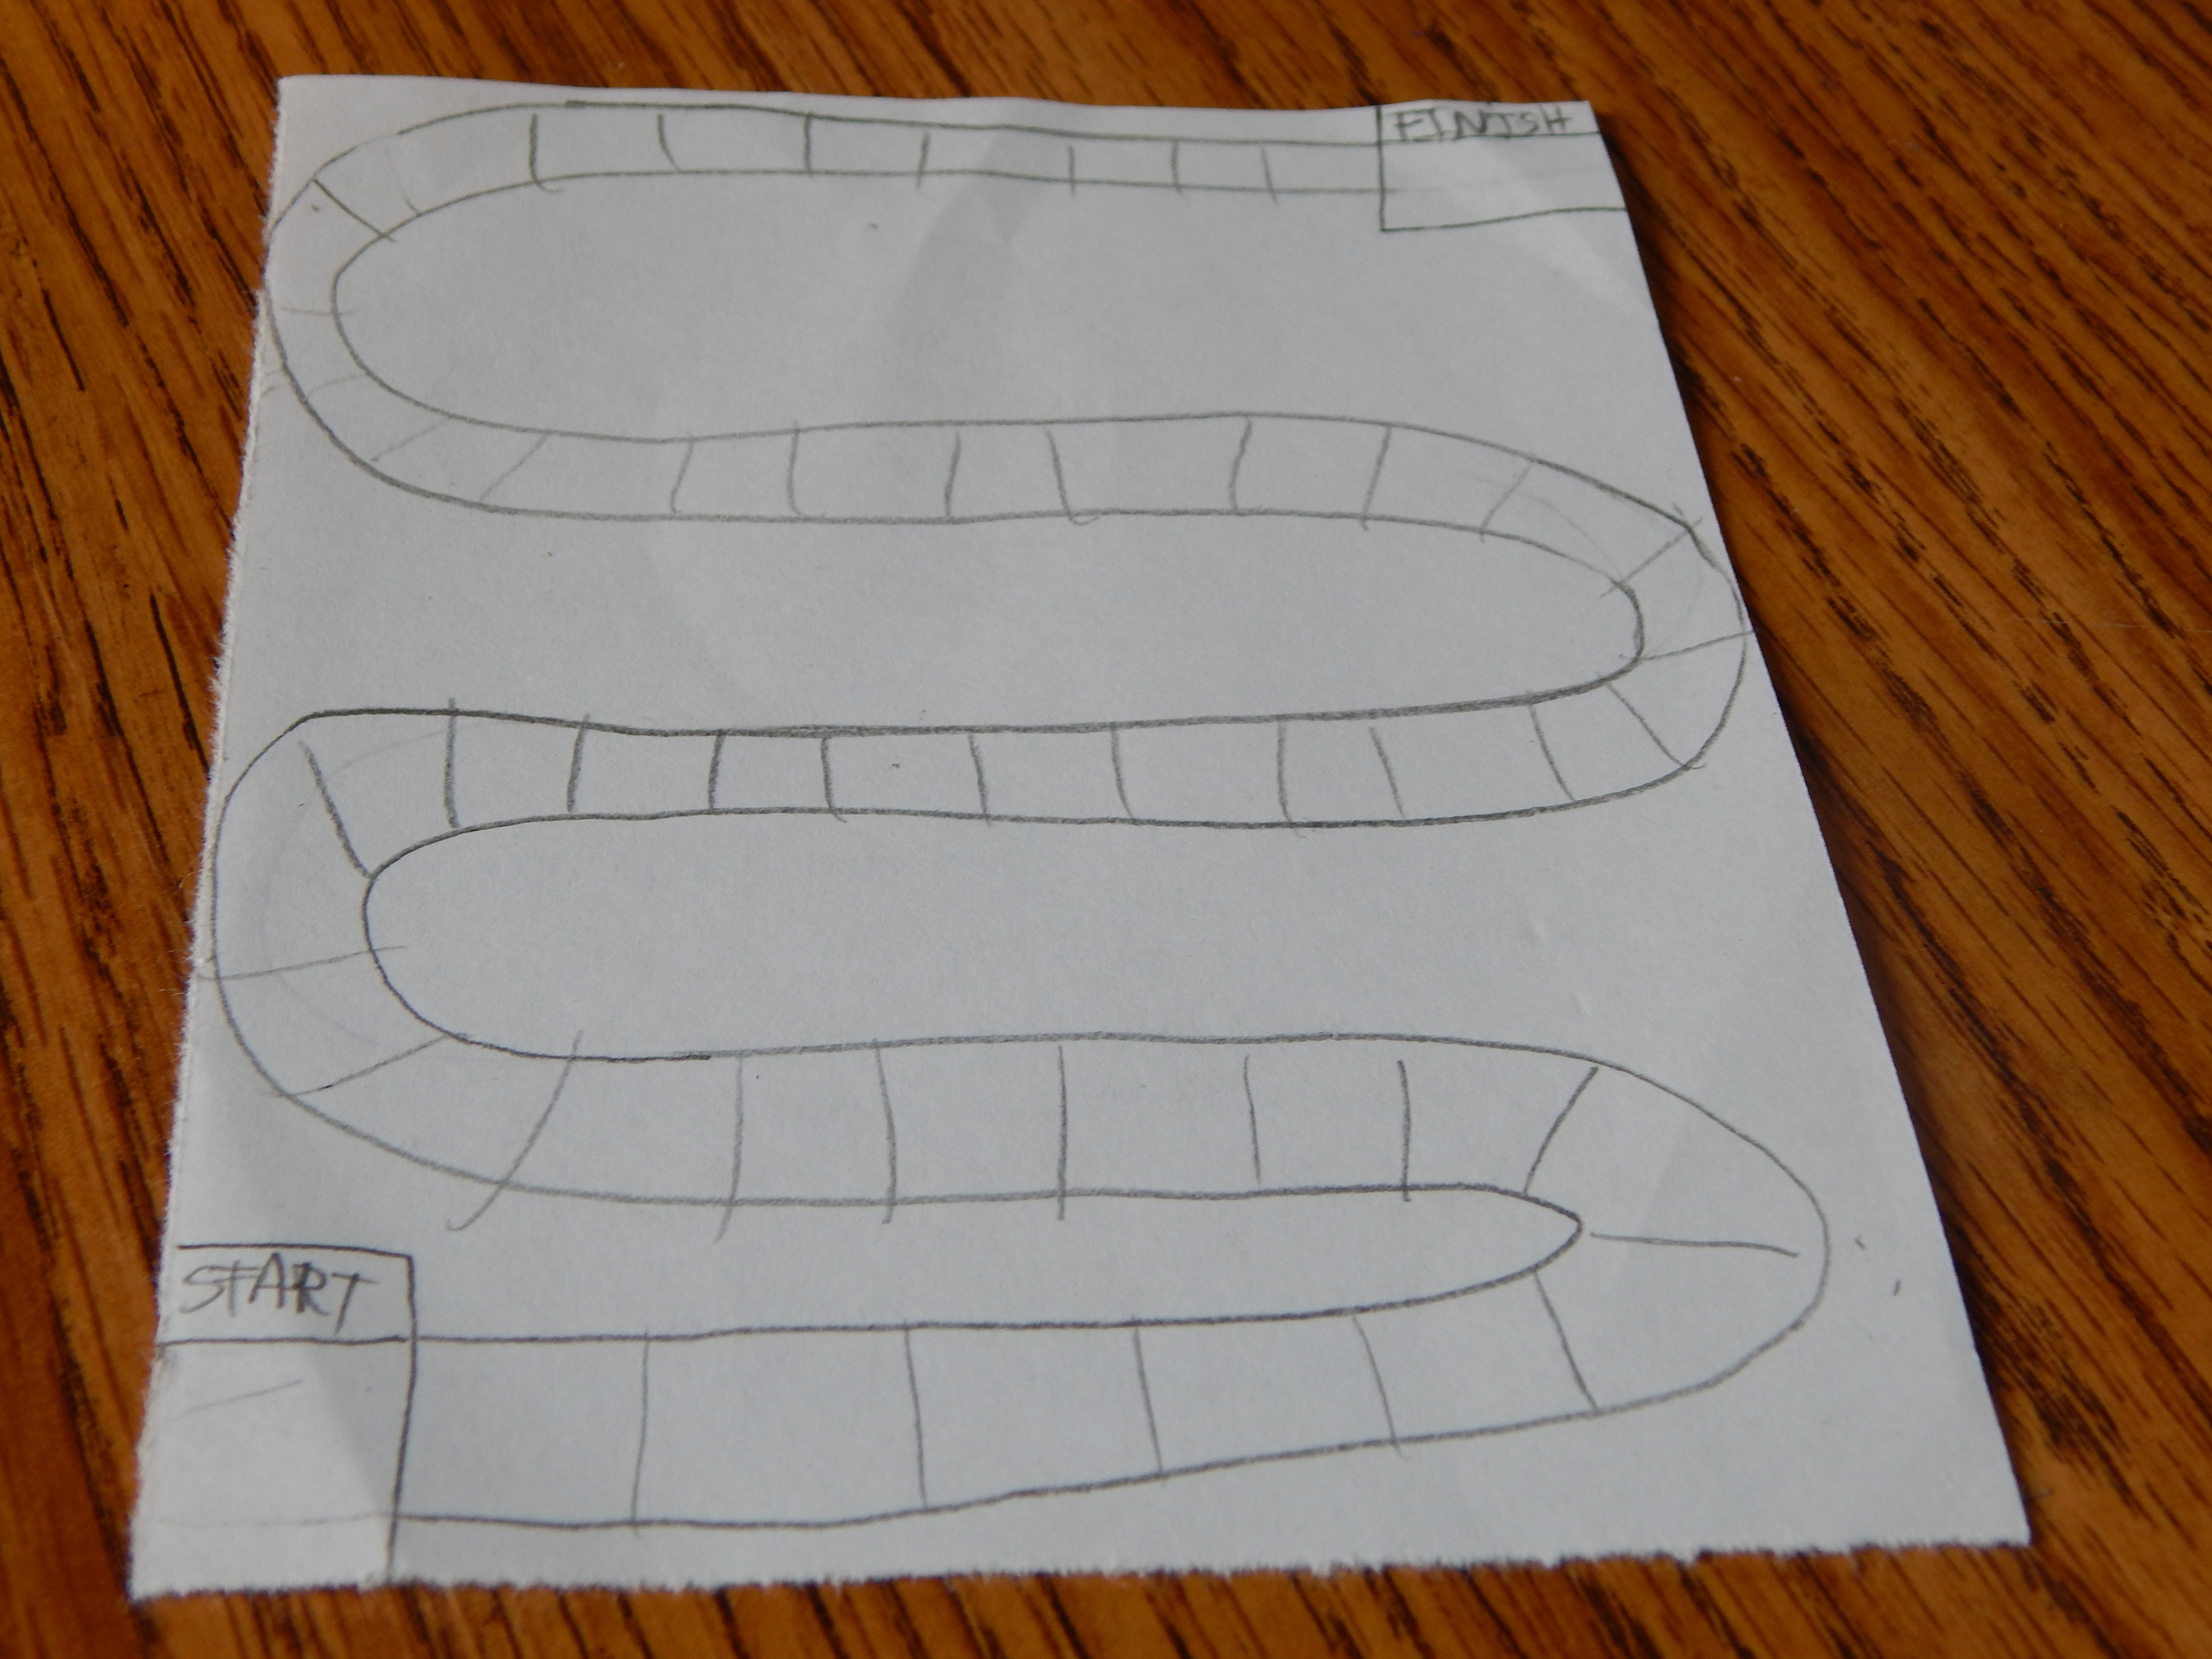
To make a squiggle board, take your pencil back and forth across the board in a zigzag, but with curved corners.  There isn’t a good way that I know of to make the squiggles nice and symmetrical, but just try to parallel the two sides evenly.  You can make tight squiggles for lots of spaces, or loose squiggles so you have room to draw pictures, the logo, or put cards in between them.

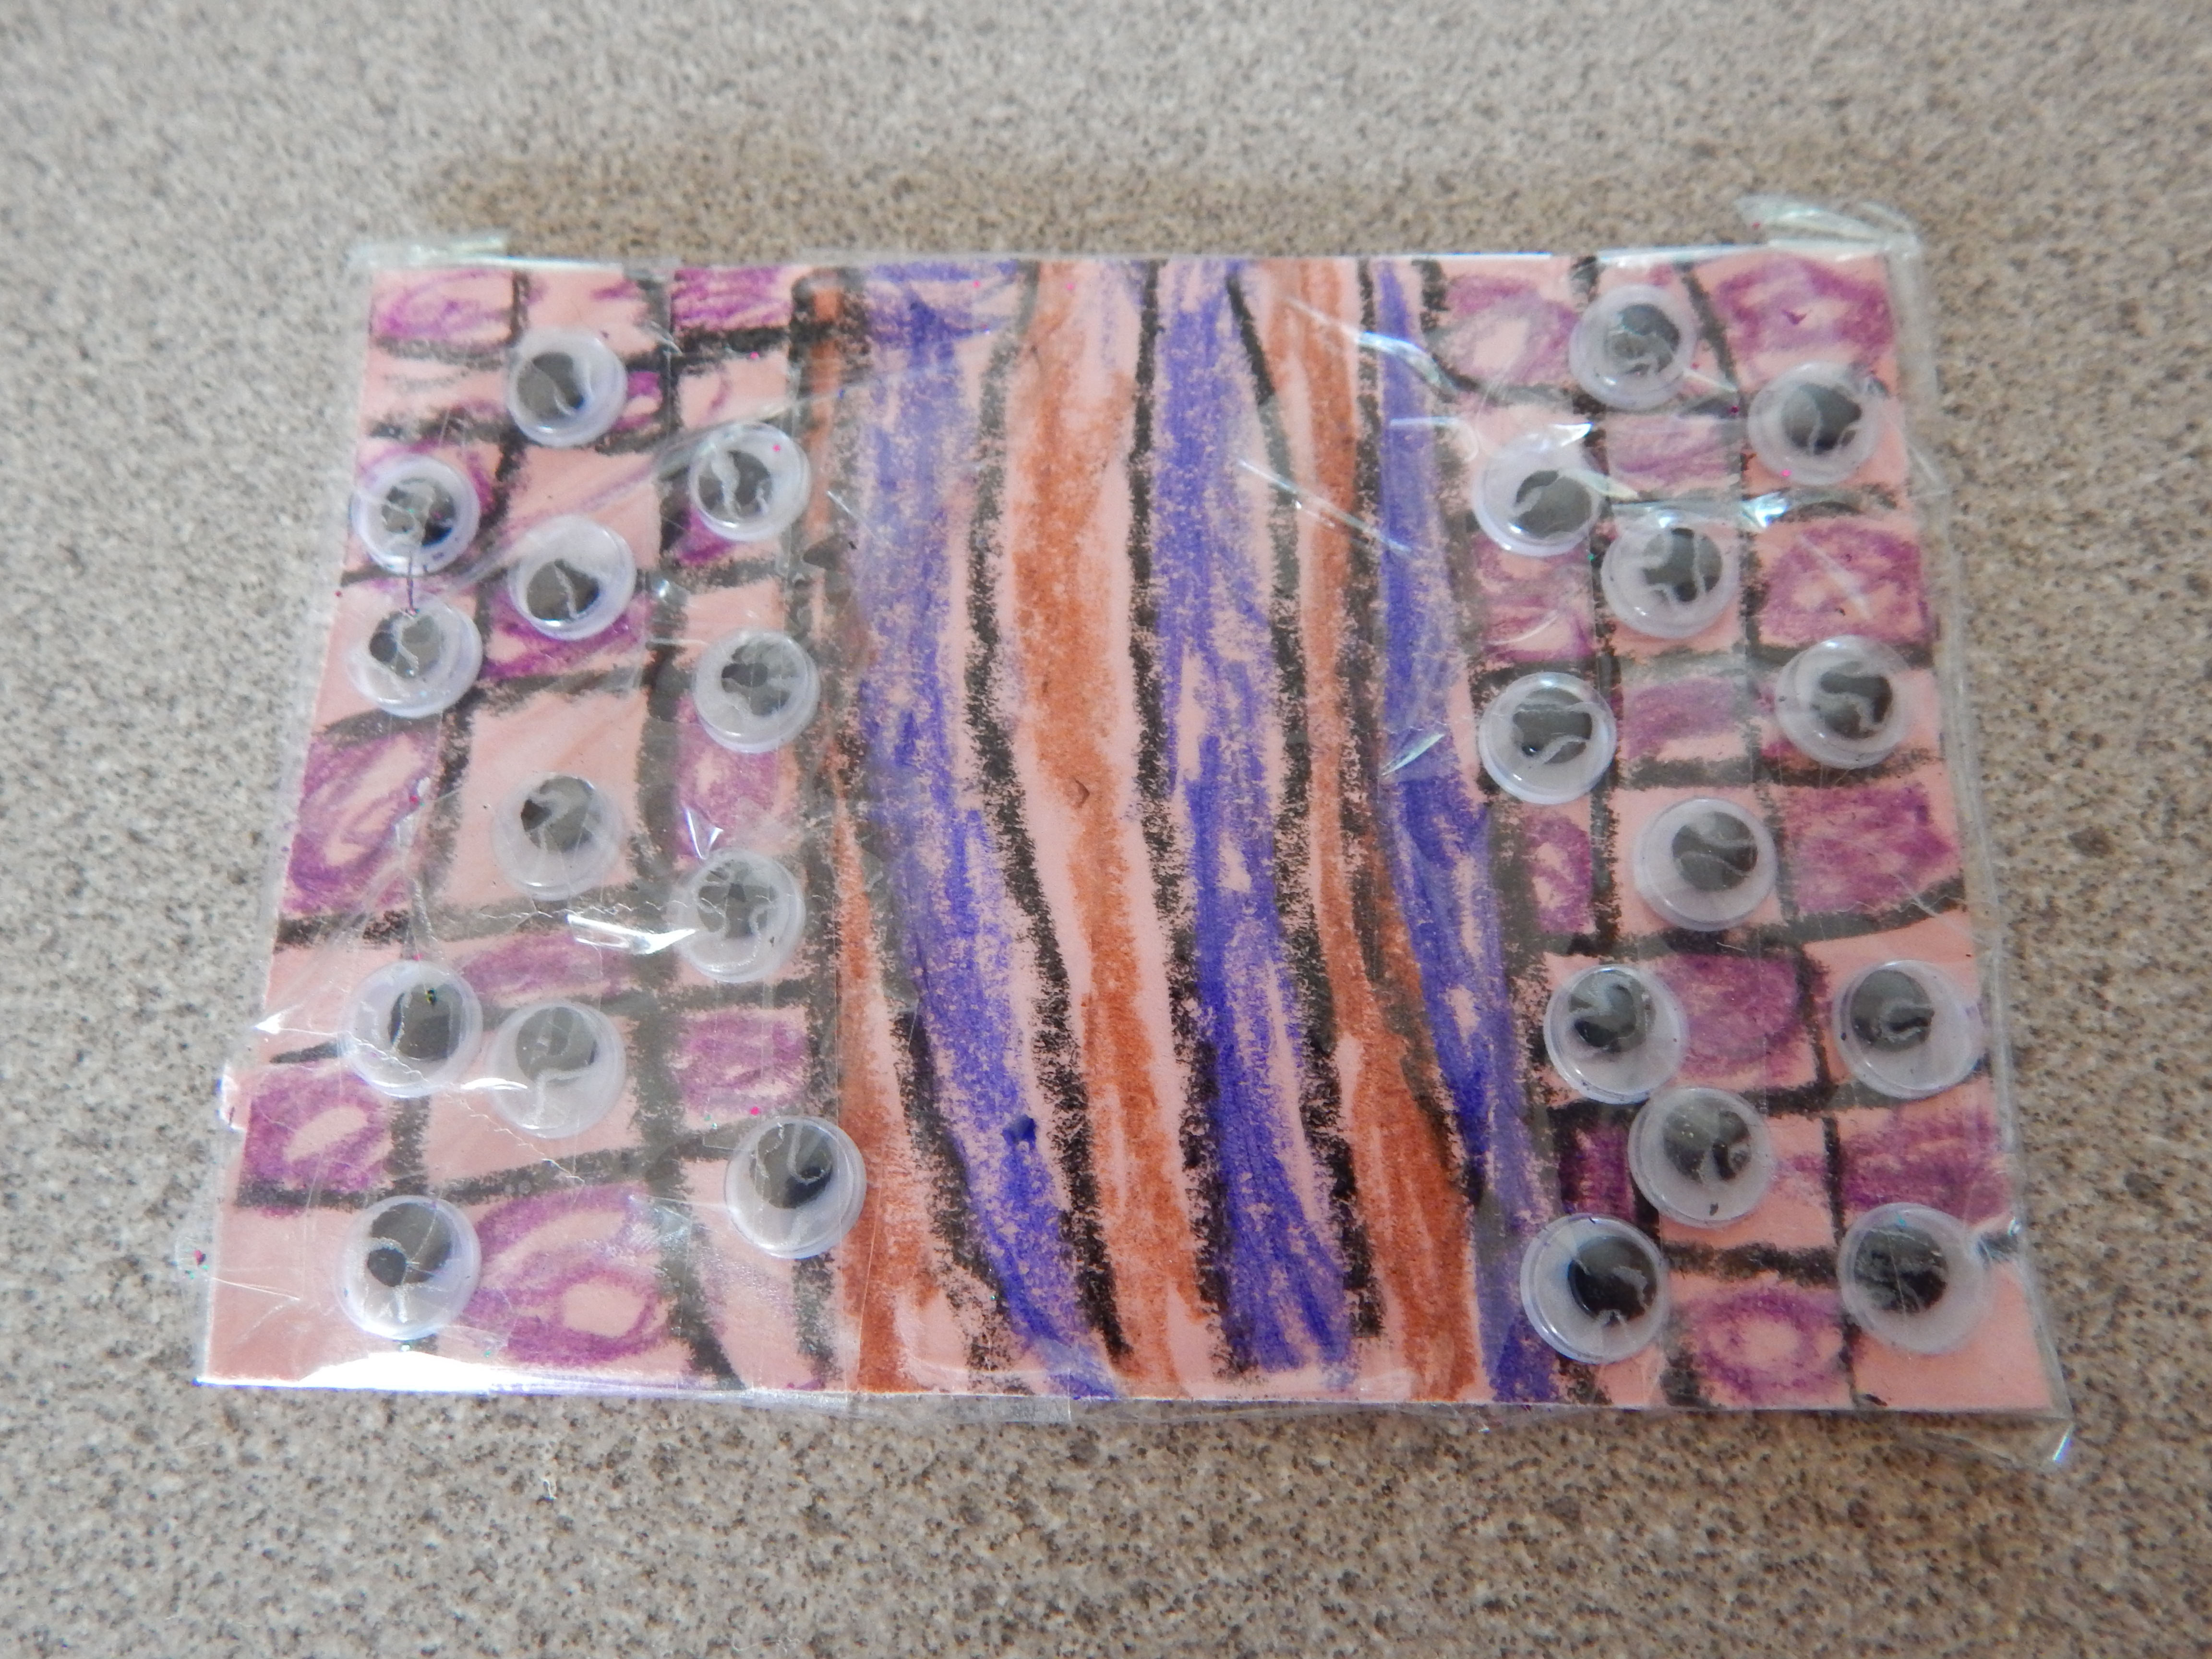
Stepping stone:  Stepping stone spaces are made of individual pieces instead of one connected loop.  The nice thing about this is you can use up pretty scraps of paper making it!  You can fill up the entire board with spaces, but be sure to draw arrows that show which way the playing-pieces are supposed to move, because it’s hard to tell when the spaces aren’t connected.

DSCN6948

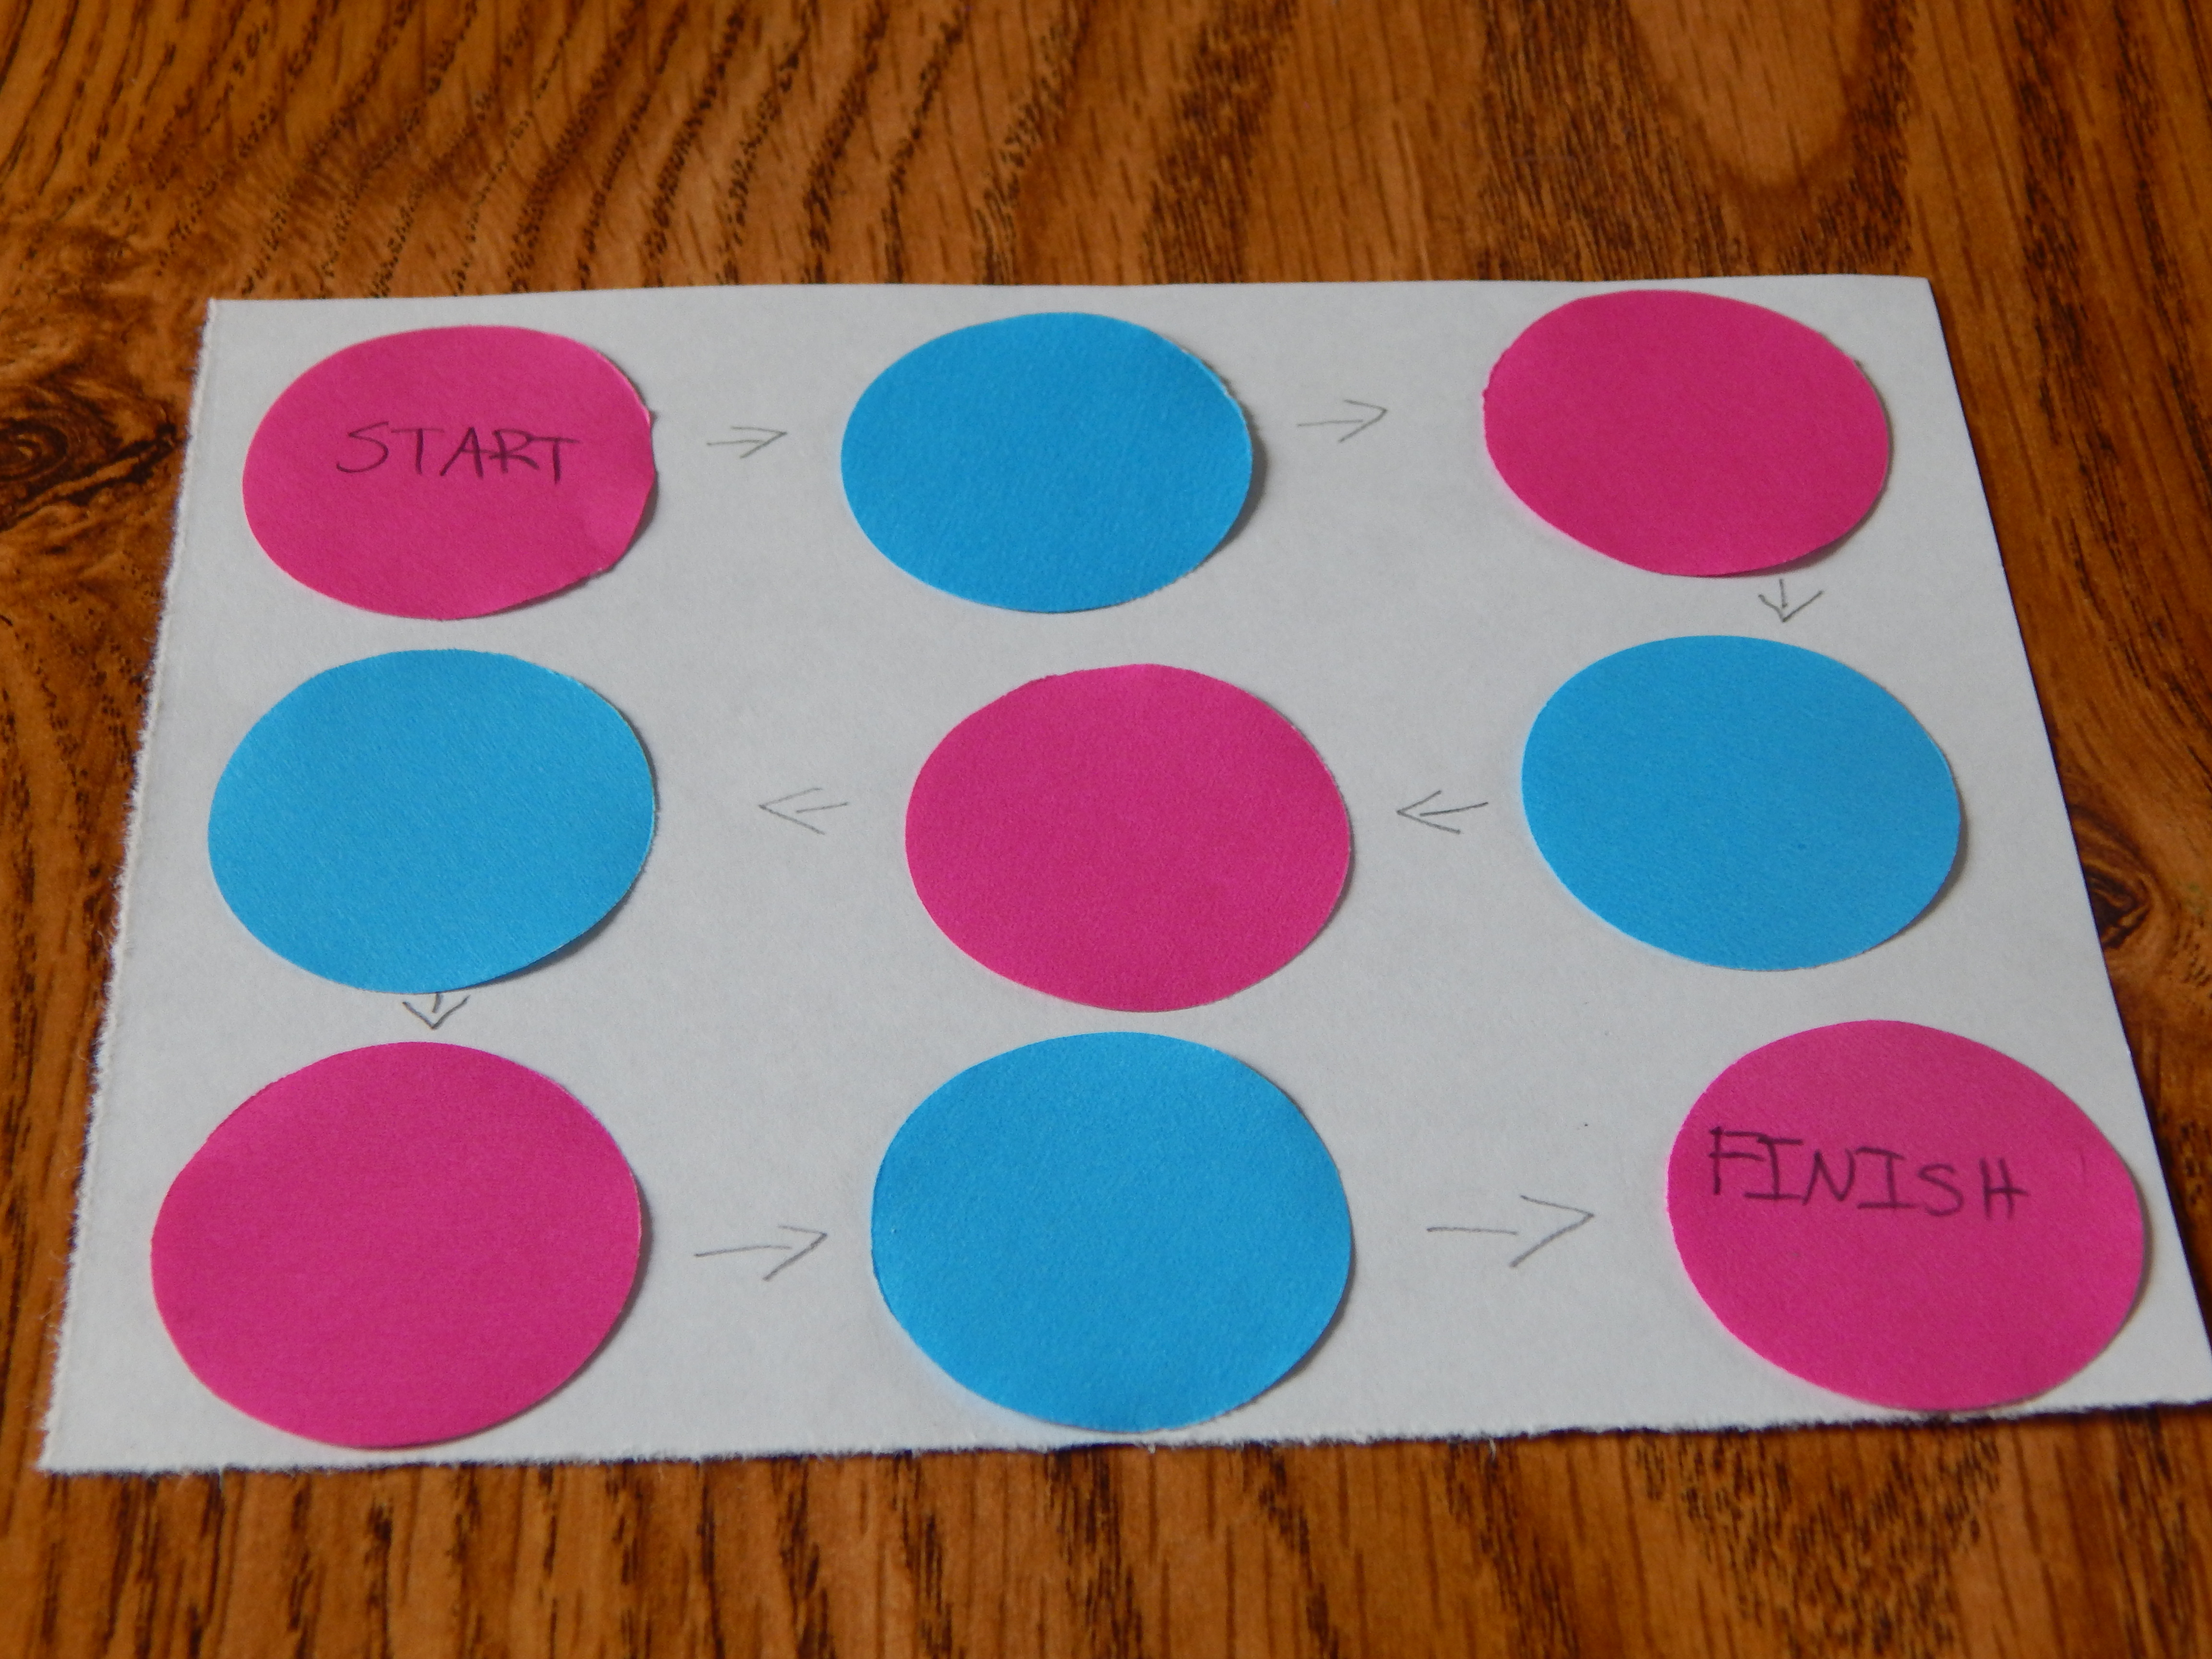
To make a stepping stone board, use a circle or square hole punch to punch spaces out of pretty or plain colored paper.  Draw arrows showing which way the playing-pieces are supposed to go.

*******************************************************************

So there are a few suggestions for the board.  A few more things:

Be sure to make your Start and Finish spaces big enough to hold the maximum number of playing pieces for one game.  (In other words, don’t make the Start space only big enough to hold one playing piece when there are 5 players trying to fit their pieces on Start.)

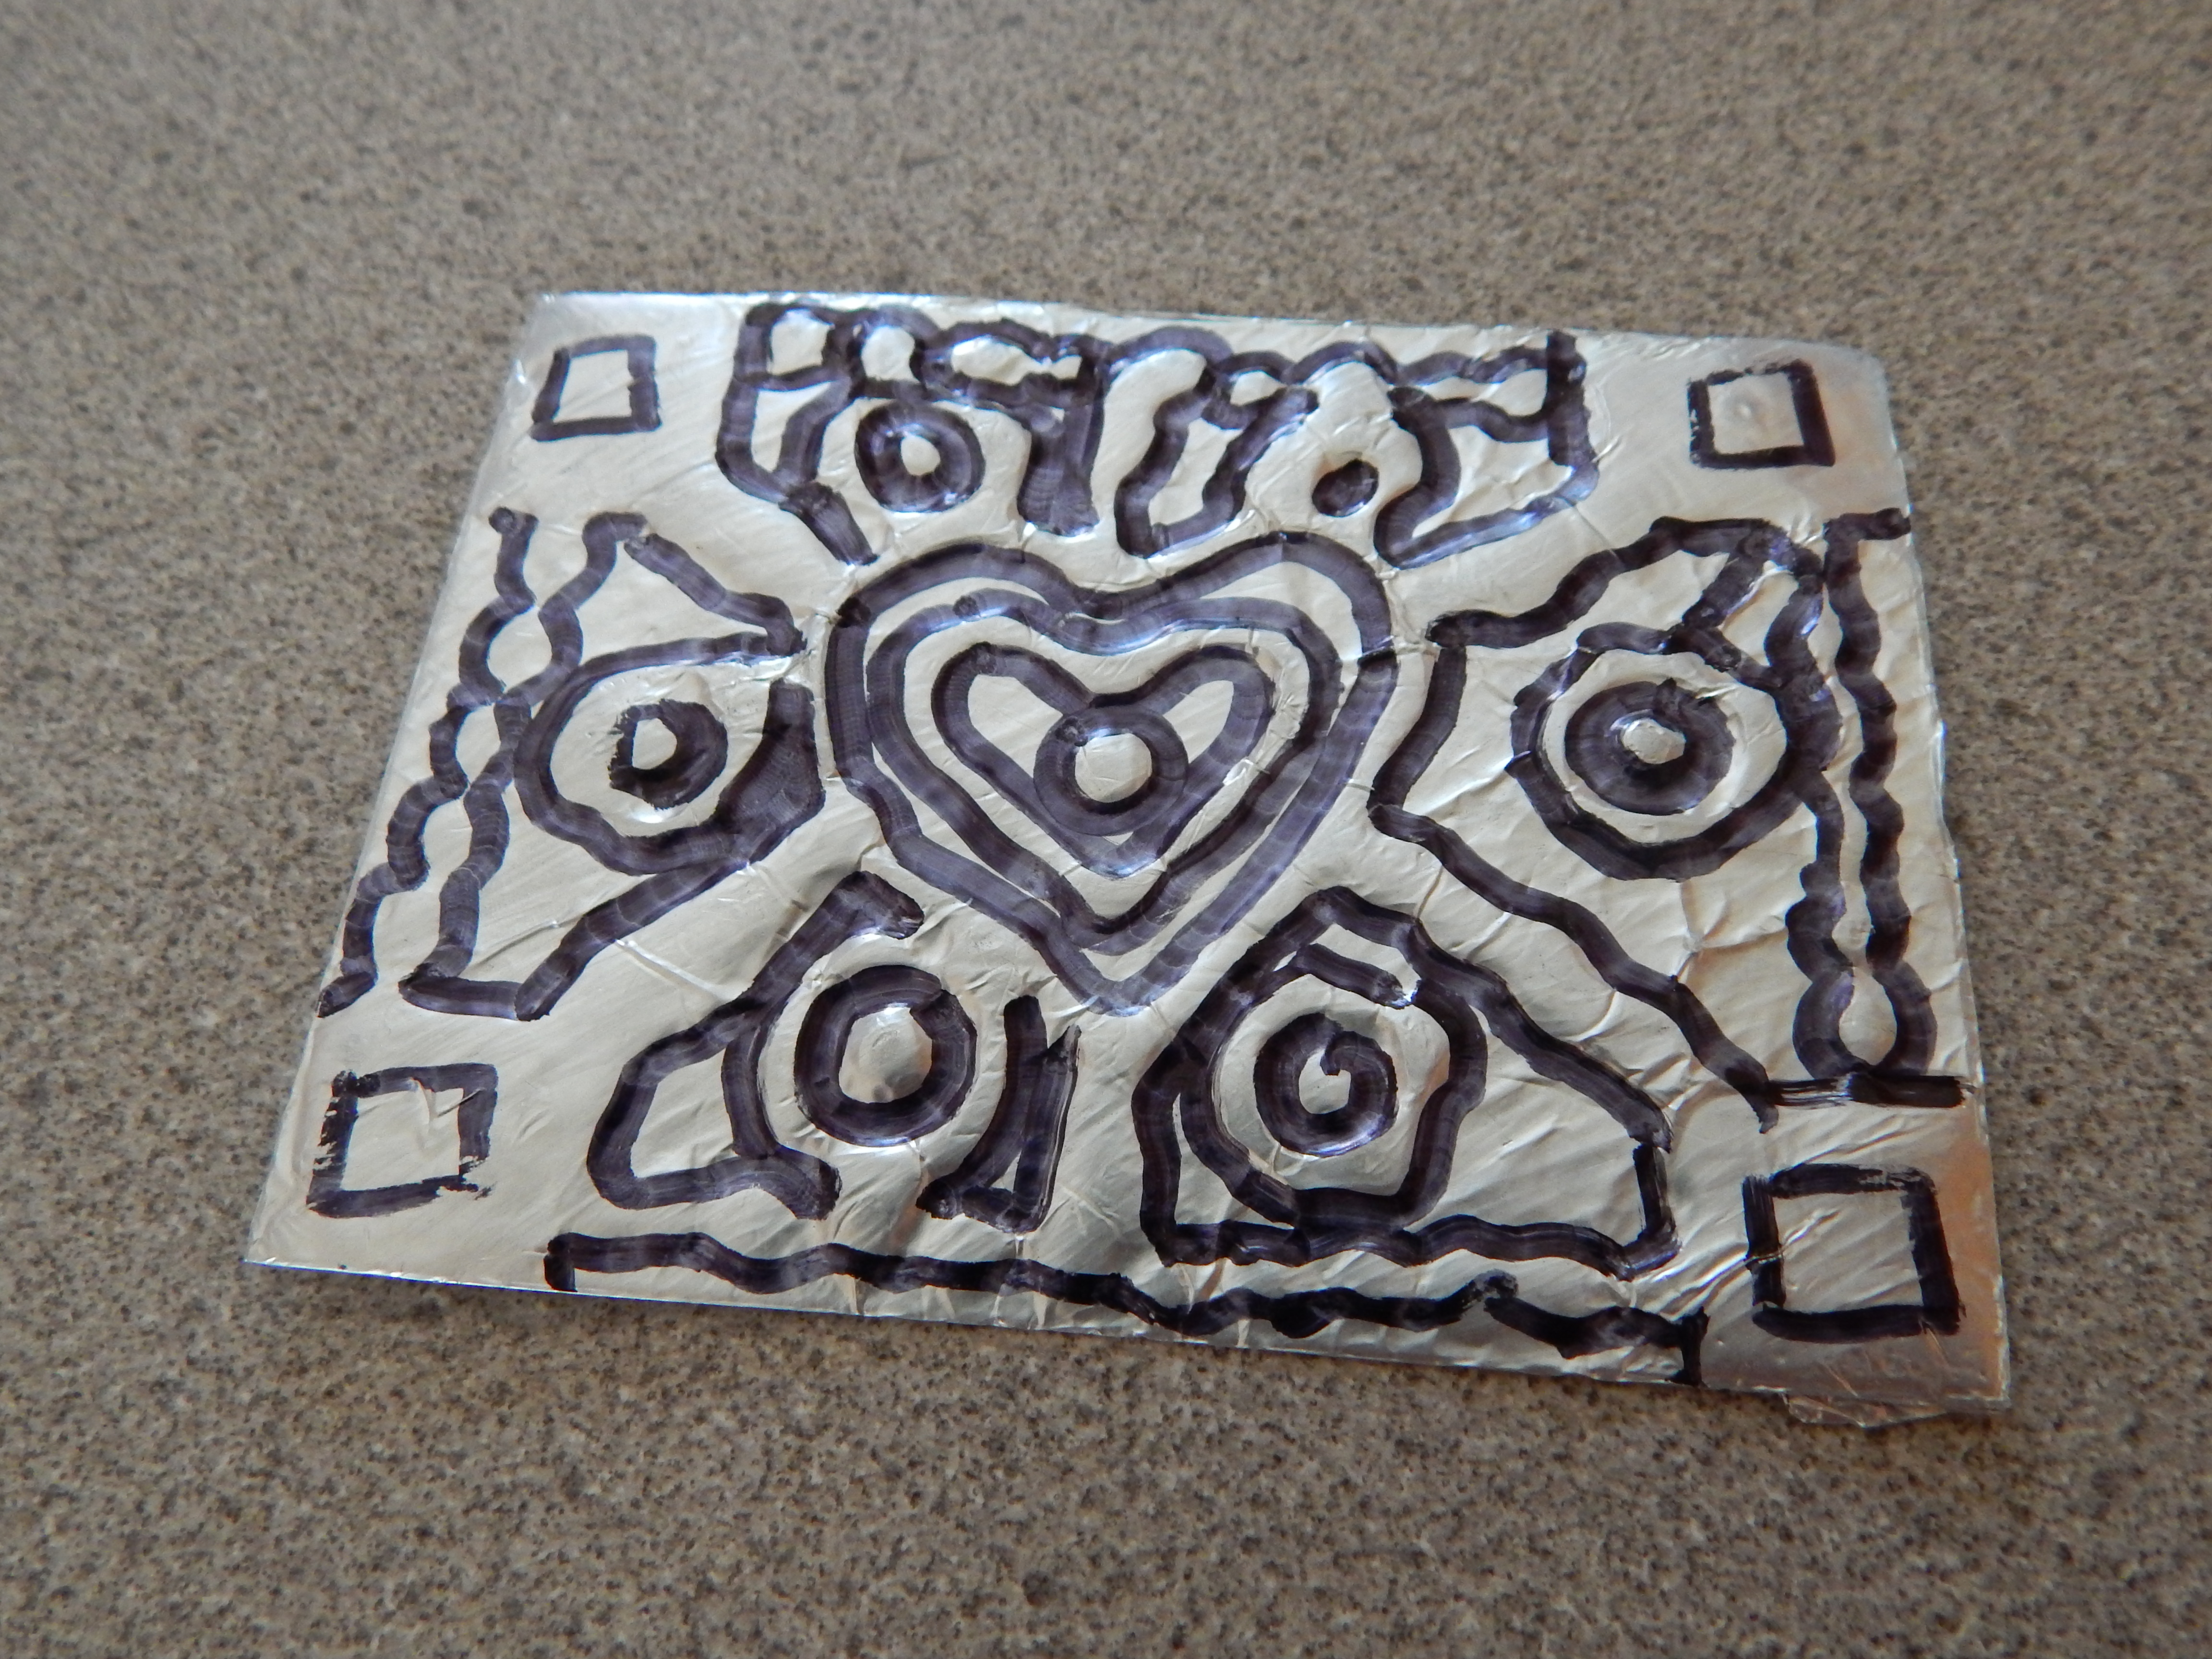
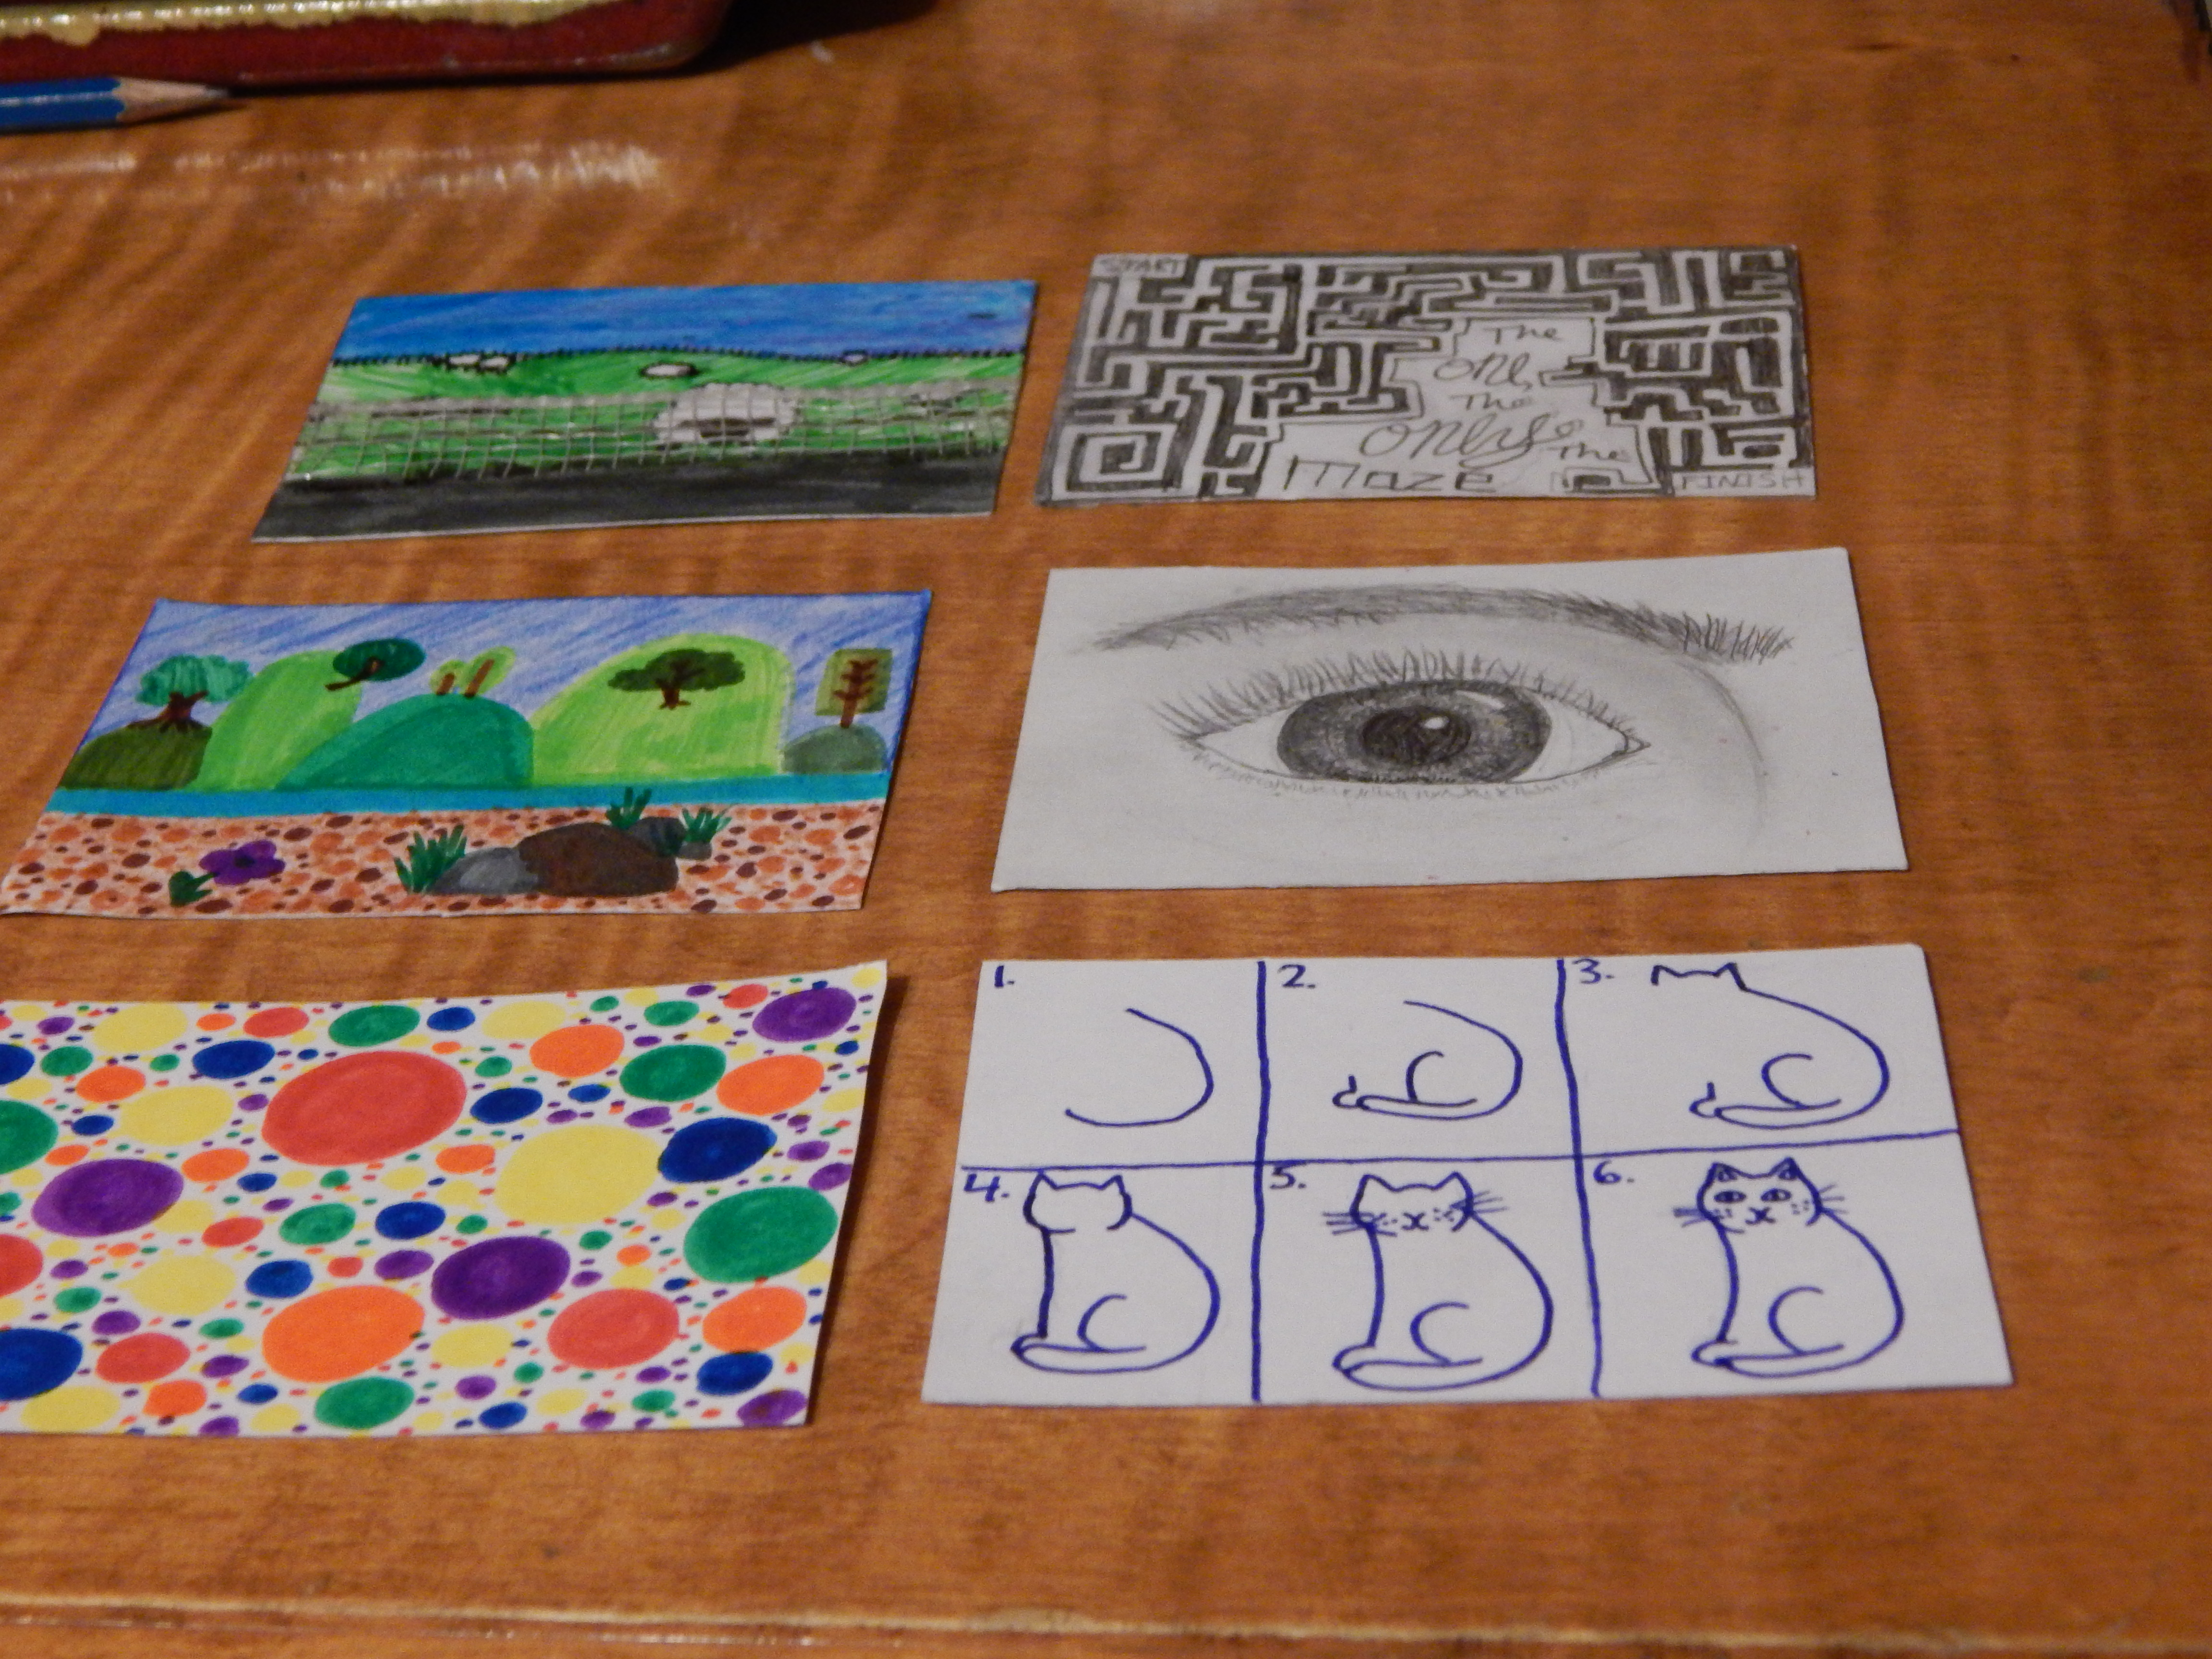
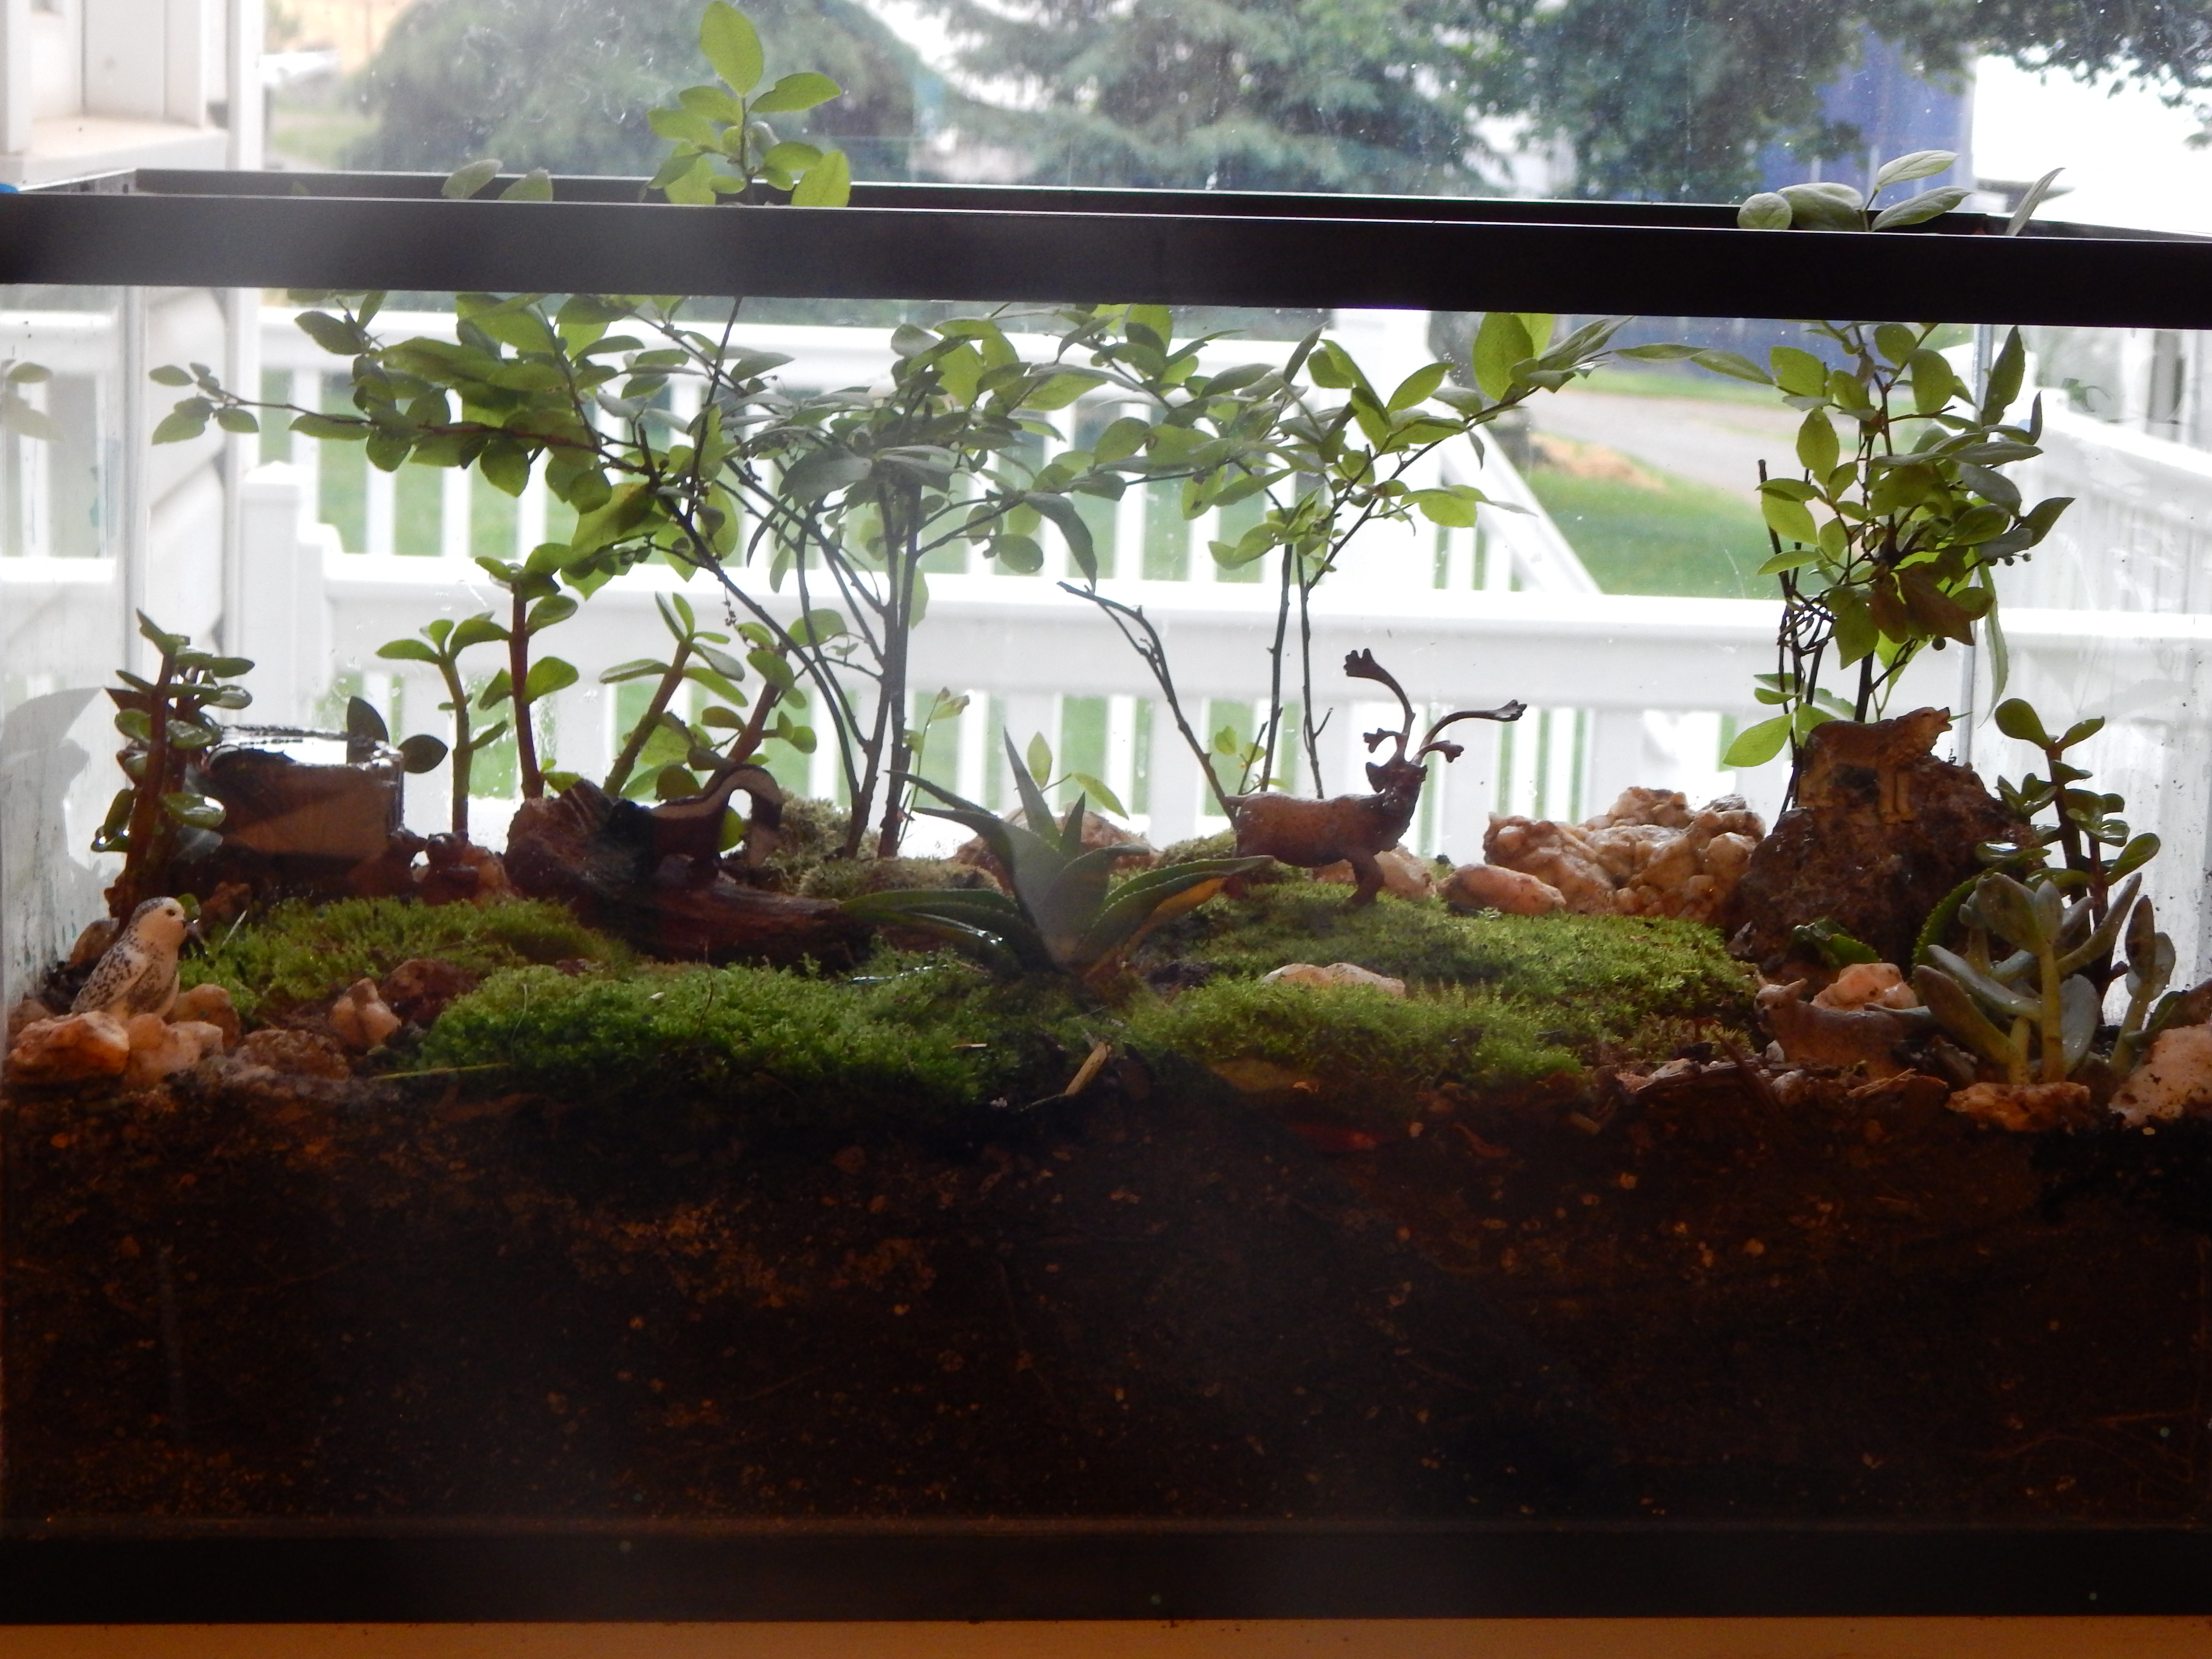
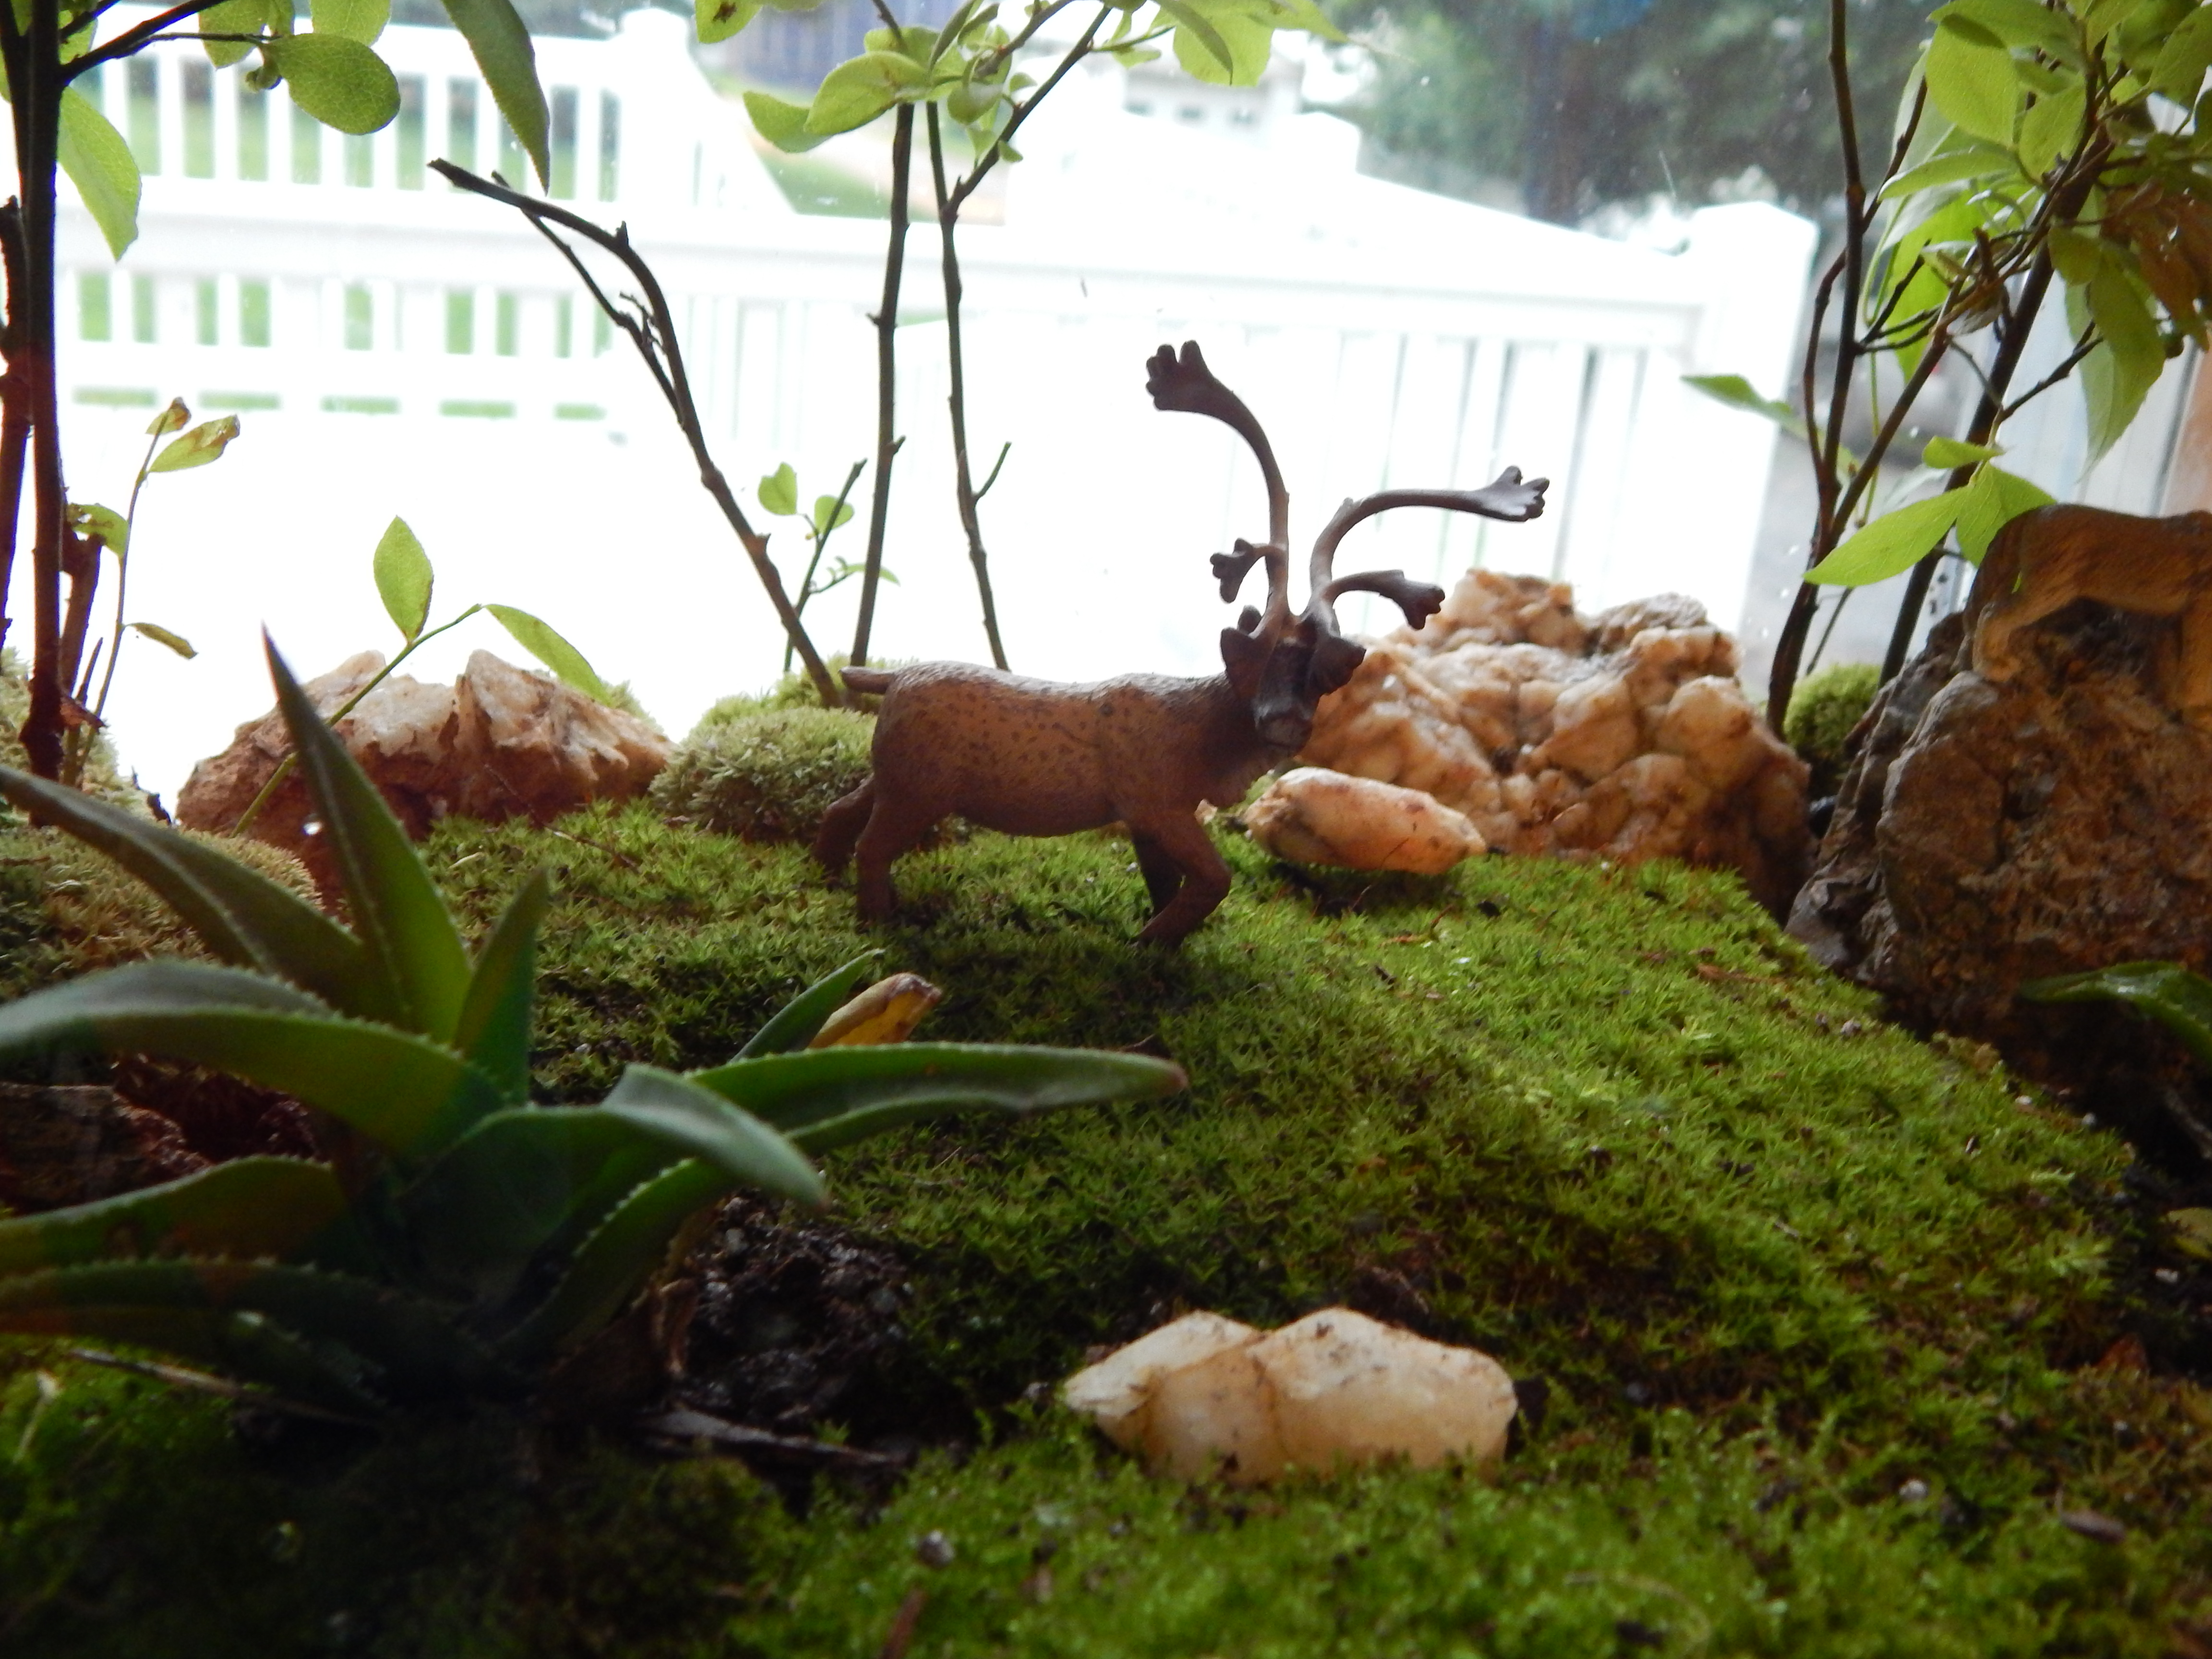
Have fun decorating around the board.  You can draw things pertaining to the game (i.e a forest landscape if the game is about woodland animals), or decorate it with doodles and designs.

Make up your logo.  Decide on the name of your game, and write it in fancy lettering somewhere prominent on the board.

~~~~~~~~~~~~~~~~~~~~~~~~~~~~~~~~~~~~~~~~~~~~~~~~~~~~~~~~~~~~~~~~~~~~~~~~~~~~~~~~~~~~~~~~~~

I hope you are inspired to make up a game!  Next up will the spaces of the board.

A Few Tidbits

This is a random post of pictures of lots of little things that aren’t hardly big enough for their own post, but are not small enough to be left out.  They are gathered here today for your viewing pleasure.

*************************************************************************************************************

This is a picture I took awhile ago of the beautifully straight rows of soybeans in one of our fields.  I’m sure it looks quite different now!

-Allison(fourth of July) 004

Here is a fun little rock that looks like it has a “b” on it.

-Allison(fourth of July) 003

A cute tiny froggie:

-Allison(fourth of July) 020

A little village made from rambutan shells – rambutans are a fruit that our friends introduced us too, with soft but spiky-looking shells and a soft sweet fruit in the middle.

-Allison(fourth of July) 036

The chief’s house:

-Allison(fourth of July) 037

We picked a bunch of apples today to make applesauce with (YUM!) and they all looked so pretty laid out on the ground.  I like this smaller photo because it shows the interesting texture better.

DSCN0132

And here is a flip-flop makeover – I drew a pretty design on the straps with Sharpie.  Simple, effective, but it took a long time!

DSCN0104

********************************************************************************

Have a nice one!  (And by the way, the next post will reveal the mystery, so you better guess quick if you want to guess at all!)

***Allison***

Make the Perfect Buggle House

What is a buggle?  Good question.  It is a very reclusive species of Glass marblus insectus, more commonly known as a buggle.  Never heard of it?  Well, don’t worry, you can make your own!  You just need flat-bottomed glass marbles, paper, and googly-eyes. (I actually made their eyes out of hole punches.  I glued two small black hole punches to two bigger, white ones.  For the baby buggle (which I made out of a smaller glass marble) I made two black dots on two of the smallest hole punches.)  Click here to see the buggle tutorial.

Great, you’ve made the buggles?  Now let us construct the perfect home.

1. Find a small box, like a soap box.

dscn9747

2.  Tape any open ends closed.

dscn9751

3.  Wrap it up nicely in cute wrapping paper.

dscn9754

4.  Use an Exacto knife to cut around three sides of the box to make a flap. (See picture.)

dscn9760

5.  Use pretty tape to cover rough edges.

dscn9764

6.  Draw a charming little entrance on the front of the box.

dscn9781

7.  The really fun part!  Give your buggles some nice furniture, some food and water bowls, and maybe a garland.  You can make stuff out of almost anything, but if you don’t have craft supplies, you can draw furniture too.  Now put your buggles in their new home.

dscn9788

I also made a way to keep the box closed (not shown) by putting a sticky dimensional foam square on the front, and gluing a ribbon to the top.  The ribbon sticks to the foam square and holds it closed.

dscn9798

Now you can play with your buggles!  You can keep them neatly in their box, or take them out.  With their convenient home, you can take them along in the car.

I made these with some kids I babysit, and they loved making the furniture.  They got very creative!  (I prepared the boxes first though, because they are a little tricky for younger kids, and then they filled it with furniture and made the buggles.)

Happy buggle-making!

***Allison***

Nature Mandalas

Let me introduce you to some little mandalas I made.  They are very similar to the mandalas Michele made right here, but without the game part.  It’s a fun challenge to make a mandala with only one material.  You can just sit down somewhere and make one using whatever you have around you – grass, bark, leaves, stones, whatever!

The one below is made only with pieces of wood and mulch.

-Allison(fourth of July) 040

-Allison(fourth of July) 041

And for this one I just sat down on the sidewalk and used whatever I could reach.  You could also collect things from a nature walk and make these.

002 001

So how about giving it a go?  If you make any, I’d love to see pictures of them!

-Allison(fourth of July) 042

Fun with… FLUBBER!

If you haven’t yet made flubber, you absolutely MUST!  It is an ooey-gooey-but-not-sticky goop that is tons of fun for kids and adults.  If you babysit, this is the thing to bring! (Note: Flubber isn’t sticky, but it can get stuck on soft things like cloth or hair if it sets on them.  If it gets on clothing, try rubbing the spot with a paper towel dampened with vinegar.)  Now that I’ve scared you with all the warnings, let’s make some flubber!  Flubber is made of glue, water, borax (a inexpensive cleaning agent), and food coloring (optional).  Click here for the recipe.  Now for some proof of the fun!

-Allison(Lily, flubber) 039 -Allison(Lily, flubber) 041 -Allison(Lily, flubber) 042 -Allison(Lily, flubber) 046 -Allison(Lily, flubber) 047 -Allison(Lily, flubber) 048

As you can see from the last three pictures, you can also blow bubbles with flubber.  Just make a pocket for a straw, make sure it’s airtight, and blow!

Pastel yellow is a really fun color for flubber because it looks like so many different things: pancake batter, pizza dough, noodles, cake/cookie/cupcake batter, bread…  It’s also fun to have a couple of things from the kitchen to use, like spatulas, forks, and cookie cutters.

I’d love to hear about it if you give it a go!

***Allison

ATC Inspiration

(Note: if you have no idea what ATCs are, or would like to know more about them, you can visit this site: flourishingbyrestfulfalls.wordpress.com)

My sisters and I, and some of our friends, enjoy making and trading ATCs (Artist Trading Cards).  I thought I would share some of the fun ideas we have thought of, and some of my favorite cards that I created.  (Another note: one of the rules of ATC making is that you can’t copy the exact thing on the card, but you can definitely be inspired by something, and make your own twist on it.)  And 3…2…2 1/2…1… Here we go!

*********************************************************************************************************************

I made this by drawing a design with glue.  I let the glue dry (mostly), taped on some tinfoil, and carefully pressed it around the designs.  Then I just outlined the bumps with Sharpie.

(lighning, mystery pictures, ATCs) 028

This one took me practically forever to make, but it turned out pretty well.  The idea here is that you can put a game on a card.  It doesn’t have to be a maze – it could a word search, a hidden-picture, a crossword, whatever!  I also laminated this with packing tape so the pencil wouldn’t smudge, and no one would be tempted to draw directly on the card.  It’s probably a good idea to tell the person you’re trading it with that they should just use their eyes and fingers to play the game instead of a pencil.

(lighning, mystery pictures, ATCs) 026

How to Draw a Cute Kitty by yours truly.  Idea: drawing-lessons on a card.

(lighning, mystery pictures, ATCs) 024

(These last two cards I did not make.)  Idea: You don’t have to just draw! You can add ribbon, dried flowers, or even googly eyes!

(lighning, mystery pictures, ATCs) 025

This last one was made by my friend who had the clever idea of putting a favorite recipe on the card.  Just make sure to include some art – after all, it is an ARTIST trading card!

(lighning, mystery pictures, ATCs) 023

Below are some of my favorite cards that I made.

-Allison(Lily, flubber) 012

What are some of your favorite ideas for drawing or making ATCs?

***Allison***

Draw a Transforming Face

One day recently when I was bored I drew this face on my finger.  If you bend your finger down, the face looks young and happy, but if you straighten it out, it looks wrinkled and, well, strange.

-Allison (bunnies dressed up) 055 -Allison (bunnies dressed up) 056

The key to making the face transform is to draw it in the wrinkly part of your knuckle.  (Wow, that sounds really weird.)  You have to figure out which wrinkles will be the eyebrows, eyes, and mouth.  You pretty much draw slightly curved or straight lines for everything while you bend your finger,and then straighten it out and voila! it transforms.  You can make a little nose too if you want.  For some reason, it is really fun to bend your finger back and forth and watch the face change, which makes it a really fun boredom buster.

Thank you for reading this random and slightly odd post! ☺☺☺☺☺  Have fun transforming faces, and let me know if it worked!

***Allison***

Forest Terrarium

I love making terrariums/ fairy houses/ miniature gardens, and I got some cute little forest animals for my birthday from my friends, so I decided to make a forest terrarium with the glass tank we have.  I’ll show you mine so you can get an idea of how to make one, and then you can be creative and make your own!

——- I used ——-

-succulents (which I also got for my birthday)

-a random little bushy plant from the woods

-a stump thingy from a miniatures store

-miniature forest animals (my friends said they were from Target)

-soil

-moss

-quartz crystals (from around our farm)

-rocks

-Allison (bunnies, forest terrarium) 009 -Allison (bunnies, forest terrarium) 010 -Allison (bunnies, forest terrarium) 011 -Allison (bunnies, forest terrarium) 012 -Allison (bunnies, forest terrarium) 013 -Allison (bunnies, forest terrarium) 014 -Allison (bunnies, forest terrarium) 015 -Allison (bunnies, forest terrarium) 016

I planted the shrubby things along the back of the terrarium.  Most of the succulents I made into little gardens with crystals in the two front corners of the terrarium.  I always think moss adds a nice touch, especially for a woods.  My favorite animals in their habitat are probably the wolf howling from the rock, or the skunk on a log.  Which are your favorites?

***Allison***

Tassel Doll Tutorial

allison-tassel-doll-025

This cute little gal is fun to make and very customizable.  I think it would be cute to make several of these with different hair/skin/dress colors and create a little house or village for them to live in.  These dolls can also be used as dolls for your other, bigger dolls (like American Girl Dolls).

So let’s get started!

You will need:

**************************************************************

Yarn in several different colors: skin color, dress color(s), and hair color

Scissors

Needle and thread or fabric glue

******************************************************************

1.  Choose your yarn colors and separate them into hair, skin, and dress colors.  I used two colors of yarn for her dress, but you can use more or less as you choose.

allison-tassel-doll-014

2.  Wrap the dress yarn around your hand several times until you have a nice thick bunch of yarn.  You can vary the amount of yarn to vary the fullness of the dress.

allison-tassel-doll-015

3.  Snip the yarn from the yarn balls and carefully take the loops of yarn off of your fingers.  Use the skin color yarn to tie a knot near the top of the dress.  The dress yarn above the knot will be the head, so size it accordingly.

allison-tassel-doll-016

4.  Wrap the skin color yarn around the loops of dress yarn above the knot to make the head.  Snip off the end of the yarn, leaving a tail.

allison-tassel-doll-017

5.  Tie a knot around the head with the tail, and cut off the extra yarn.

allison-tassel-doll-018

6.  A little down from the head, tie a strand of skin color yarn for the arms.  Tie some knots at each end of the yarn for hands.-Allison (Tassel doll) 0197.  If you like, you can tie a strand of dress yarn over where the arms knot in the middle to hide the knot.

allison-tassel-doll-020

8.  Great!  Now for the hair.  Take your hair color yarn and unravel the ends, like so.

allison-tassel-doll-021

9.  Once you have unraveled a few strands of yarn, wrap them around your hand like you did for the dress.  This time when you take the yarn off, tie it in the middle and cut both ends.

allison-tassel-doll-022

9.  It probably works best to attach the hair by sewing it on, but you can try gluing it if you really don’t want to sew.

allison-tassel-doll-023

10.  Ta-daa!  You’re finished!

allison-tassel-doll-024

Here are some pictures with the finished doll:

allison-003 allison-001 allison-004

I hope you enjoyed making a tassel doll!  I know I did!

***Allison***