Clay Doughnut Tutorial/Our Clay “Studio”

As you might already know, I l♥ve making things out of polymer clay. I especially like making miniatures, whether it be a  little snowy owlet or miniature doughnuts like I’m going to show you today! (The links will take you to my Etsy shop listings.) I’m also going to give you a tour of my clay “studio” that I share with my sister.

First, the doughnuts. The basic doughnut is super simple to make, and then, of course, you get to embellish it – yay! 🙂

  1. Mix it. Unless you already have the perfect doughnut colored clay, you’re going to need to mix up a batch of doughnut batter. I think I used white, dark brown, light brown, orange, and red clay for my mix.
  2. Cut it. If you are making more than one doughnut, you’ll want them all to be the same size. I first rolled my “batter” through a pasta machine on the thickest setting, then folded that sheet in half to make it even thicker. I used a mini-Sharpie lid to cut circles out of the dough. Don’t worry about making the circles pretty – we’ll work on that in the next step.DSCN3083 (1280x960)
  3. Shape it. This step is easy. Roll the circles into smooth balls and press down lightly with your finger to make nice rounded cakes.DSCN3084 (1280x960)
  4. Hole it. I cut a hole in the middle of my doughnuts with a straw, although if your doughnuts are a different size, you may need to use something else. Make sure the hole is in the middle, or the doughnut will look lopsided… kind of like the doughnut below. 😀DSCN3085 (1280x960)
  5. Decorate it! Yay, the fun part! You can add glaze, sprinkles, chocolate covered sardines, whatever you want. (Although if you offered me the last kind, I think I would pass. XD) Here some of the 36 doughnuts that I made. Yes I made every single sprinkle on those doughnuts by hand. And yes, it took a while. I glazed some most of the icing with a gloss glaze that makes it look much more realistic. XD Go here to see my Etsy listing of these doughnuts with a picture of each flavor.

-Allison(at the creek with bunnies, clay table) 020 (1280x960) (2)-Allison(at the creek with bunnies, clay table) 021 (1280x960) (2)-Allison(at the creek with bunnies, clay table) 019 (1280x960)

And now the clay studio! I set up a table in our school room, covered part of it with tinfoil, and arranged all of our clay stuff neatly on top. It’s really nice to have a designated place to work with clay. (Click here to see my sister’s version of this tour.) The anatomy of a clay table:

anatomy of a clay table (1280x960)

-Allison(at the creek with bunnies, clay table) 001 (1280x960) (1280x960)
Our clay table
-Allison(at the creek with bunnies, clay table) 003 (1280x960) (1280x960)
This adorable fox mug holds our clay tools.
-Allison(at the creek with bunnies, clay table) 002 (1280x960) (1280x960)
We each have a tray on which we stash our creations – this is my tray
-Allison(at the creek with bunnies, clay table) 004 (1280x960) (1280x960)
The scrap clay tile. 😀 Scrap clay can marbled into pretty balls or reused.

And thus ends my tiny tour. 🙂 I hope you enjoyed this clay-y post!

***Allison***

In Which Mr. and Mrs. Gnome Encounter Something Very Strange

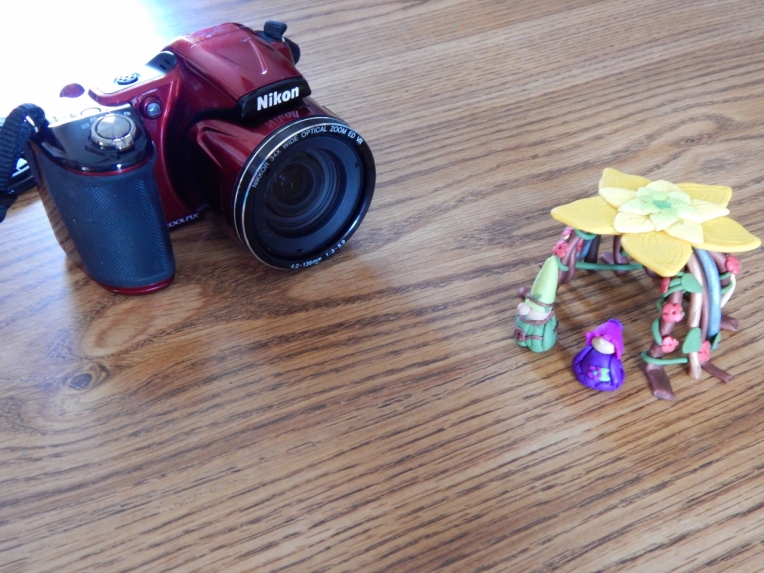
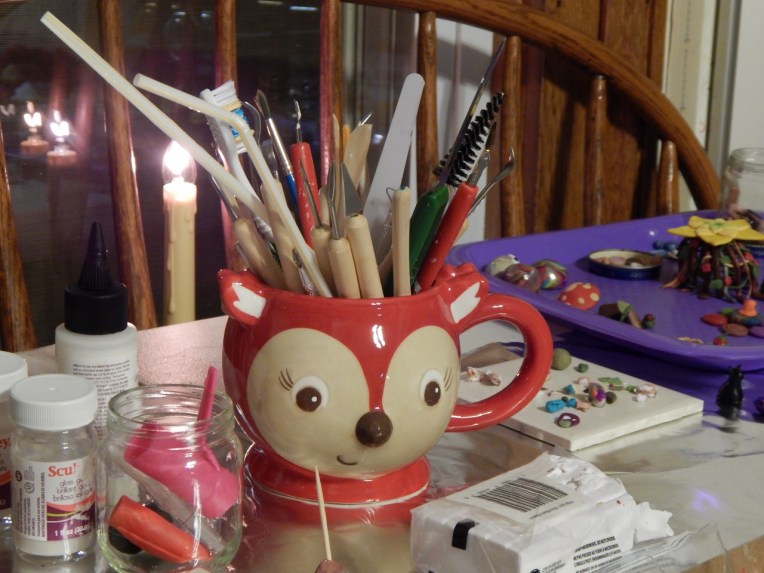
Hi, guys! I have a silly little photostory for you today that I had a lot of fun making. Oh, and the camera shown in the photostory is my sister’s, but I (erm, the gnomes) took all of the pictures with my camera.

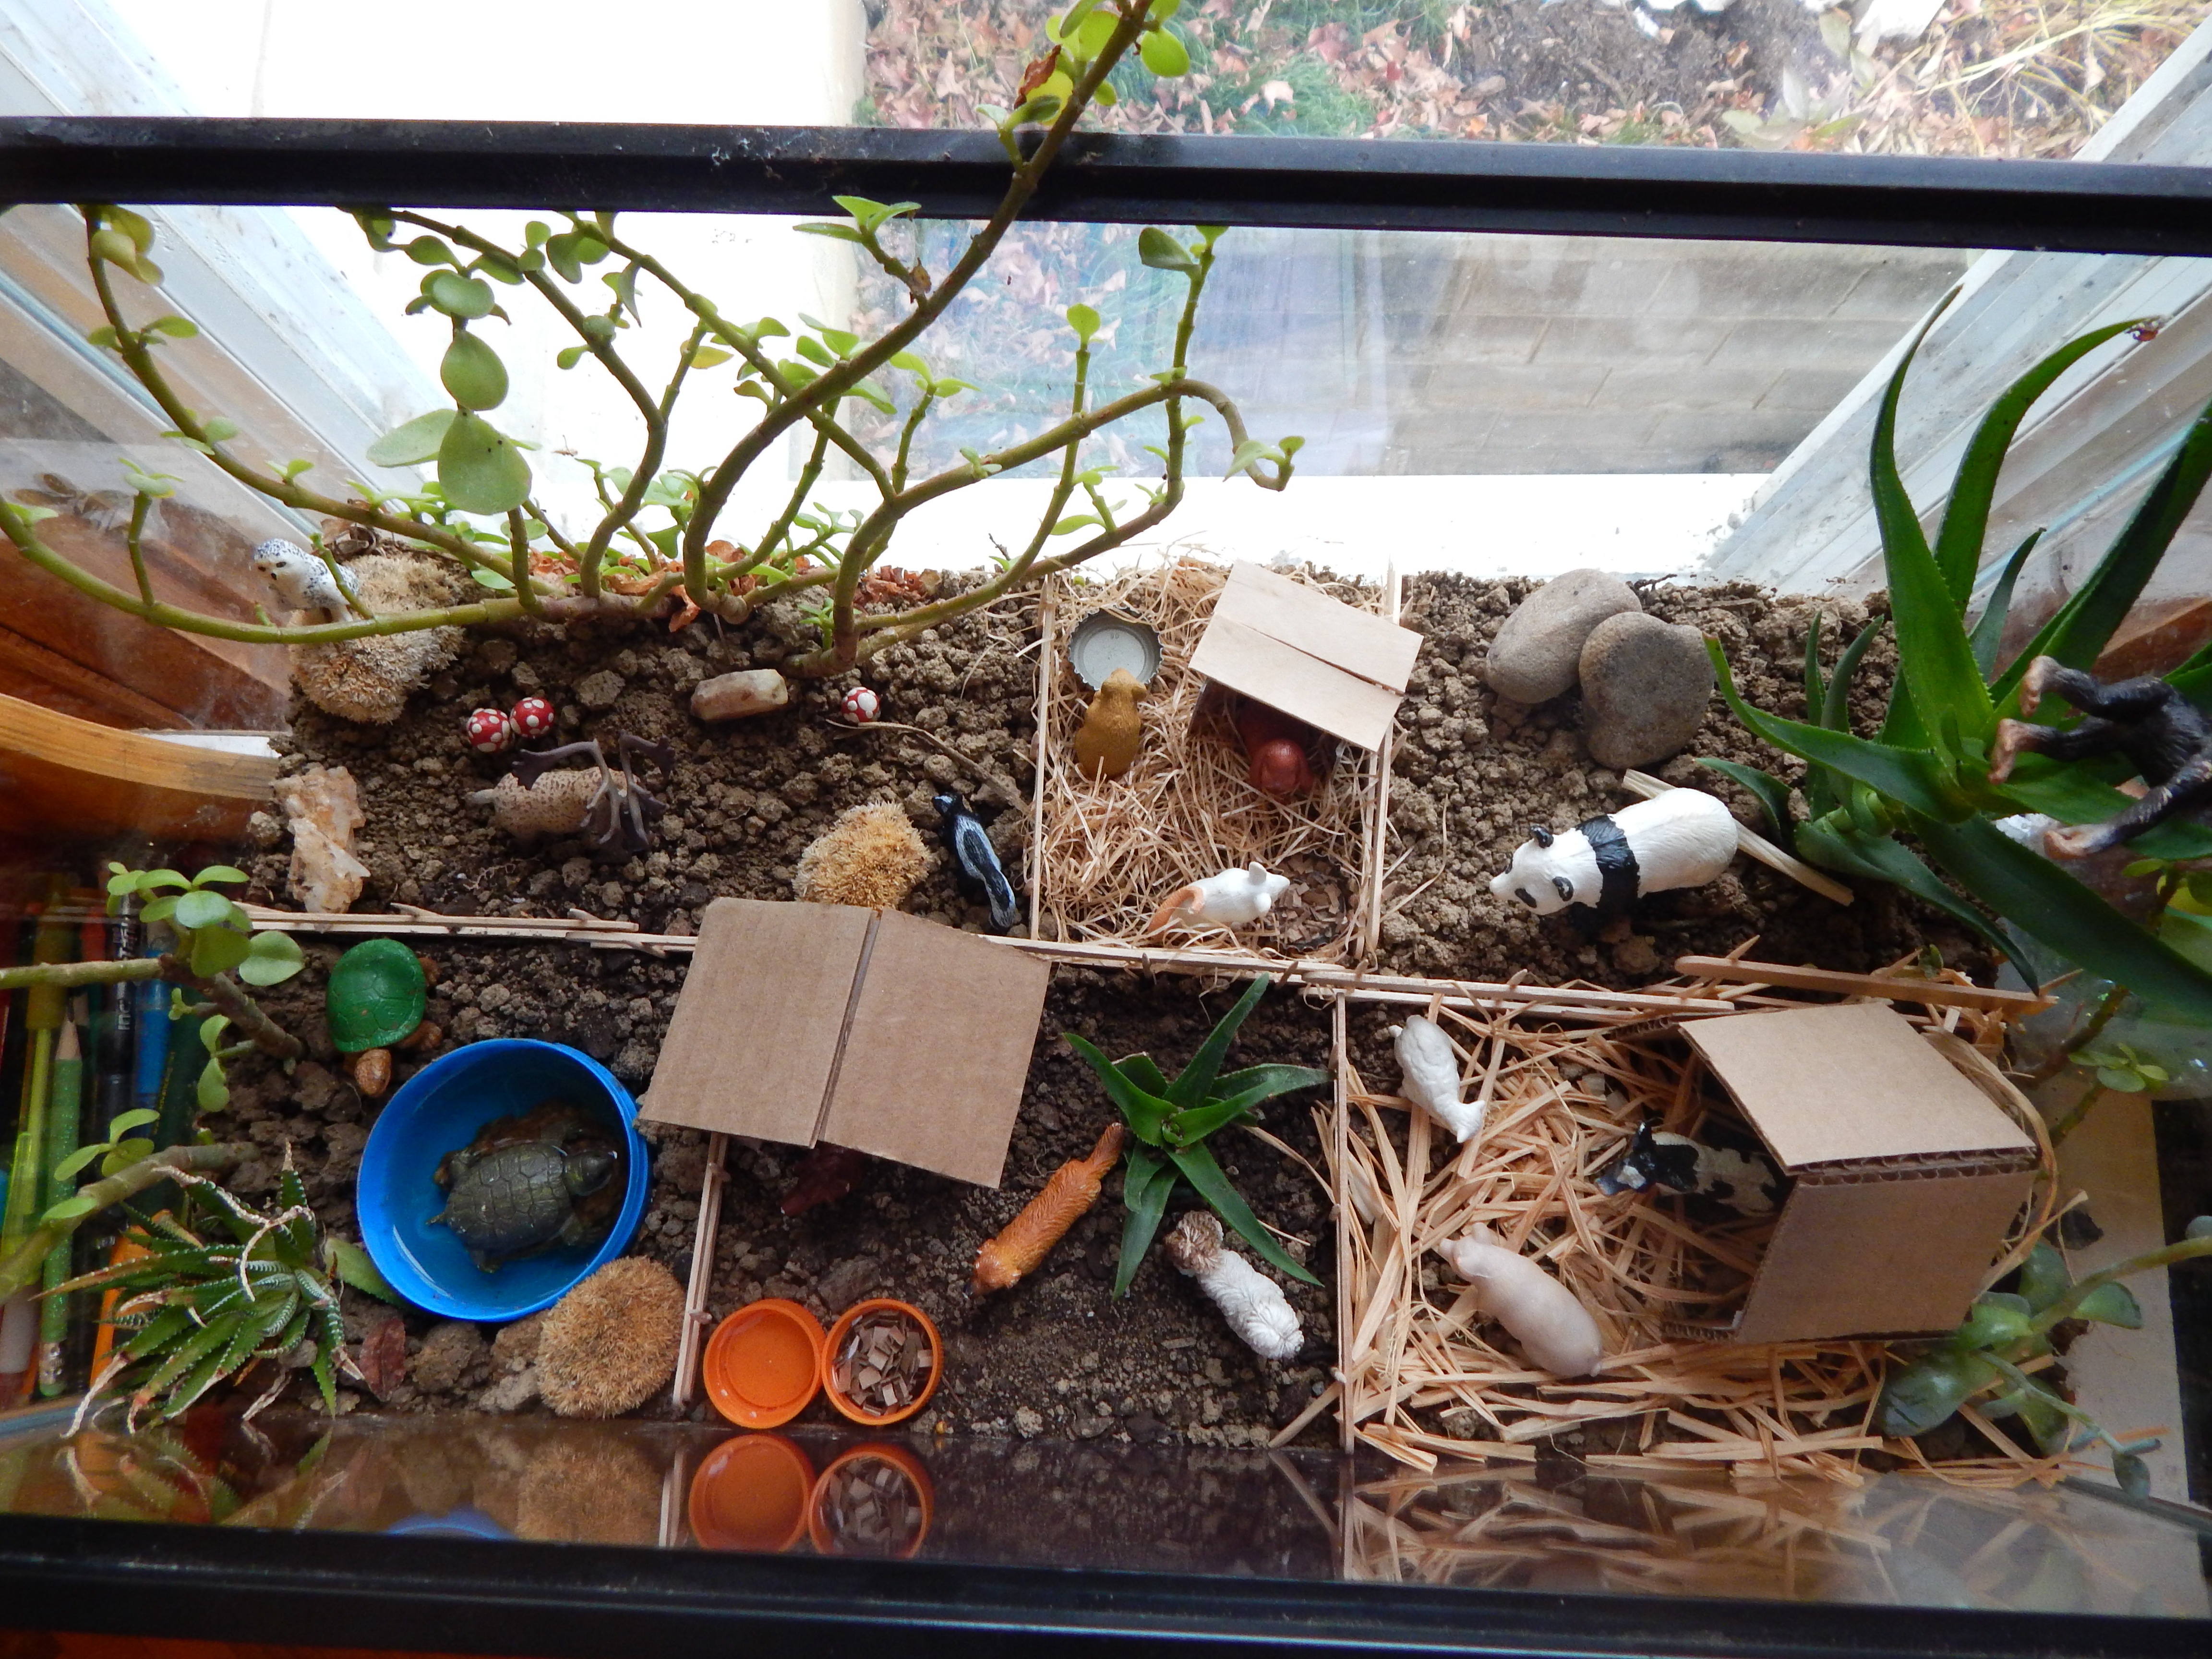
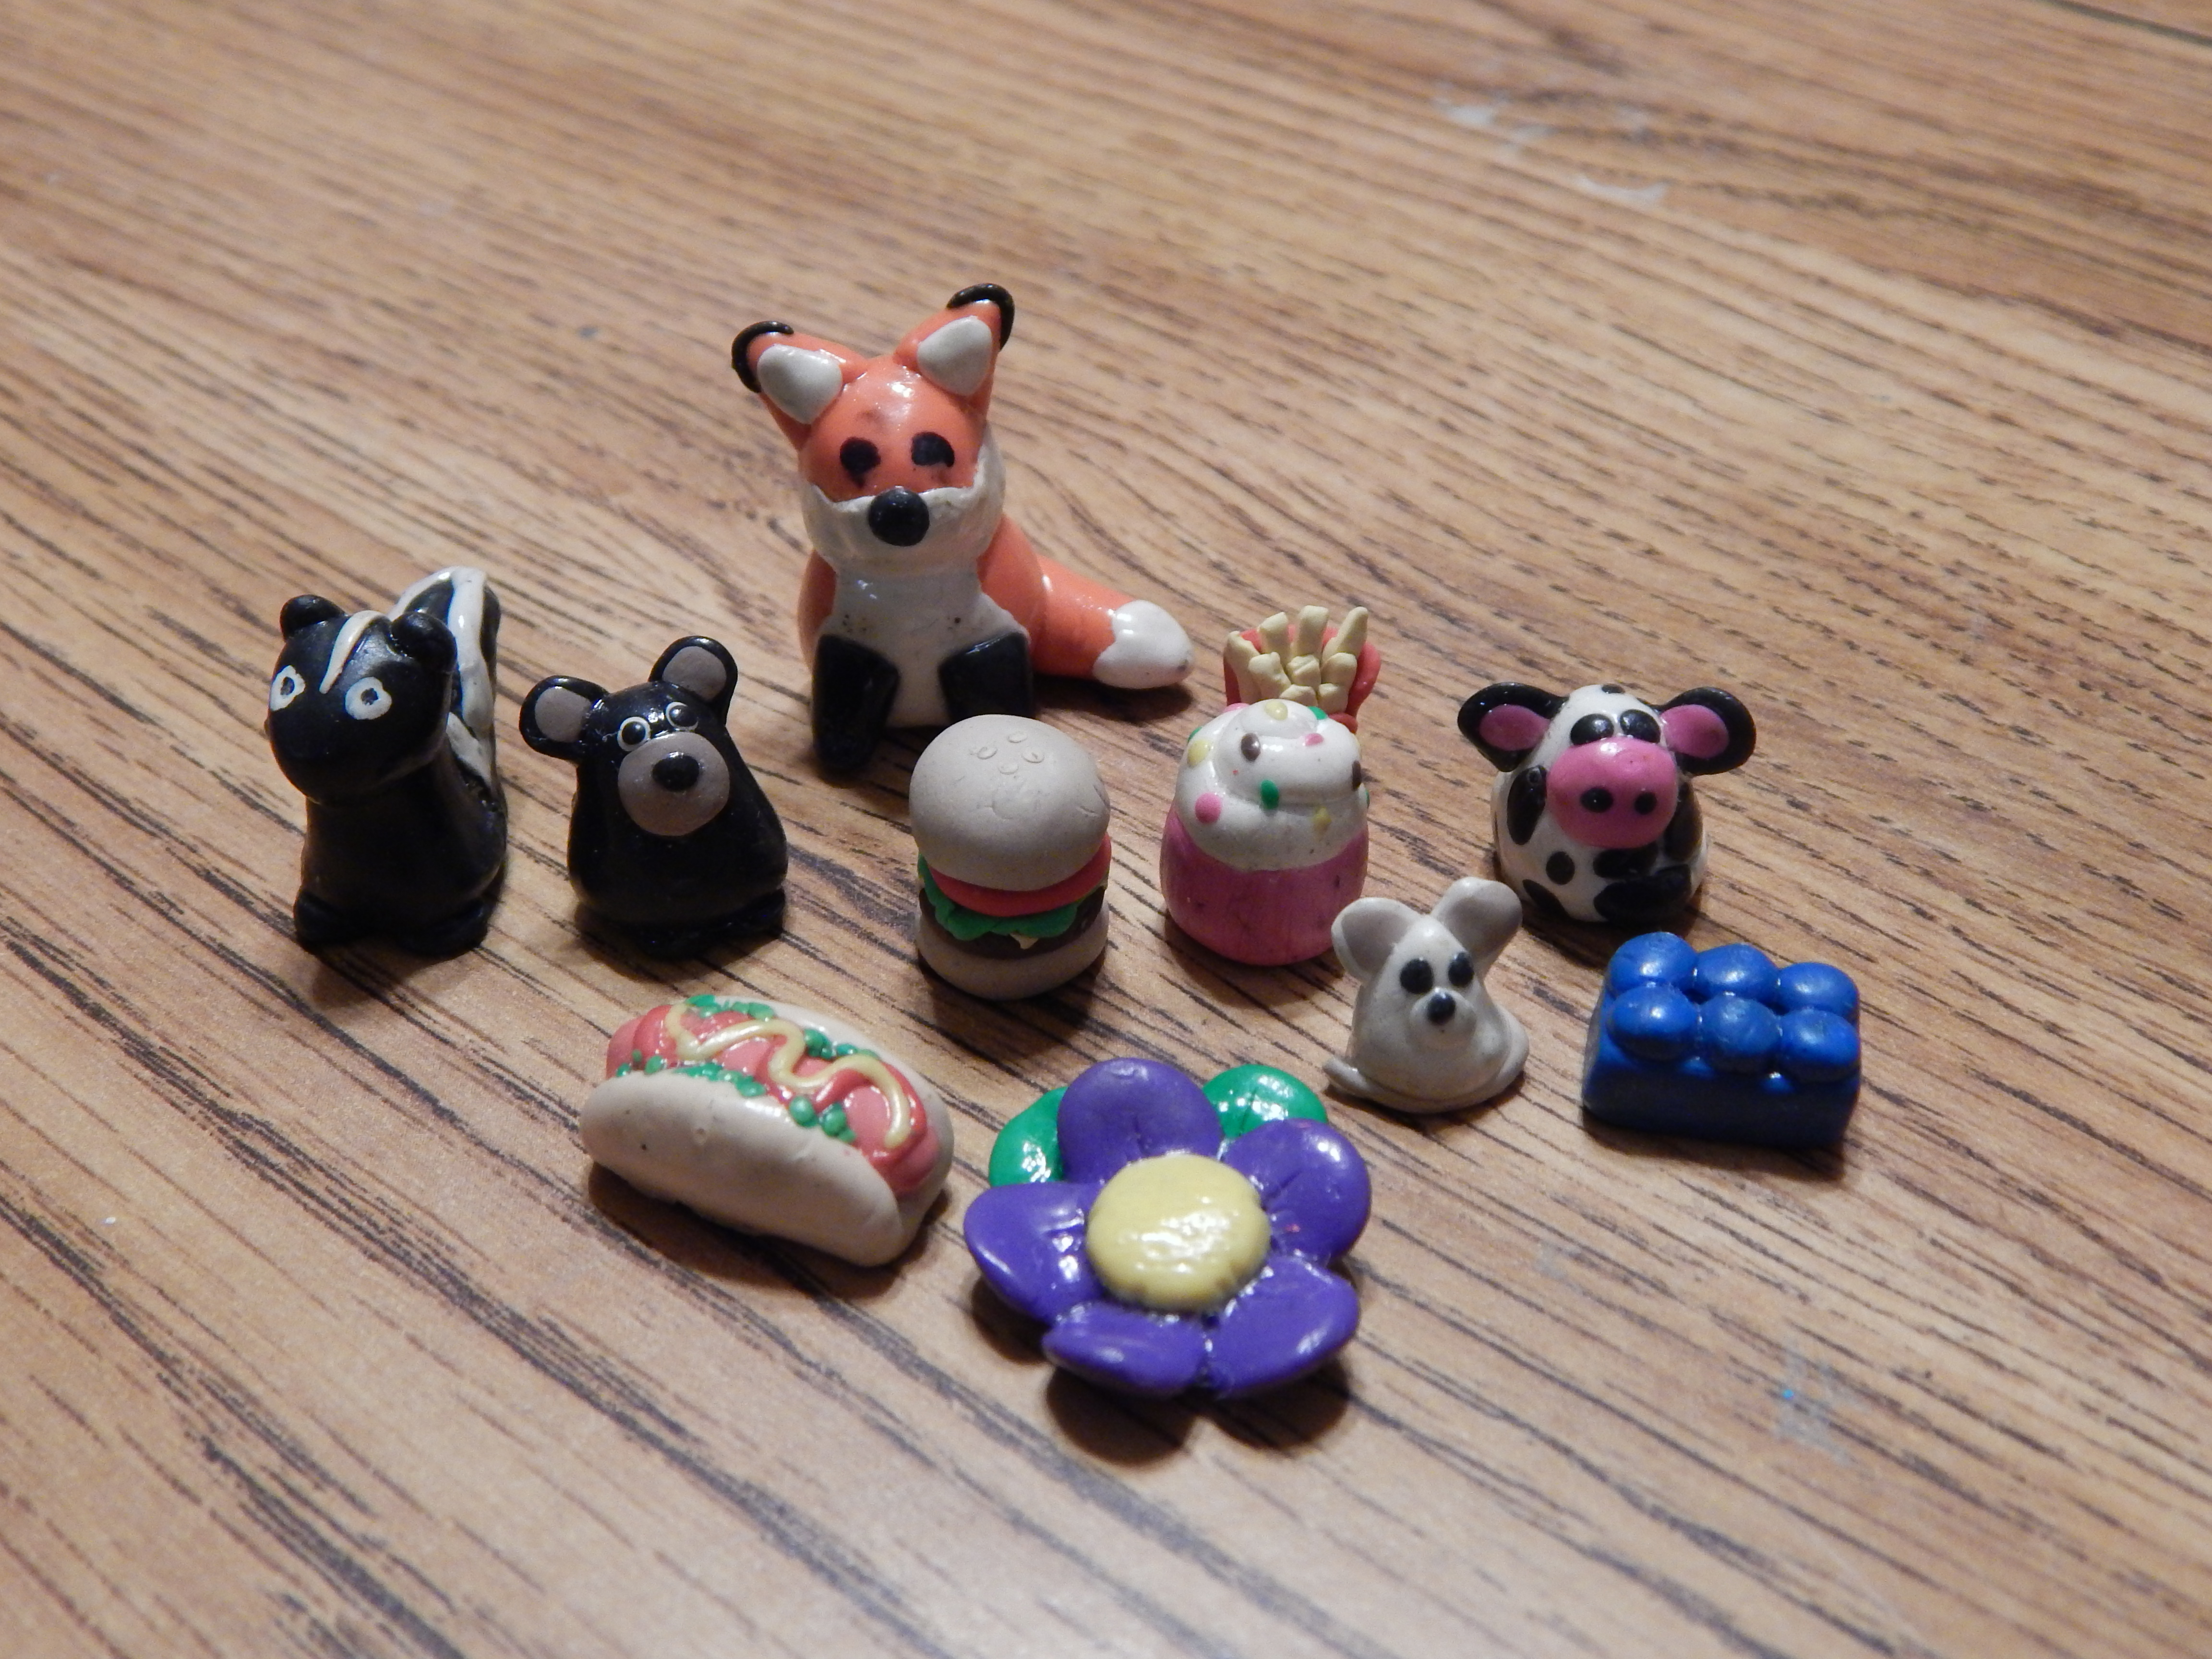
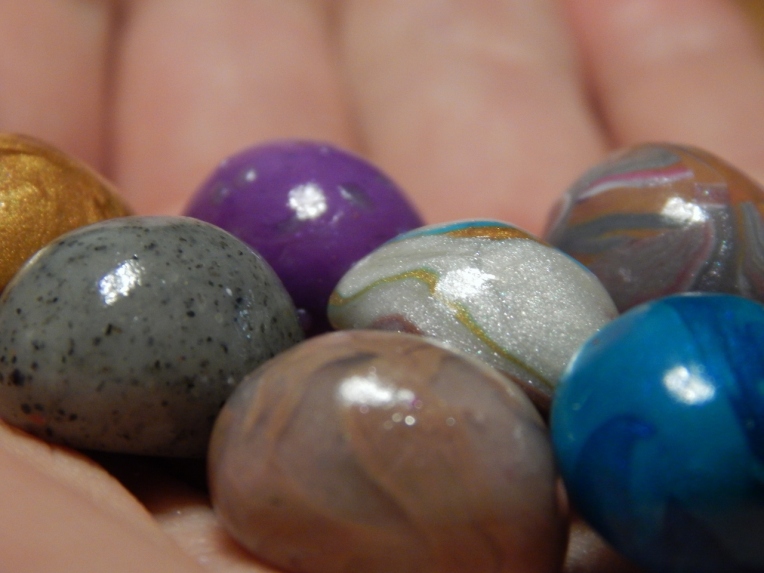
(To see more detailed photos of some of the “stars of the story,” click here.)

********************************************************************************

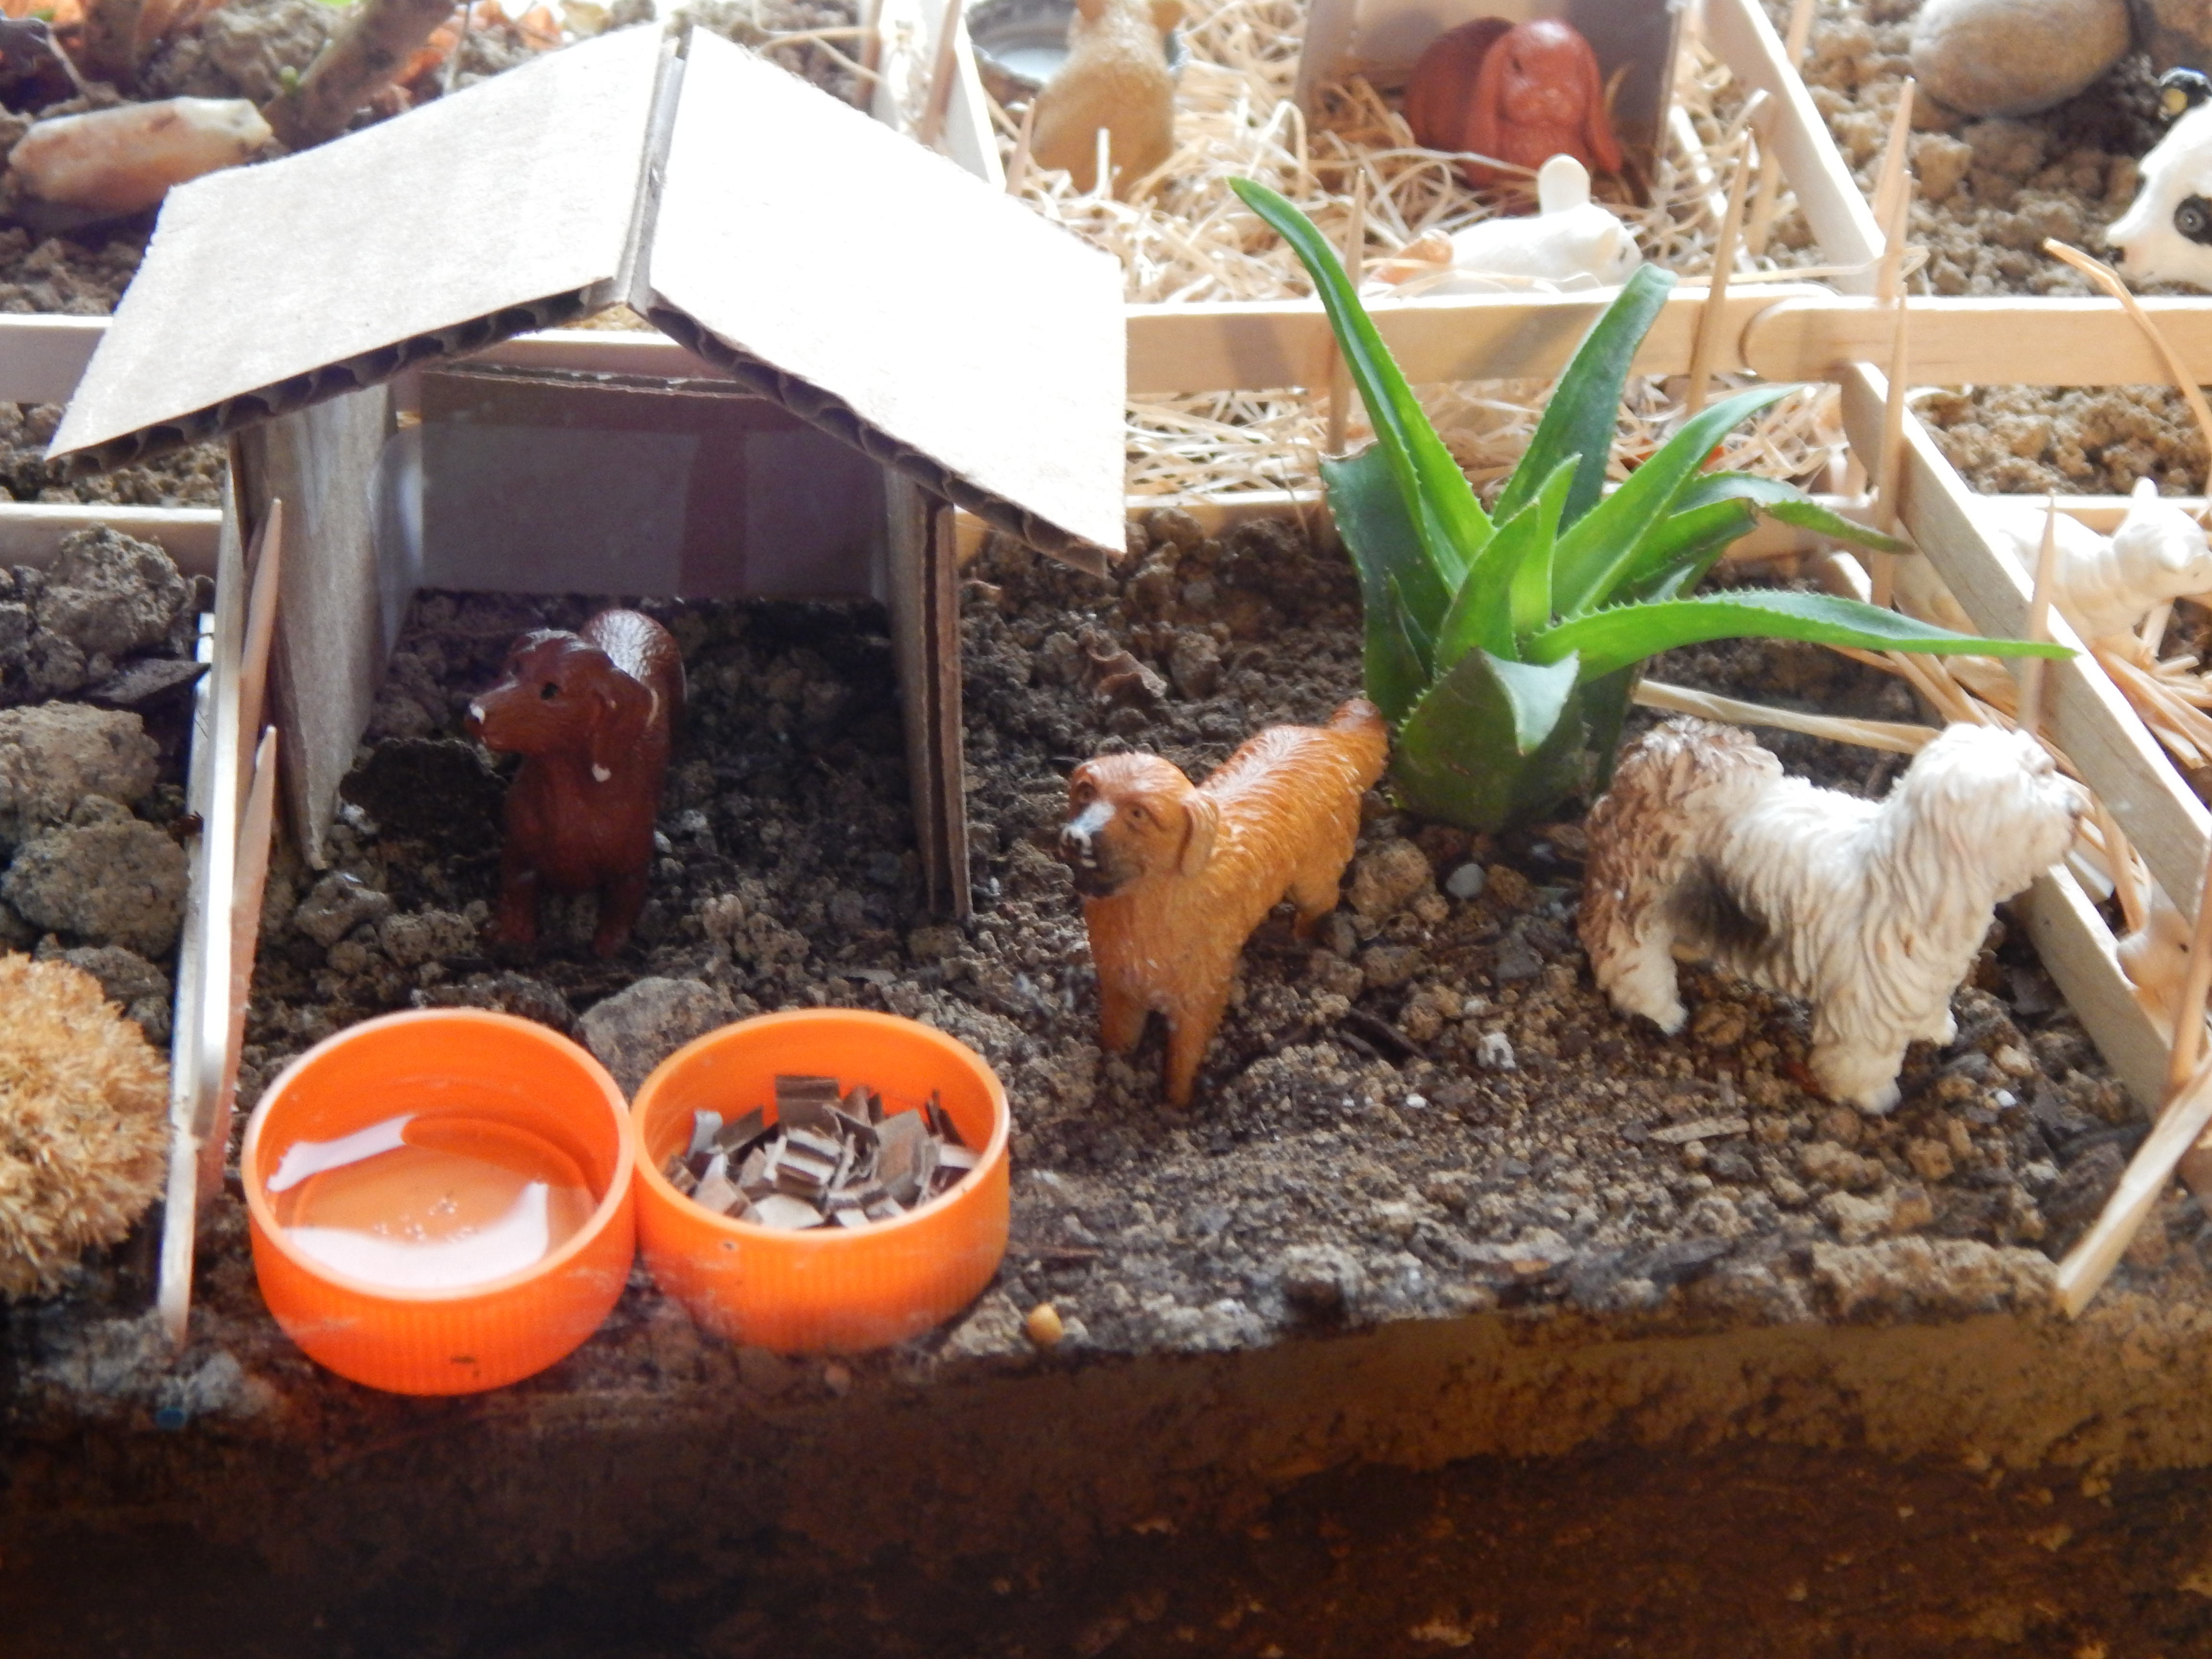
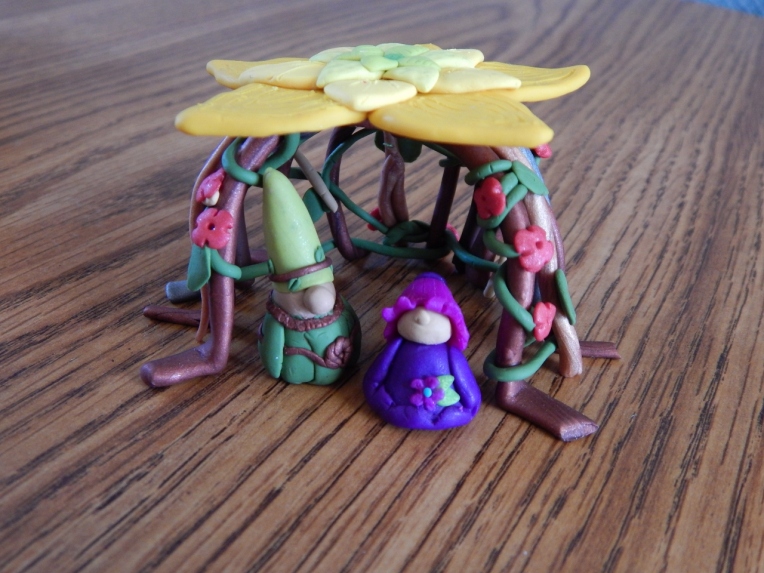
One morning bright and early, just as the sun was sleepily climbing out of his bed, Mr. and Mrs. Gnome yawned and rolled over in their beds. It was too early to be getting up just yet, but… hold everything! Was that footsteps? Human footsteps! The Gnomes were used to waking up to the sound of birds and bees and butterflies (gnomes have very good hearing – they can even hear butterflies) but it had been years since they had heard or seen any trace of a human!

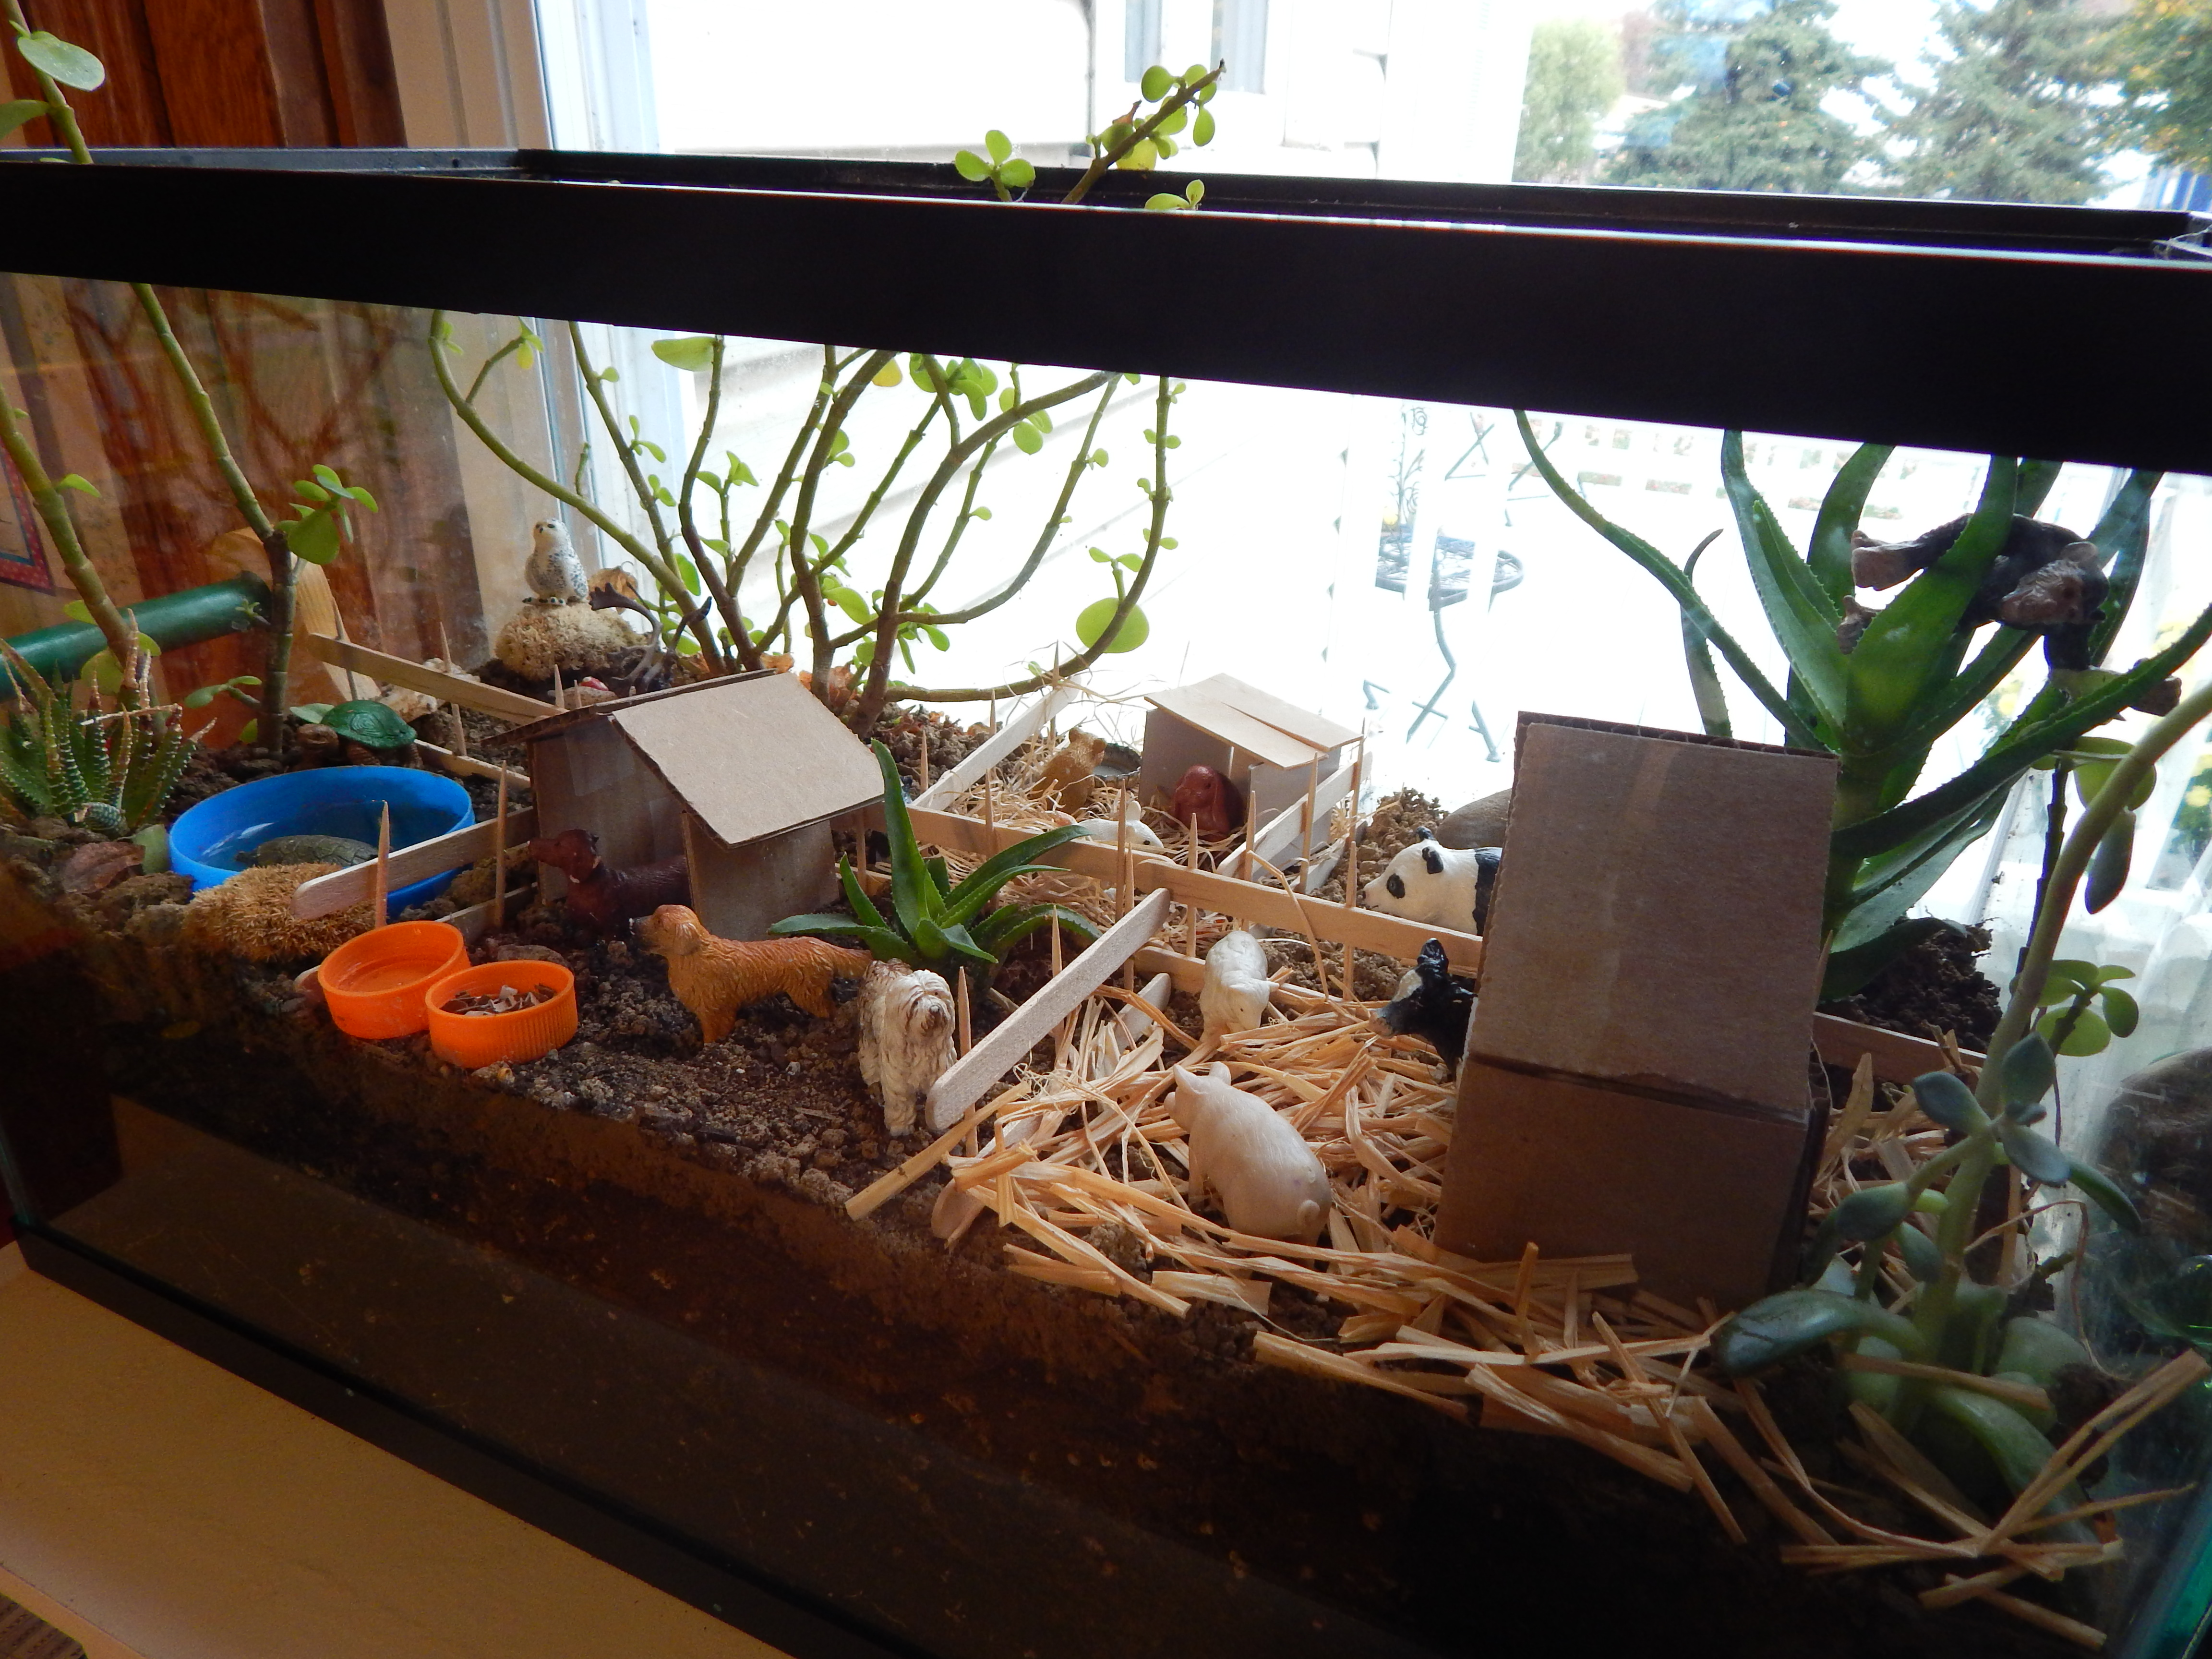
The two gnomes lived deep in the woods, you see, where everything was safe and snug, and all animals, gnomes, fairies, and other creatures lived in harmony. If a human should discover them, all the fairies and gnomes and other creatures would have to move, for of course they could never feel safe knowing that a human could come and eat them up at any moment. So, although it was early, Mr. and Mrs. Gnome jumped out of bed, shivering with fear, and peeked cautiously out of their doorway.

-Allison(gnome photostory) 042 (1280x960)

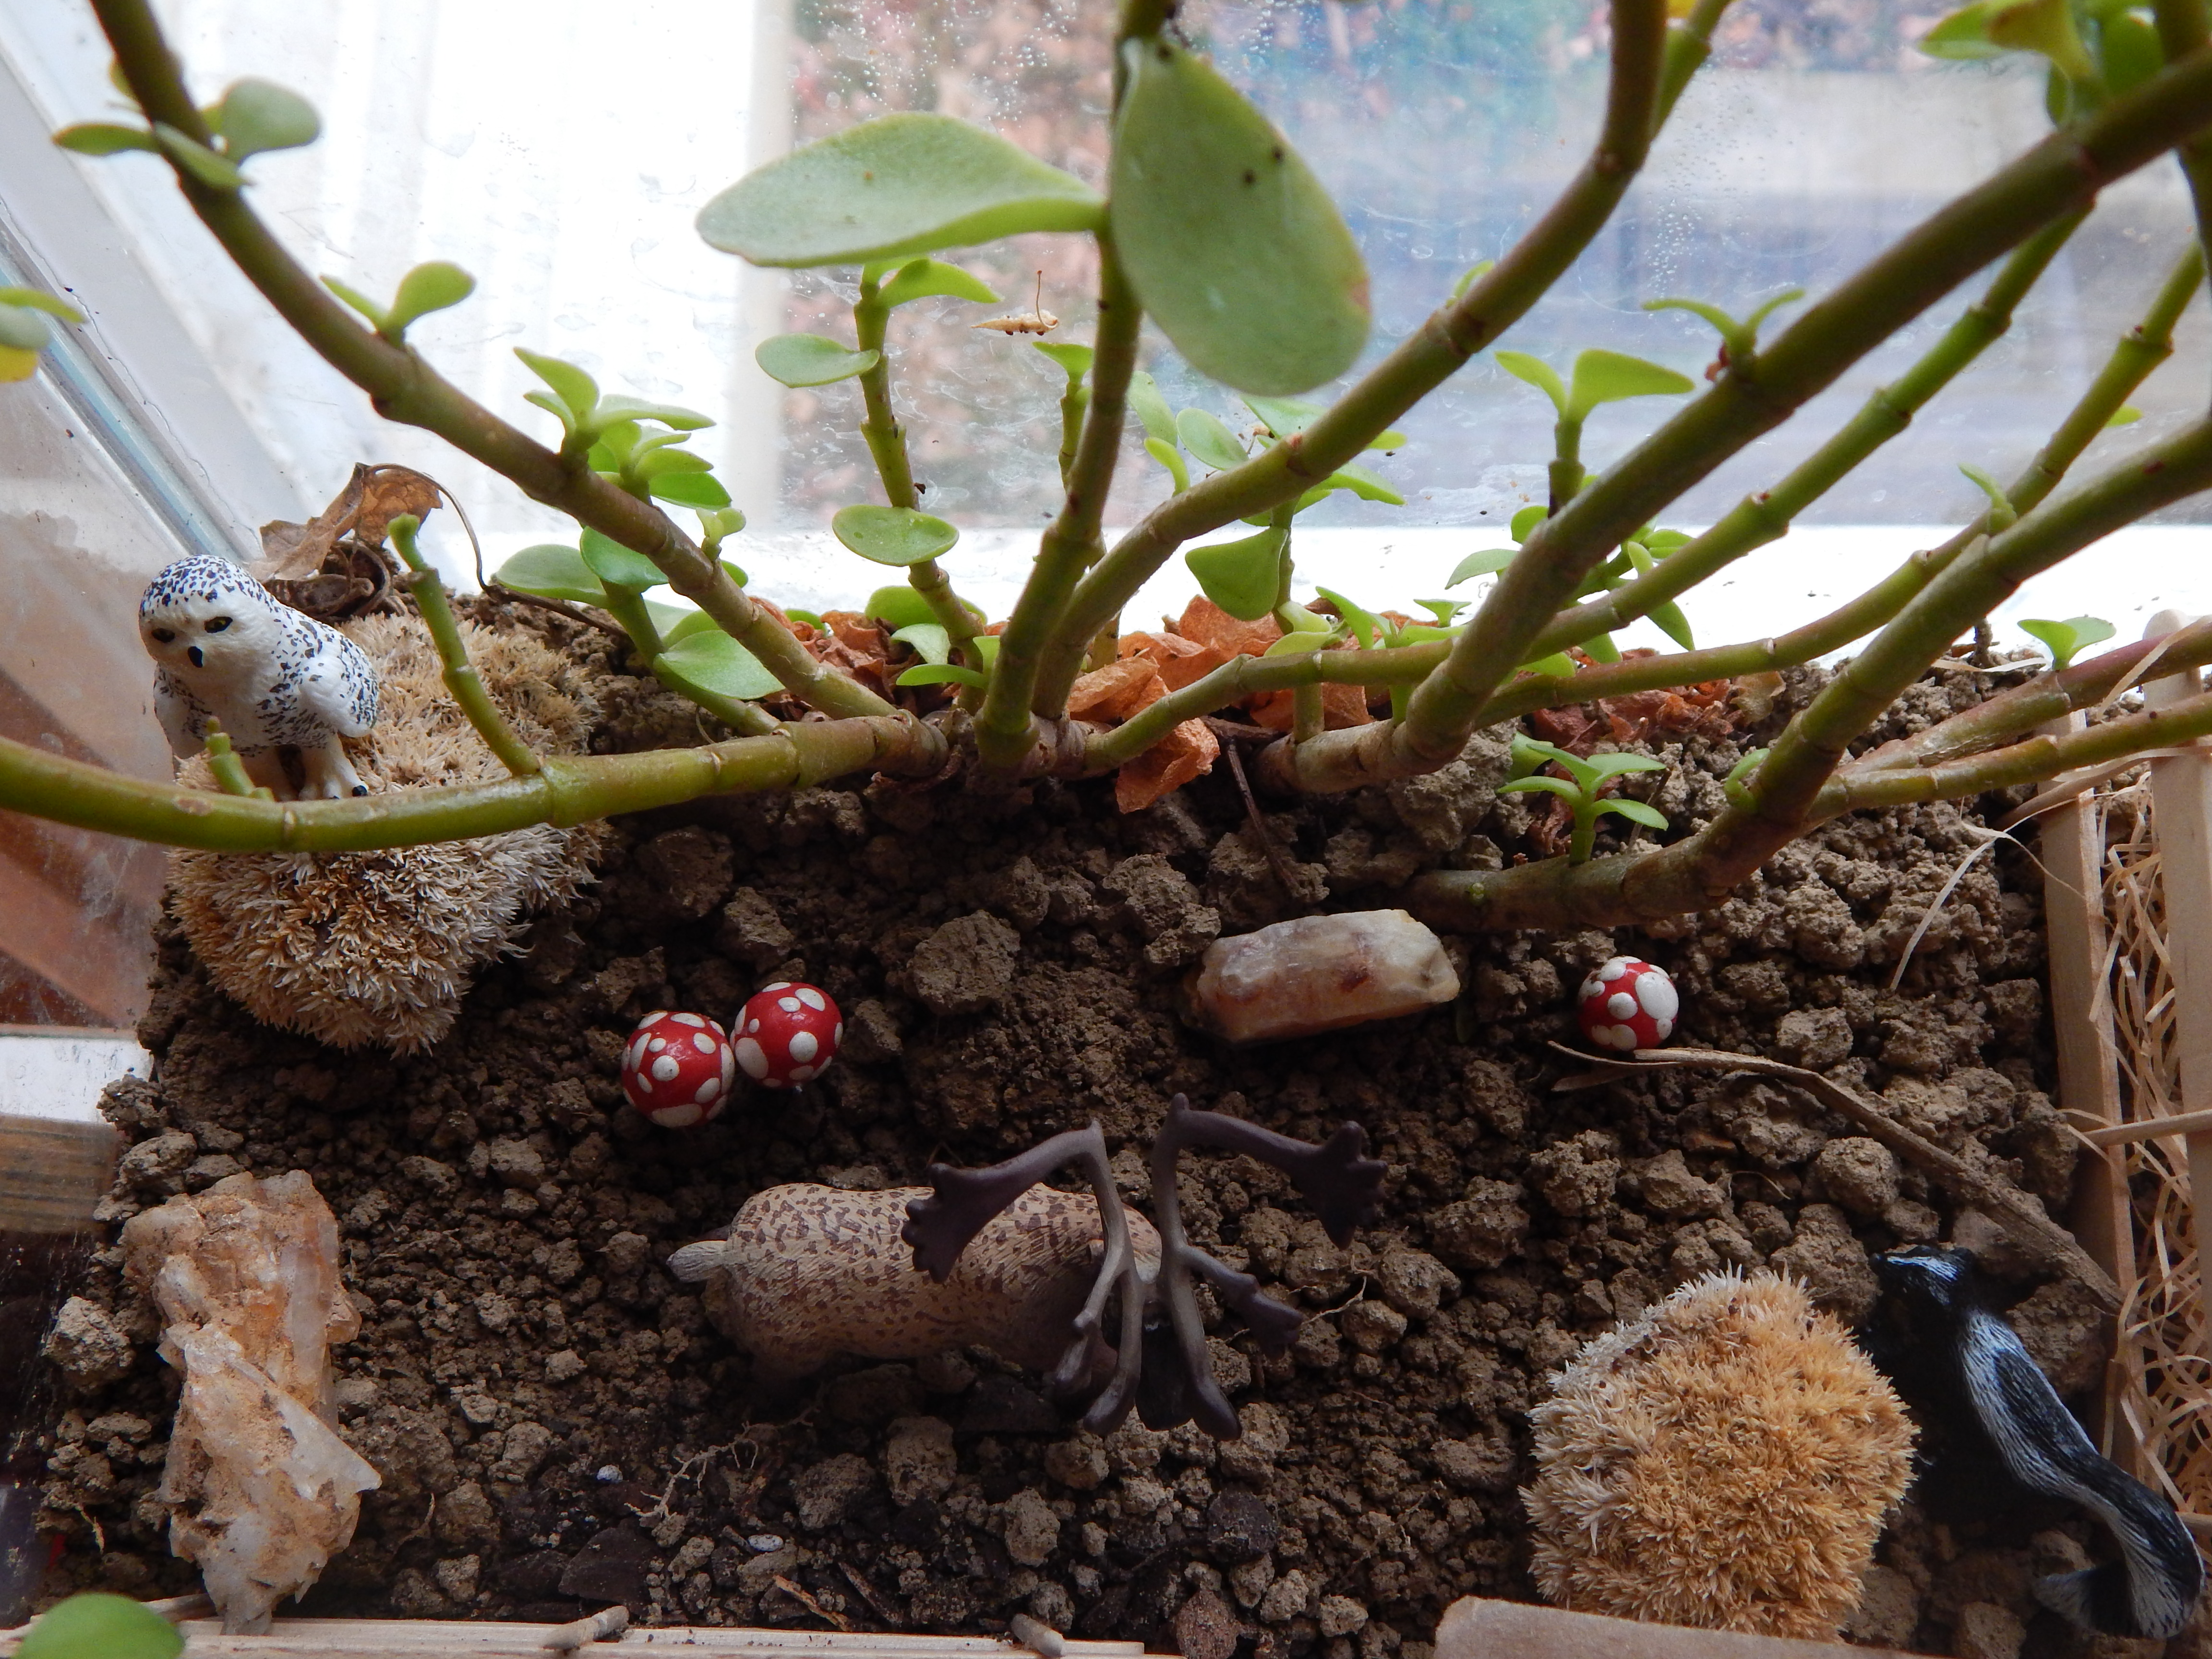
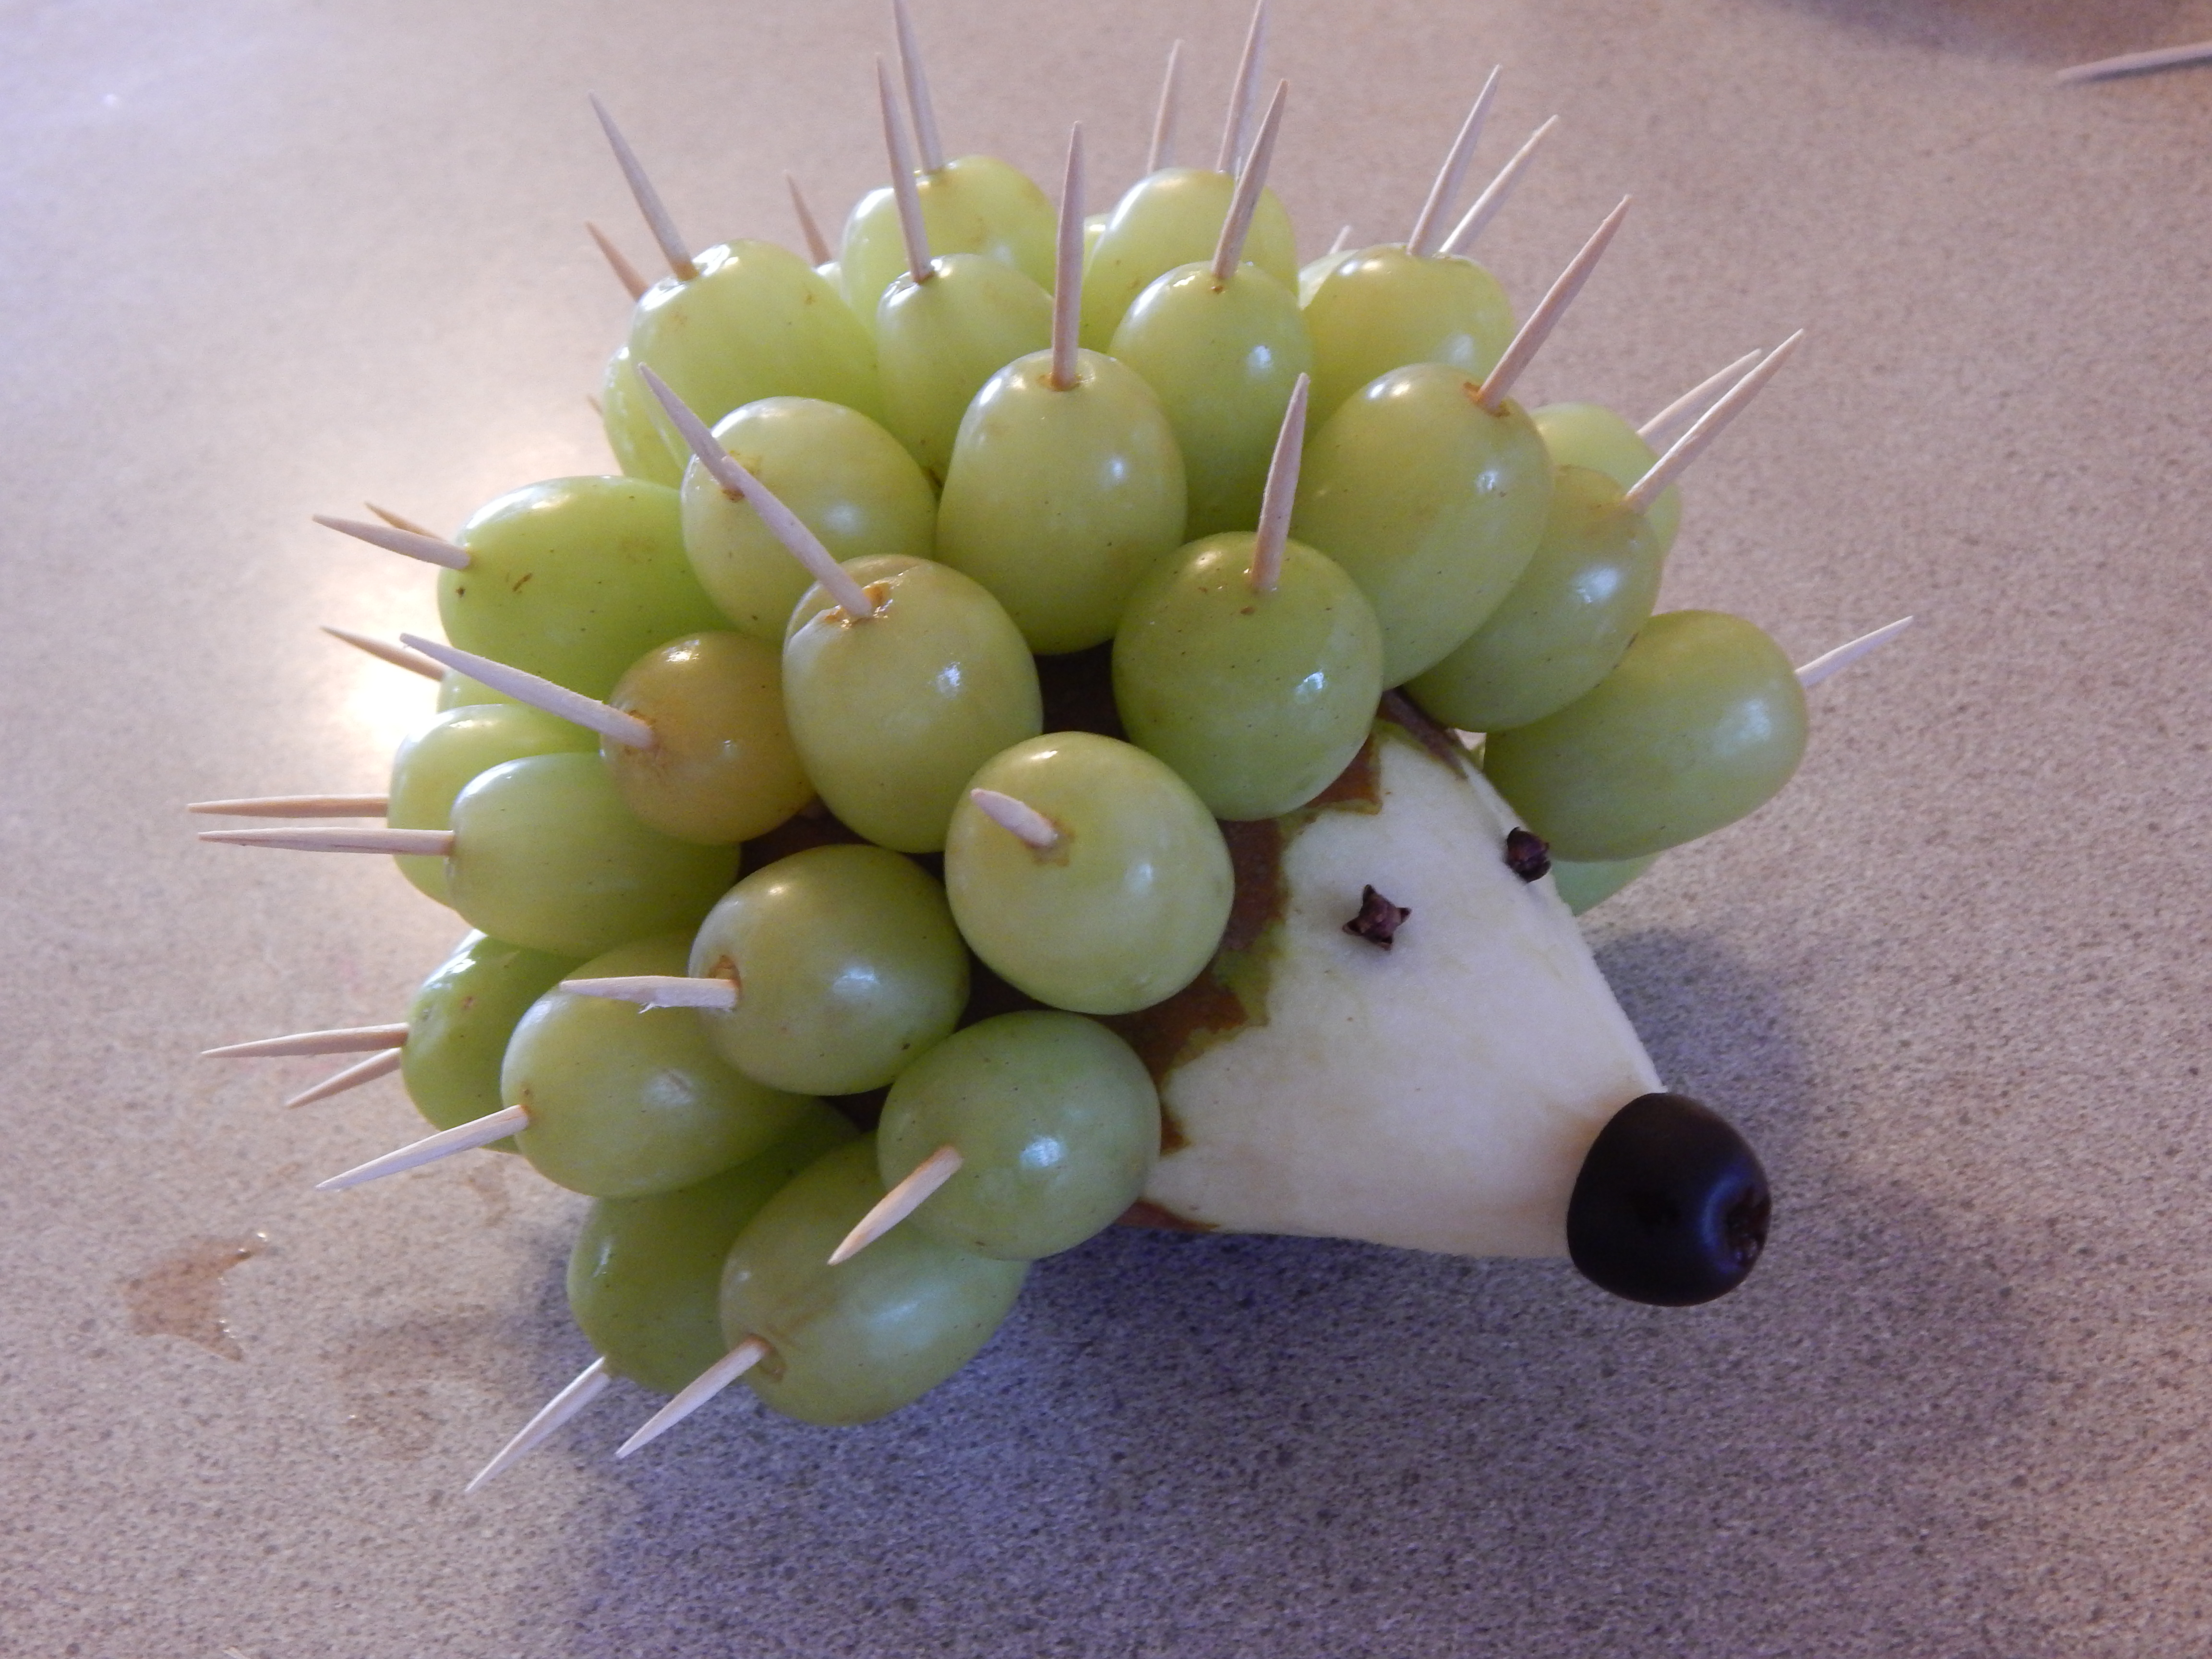
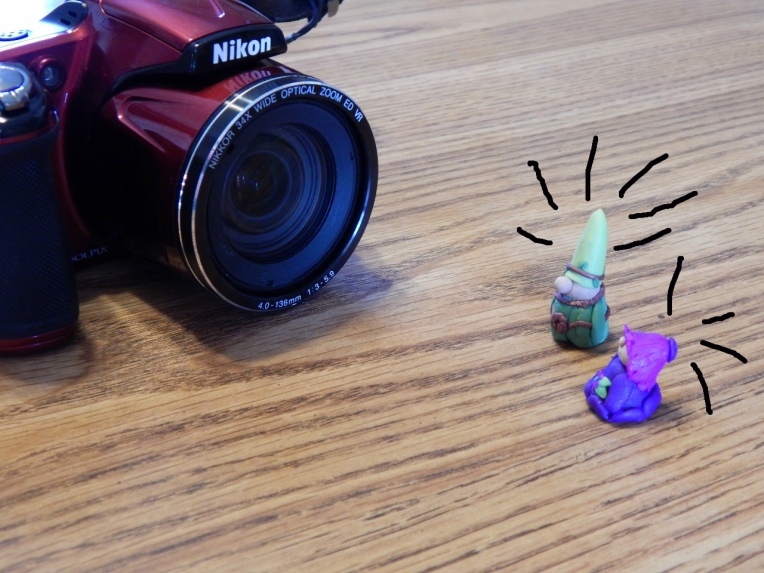
They didn’t see or hear anything suspicious, so they ventured out a little bit. They did not at first see the very fearsome Thing directly behind them.

-Allison(gnome photostory) 043 (1280x960).jpg

When they turned around they were shocked! Astonished! Fearful! Scared out of their wits! What sort of bomb or trap or malicious evil creature had the human left to snare them?

the gnomes are shocked.jpg


Mrs. Gnome was all for fleeing to another forest immediately, but Mr. Gnome collected a handful of bravery from the place where he kept it handy (under his hat), and boldly went to check the Thing out. He had rather a hard climb to get up to the top of it, but Mr. Gnome was an experienced Thing-climber. (At least that’s what he told Mrs. Gnome.)

mr. gnome climbs the Thing (1280x427)

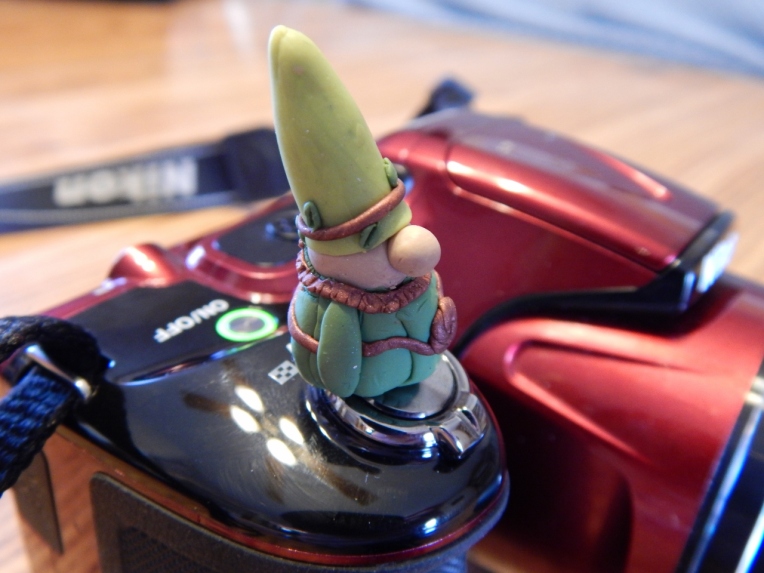
Once up, Mr. Gnome scratched his head, looked around, and prepared to get down. (The wisest thing to do when you aren’t feeling very wise is to leave – that’s what Mr. Gnome’s motto was.) But before he did that, he gave a perfunctory stomp on the Thing for the reason, as he said later… well, he supposed he didn’t have a reason, but he did it just the same.

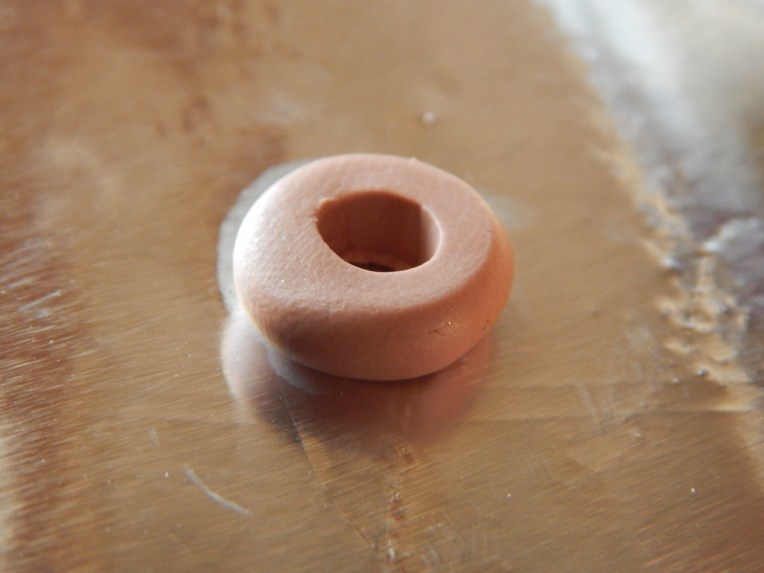
After Mr. Gnome stomped, he realized what he had stomped on: a little metal circle with strange human runes under it. The runes looked something like this: ON/OFF. But before Mr. Gnome could begin puzzling them out, he heard a shriek from Mrs. Gnome. He looked down from the Thing to see a horrifying sight – it was actually chasing Mrs. Gnome by stretching out a long black trunk to grab her with!

mrs. gnome runs away.jpg

Now this was too much! Mr. Gnome stepped up onto the edge of the Thing and prepared to jump to Mrs. Gnome’s rescue, but before he could, he heard a strange, “CLICK!”

-Allison(gnome photostory) 048 (1280x960).jpg

The thought flashed through his mind that the Thing had dispatched Mrs. Gnome forever with that “CLICK,” but when he peeped out from between his fingers, he saw Mrs. Gnome shivering in a heap on the ground. She seemed to be perfectly fine, although quite shaken.

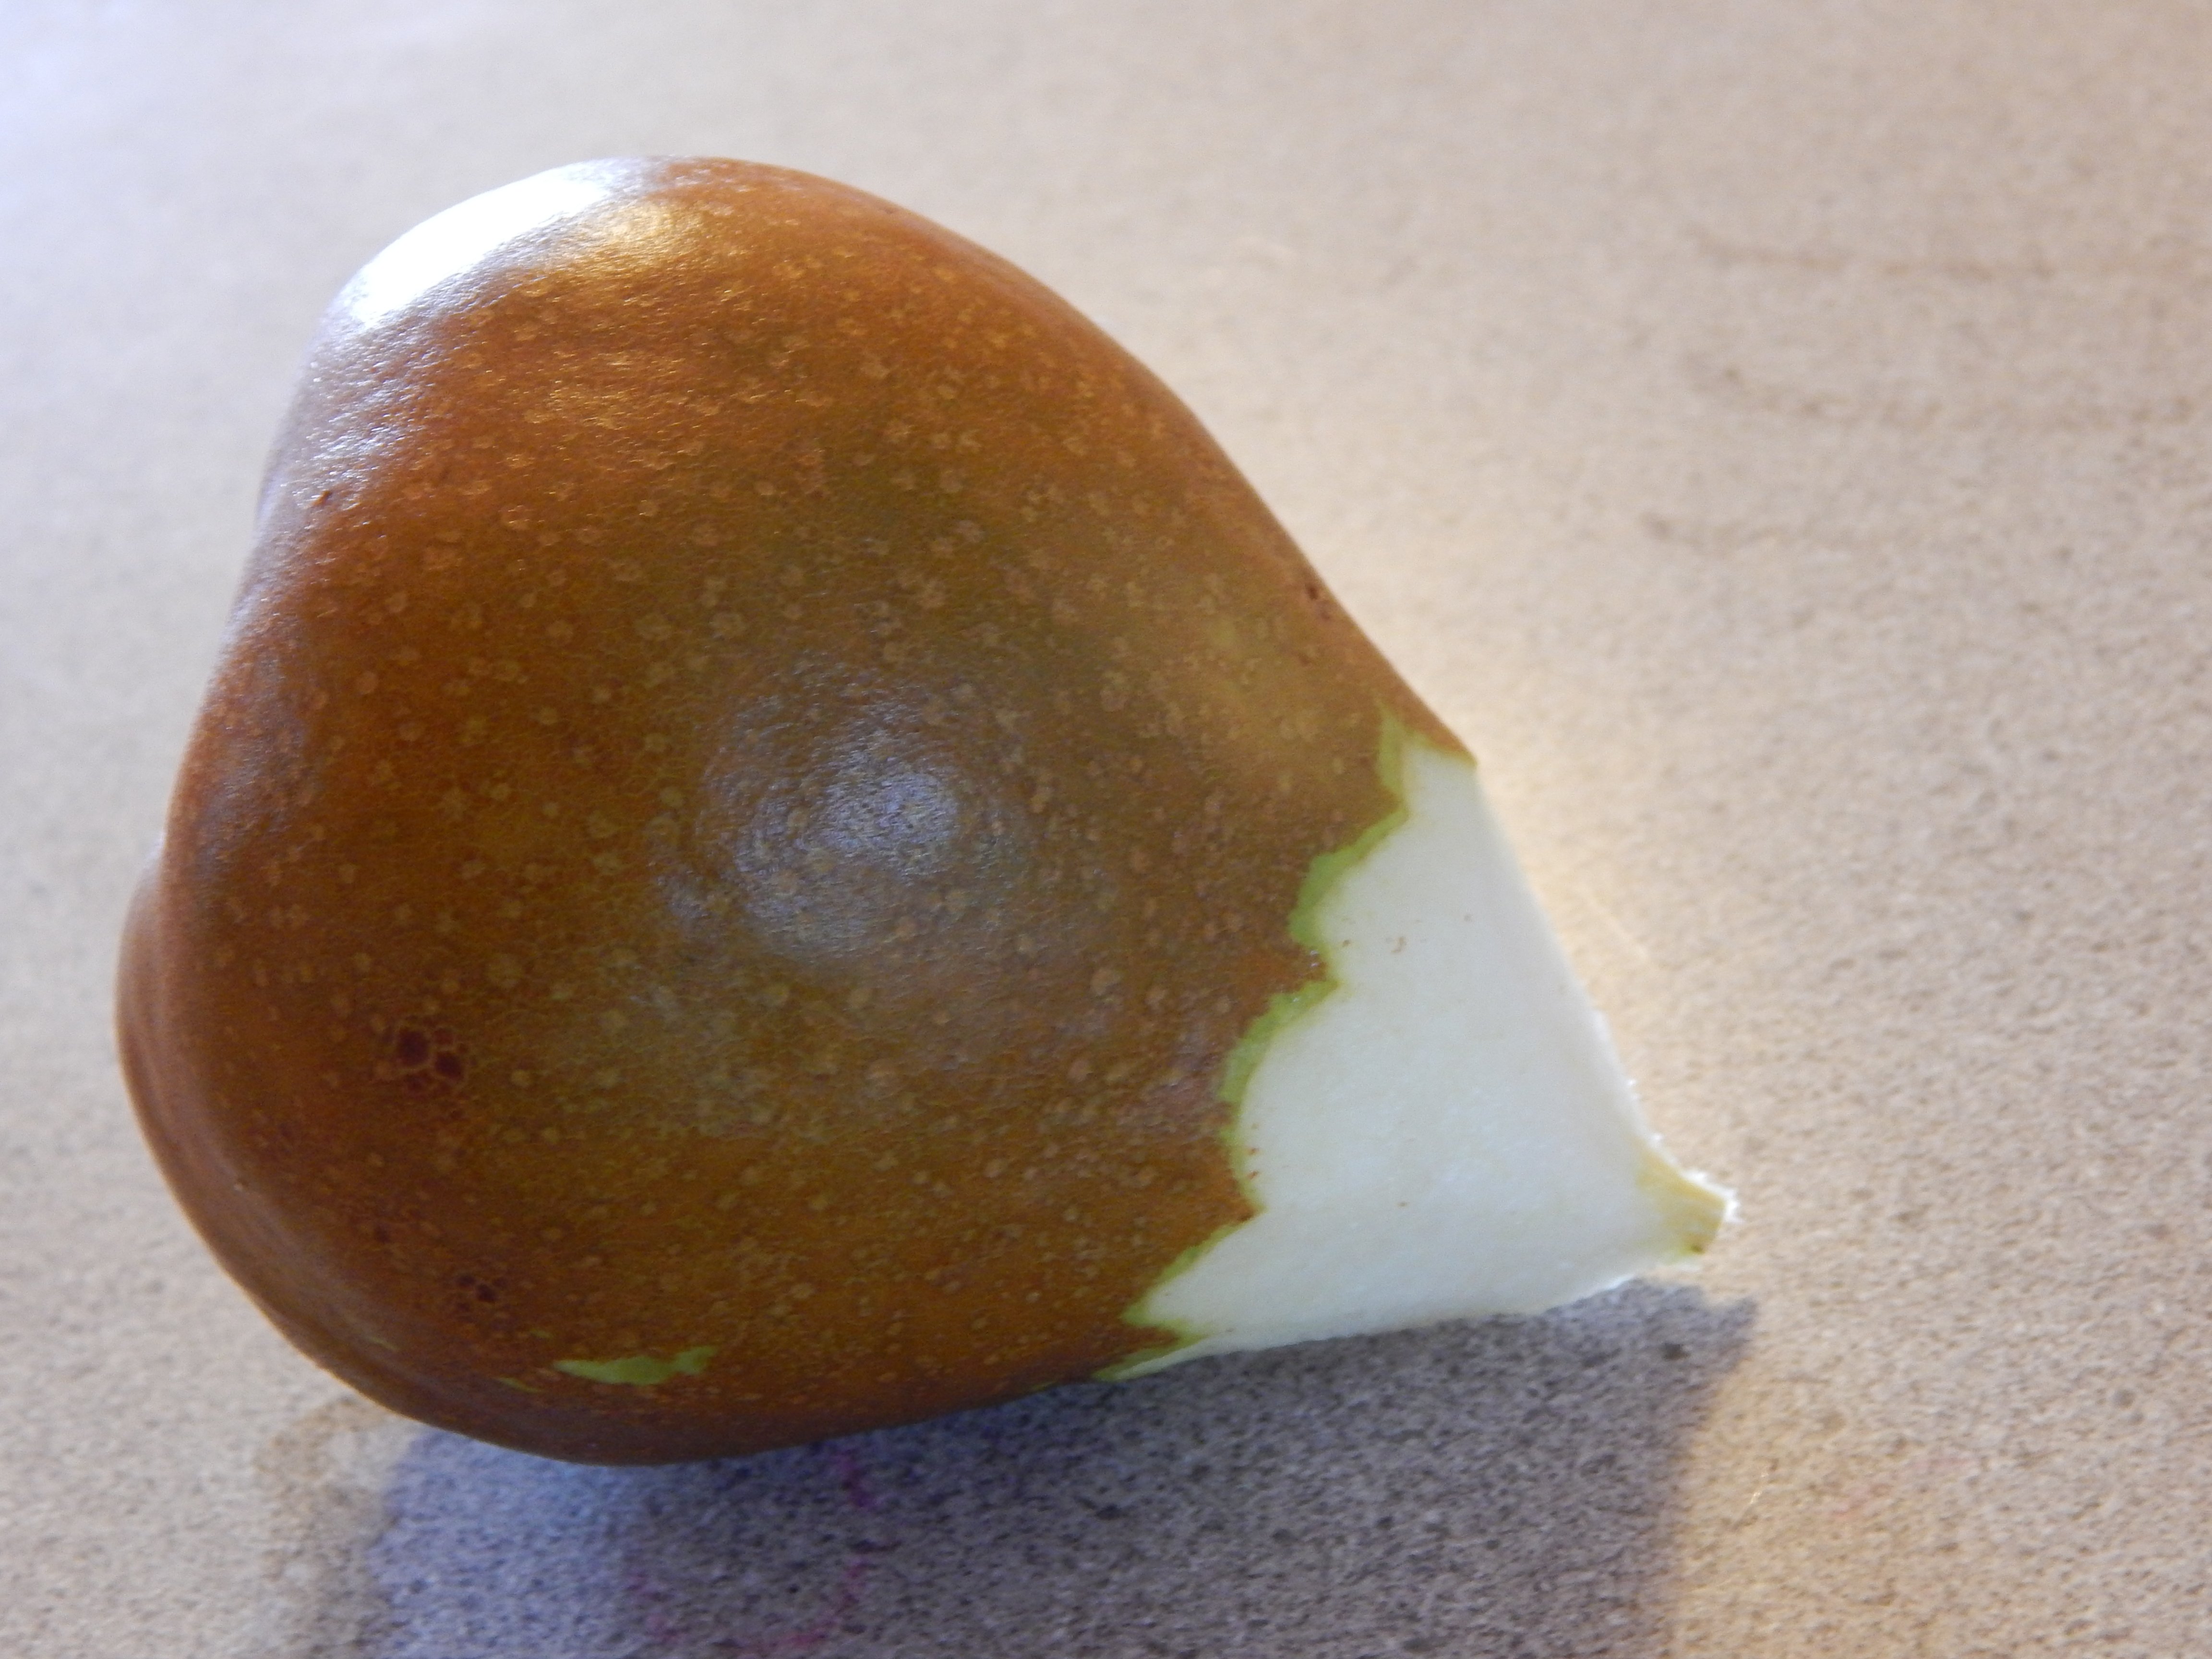
Mr. Gnome slipped over the back of the Thing, but once again he was stopped – this time by a strange image on the back of the Thing. It looked sort of like… blurry nothingness. Mr. Gnome could not explain this strange occurrence unless… perhaps it had happened when he jumped on the button on the edge of the Thing! After all, something had happened when he stomped on the strange ON/OFF circle. Mr. Gnome was beginning to be curious (gnomes are very prone to curious-ness), so he laboriously climbed back up the Thing and stomped on the bigger metal button at the edge again. Once more he heard a click, and once more he saw a blurry image on the back of the Thing.

Mr. Gnome was beginning to have a theory, which had something to do with a piece of information a deer had once told him about concerning something which in human language sounded like, “CA-MER-A.” (This particular deer was very good at impersonating human language, and everyone begged him to do his “human accent” at every woodland party.)

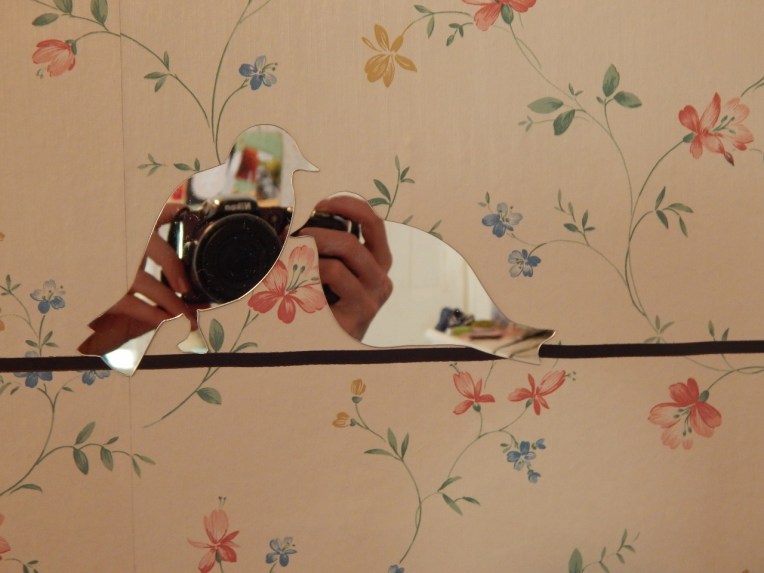
So with much pleading, Mr. Gnome convinced Mrs. Gnome to stand right next to the black trunk of the Thing while he made it “CLICK.” This is the image he saw on the back of the Thing:

-Allison(gnome photostory) 014 (1280x960).jpg

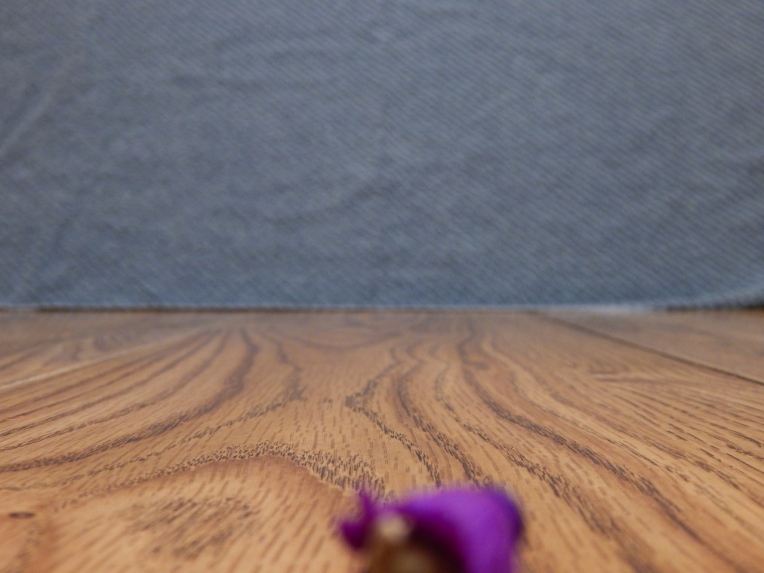
Down at the very corner of the image, he saw what appeared to be a blurry Mrs.-Gnome-face. Excited, Mr. Gnome helped his wife up to the edge of the black trunk and she hung down from it while he “CLICKED” it.

-Allison(gnome photostory) 016 (1280x960).jpg

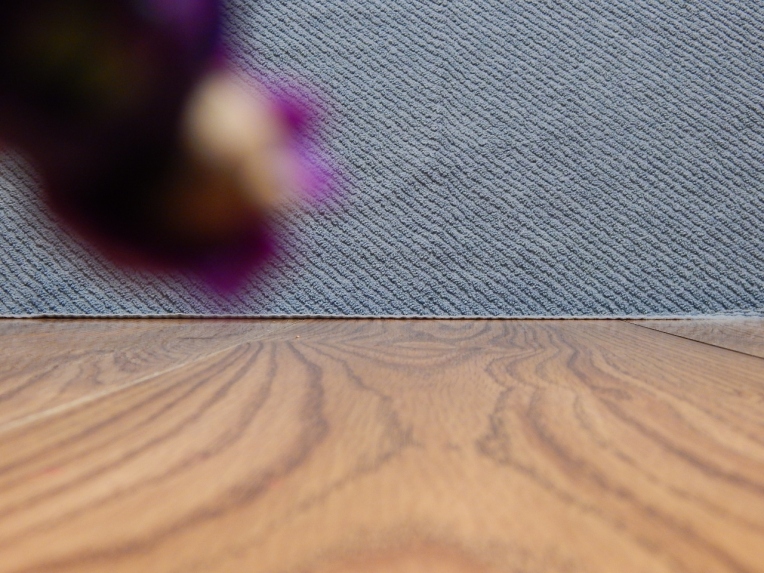
Hmmm. An even blurrier Mrs.-Gnome-face-and-part-of-her-body. He asked Mrs. Gnome to be a good little wife and trot farther away from the Thing.

-Allison(gnome photostory) 015 (1280x960).jpg

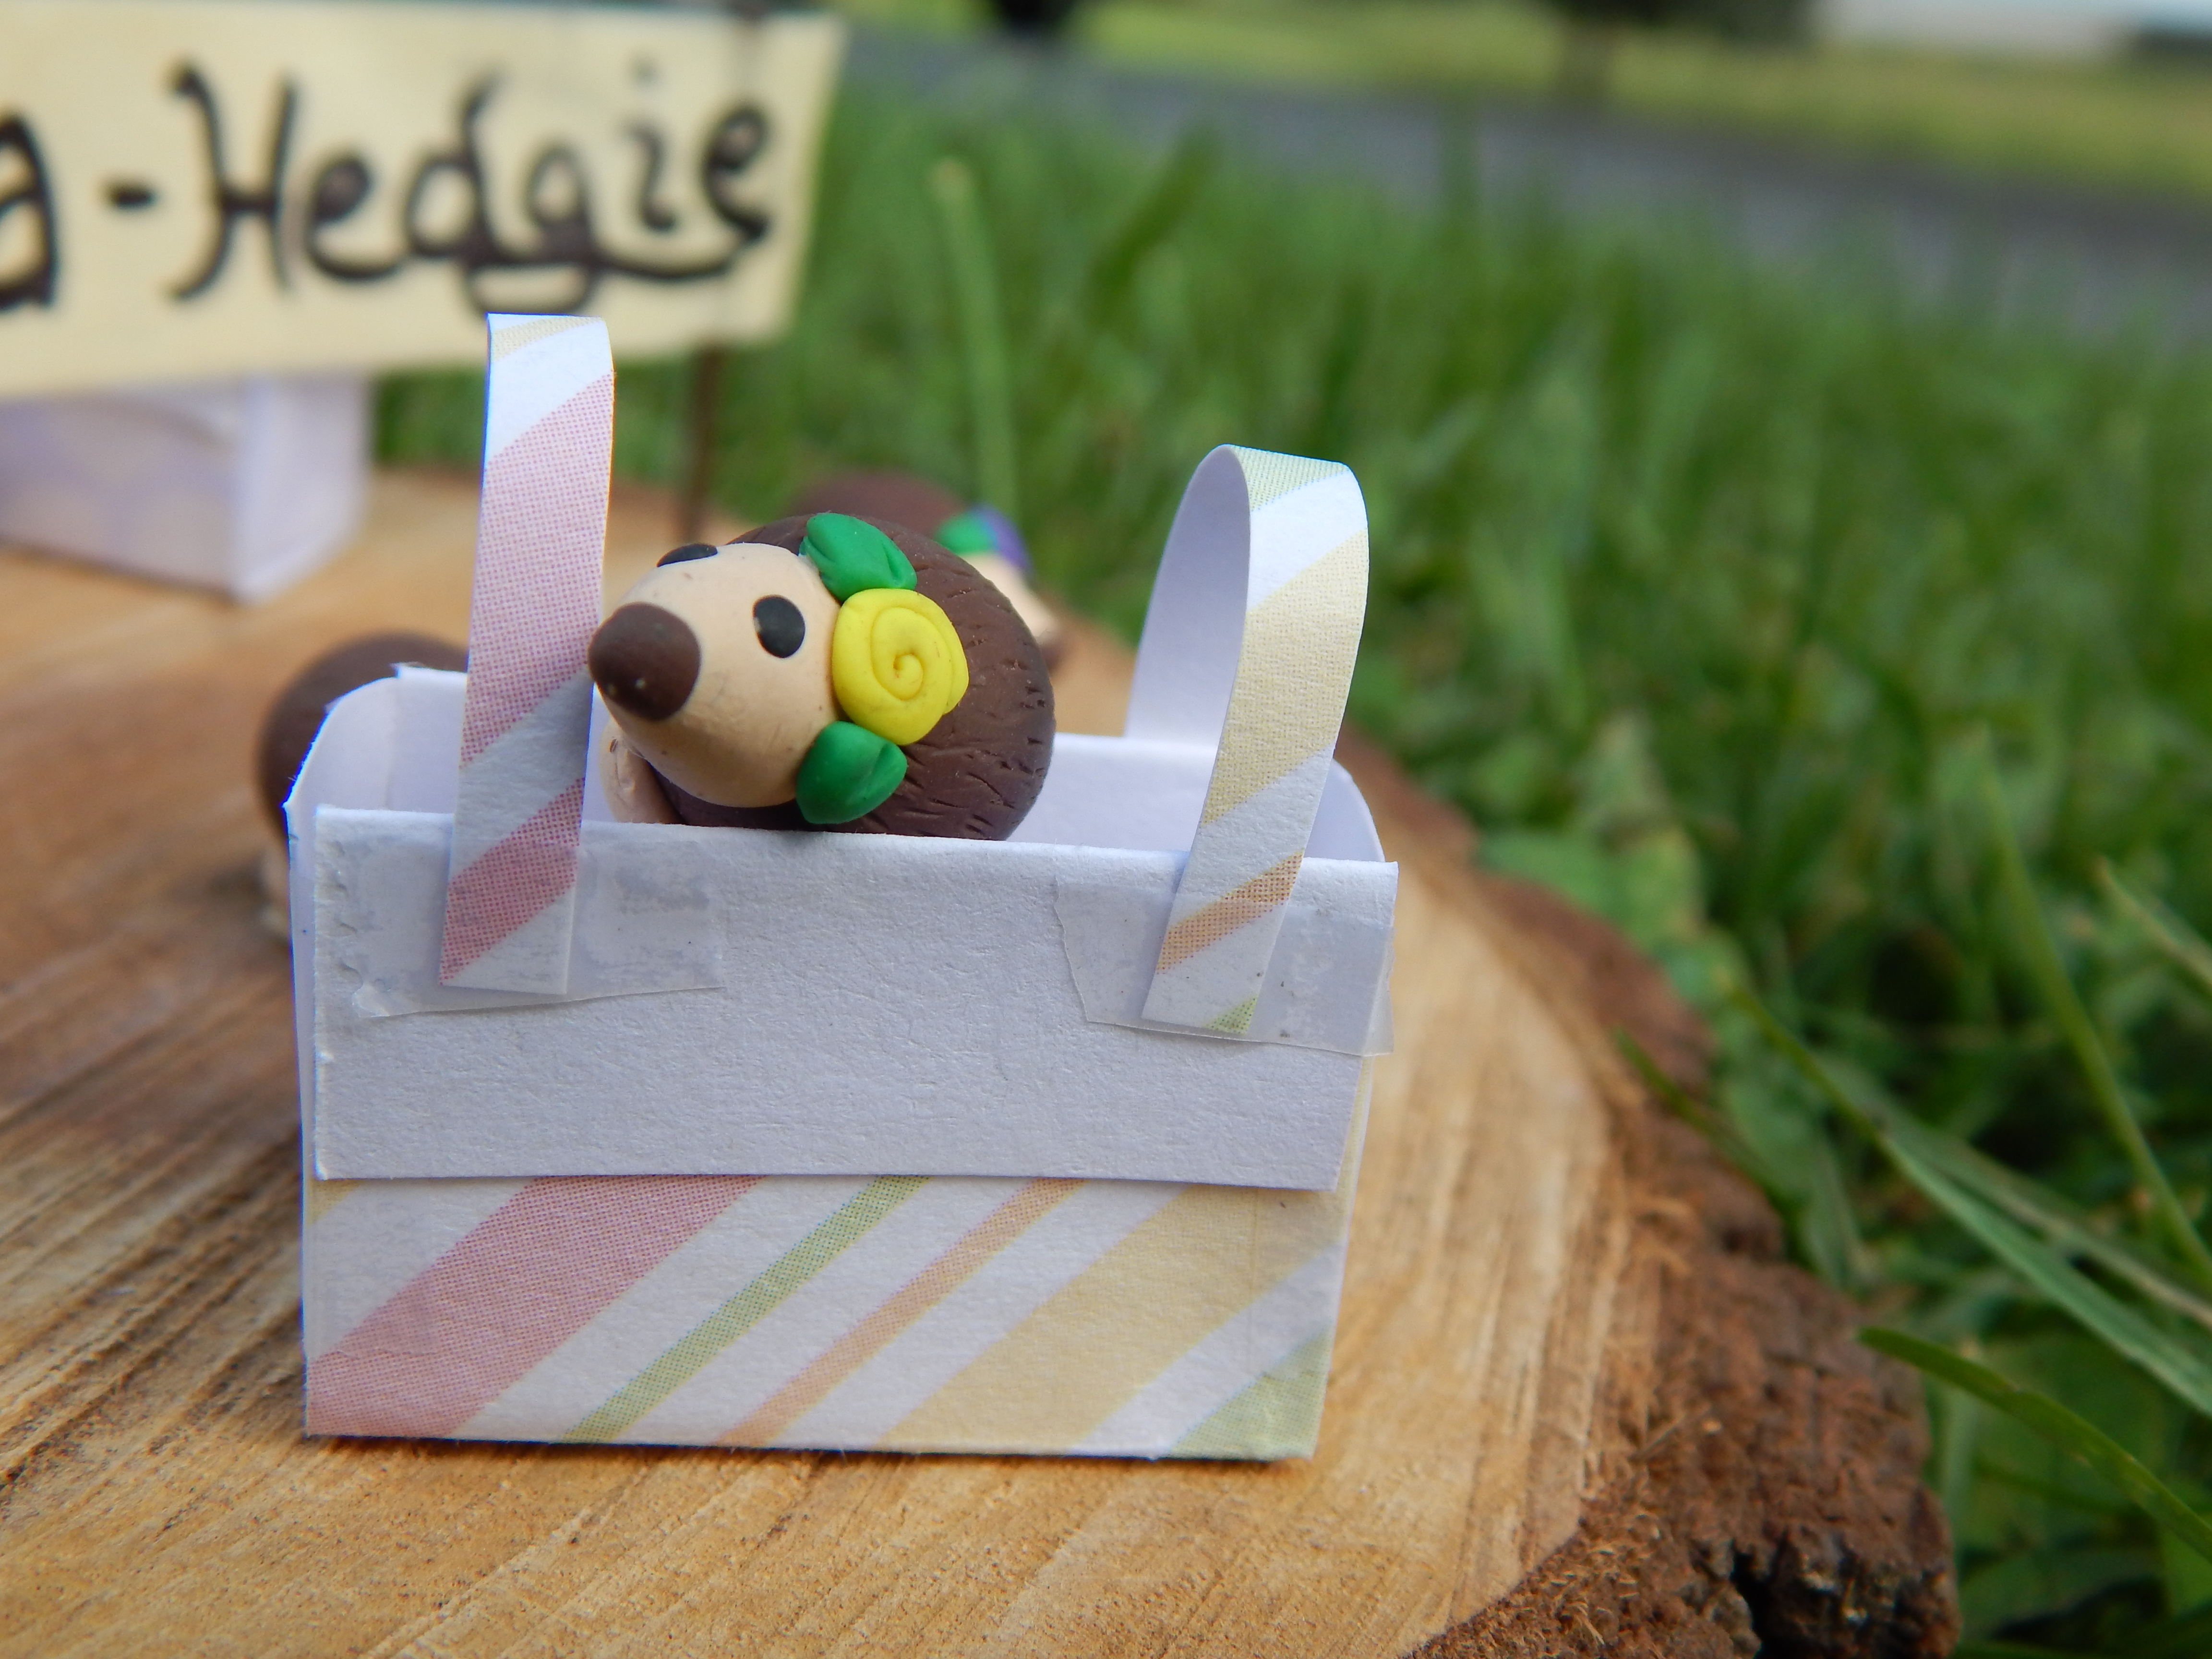
Ahh! Much clearer, but Mrs. Gnome was only a speck! They brought a willow basket and overturned it in front of the black trunk, and Mrs. Gnome sat on top of it.

-Allison(gnome photostory) 017 (1280x960).jpg

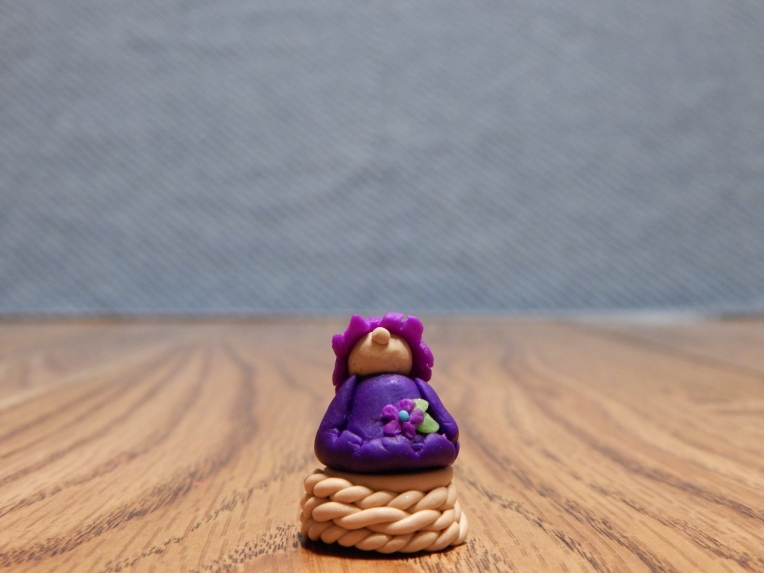
Bingo! Mr. Gnome was so excited, he nearly fell over the deep abyss of the Thing while dancing his victory dance. Now the Gnomes honed their “CLICKING” skills.

gnome collage

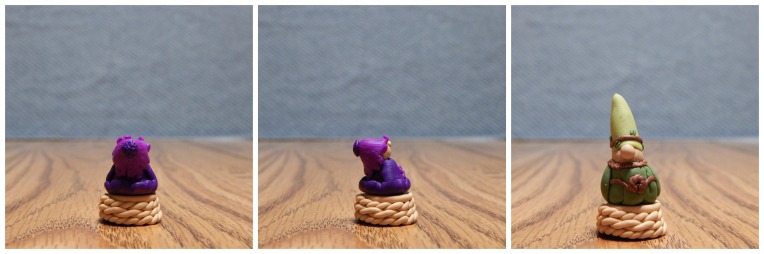
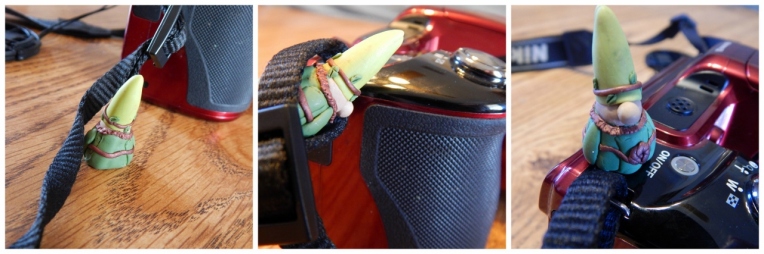
Although they didn’t become experts all at once: (In the first picture below Mr. Gnome was trying to do a hat-stand.)

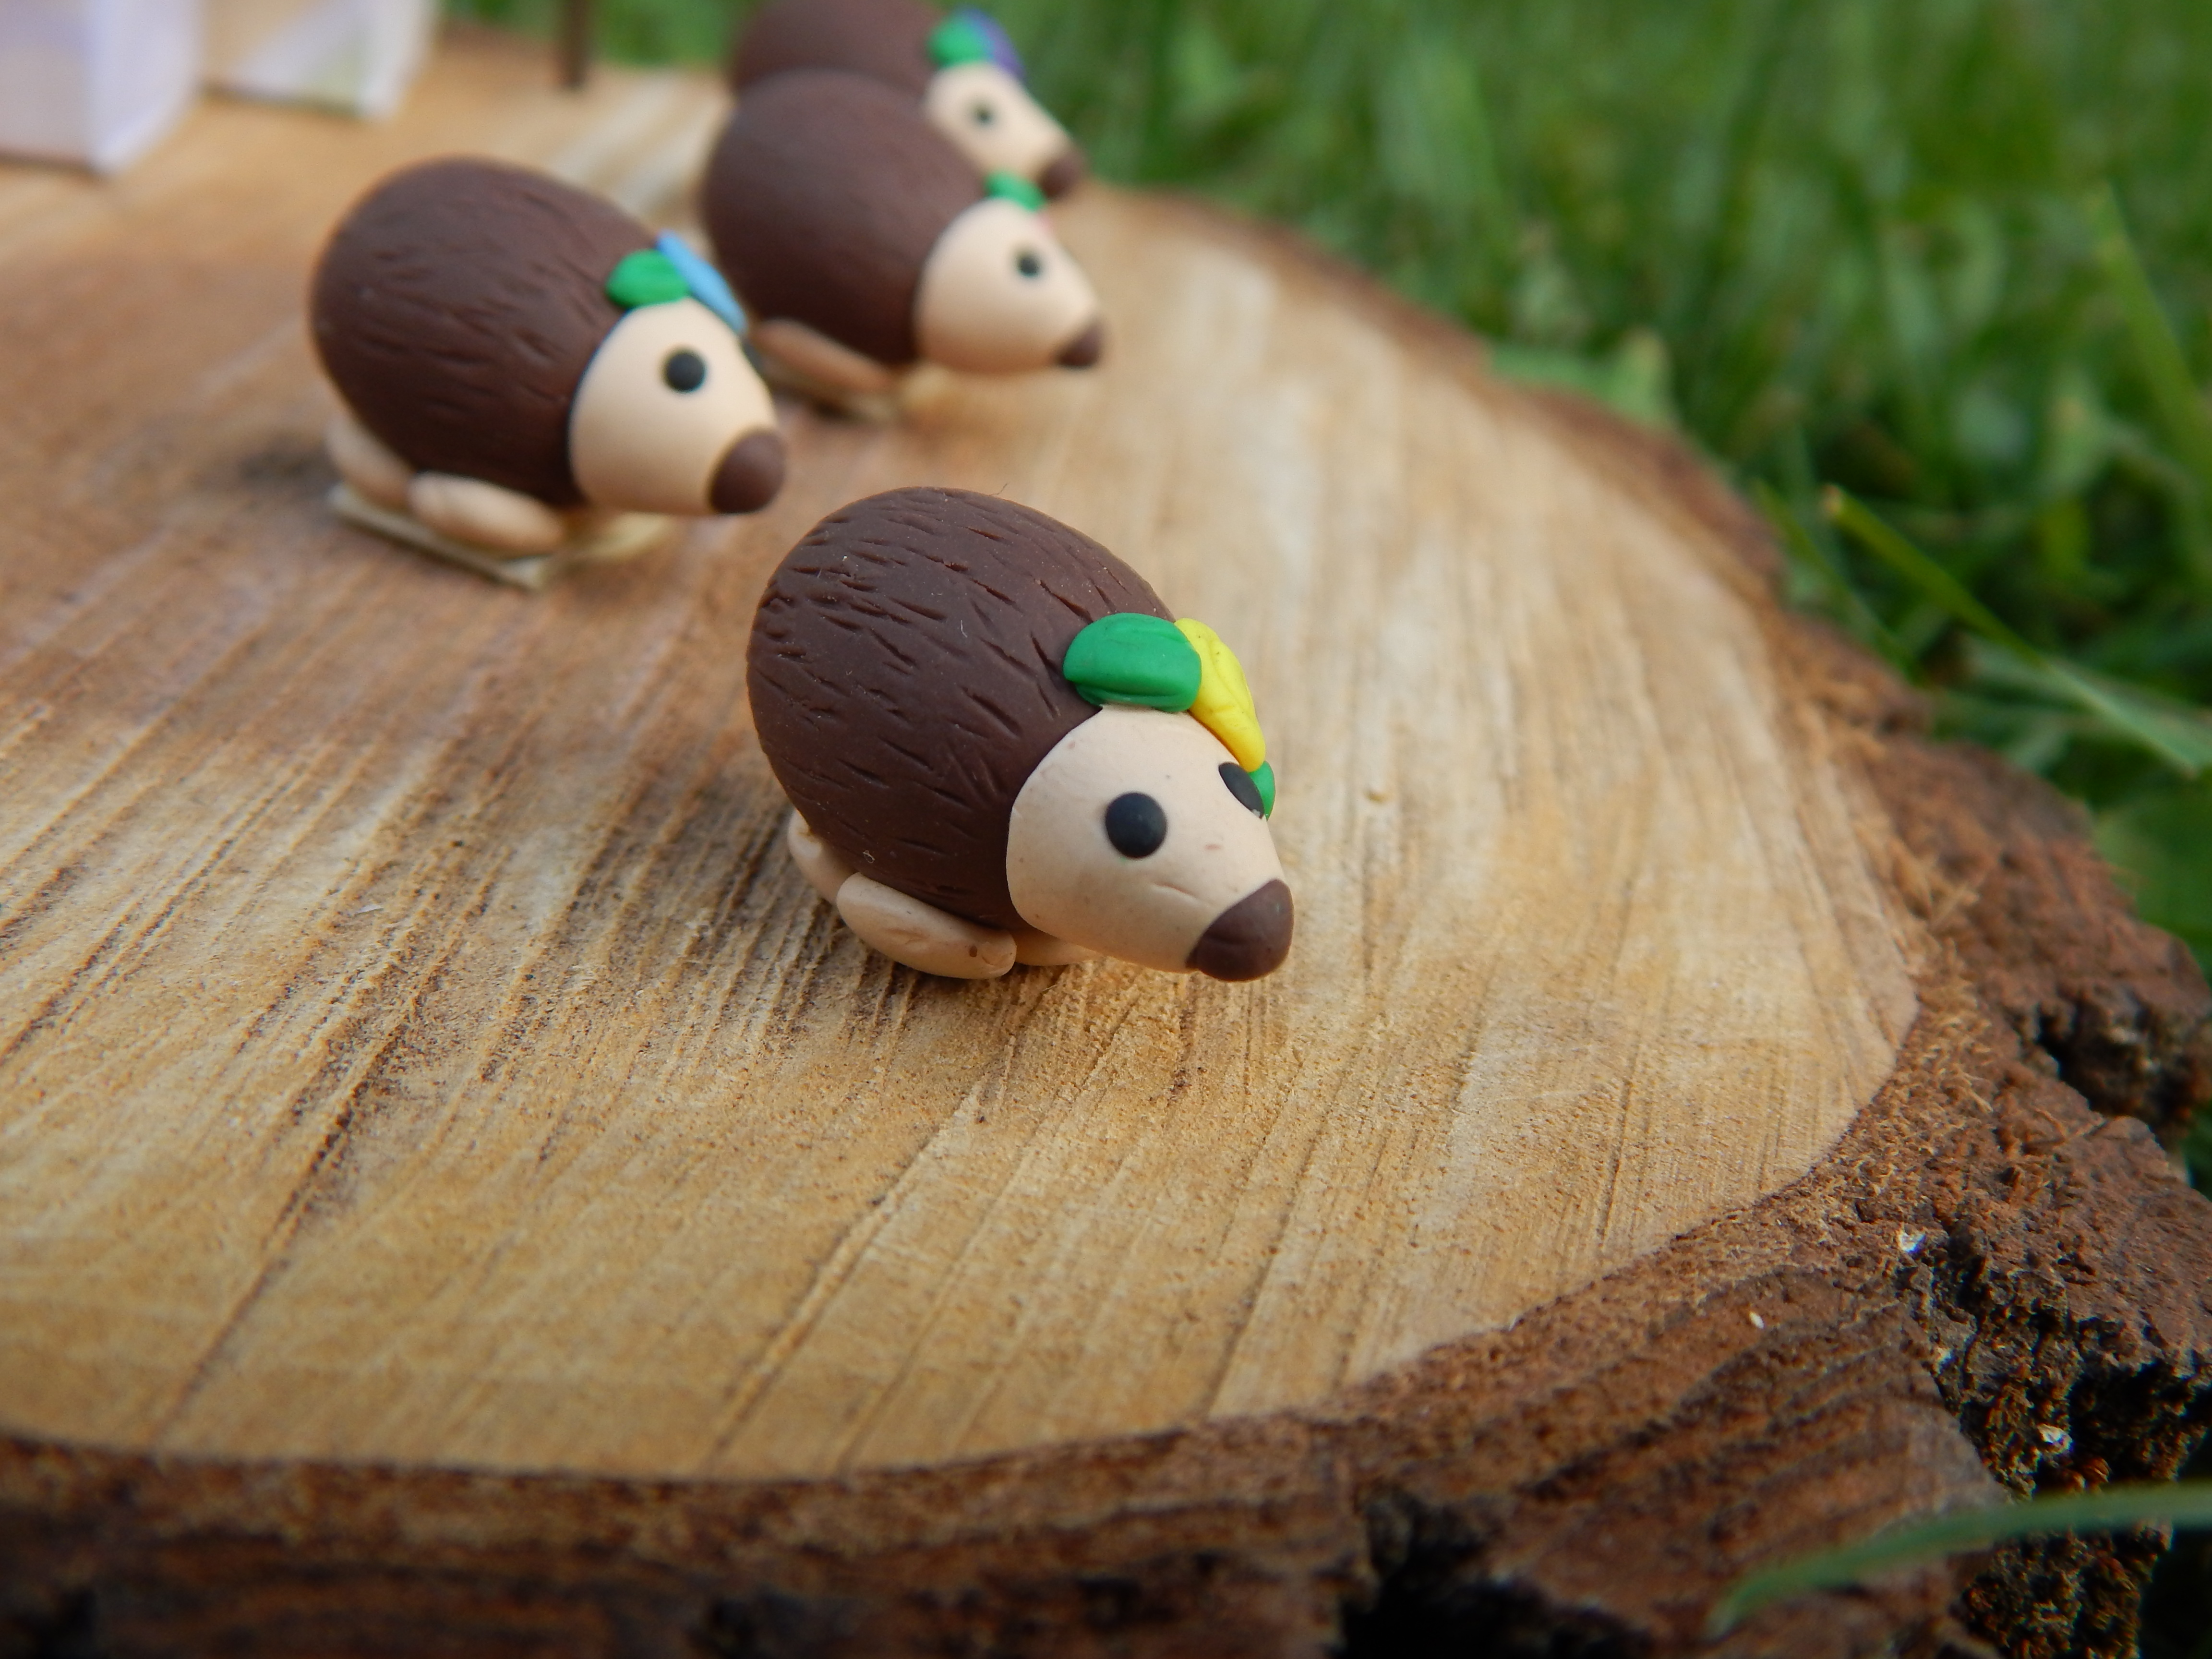
Pretty soon, their neighbors the fairy sisters popped over for a visit. At first, of course, they were quite shocked (fairies being very timid), but as soon as Mr. Gnome explained, their fears were relieved, and they even asked Mr. Gnome to “CLICK” them. Of course he did.

-Allison(gnome photostory) 019 (1280x960).jpg

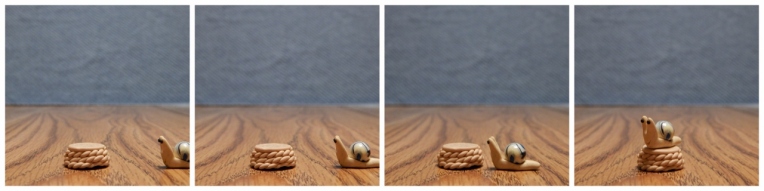
A snail by the name of Bob also came along and wish to be “CLICKED,” but Mr. Gnome had to take a string of pictures because Bob turned out to be a little slow in mounting the basket.

snail Bob (1280x320).jpg

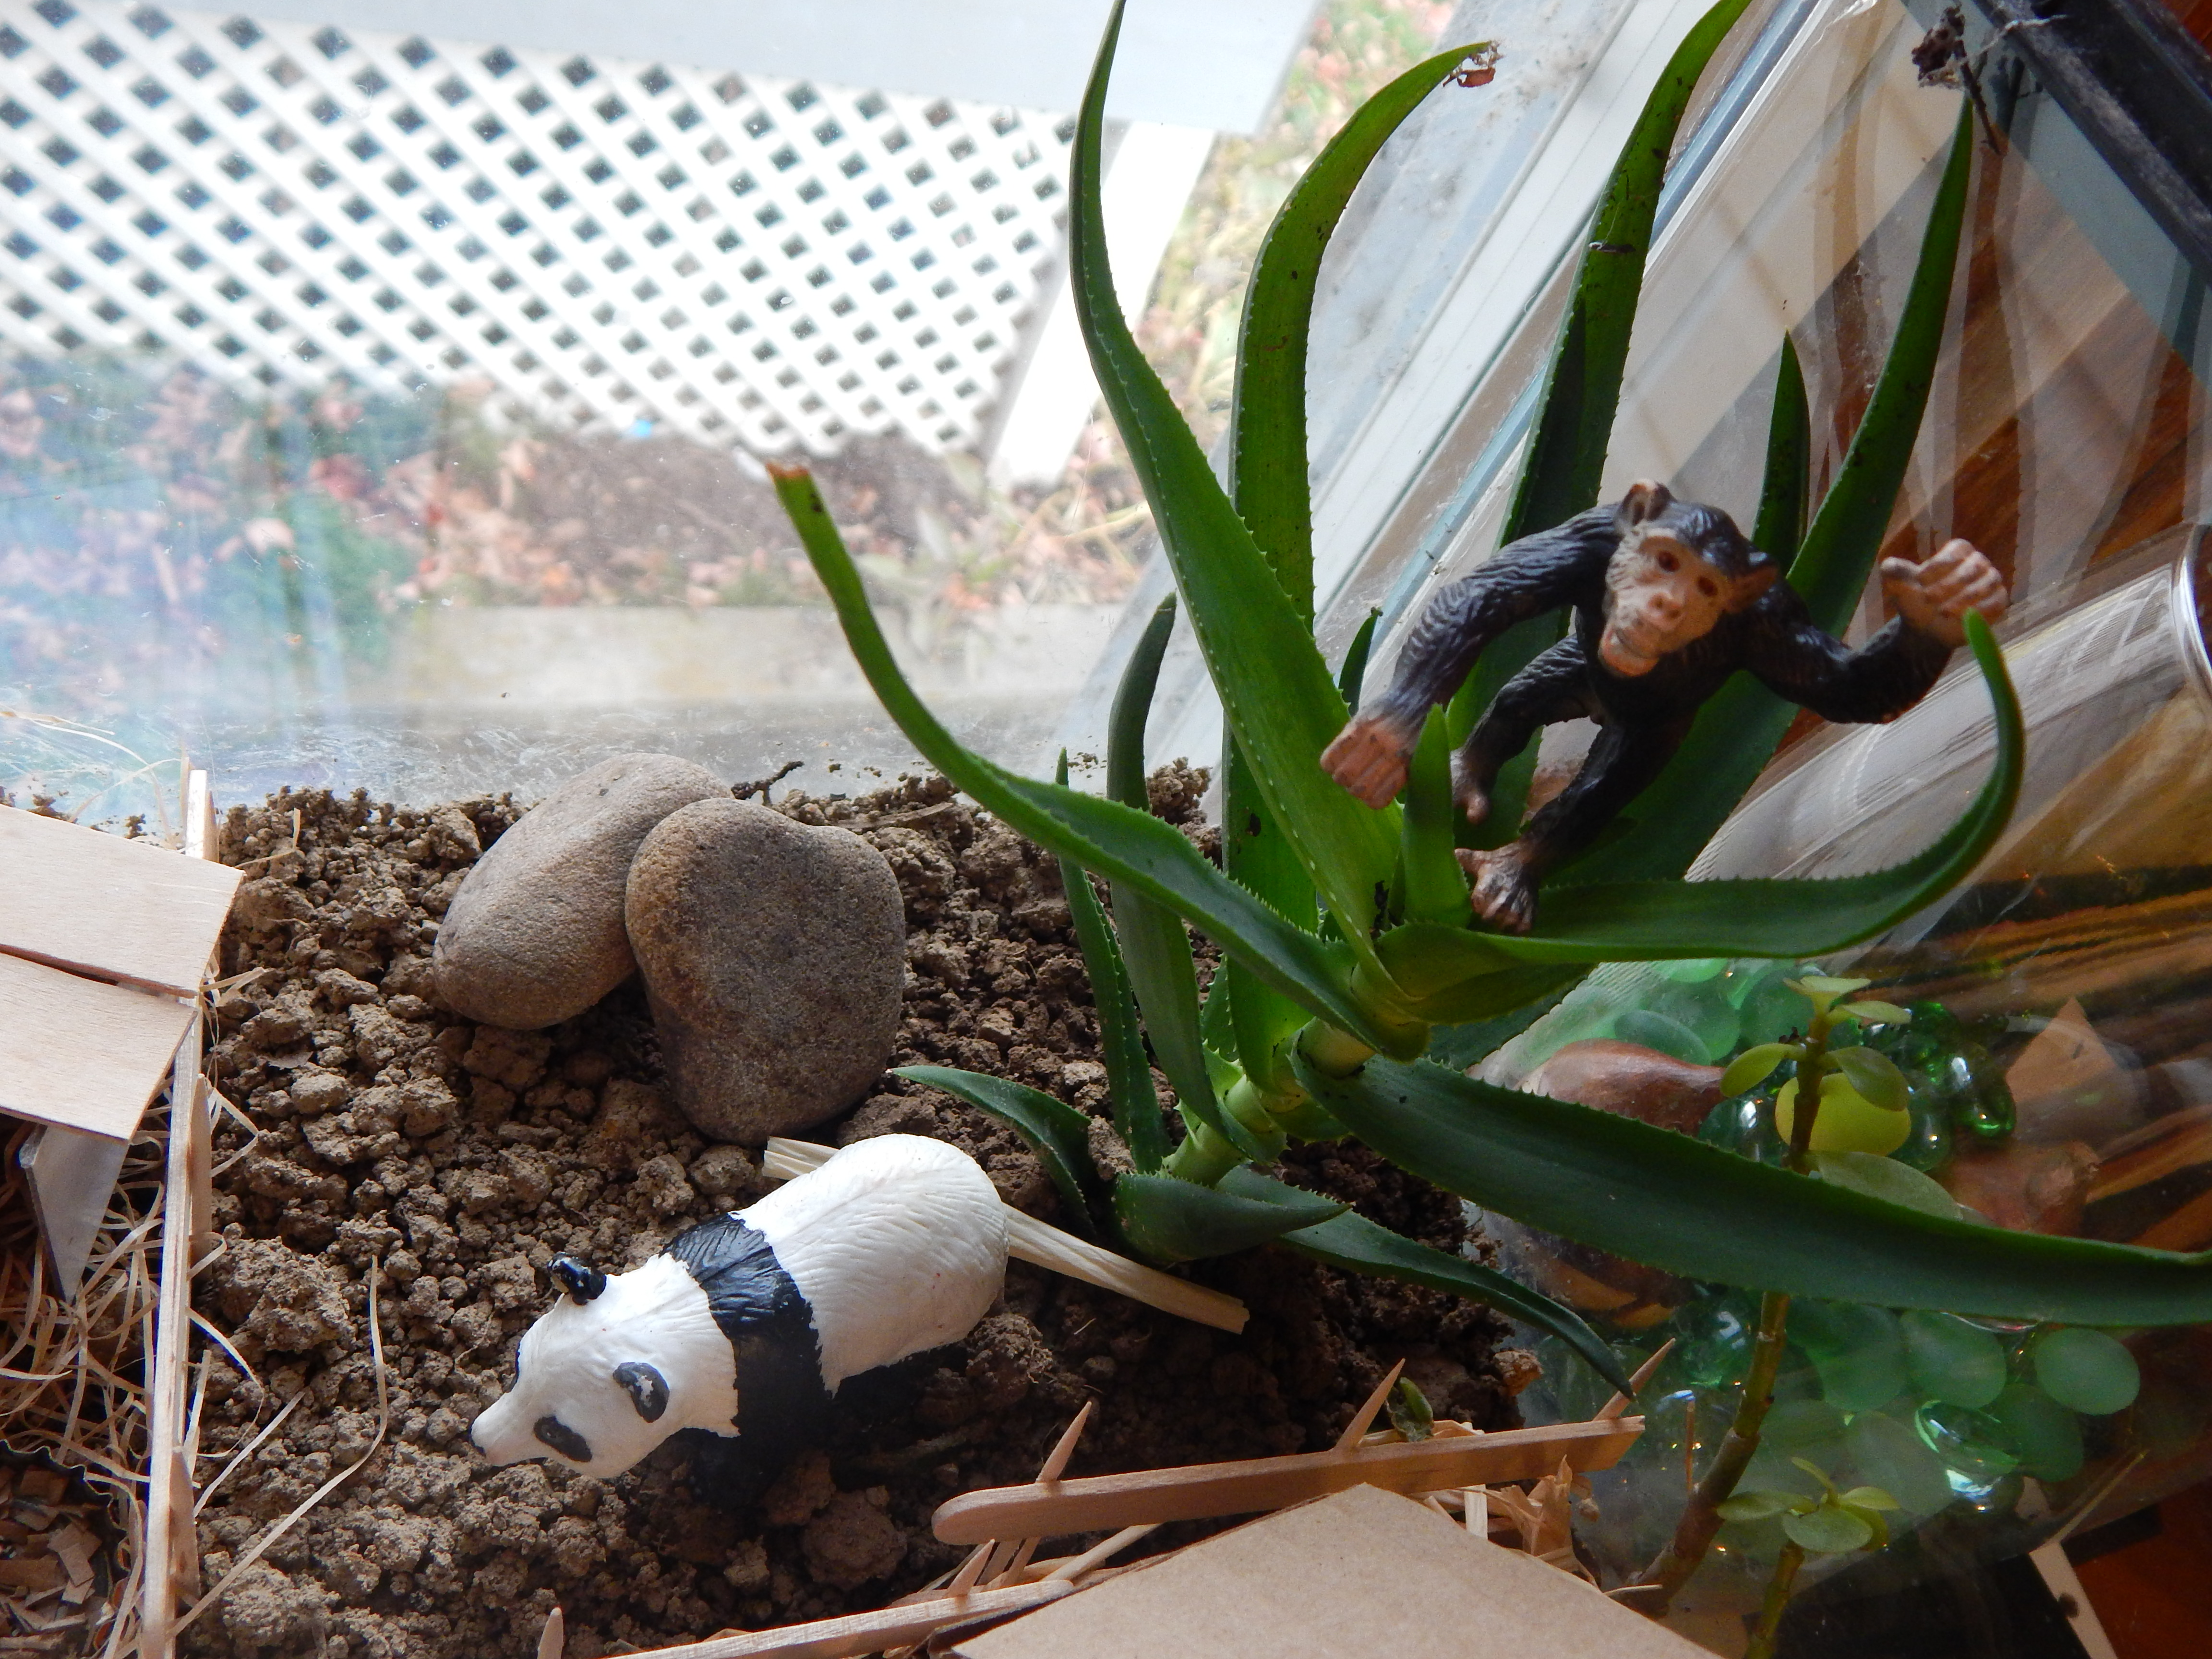
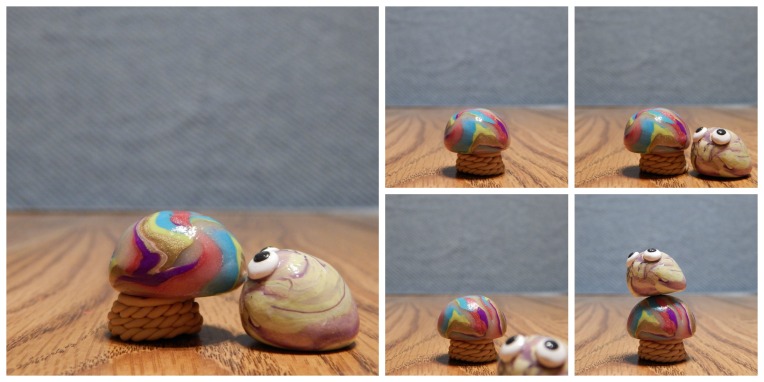
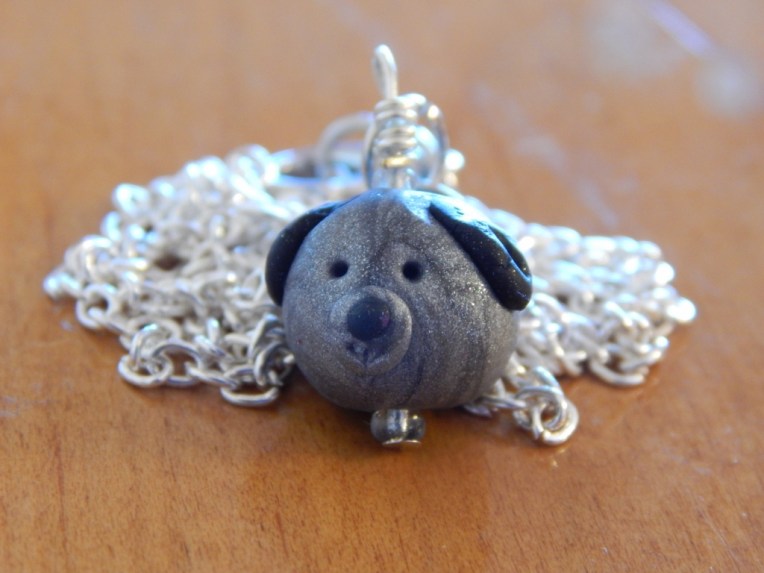
The Gnomes were thinking of calling it a day when one last customer (or rather two) arrived. It was a strange living thing that could only be described as… an “other creature.” But, after one look at it’s pleading glance,

-Allison(gnome photostory) 041 (1280x960).jpg

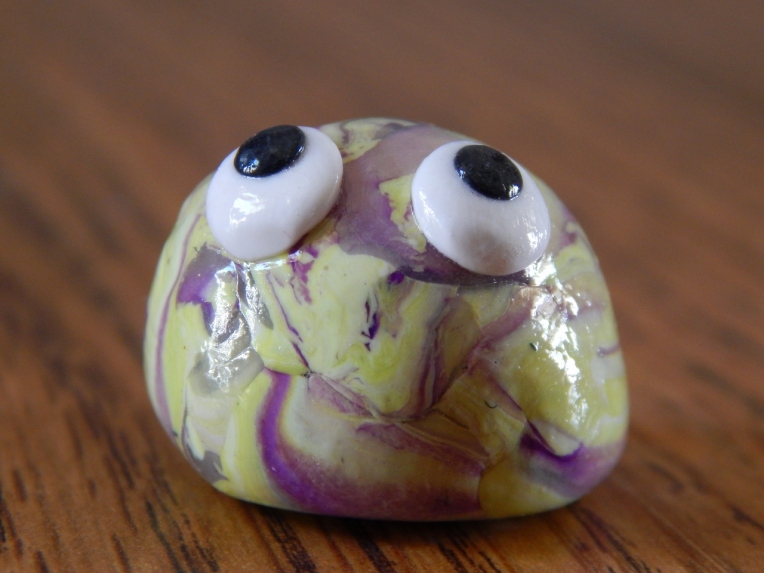
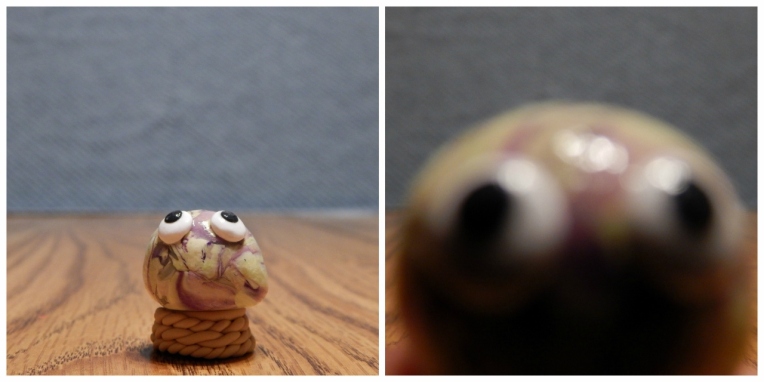
the gnomes gave in and “CLICKED” it too. It turned out to be a tad mischievous – that second picture gave Mrs. Gnome a fright – but it turned out alright.

other creature (1280x640).jpg

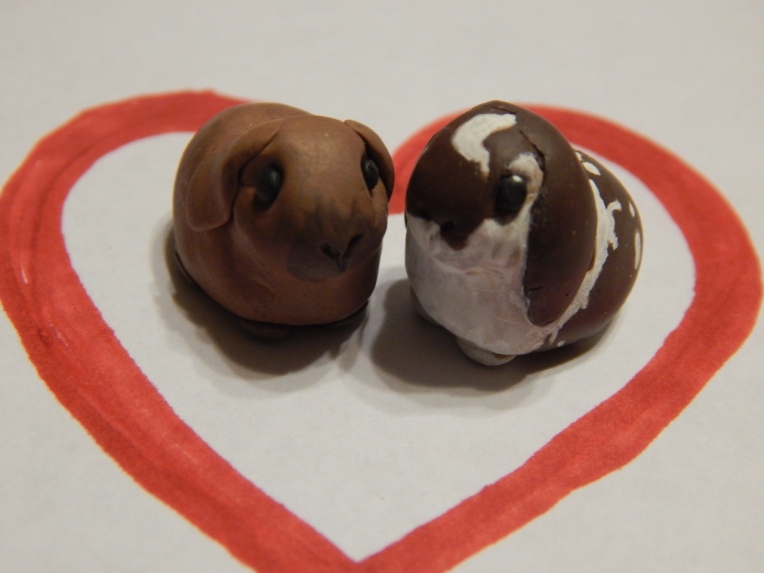
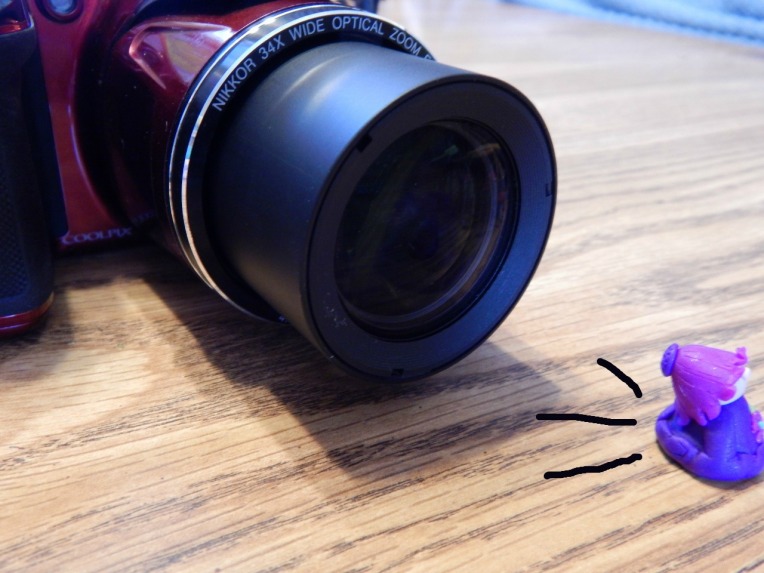
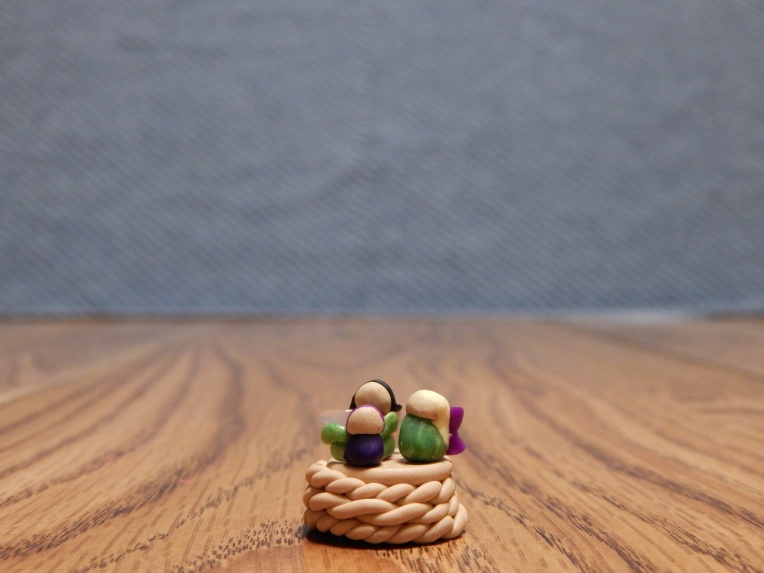
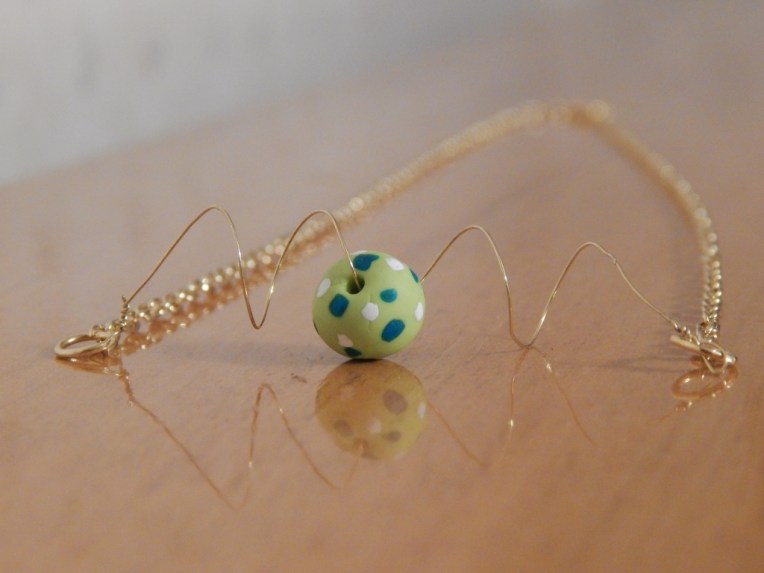
Now the Gnomes really were ready to stop, but the “other creature” pleaded with them to “CLICK” his girlfriend too. So, with a sigh, they gave in. It turned out that the “other creature” must have been a bit off in the head, as well as mischievous, because his “girlfriend” turned out to be a strangely colored blob. With no eyes. Or ears. Or anything. But to please the “other creature,” the Gnomes “CLICKED” them anyway.

other creature's blob

At last the Gnomes had pleased all of their customers and they “closed up shop” so to speak for the rest of the day. Mr. Gnome was thinking a lot that night about the Thing and he thought that perhaps he would like to become a professional “CLICKER.” But unfortunately, that was not to be.

The next day the Gnomes got out of bed and went to wish the Thing a good morning, but – it had disappeared! After they got over their initial sadness at the departure of a beloved friend, Mr. Gnome concluded that the human creature must have come back for it’s missing Thing. And he was right. Those were the pictures from my camera to prove it.

**************************************************************************

I hope you enjoyed it!

***Allison***

Recent Clay Creations

Hi, folks! How be-est thou? XD

I really like making things out of polymer clay (some of which I sell at my Etsy shop), so I’m going to show you a few little creations I made recently. Let’s start with a few fairies, shall we? They are super tiny – the littlest one, as you can see, feels quite comfortable on a penny.

Next up is a clay custom pet I made for my grandmother. It’s of her dog, Duke. I made him from a few pictures my sister Megan took (like the picture on the bottom right.) (You can click on the pictures to make them bigger.)

And then we have this lil’ gal. Her name is Alice, and you can buy her here at my Etsy shop. Isn’t she so cute? 🙂 Here she is shown standing on the top of the gnomes’ house (more on that later) and the fairies’ toadstool.

I made a game called Pebbles a little while ago, so I made some polymer clay pebbles for the playing pieces. I really like how they turned out! They are really shiny because I glazed them with a really nice glossy glaze. The granite looking one was a lot easier than it looks, because the clay already came like that. 🙂 The purple one has little translucent spots on it, and the rest are marbled clay.

-Allison(clay stuff, sunset) 022 (1280x960)

-Allison(clay stuff, sunset) 021 (1280x960)

Now for my masterpiece – the gnomes! 😀 I also made a gnome-house and table set for them.

Here are the two little gnomes…

And here are more details of their house. I made this by first forming a skeleton of 6-8 sticks, draping it over a tinfoil ball, and baking them. Then I wove a green log through those sticks for a vine, and filled in some of the gaps with more sticks in different colors. I added a sprinkling of tiny pink flowers for more color.

I made and baked the top yellow flower separately. I started with the inner layers and progressed outwards, adding the texturing details after I put the flower together. After it was baked, I glued it to the stick-part with this Sculpey glue which bonds as it bakes. And that’s it!

Here is the table set. I might sell this on Etsy sometime soon, but I’m too attached to my gnomes and gnome house to sell them. XD

table 1 (1280x640)

table 2 (851x315)

And that’s it! I’m not an expert, but I still really enjoy playing with polymer clay. Do you feel like “claying” now? If you do make something, I’d love to see it! (Here is a link to the kind of clay I use. I highly recommend it!: Premo Polymer Clay.) Have you ever worked with polymer clay before?

Thanks for reading!

***Allison***

P. S. We still have snow here, but it’s at that messy state between slush and snow. It’s kind of like the last remnants of nail polish that seem to stay on your nails for weeks after most of it has worn off. I always wish both snow and nail polish would last longer, and then just go away all at once. At least the snow still looks pretty nice, although I don’t know if I can say the same thing for my fingernails. 🙂 Do you still have snow?

I Opened My Etsy Shop!!

***Update: I’ve now replaced my old shop with The Color Box Studio, which you can see here.***

YES, I DID! I’m so excited, as you can probably tell from the two exclamation points in the title (I hardly ever use more than one exclamation point. :)). Click here to view my new Etsy shop, WeeLittleCrafts, or click on the image below!

Wee Little Crafts Banner (760x100)

So far I only have six listings, but I have made more things, I just haven’t taken pictures of them yet. So look for more! Here are a few of the things for sale so far:

A cute little miniature woodland animal set,

DSCN7845 (1024x768)

A pretty bead and coil necklace,

coil necklace (1) (1024x768)

A few adorable pencil pals,

octopus (3) (1024x768)

And a cute lil’ puppy necklace.

dog necklace (2) (1024x768)

Click on the link above to see even more items!

SQUEEE! XD 😀 XD

***Allison***

P. S. Maddy started an Etsy shop that sells her photography. It’s really pretty – you should check it out!

Room Makeover!

For Christmas, Megan and I asked for some home décor items and Hobby Lobby gift cards (I ♥ Hobby Lobby!)so we could redecorate our room. (We share a bedroom.) We decided to theme it with birds. We did get some décor items and several Hobby Lobby gift cards, so we did redecorate our room! And so I shall show you a tour of our newly decorated room. Do come in!

One of my favorite new decorations are these beautiful birds-on-a-wire wall decals that I got from Hobby Lobby.

-Allison (room, science museum) 005 (1280x960)

It came with a few mirrored birds as well as a bunch of bird silhouettes. (Ack! ‘Silhouette’ is really hard to spell. XD) It was fun to take pictures of the mirrored birds.

-Allison (room, science museum) 012 (1280x960)

Since there were so many of the silhouettes, I scattered a few around the room in different places.

-Allison (room, science museum) 007 (1280x960)

You know how wall decals come in a sticker sheet? I found a way to get double the amount of stickers, at least as long as there is an outline around the sticker. You just peel of the real sticker, in my case the bird silhouette, and cut around the remaining outline on the sticker sheet. Here is a picture where I first took off the silhouette sticker of the cut out bird, then the bird out of the sticker sheet, and peeled off the thin black outline.

-Allison (room, science museum) 009 (1280x960)

The downside is that the outlines are hard to apply because they are so flimsy, but once you get them up, they look nice:

-Allison (room, science museum) 010 (1280x960)

Here are some more pretty decals I got at Hobby Lobby. -Allison (room, science museum) 008 (1280x960)
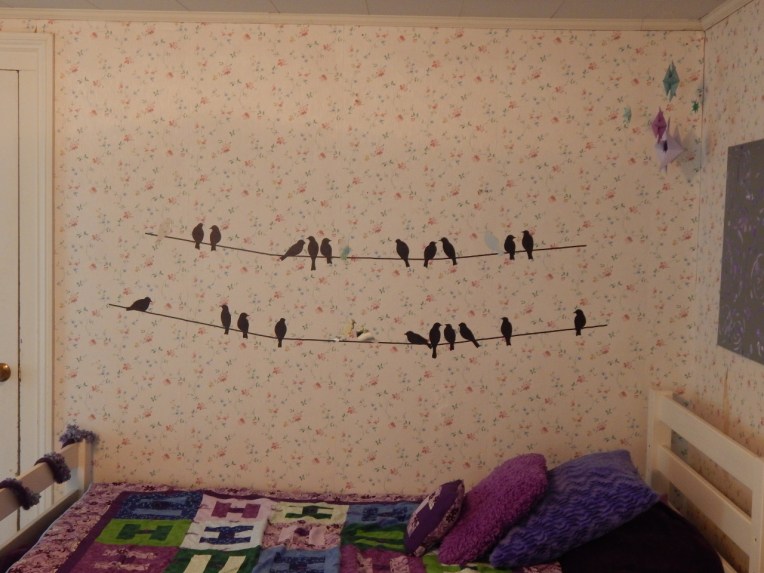
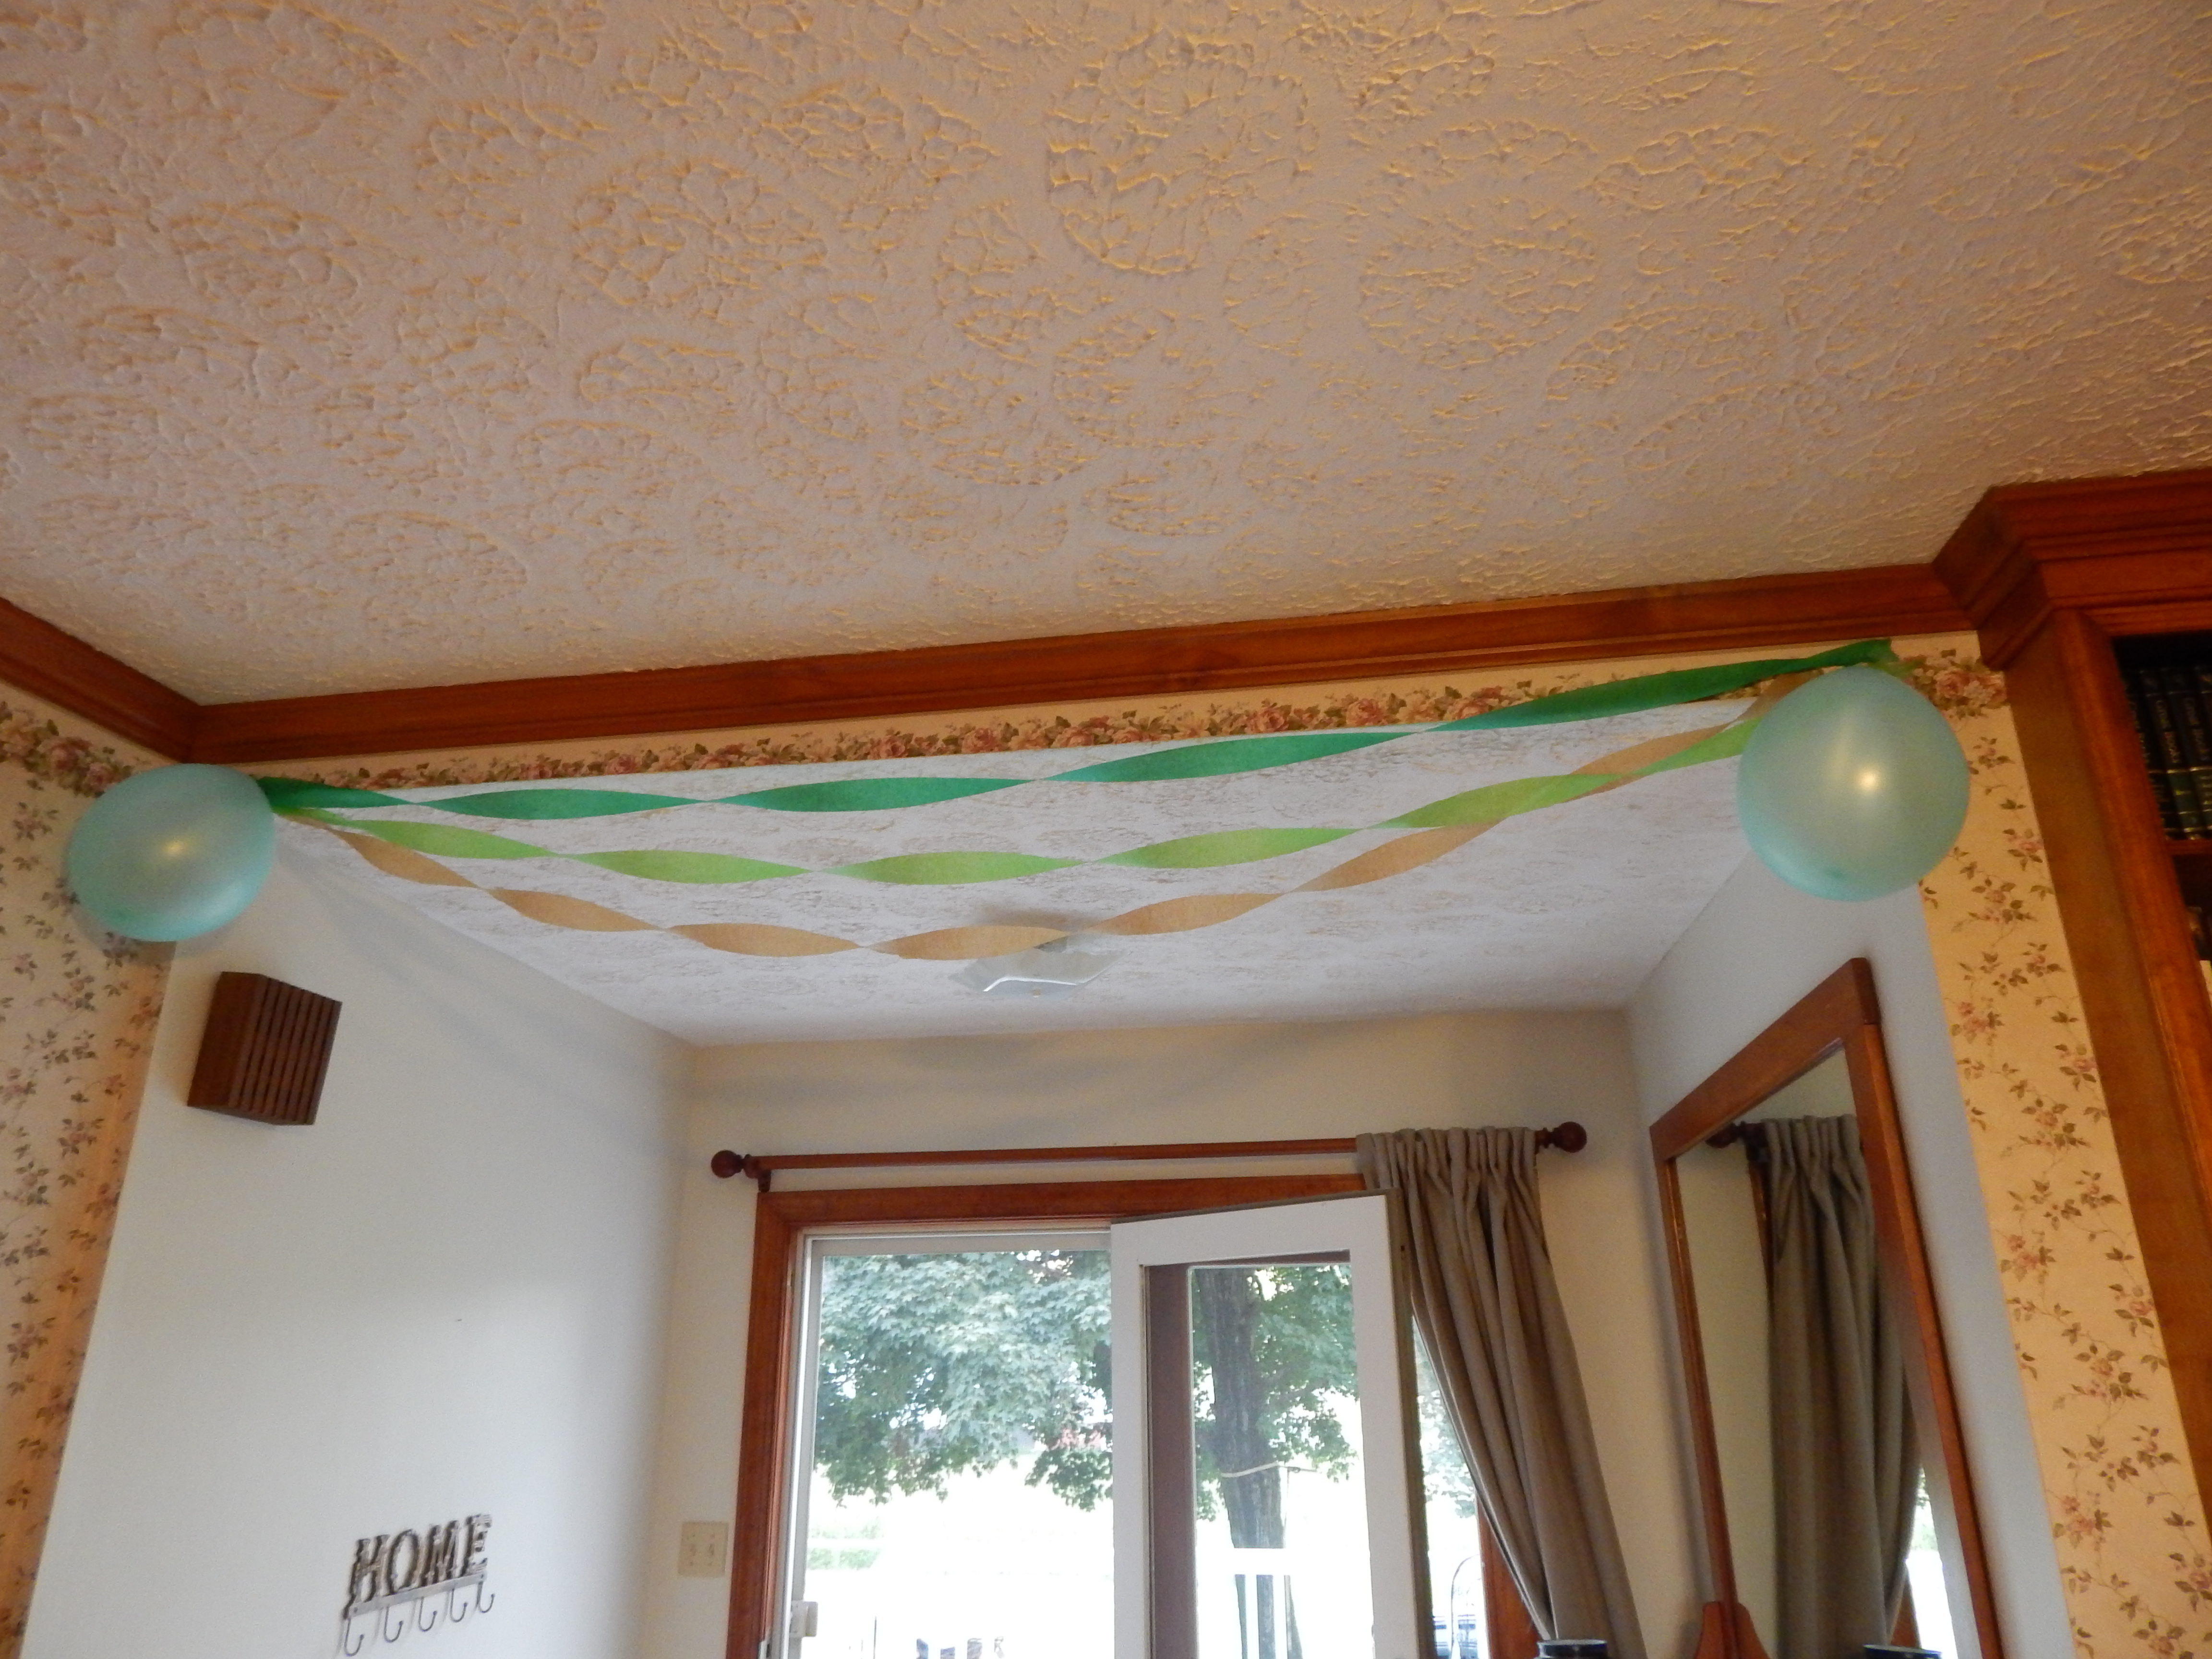
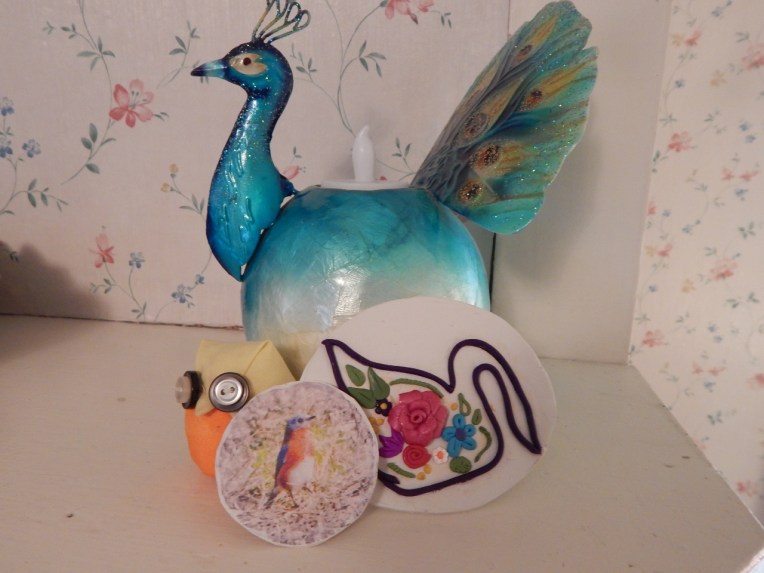
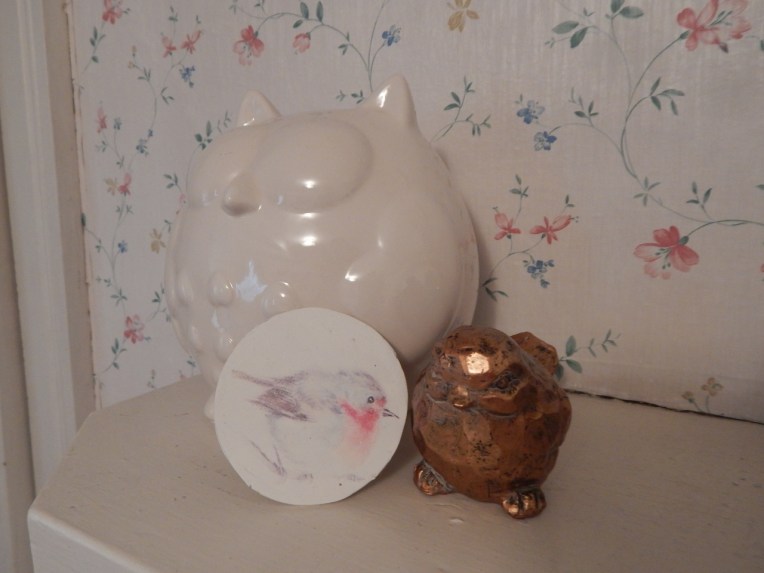
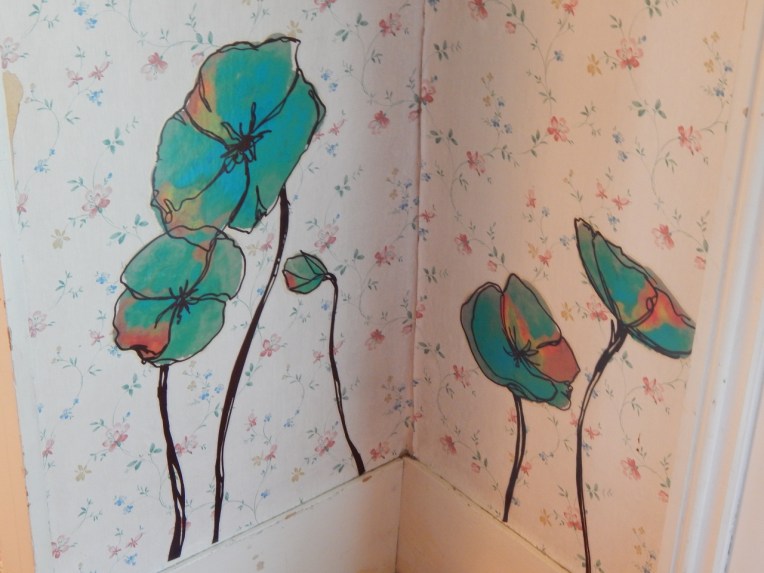
We put these in one corner of our “book nook.”
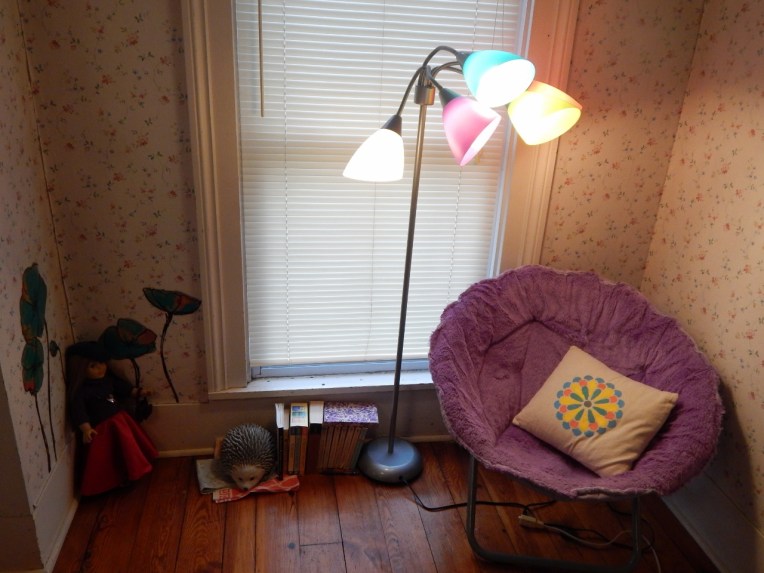
-Allison(Jinx & bunnies, room) 015 (1280x960)

We have started collecting bird figurines for our shelf. We also made these neat clay transfers. You basically print out a picture (it works best to use a laser printer), smooth it out onto a sheet of clay, and bake it between two ceramic tiles.

-Allison(Jinx & bunnies, room) 034 (1280x960)
My parents gave me the bird jewelry holder for Christmas, and the bird picture for a long-ago birthday present. 🙂


-Allison(Jinx & bunnies, room) 026 (1280x960)
My collection: I got the pretty peacock candle holder for a birthday, and I made the stuffed owl, the transferred bluebird, and the clay swan. For the clay swan, I transferred a swan image onto a polymer clay oval, traced over the lines with thin logs of purple clay, and added clay embellishments and flowers.


-Allison(Jinx & bunnies, room) 027 (1280x960)
Megan’s collection: She got the owl for a birthday present, she made the cute little robin clay transfer, and bought the little gold birdie at Hobby Lobby.

And I guess we’re done now. I hope you enjoyed it! Do you like Hobby Lobby? (Hint: the answer is YES! XP)

***Allison***

Christmas Gifts by Yours Truly

I hope you had a Merry Christmas – I did! I always make my Christmas gifts because I love to make and give things. This year I made this candy bark for my dad and my aunt and uncle’s family, lots of mix-and-match paper flags for a pennant banner like this one for my mom, a cross-stitch picture of their grandkids (including me) for my grandmother and grandaddy, and a clay model of each of my brothers’ and sisters’ bunnies for their presents (along with some sugared pecans.) Whew! That was a long list, huh? I really enjoyed making those presents, but I only took pictures of the cross-stitch piece and the bunnies to show you.

First, the cross-stitch thingy. My grandparents really liked it, which I am glad about, because it took me a really long time to make! I first planned my design out on graph paper, and then embroidered it. From left to right: my brother Jeff, Me, my cousin Leisha, my sister Carmen, my brother Logan, my cousin Jianna, and my sister Megan. I worked really hard on this and I’m quite pleased at how well it turned out!

All my siblings really liked these little bunnies too. They are cute if I say so myself. 🙂 In the picture of all of the bunnies in my hand, they are from left to right: Clementine, Yoshi, Olaf, and Diamond. Which is your favorite clay rabbit?

This is Yoshi and Clementine together, because Clemmie is a soon-to-be mother (we hope!) and Yoshi is the dad. (!!!)

025 (1280x960)

I hope you enjoyed looking at my creations! Did you make any presents this year?

***Allison***

Make a Zoo Terrarium

My little sister Carmen, and I had fun making a little zoo terrarium with some of the bajillions of plastic animals we have piled up. We first put a fresh layer of soil down in a glass aquarium and divided the space into six pens of various sizes by scraping a line in the dirt. Then we made fences by gluing three toothpicks evenly spaced onto a pair of small wooden craft sticks, like so. I was too lazy to get up to take another picture, so I just sat at the computer and made a diagram instead. 🙂

fence

I transplanted a few succulents in the pens. Then came the fun part – furnishing the pens!

-Allison(felt doll, zoo terrarium, Clemmy) 004

Rabbit, hamster, and mouse pen: Hutch: sides from cardboard, roof from wooden craft sticks. Food and water bowls: metal bottle caps, water for water bowl, cardboard bits for food bowl. Straw: Uh… something like really thin raffia.

-Allison(felt doll, zoo terrarium, Clemmy) 011

Turtles’ pen: half of a plastic Easter egg for the pond, a rock inside the pond for an island, water in the pond, and a little ‘moss puff” on the side.

-Allison(felt doll, zoo terrarium, Clemmy) 005

Dog pen: Doghouse from cardboard, bowls from plastic bottle caps. Food: tiny squares of cardboard.

-Allison(felt doll, zoo terrarium, Clemmy) 006

Safari pen: Um, pretty much a succulent with a couple of smooth rocks.

-Allison(felt doll, zoo terrarium, Clemmy) 007

Farm pen: Cardboard barn, straw from raffia. (By the way, this is definitely NOT what our farm looks like. :P)

-Allison(felt doll, zoo terrarium, Clemmy) 008

Woodland pen: Moss puffs, quartz rocks, and clay toadstools made by yours truly.

Here are some shots of the whole thing.

-Allison(felt doll, zoo terrarium, Clemmy) 010 -Allison(felt doll, zoo terrarium, Clemmy) 009And thus ends the tour of our little zoo. Hope you enjoyed!

***Allison**


Make Your Own Game! Part 3: Game Pieces and Finishing Touches

Today I will finish up the Make Your Own Game Series with how to make game pieces and a box for your game to live in.  Let’s start with game pieces.

I think the most unique and customizable pieces can be made with polymer clay.  You can make them to go along with your theme, or just make an odd assortment of fun things, like I did.  I would recommend, though, that you make your game pieces more one size than I did, just so they look more uniform.

-Allison(game series 3) 001

There are lots of other options if you don’t want to use clay: use different colors of flat-bottomed clear pebbles, buttons with handles made from beads stacked together, small toys like toy cars or plastic animals, really you can use basically any small item that doesn’t roll off of the board.

It’s important to have a good box that keeps your game from getting bashed up when it’s on the game shelf, but also provides easy access to the game when you want to play it.  (In other words, don’t use a deep, barely big enough box or it will be hard to take your game in and out.)

I found the perfect box for one of my games: it is shallow, easy to open, and sturdy.  Unless the box has no writing or graphics on it, you will want to make a label to put on top.  You could just draw the logo on the label, or take a picture of the actual game and paste it on.  Make sure to draw the logo on all sides so you don’t see a blank side of the box from the shelf.

-Allison(game series 3) 004 -Allison(game series 3) 003

And there you go!  Have your friends and family test it out, and maybe someday you will even publish your game!

Until next time…

***Allison***

Woodland Birthday Party

My sister Megan’s birthday was yesterday!  She chose to have a woodland themed party with hedgehogs as the “life of the party.” (Hee-hee!)  I thought I’d go through the decorations for the party and how we made a few of them.  (Megan didn’t especially want to do all the decorations, so I got to make most of them – hooray!)

The colors of the theme were green and brown.  For the decorations, I hung up twirled green and brown streamers and green balloons.

-Allison(Megan's B-day Party) 052

I also drew and cut out some forest floor type things like toadstools, grasses, and pebbles.  It would have been better to make the toadstools out of red paper, but we didn’t have any. 🙂

097

Meet Mr. Hedgehog, the gift guy.  I designed him; Megan painted him.  Megan also had the great idea to use him to show the guests where to put gifts.

-Allison(Megan's B-day Party) 053

The table was really fun to decorate.  We got the tablecloth, plates, napkins, and cups at Party City (which was FUN, by the way!).  My mom made the cute cake, I made the hedgehogs, and Megan made the labels for the “Dew Drops” (water) and “Twigs” (pretzel sticks).  I found the ideas for twigs, dew drops (which was originally named “Morning Dew”), and hedgehogs from Pinterest.

-Allison(Megan's B-day Party) 054

-Allison(Megan's B-day Party) 055

-Allison(Megan's B-day Party) 056

Here’s a tutorial on how to make this cute little hedgehog for snacking on. (Poor guy!)

-Allison(Megan's B-day Party) 051

For one hedgehog you will need

**************************************

A pear

Whole, black olives

Grapes

Toothpicks

Whole cloves

**************************************

First, peel the top of the pear for the hedgehog’s head.

-Allison(Megan's B-day Party) 046

You can try sticking a whole olive on the tip of the pear, but it worked best for me to cut the olive in half.

-Allison(Megan's B-day Party) 047

Stick two whole cloves above the nose for eyes.

-Allison(Megan's B-day Party) 048

Now make him prickly!  Skewer a grape onto a toothpick, then stick the toothpick into the unpeeled part of the pear.  I put the skewered grapes on in rows.  I started with a row next to the head, then progressed all the way back to give him the proper rounded shape.

-Allison(Megan's B-day Party) 051

Such a prickly little guy!

Now for the party favors.  I like to make things out of polymer clay, so I made clay hedgehogs for favors, along with little bags to put them in.  At the end of the party, the guests each got to “adopt a hedgehog.”

-Allison(Megan's B-day Party) 001

-Allison(Megan's B-day Party) 003 -Allison(Megan's B-day Party) 004

So there are a few ideas for a woodland party.  I hope I’ve given you some inspiration!  (And thanks for letting me decorate for you Megan!)

***Allison***